First published November 15, 2007. Last updated June 22, 2024 for better images and editorial improvements.
Get ready to put on your Suzy Homemaker pearls because once you make these buttery, make-ahead buttermilk dinner rolls you'll want a constant supply!
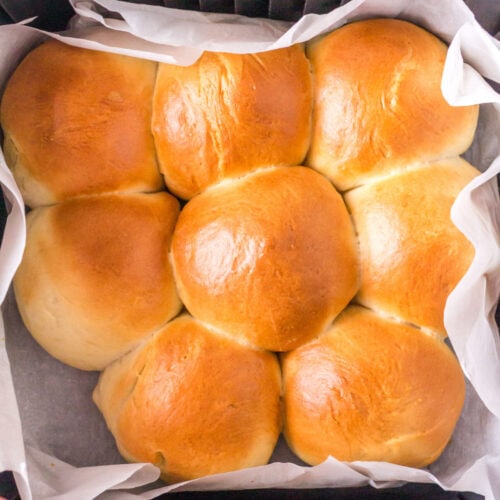
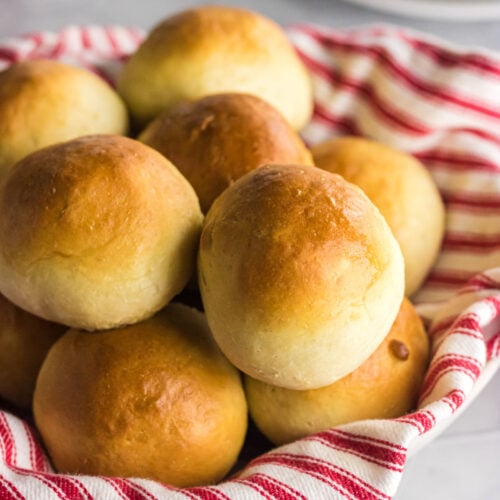
These rolls are soft, fluffy, and have a subtle tang from the buttermilk that makes them irresistible. Whether you’re serving them at a family dinner, holiday feast, or a cozy Sunday brunch, these rolls are sure to become a staple in your home.
Best of all? You can make them like the brown and serve rolls at the store and freeze them so you can have fresh, piping hot rolls in minutes!
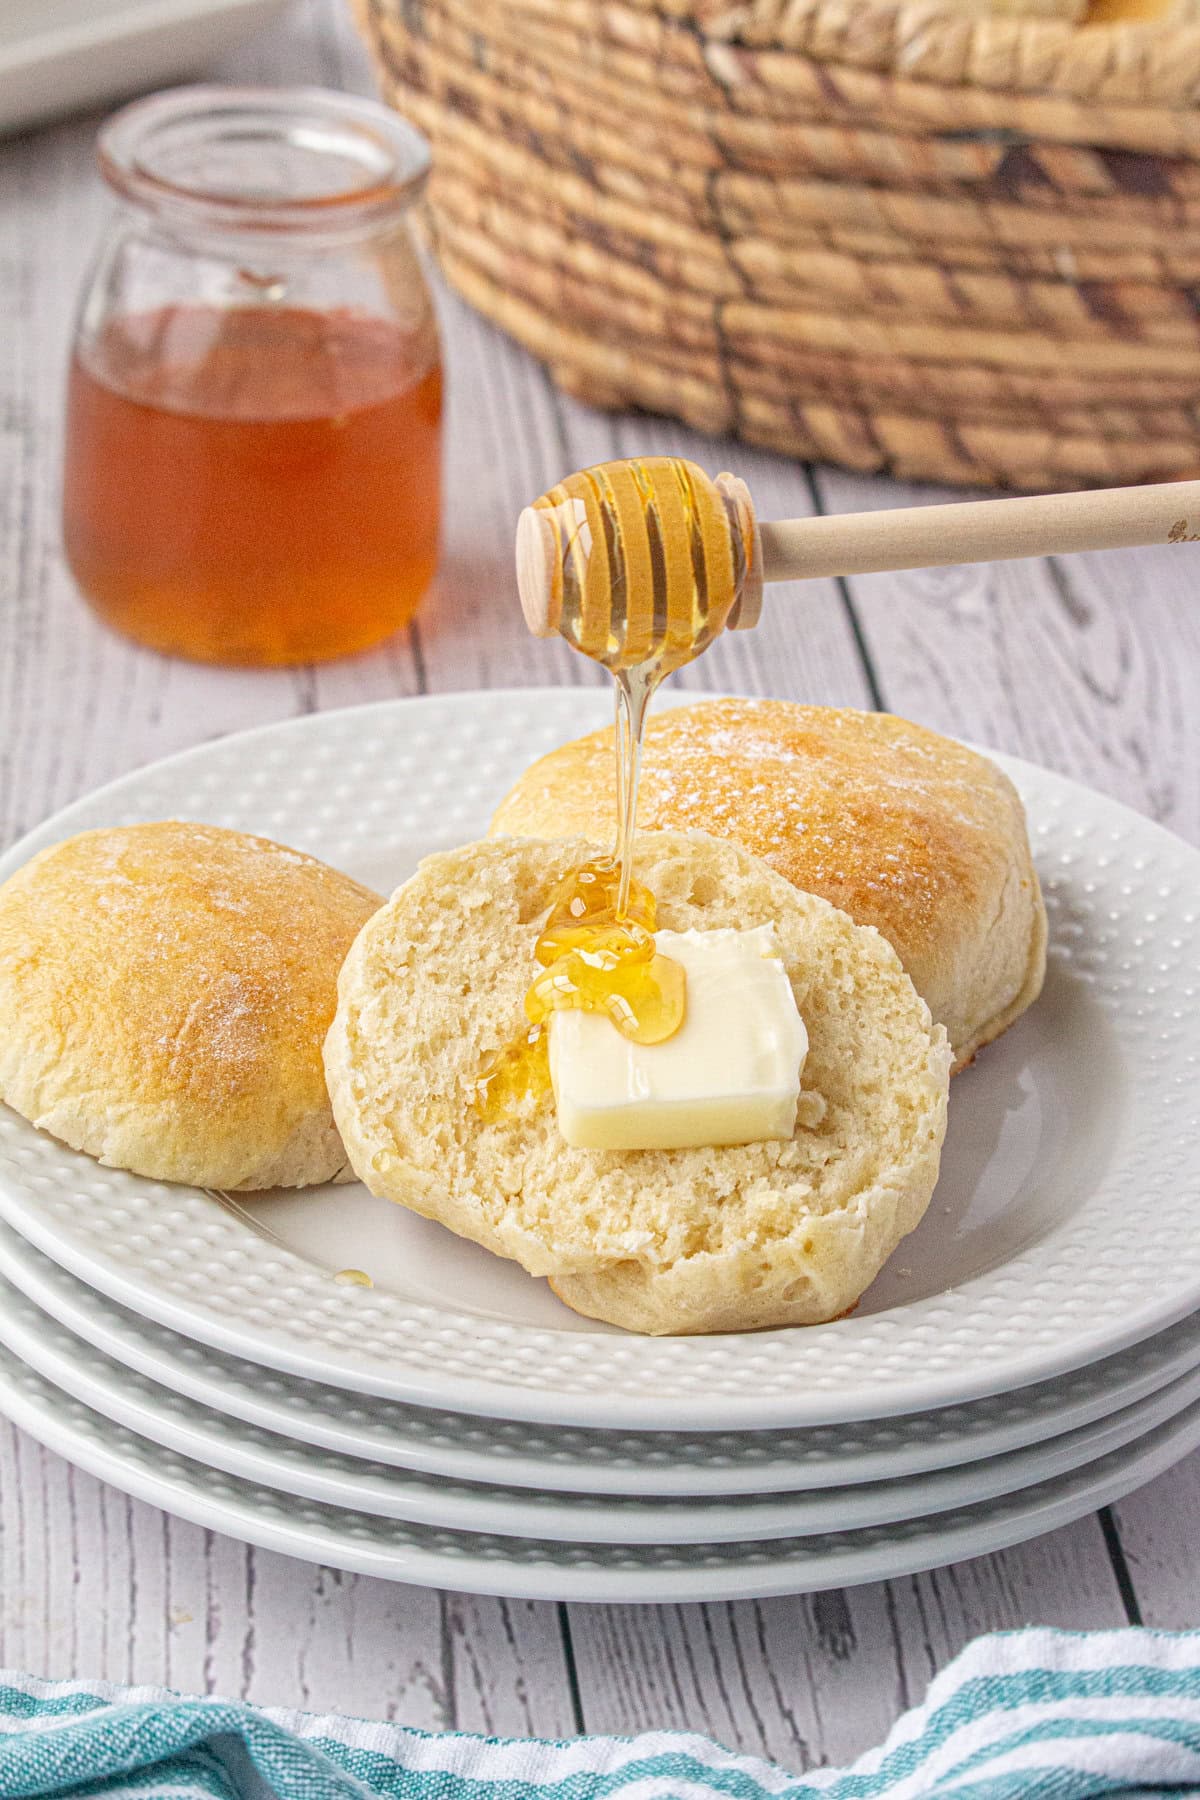
Table of Contents
Save this recipe by clicking on the ❤️ heart on the right-hand side of the screen or in the recipe card.
🗝️ Key takeaways
- Family favorite. These buttermilk dinner rolls are incredibly soft, fluffy, and flavorful. The buttermilk adds a wonderful tang that perfectly complements any meal.
- Easy enough for everyday. Perfect for family dinners, holiday gatherings, and potlucks. These rolls are also great for making sandwiches or enjoying with a pat of butter and jam.
- Freezer friendly. Double and triple the recipe when you make them and follow the instructions to make your own, delicious brown and serve type rolls to freeze.
My buttermilk dinner rolls are easy to make and best of all you can make a big batch of them up to three months ahead of time!
You can choose to bake them until they are golden brown or you can bake them just until barely done and freeze them to be browned in a hot oven when you are ready to use them.
I prefer the brown and serve method because I think it makes them taste fresh. Make a double or triple batch of these once a month and you can have fresh, hot dinner rolls whenever you like.
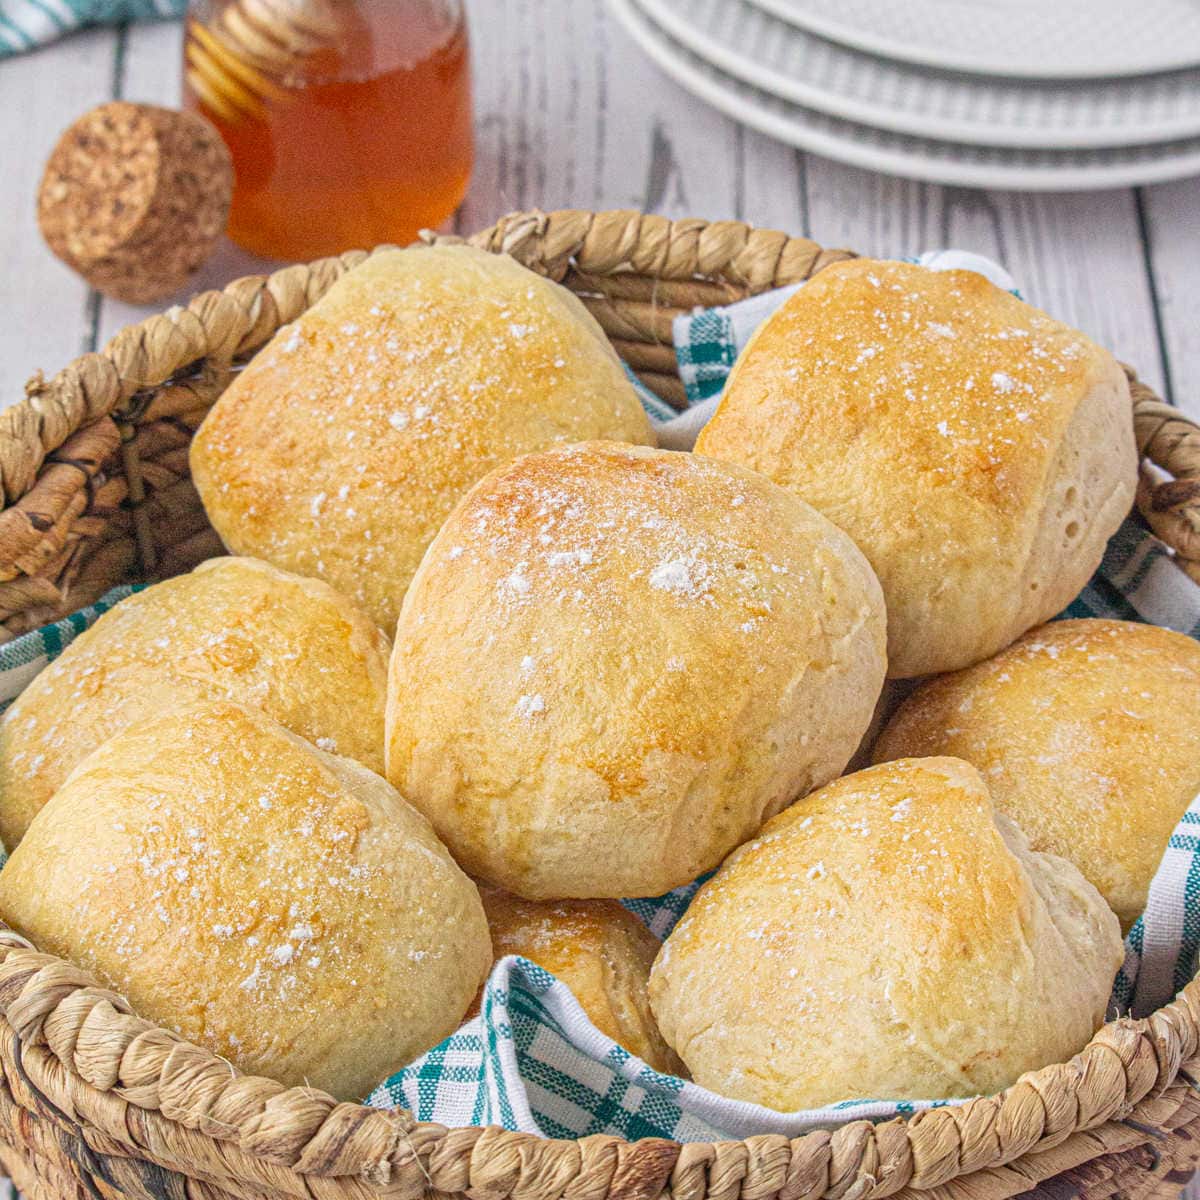
No matter which way you do it, they come out tender and buttery, light as a feather every time!
🧾 Ingredients
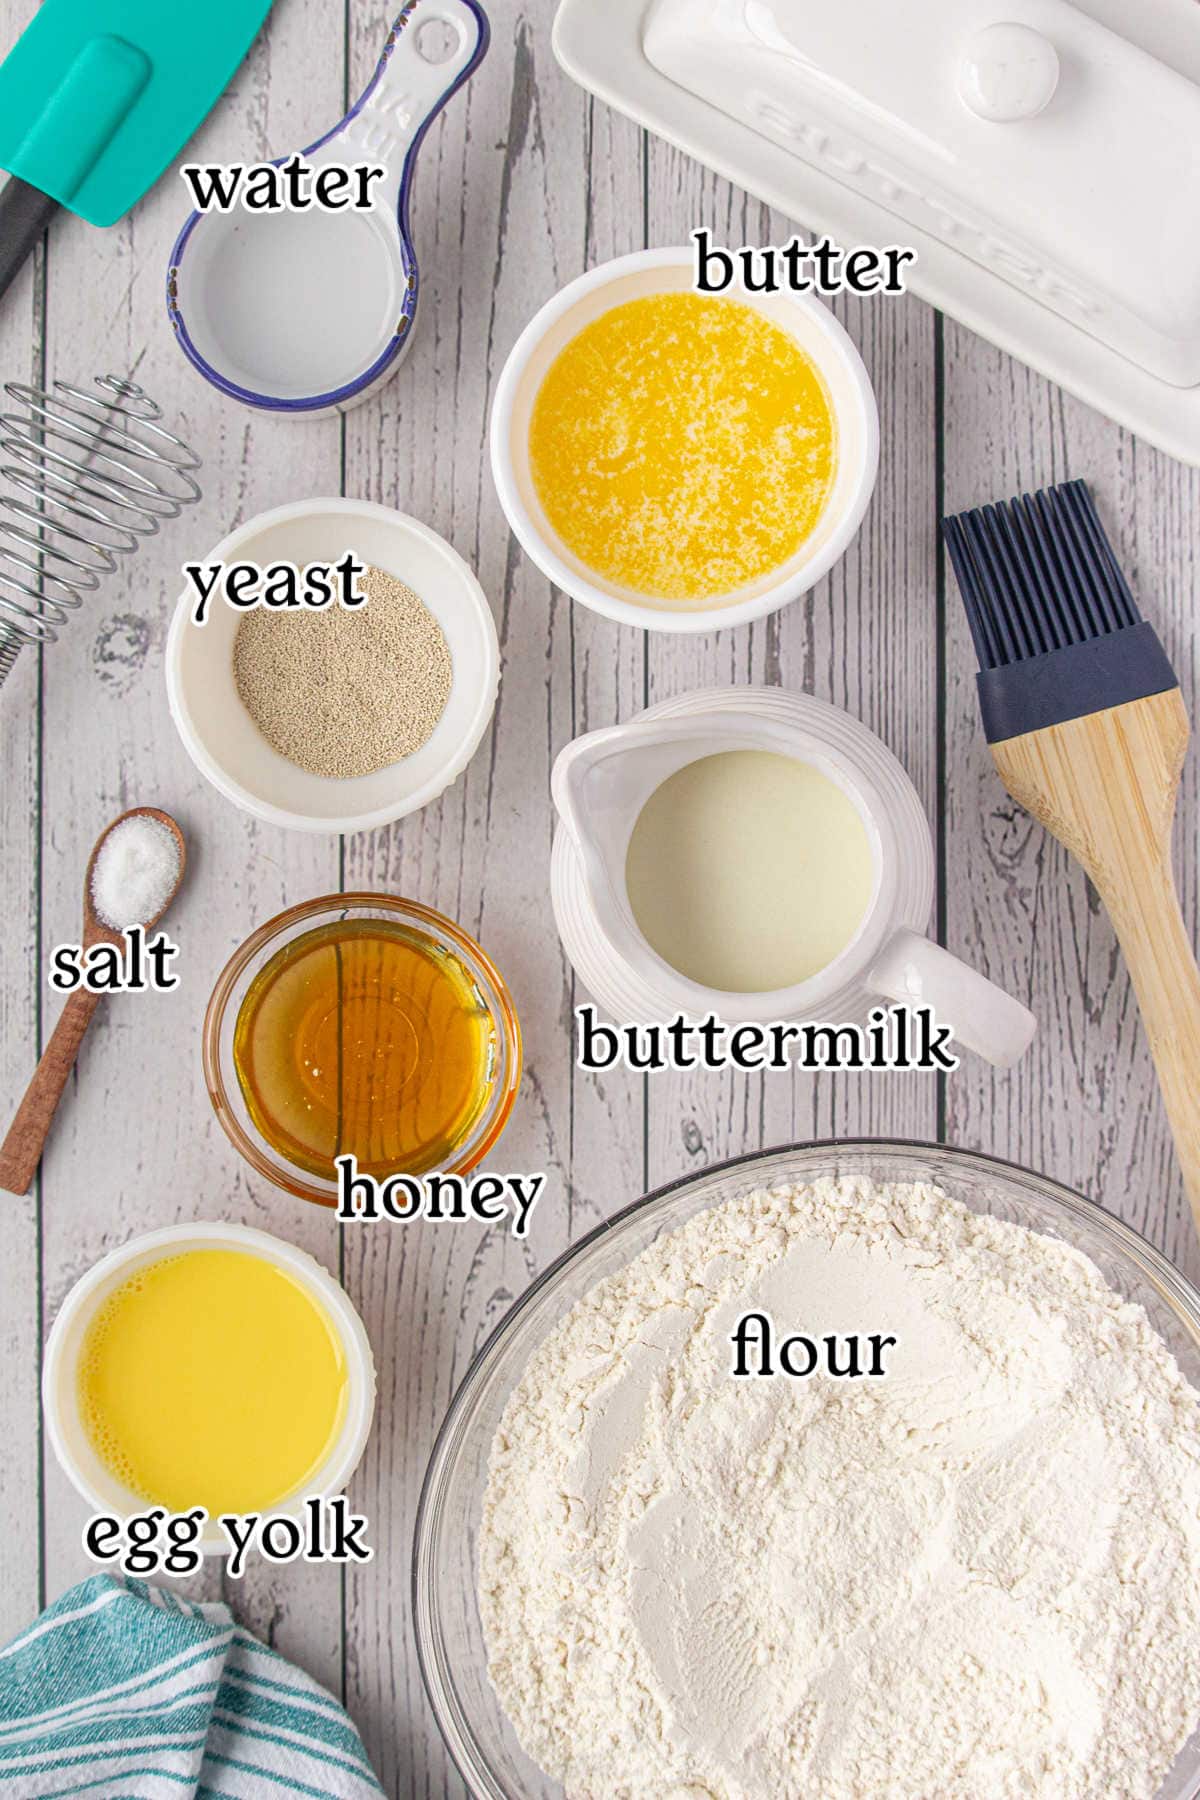
This is an overview of the ingredients. You'll find the full measurements and instructions in the green recipe card (printable) at the bottom of the page.
📖 Variations
- Garlic Herb Rolls: Add minced garlic and chopped fresh herbs to the dough for a savory twist.
- Cheesy Rolls: Fold in 1 cup of shredded cheddar cheese for a cheesy delight.
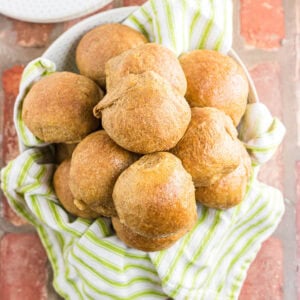
- Whole Wheat Rolls: Substitute half of the all-purpose flour with whole wheat flour for a heartier roll.
🔪 Instructions
This is an overview of the instructions. Full instructions are in the green recipe card at the bottom of the page. Click on the image to see it full size.
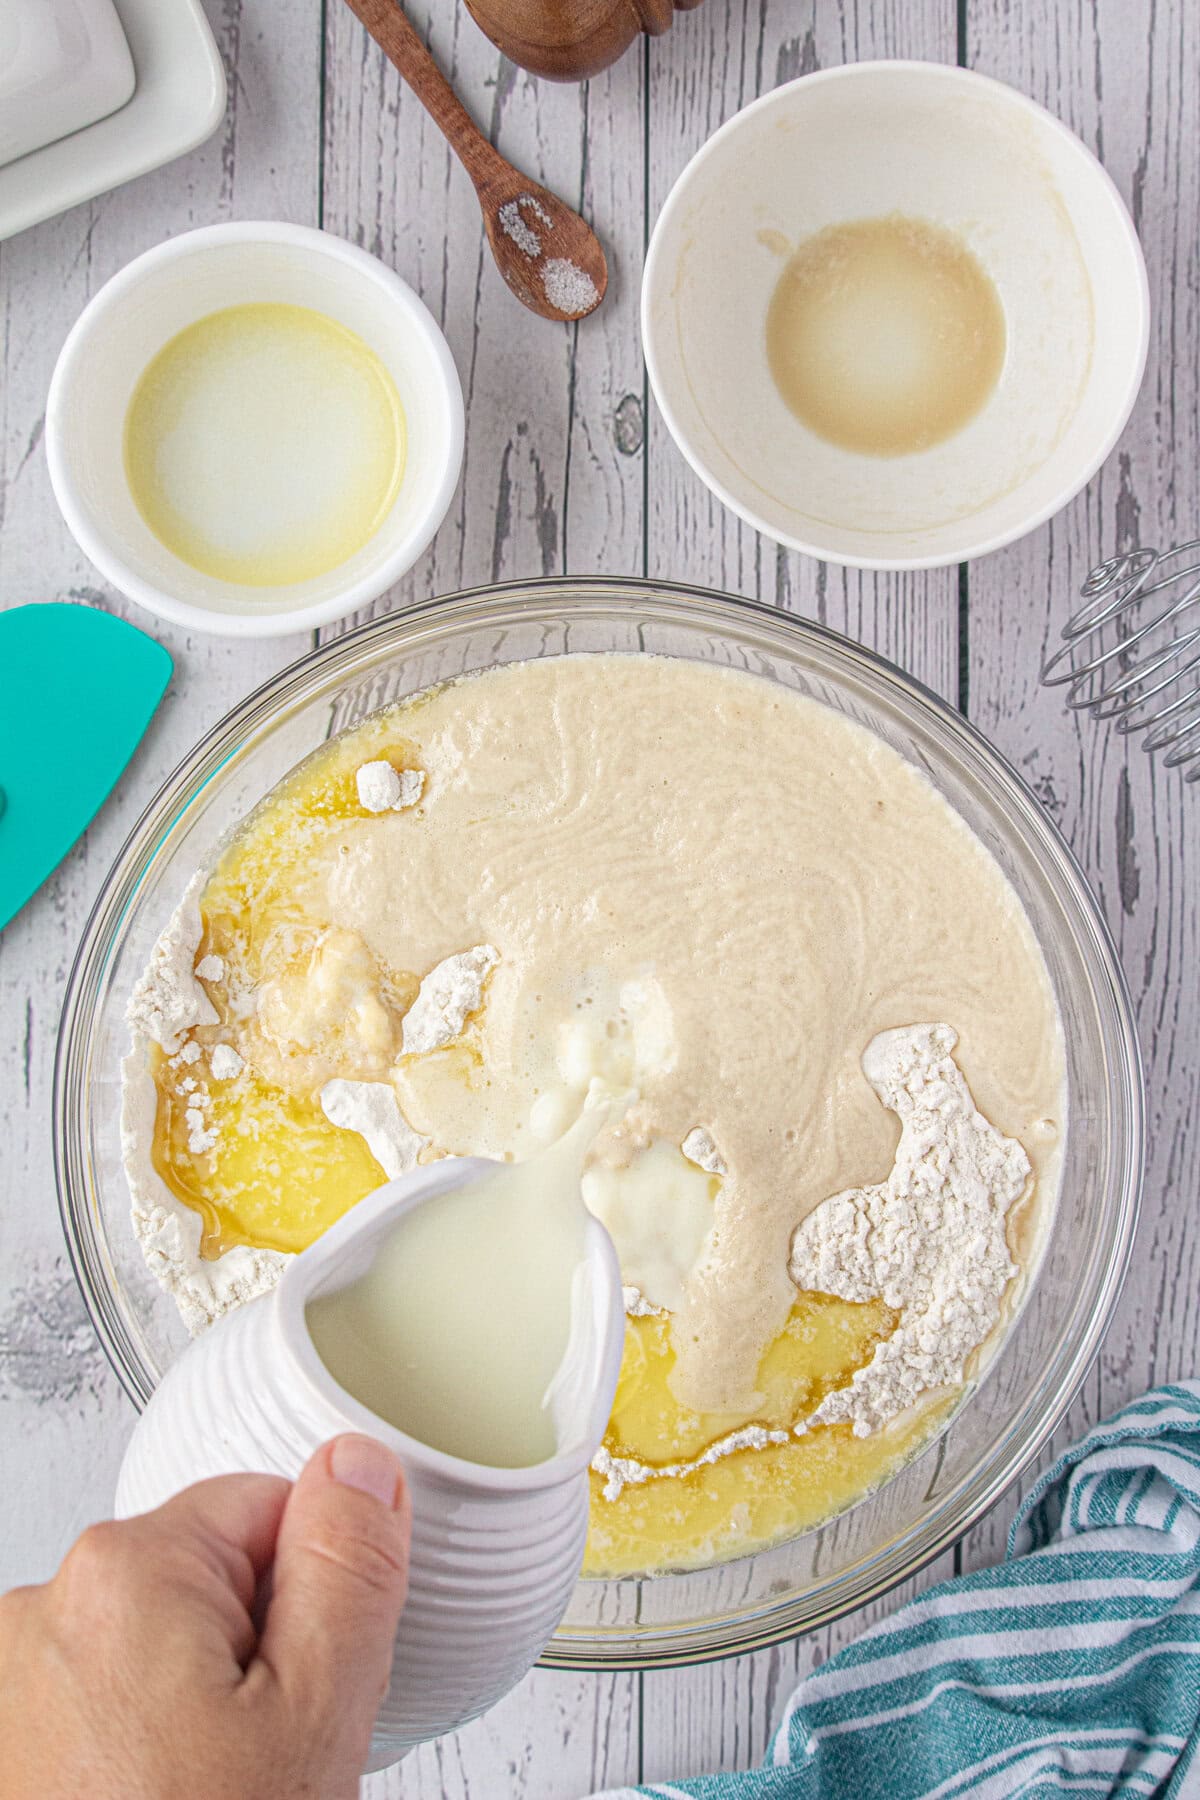
Add yeast mixture, honey, and buttermilk to flour mixture.
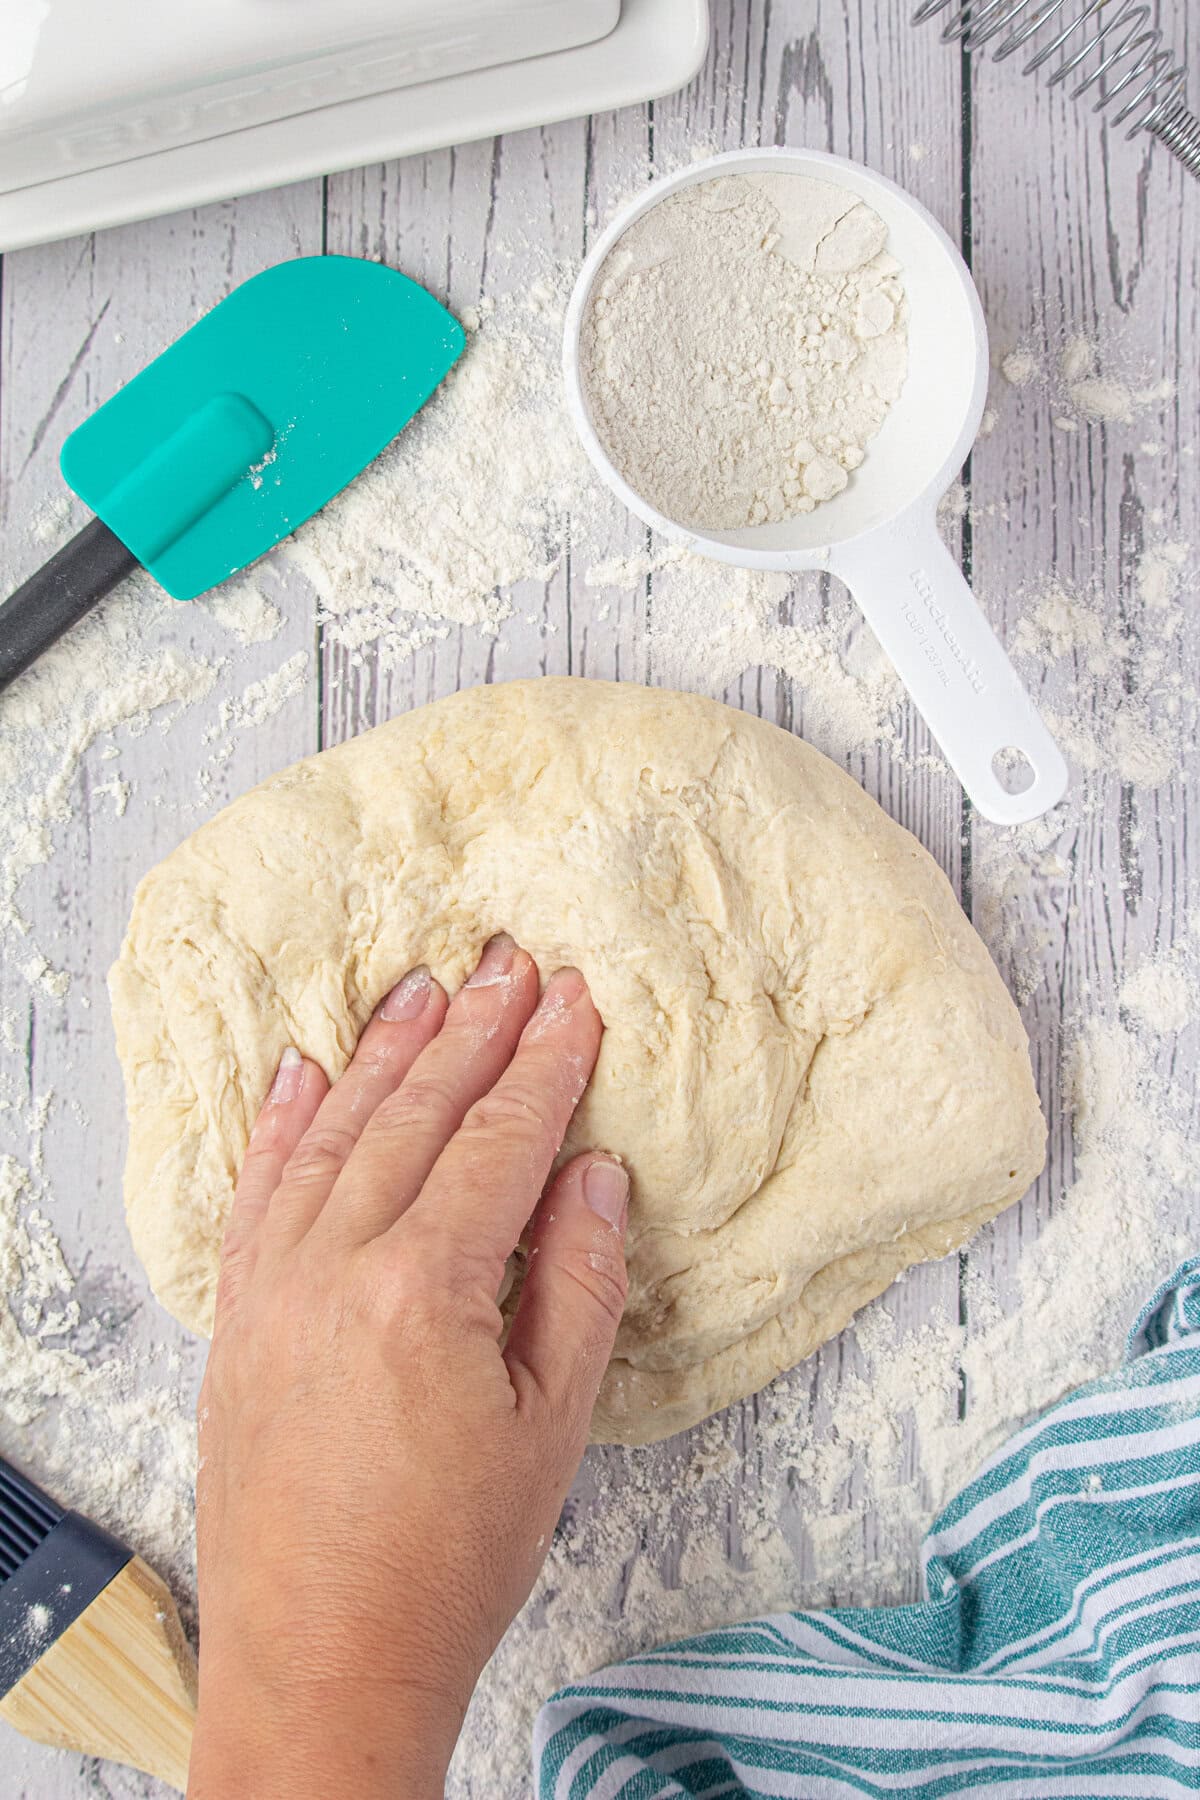
Knead.
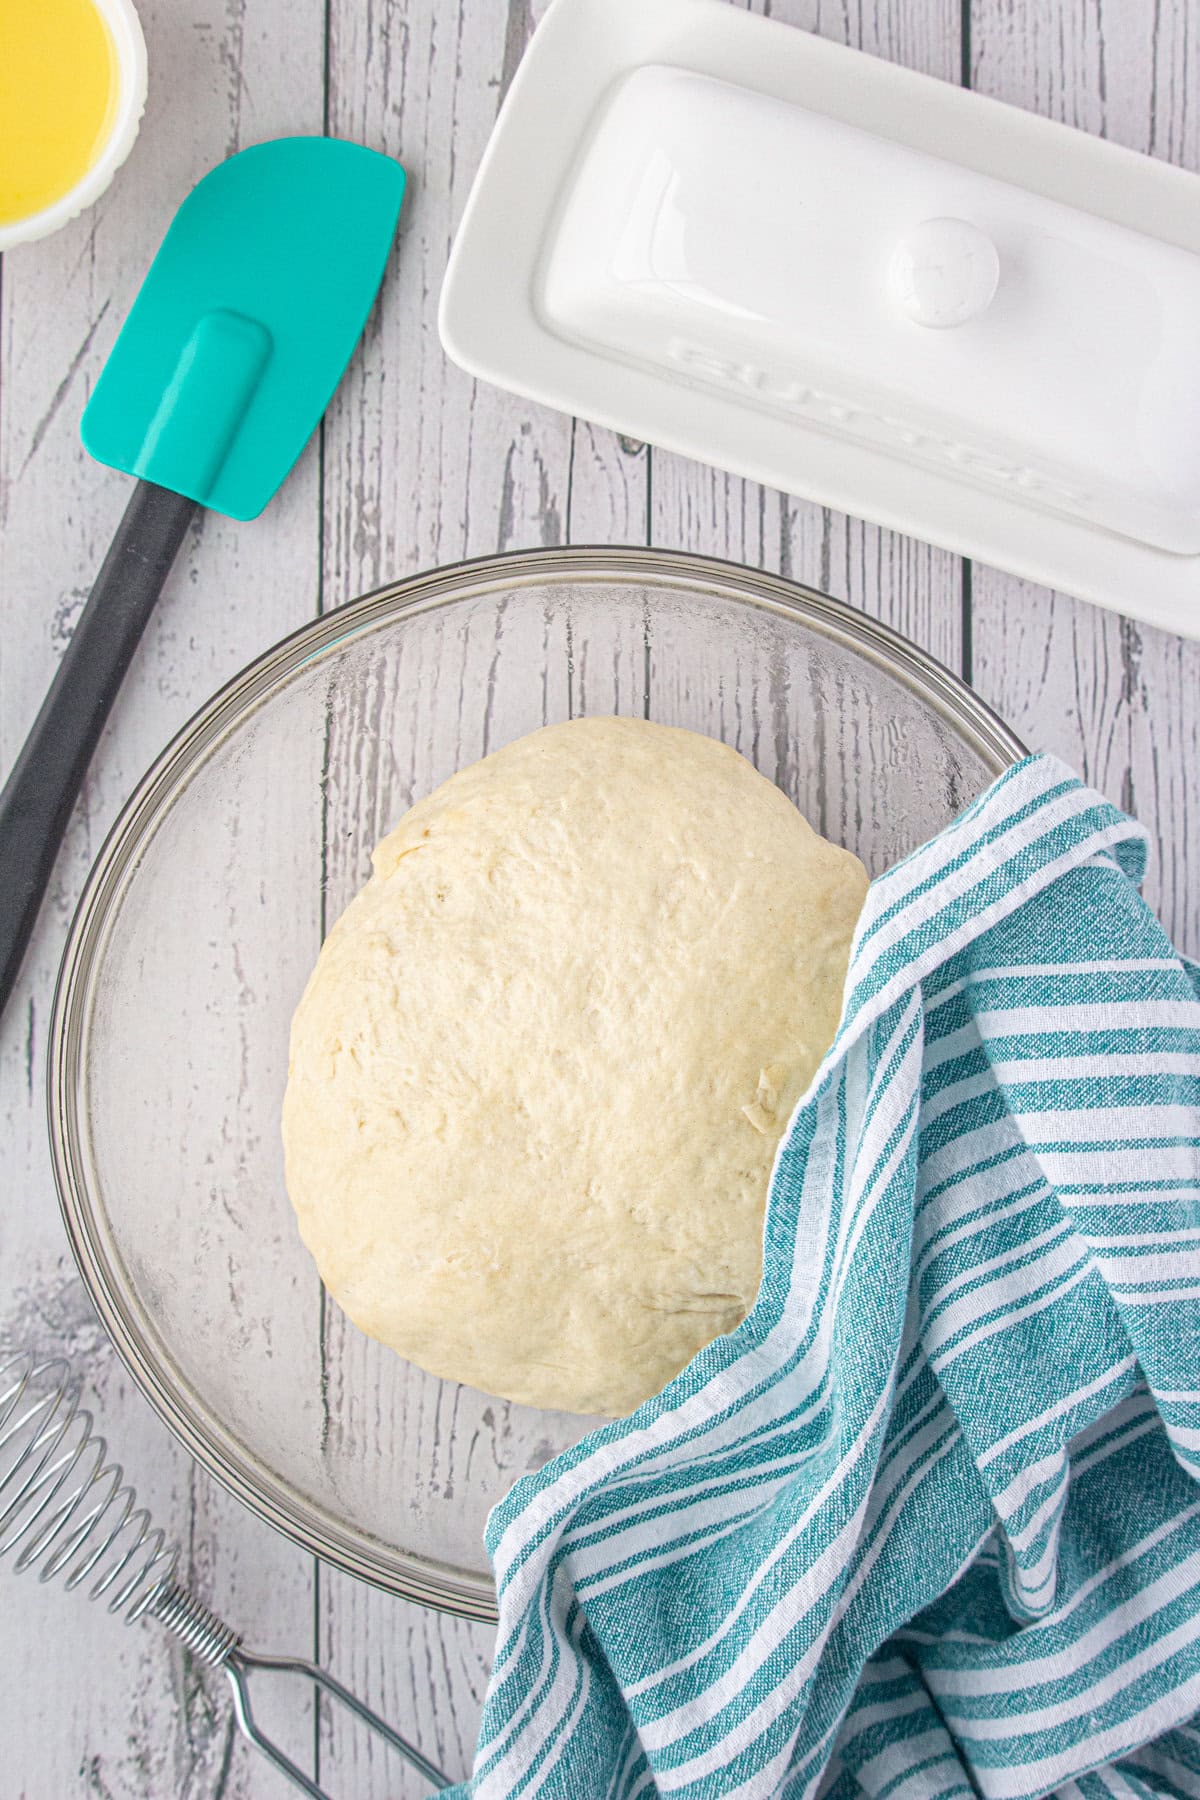
Let rise.
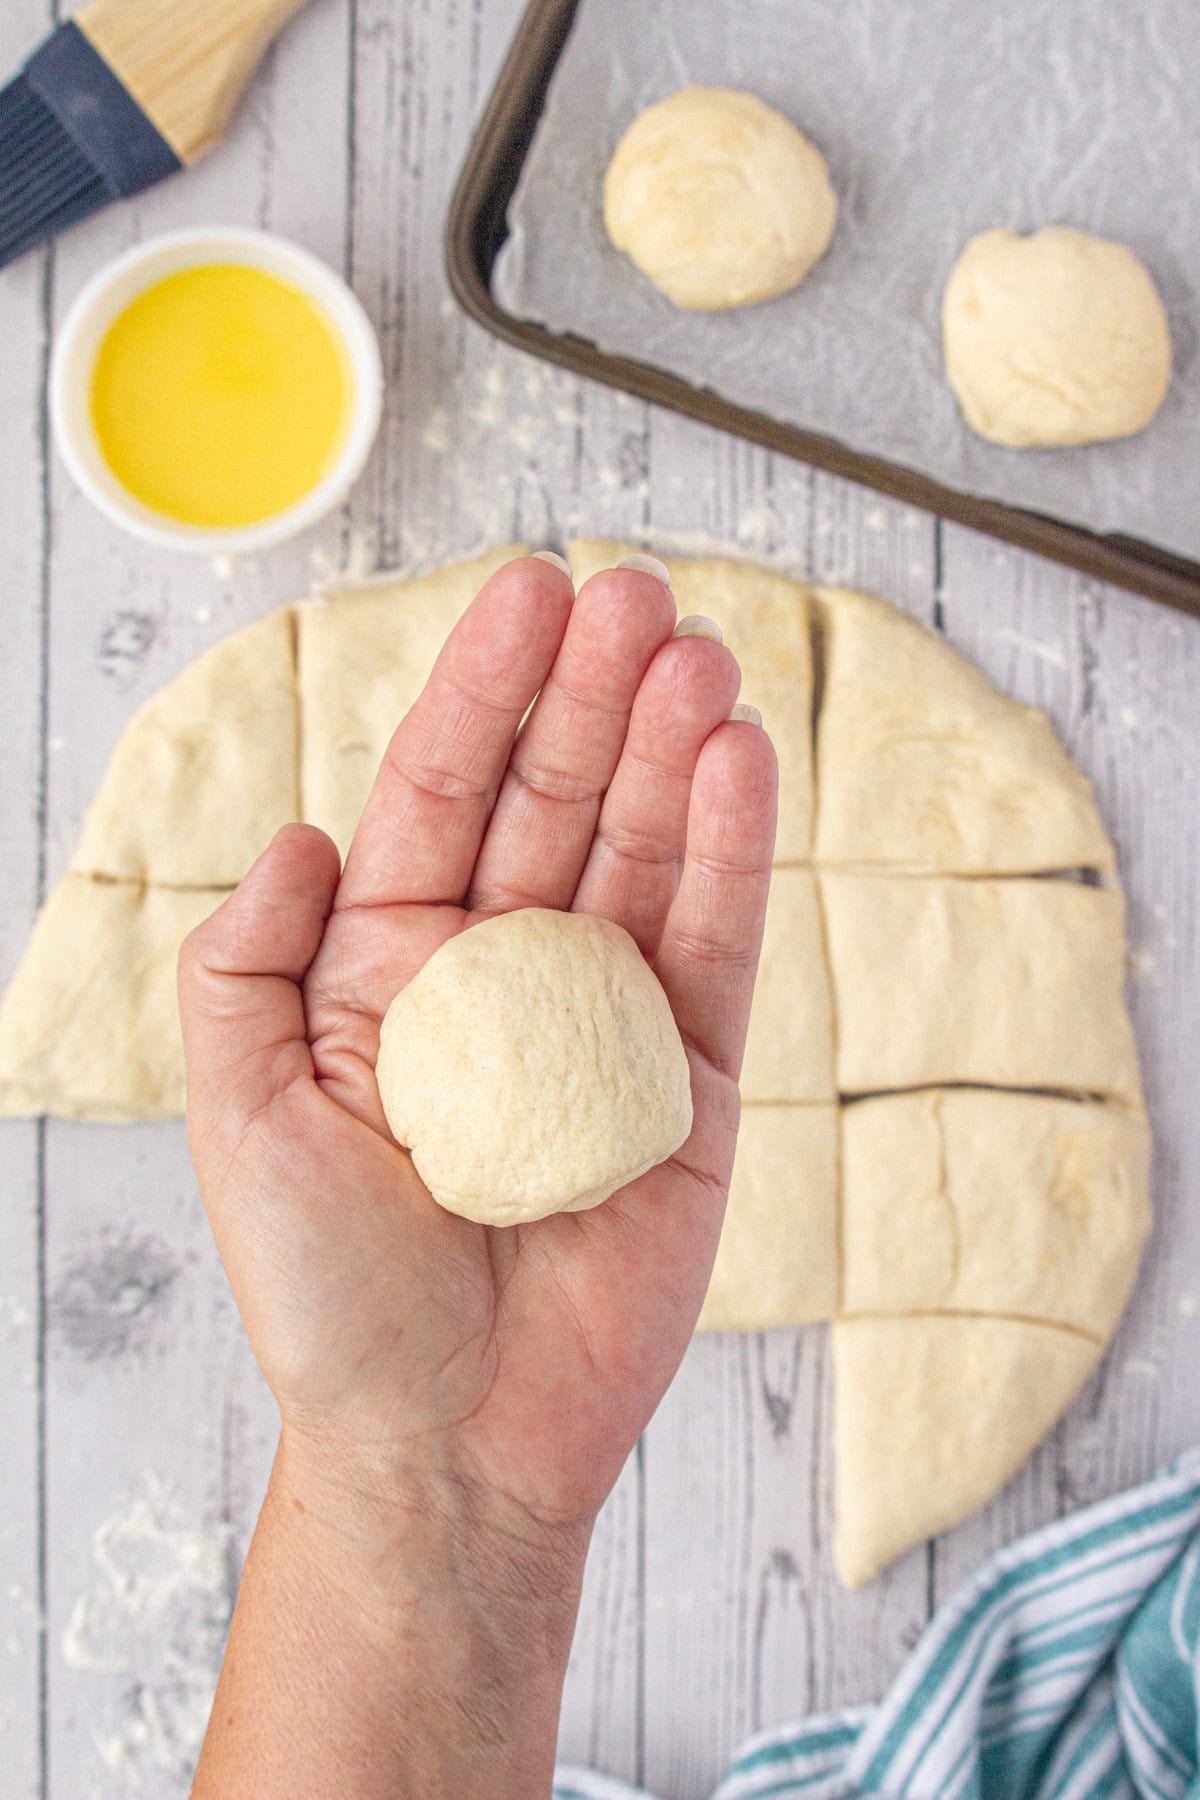
Shape.
For Brown-n-Serve Rolls
Omit the egg wash.
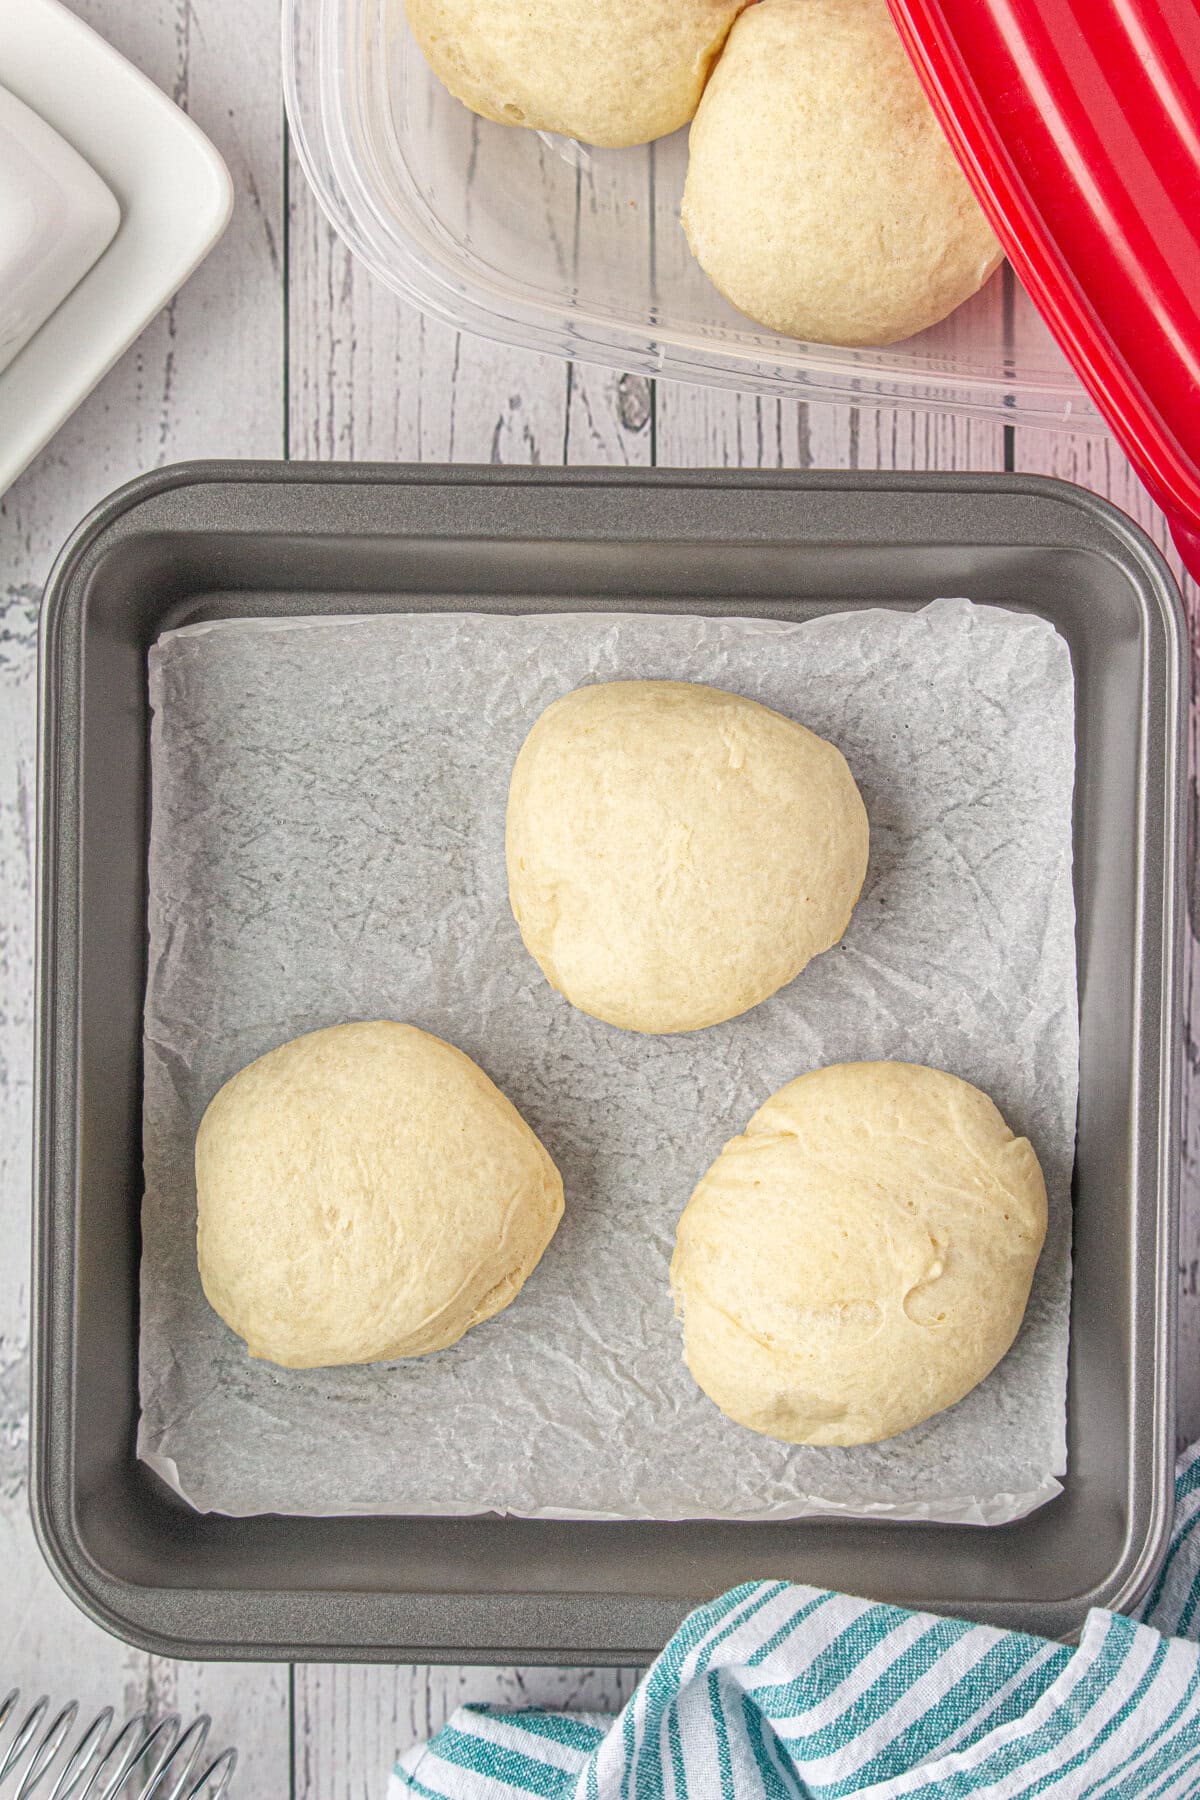
- Cook for 10 minutes, or until done (internal temp of 190F-200F) but before the rolls start to brown.
- Remove from oven.
- Cool completely.
- Wrap in air tight packaging.
- Freeze for up to three months.
To serve: Bake at 425 until golden.
🤫 Cook's secrets -
For extra soft and fluffy rolls, brush the tops with melted butter before and after baking.
🍴 Equipment
- large mixing bowls
- measuring cups and spoons
- spatula
- baking pan
- pastry brush
- stand mixer for kneading
🥫 How to store leftovers
Store any leftovers in an airtight container at room temperature for up to 3 days. You can also freeze the rolls for up to 3 months. Reheat them in the oven for a few minutes before serving.
Be sure to read the instructions in the green recipe card below to make brown-n-serve rolls.
Marye's Tip
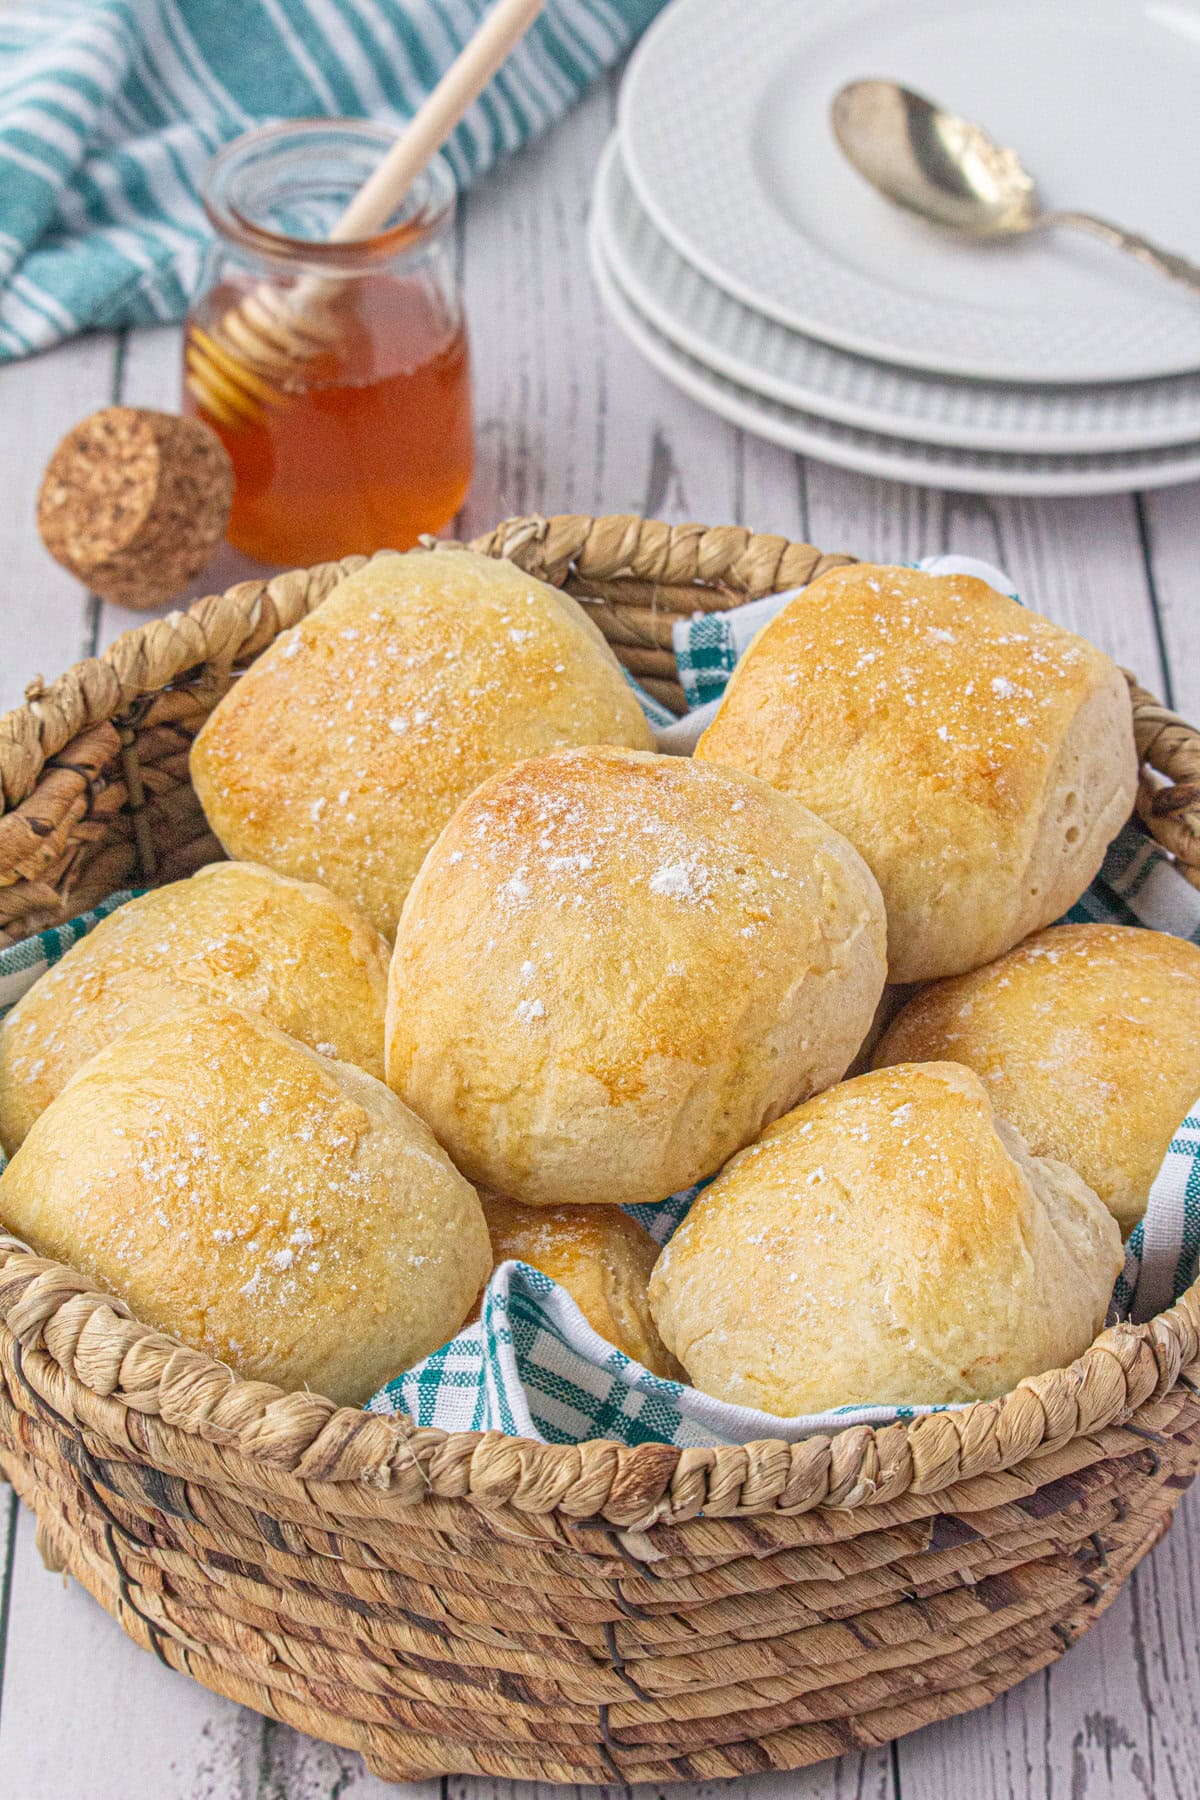
To keep the rolls soft, brush with butter and place a piece of foil over them while reheating.
💭 Things to know
- Make sure all your ingredients are at room temperature (unless otherwise instructed) before starting for the best texture.
- Kneading the dough properly is key to developing gluten, which gives the rolls their structure. A stand mixer makes this part easy.
- If your kitchen is cool, let the dough rise in a slightly warmed oven (turned off) to ensure a good rise. Here are more ideas for helping the dough rise quickly.
👩🍳 FAQs
Have other questions? Ask me in the comments!
Yes, you can substitute instant yeast. There’s no need to activate it in warm liquid first; just mix it with the dry ingredients.
You sure can! You can prepare the dough and let it rise in the refrigerator overnight. Bring it to room temperature before shaping and baking.
📚 Related recipes
If you're looking for something a little different these sweet potato dinner rolls are soft and fluffy with a little sweet potato flavor and a honey cinnamon butter glaze.
🍽️ Repurpose leftovers
- Breakfast Sandwiches: Use leftover rolls to make breakfast sandwiches with eggs, bacon, and cheese.
- Croutons: Cut leftover rolls into cubes, toss with olive oil and seasoning, and bake until crispy for homemade croutons.
- Bread Pudding: Use leftover rolls to make a delicious savory or sweet bread pudding.
📞 The last word
These make-ahead buttermilk dinner rolls are one of my favorite recipes to make for family meals as well as special occasions. They’re soft, fluffy, and have that perfect homemade taste that everyone loves.
They're just a step above the regular kind. For generations bakers have known that buttermilk lends a special flavor, tenderness, and undefinable texture to breads of all kinds.
It makes yeast breads rise higher and lighter and they stay fresh longer — although, to be honest, we rarely have homemade rolls more than a few hours after they come out of the oven.
I like to dust the tops with a little flour. It doesn't do a thing but I like the way it looks.
Whether you’re a seasoned baker or just starting out, this recipe is sure to be a hit. Be sure to try it out and let me know what you think!
If you click on the number of servings in the recipe card you can adjust the measurements up or down for the exact number of servings you need.
If you love this recipe please comment below and give it 5 stars! ⭐️⭐️⭐️⭐️⭐️
📖 Recipe
Make-Ahead Buttermilk Dinner Rolls
Print Pin Recipe Save Recipe Rate RecipeIngredients
- ¼ cup warm water The easiest way to check temp is to pretend it is a baby's bathwater. If you would bathe a baby in it it is just right., 105-115°F
- 1 packet yeast, 2 ½ teaspoons
- 1 tablespoon honey, tupelo, orange blossom, alfalfa, blueberry...these are all perfect
- 2 teaspoons salt
- 3 cups all-purpose flour, may need up to another half cup or so.
- 1 cup whole fat buttermilk, warm room temperature
- 2 tablespoons honey
- 4 tablespoons butter, melted
- 1 tablespoon egg yolk , lightly beaten with 1 tablespoon water
Instructions
- Stir together water, yeast, and honey in a small bowl and let stand until foamy, about 5 minutes. (If mixture doesn't foam, discard and start over with new yeast.)
- Stir salt into 3 cups of flour and then add yeast mixture, buttermilk, and butter, stirring until it makes a soft, sticky dough. Add a bit more if necessary.
- Turn out dough onto a floured surface and knead, adding just enough more flour to prevent sticking, until smooth and elastic, 6 to 10 minutes.
- Form dough into a ball and transfer to an oiled large bowl, turning to coat.
- Cover bowl with kitchen towel and let dough rise in a draft-free place at warm room temperature until doubled in bulk, 1 to 1 ½ hours. The top of your fridge, in the oven with the light on, on top of the counter when the dishwasher is running are all good places. If your kitchen is very chilly it may take a little more time. If it is warm it may take a little less. You will know it has doubled when it looks like it has and you can push your finger in it and the dent will remain.
- Turn out dough onto a lightly floured surface and knead several times to remove air.
- Cut dough into 18 equal pieces.
- Form a smooth ball with each piece, or roll into a rope and make a knot..Pretend it's Play-do.. Repeat with remaining pieces of dough, arranging balls 1 inch apart on baking sheet.
- Cover loosely with kitchen towel and let rolls rise in a draft-free place at warm room temperature until doubled in bulk, 1 to 1 ¼ hours.
- Preheat oven to 375°F.
- Brush rolls lightly with egg yolk and water mixture. This is an egg wash and will make the crusts more golden and beautiful. You can omit if you want.
- Bake until rolls are golden brown and sound hollow when tapped on bottom, 15 minutes. They will register 190℉ - 200℉ on an instant read thermometer.
- For Brown and Serve rolls * See Note Below
Notes
Nutrition Facts
Nutrition information is estimated as a courtesy. If using for medical purposes, please verify information using your own nutritional calculator. Percent Daily Values are based on a 2000 calorie diet.
This recipe has been tested several times. If you choose to use other ingredients, or change the technique in some way, the results may not be the same.
First published November 15, 2007. Last updated June 22, 2024 for better images and editorial improvements.
✍🏻 A note from Marye...
I know y'all don't always like the stories bloggers tell so when I have one I try to put it at the very bottom so you can read or skip as you like.
November 15, 2007
The grocery stores are stacking their aisles sky high with packaged brown and serve rolls right now. We always had them growing up — my mom was not a baker by any stretch of the imagination. When Thankgiving dinner was moved to my house we still had them but they were right alongside my homemade rolls.
Guess which my kids prefer?
I still serve the brown and serve type at the holidays, and yes, they are still served right next mine.

Mary says
I don't know what I did wrong. The yeast activated beautifully, and the dough was so nice. It has been sitting for over an hour and just laying there. Hasn't raised at all. I am so sad about that.
Marye says
It sounds like something was too hot and killed off the yeast?
Mary says
What kind of yeast did you use? Active Dry, Instant, or cake yeast? Thank you. I am excited to try this recipe!
Marye says
Active dry.
Malcolm says
What does 1/2stick of butter weigh
Marye says
2 ounces
Mary Guerber says
Hi Marye. My question is about the honey in this recipe. One entry says 1 Tbs. honey and another entry in this same recipe says 2 Tbs. Which is correct or does it matter? Also, can these rolls be baked in muffin pans, and if so, how big a ball should I use? I made the 1st batch and baked them on a cookie sheet but I think I put them too far apart because they spread out a little too much or didn't raise as much as I thought they would. But they tasted wonderful (I used the "brown & serve method). After I froze them, I took them out of the freezer, let them sit on the counter for about 10 minutes then put them in the 425 oven for 10 min. And OMG! These were the best things since sliced bread (pun intended). They had a nice crispy crust and bottom but were tender and fluffy inside! Thanks for this recipe. I want to make them for Thanksgiving dinner!!
Marye Audet says
It depends on how sweet you like them - I do it both ways. you can do them in a muffin tin. Make the balls a little bigger than a golf ball. 🙂