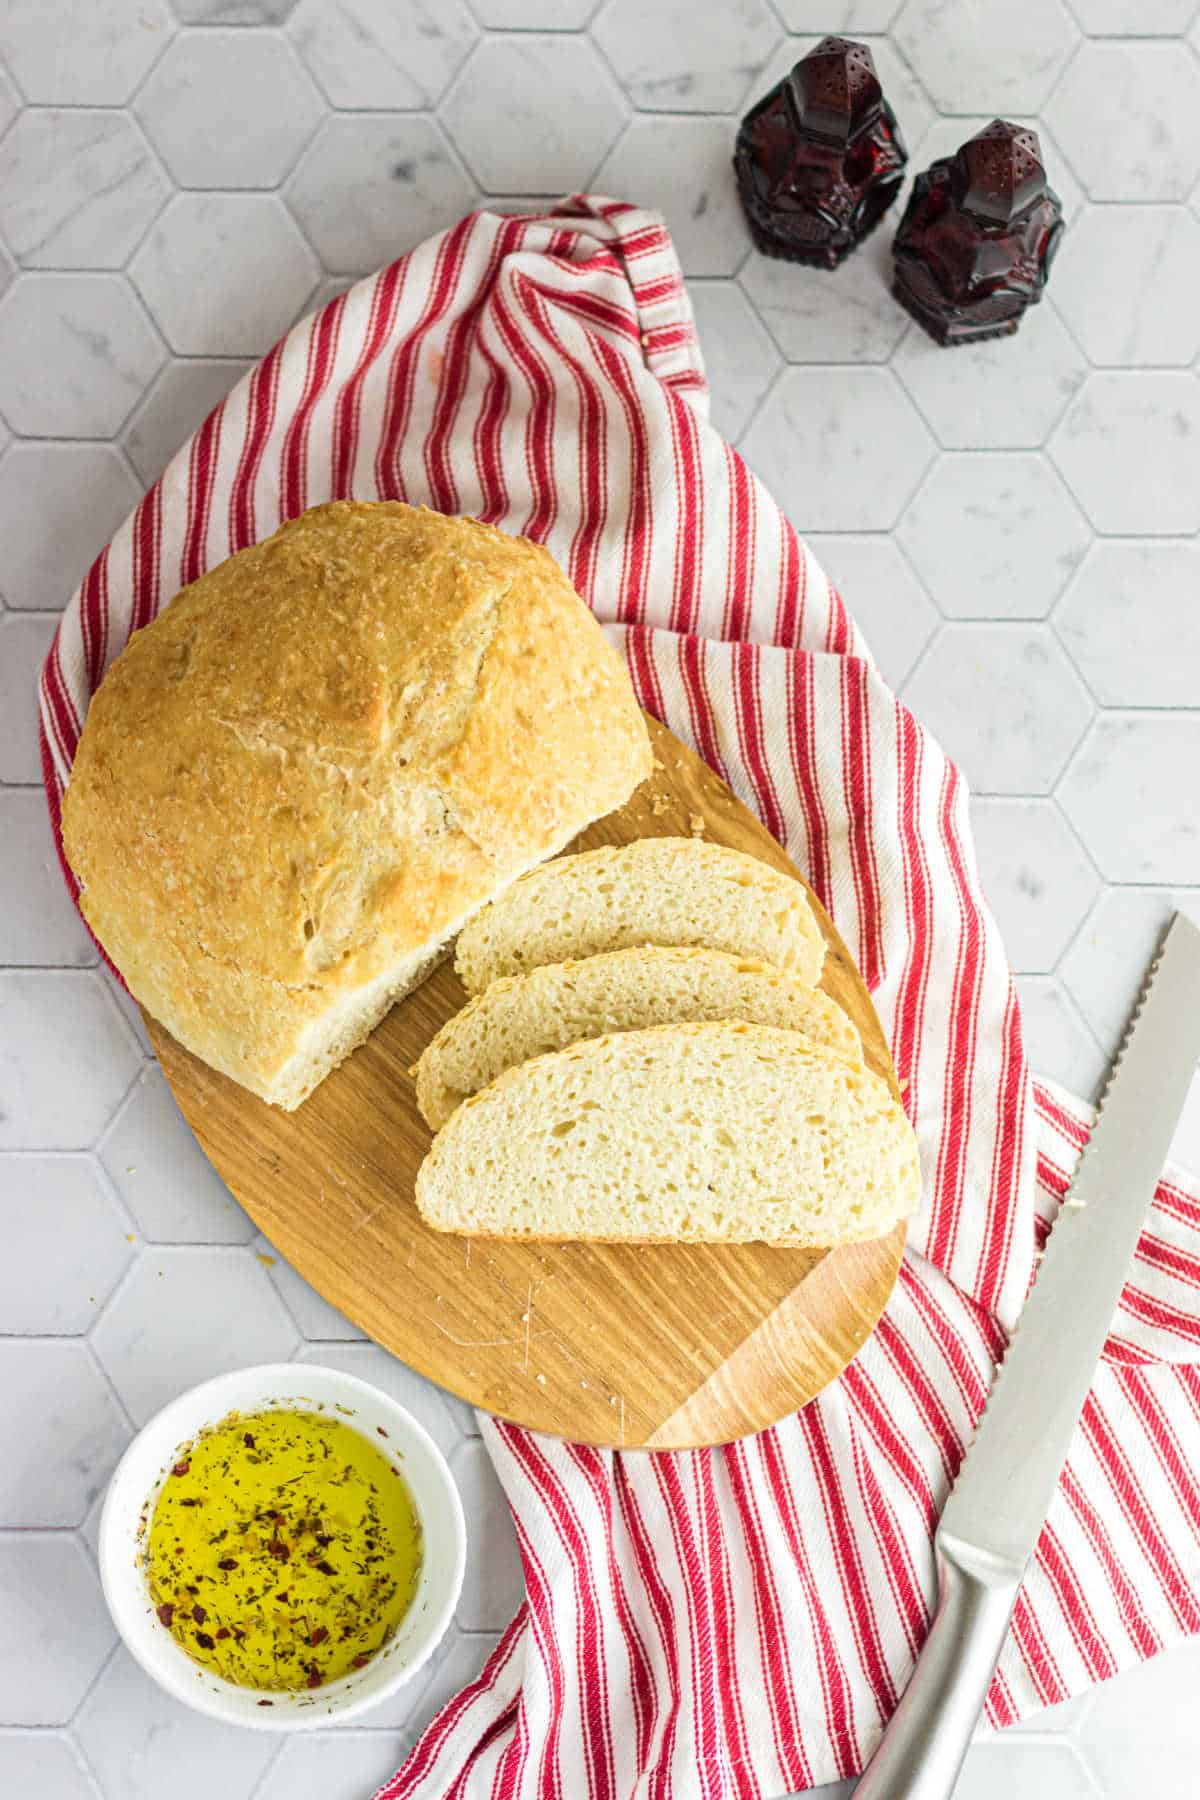
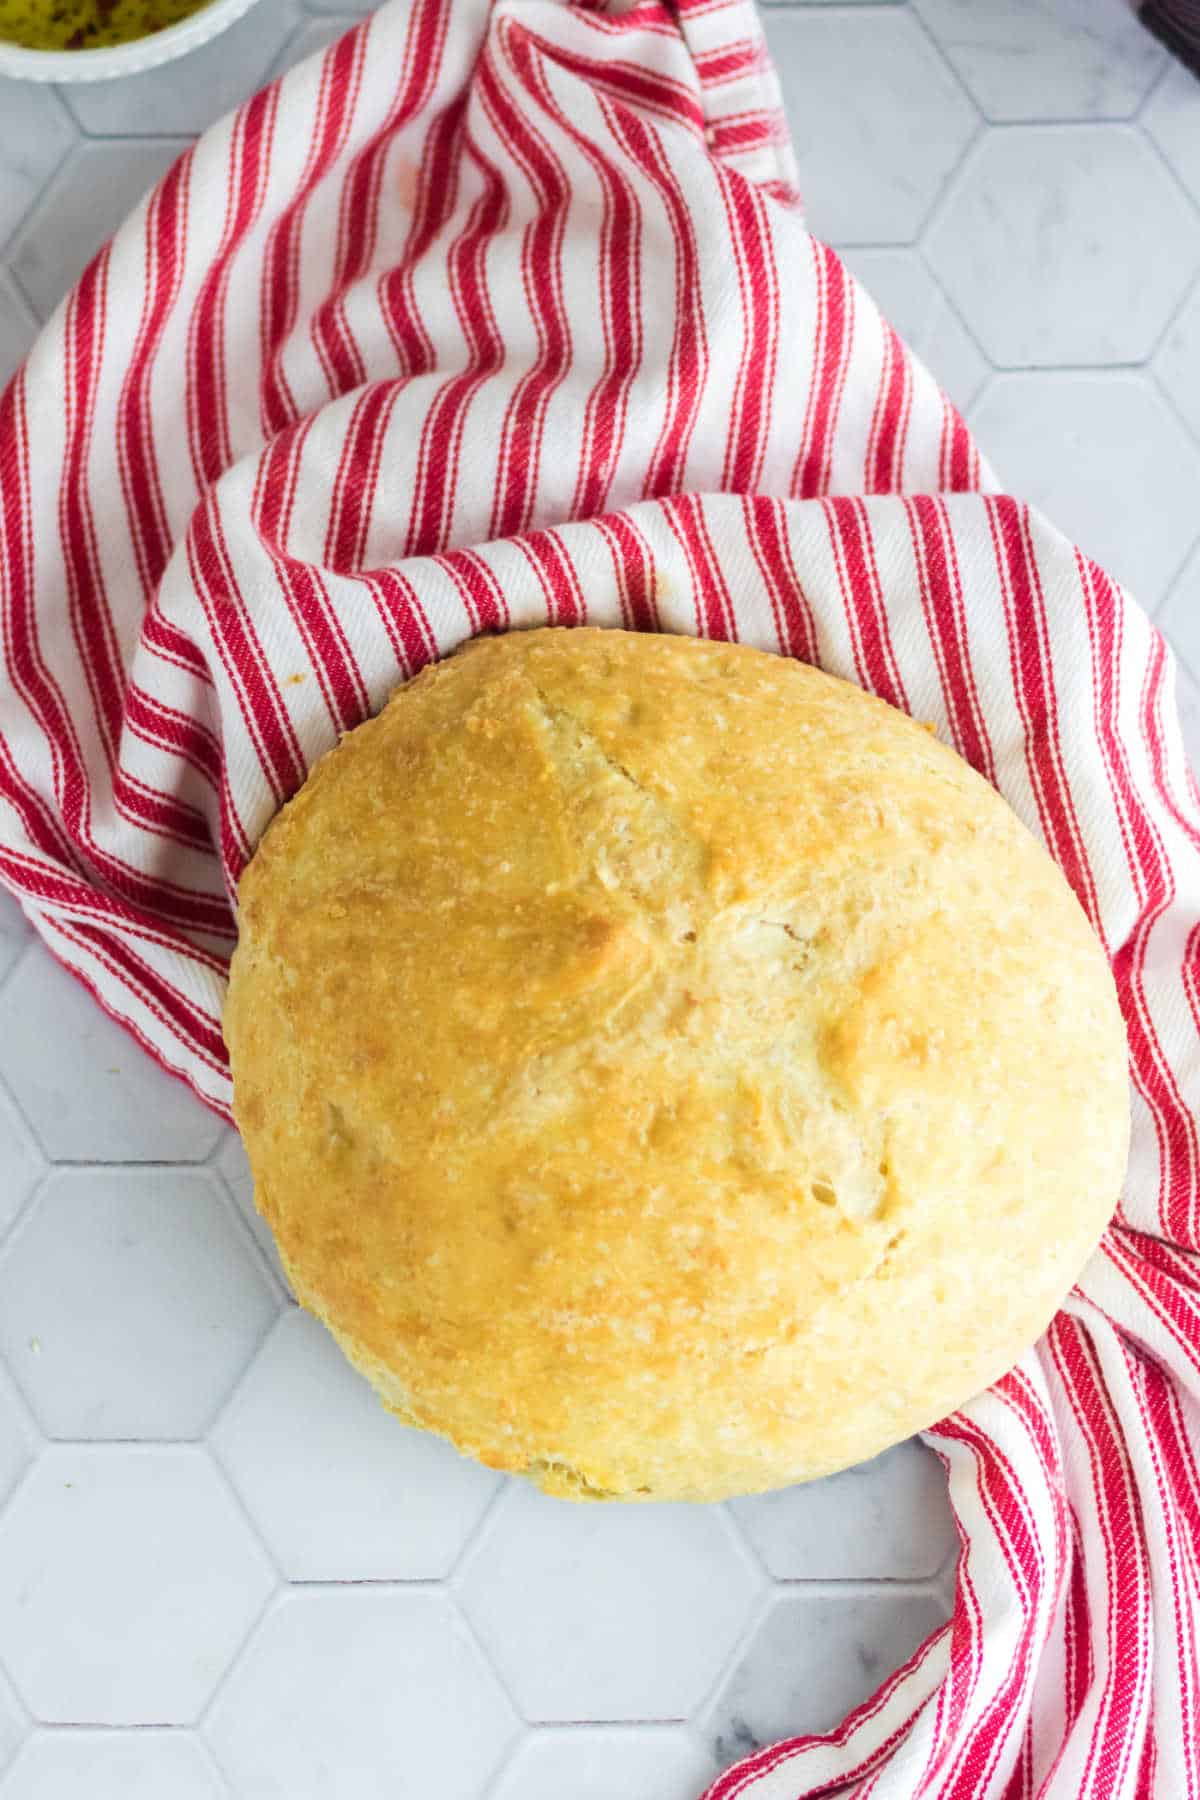
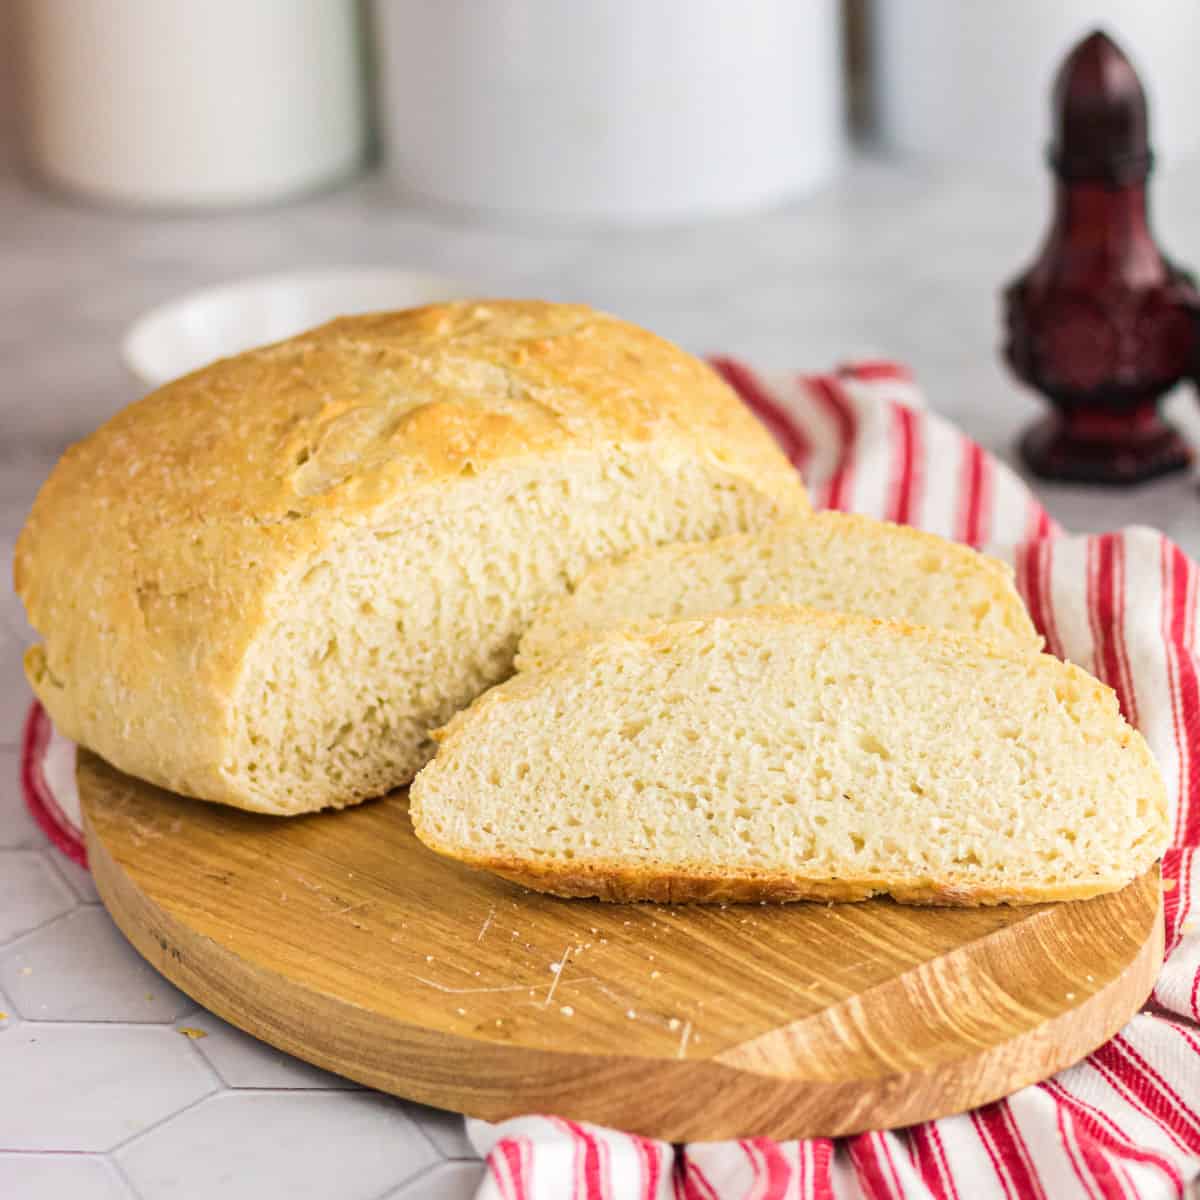
Crusty, chewy, and so easy! This no-knead batter bread is perfect for beginning bakers.
Save this recipe by clicking on the ❤️ heart on the right-hand side of the screen or in the recipe card.
Table of Contents
🗝️ Key takeaways
- You can make this easy, rustic Italian bread recipe without a Dutch oven or bread machine—and no kneading, either!
- Crusty bread is perfect with soups and stews, dipped in herby olive oil, or simply slathered with butter (no judgment here).
- The secret to a crispy crust is putting a bowl of water on the bottom of the oven to create steam.
If you think you need special tools or fancy techniques to make crusty Italian bread at home, then think again!
With just a few simple ingredients and basic kitchen equipment, you can make bakery-style rustic bread you'll want to eat by the loaf!
🧾 Ingredients
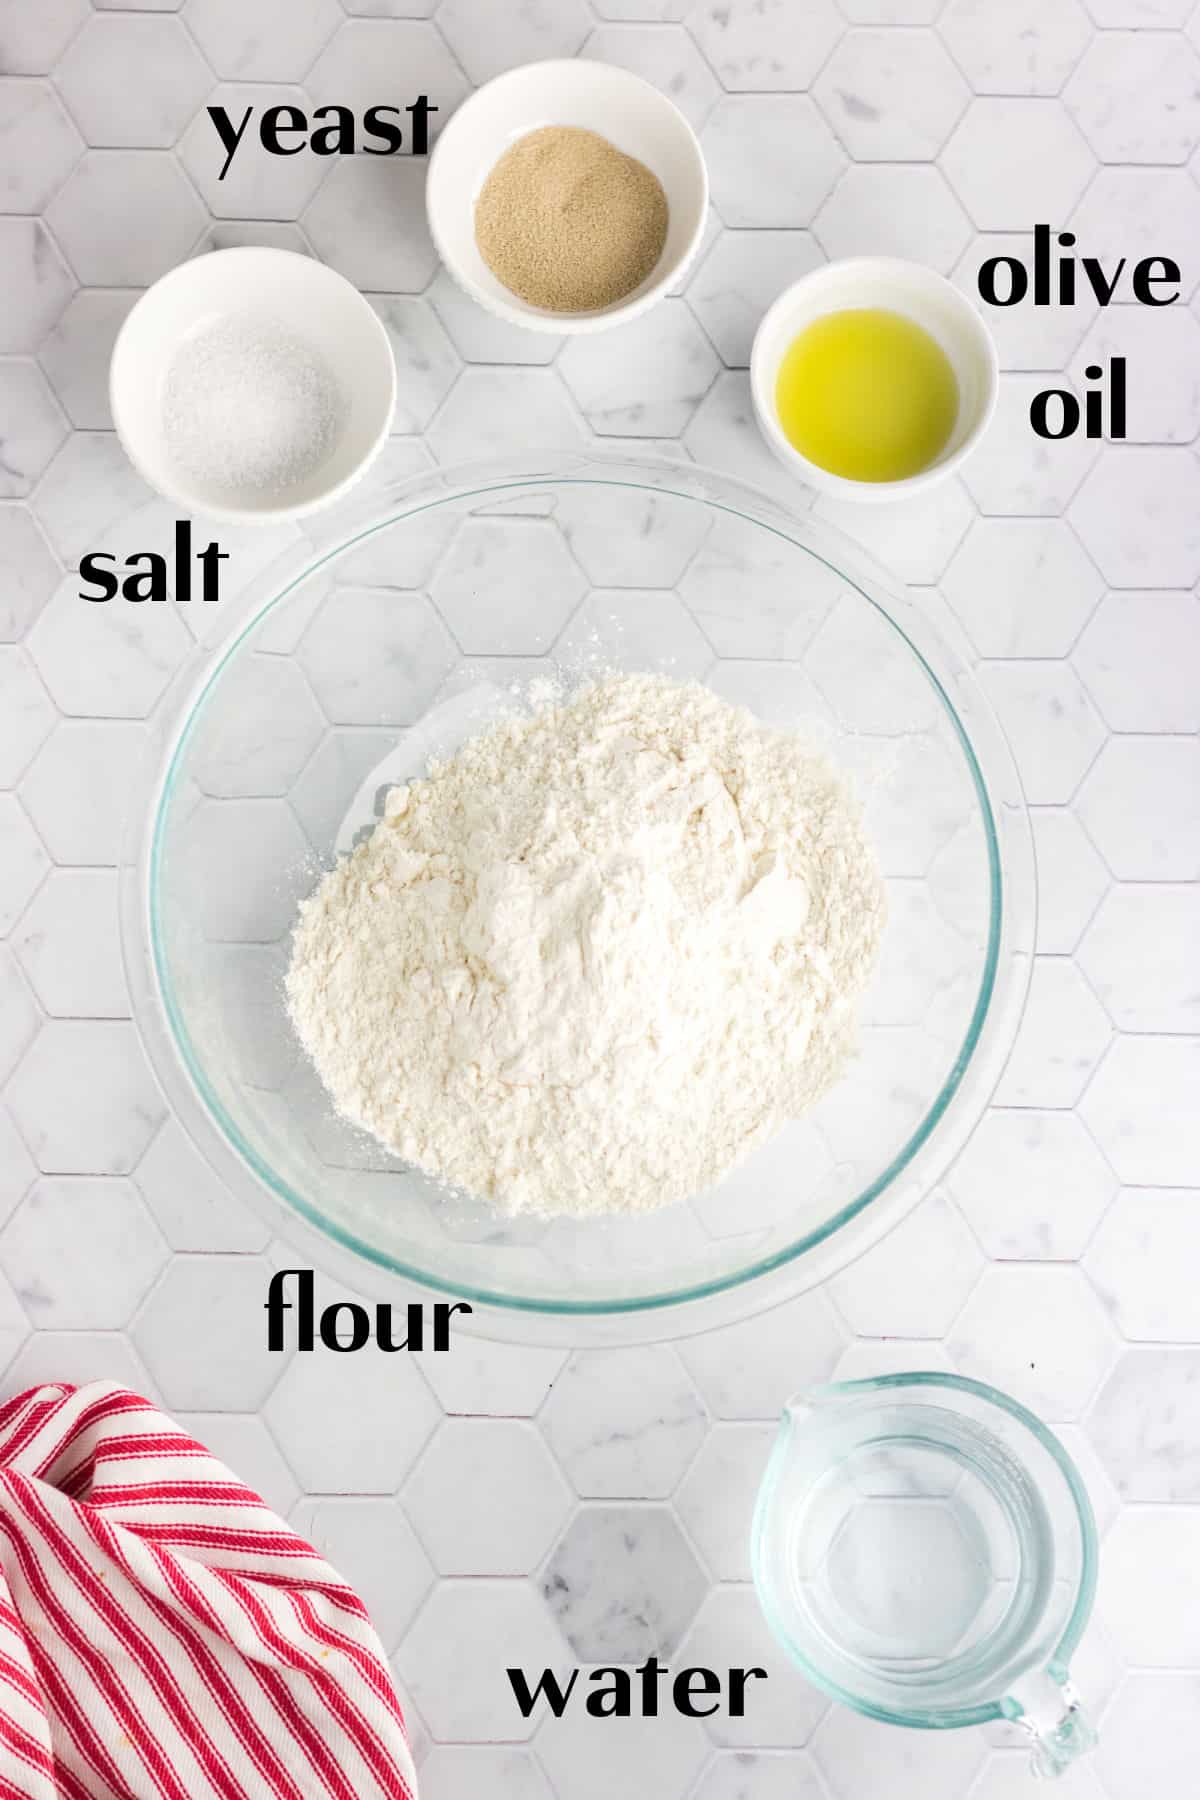
This is an overview of the ingredients. You'll find the full measurements and instructions in the green recipe card (printable) at the bottom of the page.
📖 Variations
- For a chewier, more elastic bread, use bread flour instead of all-purpose flour. However, you’ll need to add a little extra water to get the right dough consistency since bread flour absorbs more liquid.
- If you don’t have kosher salt, you can use ¾ teaspoon table salt instead. You need less table salt because it has finer grains—a 1:1 ratio will make your bread way too salty!
- You can easily swap the active dry yeast for instant yeast if it’s all you have. Just keep an eye on your dough since instant yeast will make it rise faster.
- Add fresh or dried Italian herbs to your dough for extra flavor, or sprinkle your dough with poppy seeds or sesame seeds before baking.
🔪 Instructions
This is an overview of the instructions. Full instructions are in the green recipe card at the bottom of the page.
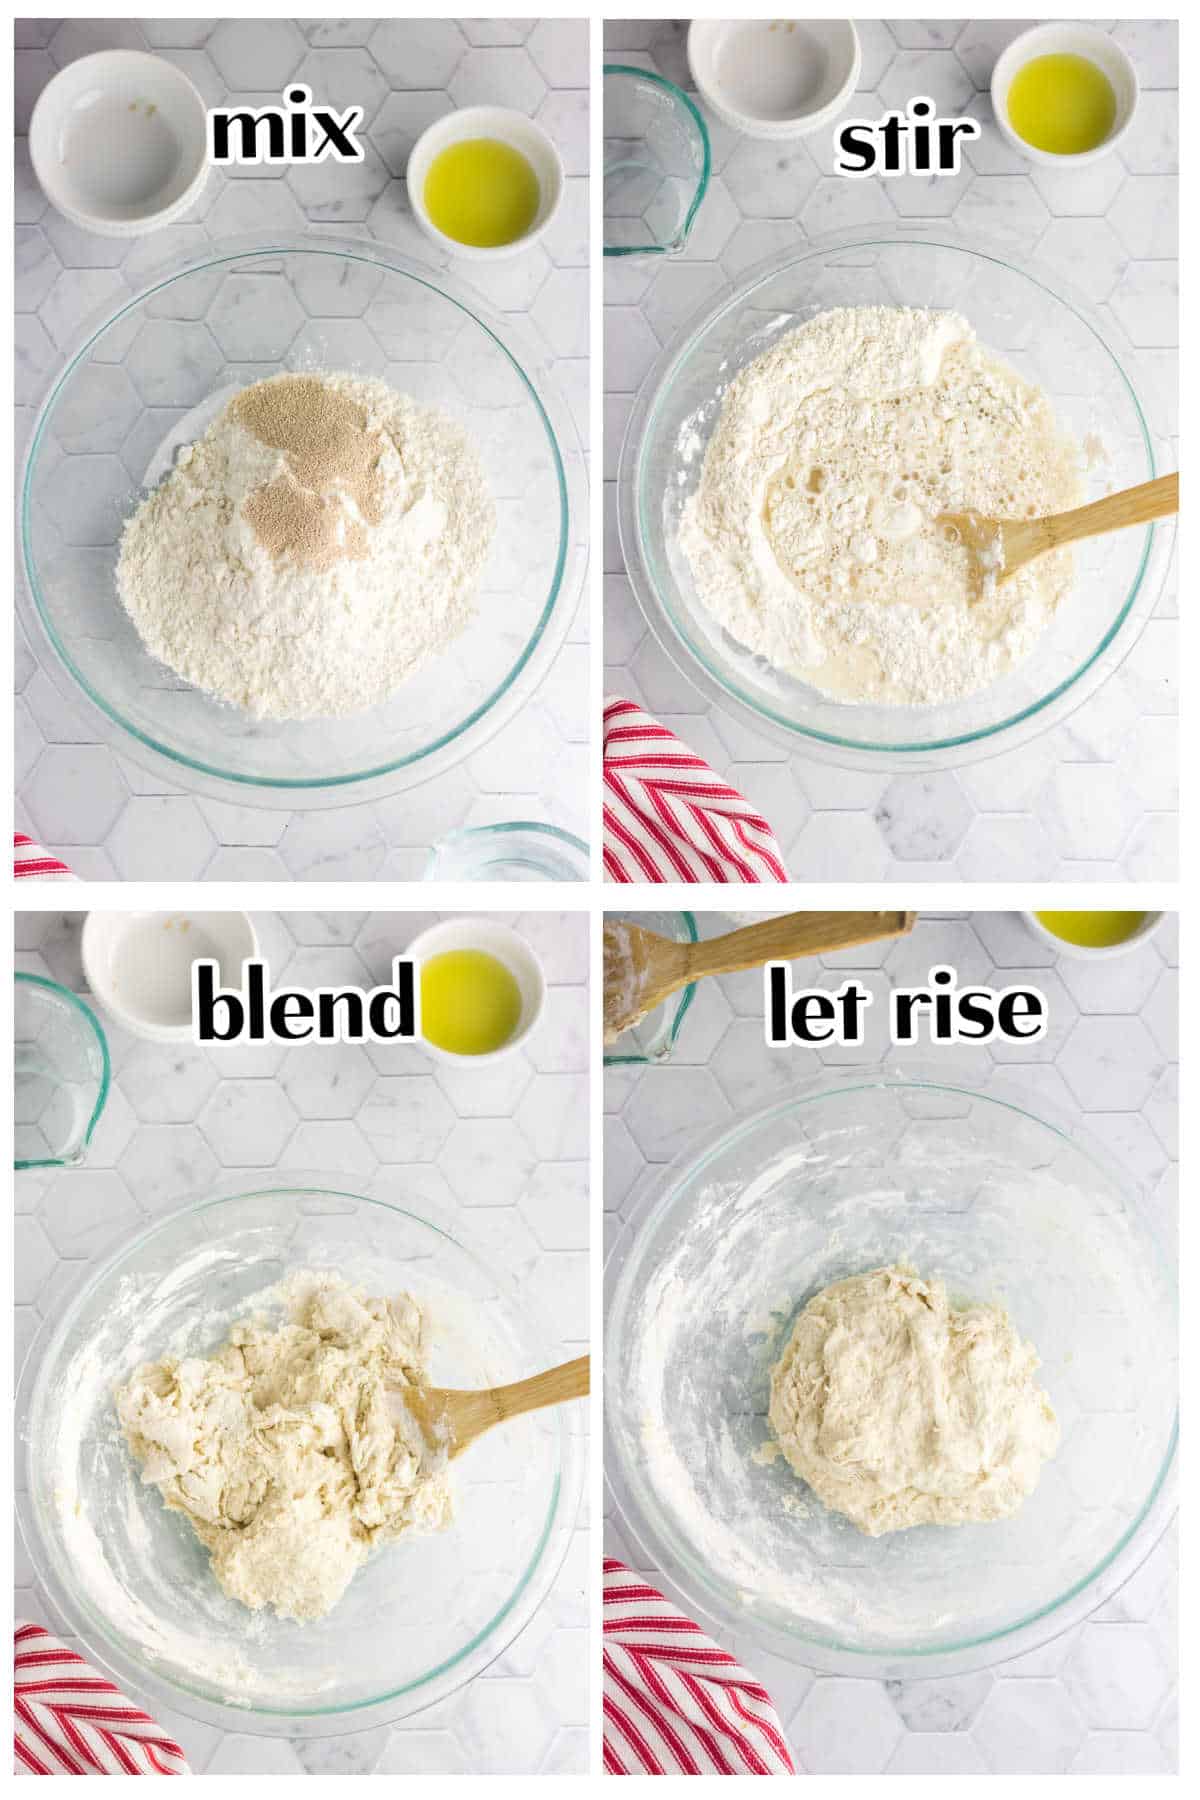
- Mix flour, yeast, and salt in a large bowl.
- Stir flour mixture with a wooden spoon to combine.
- Blend in the warm water to create a sticky, soft dough.
- Let dough rise in a warm place for 2-3 hours.
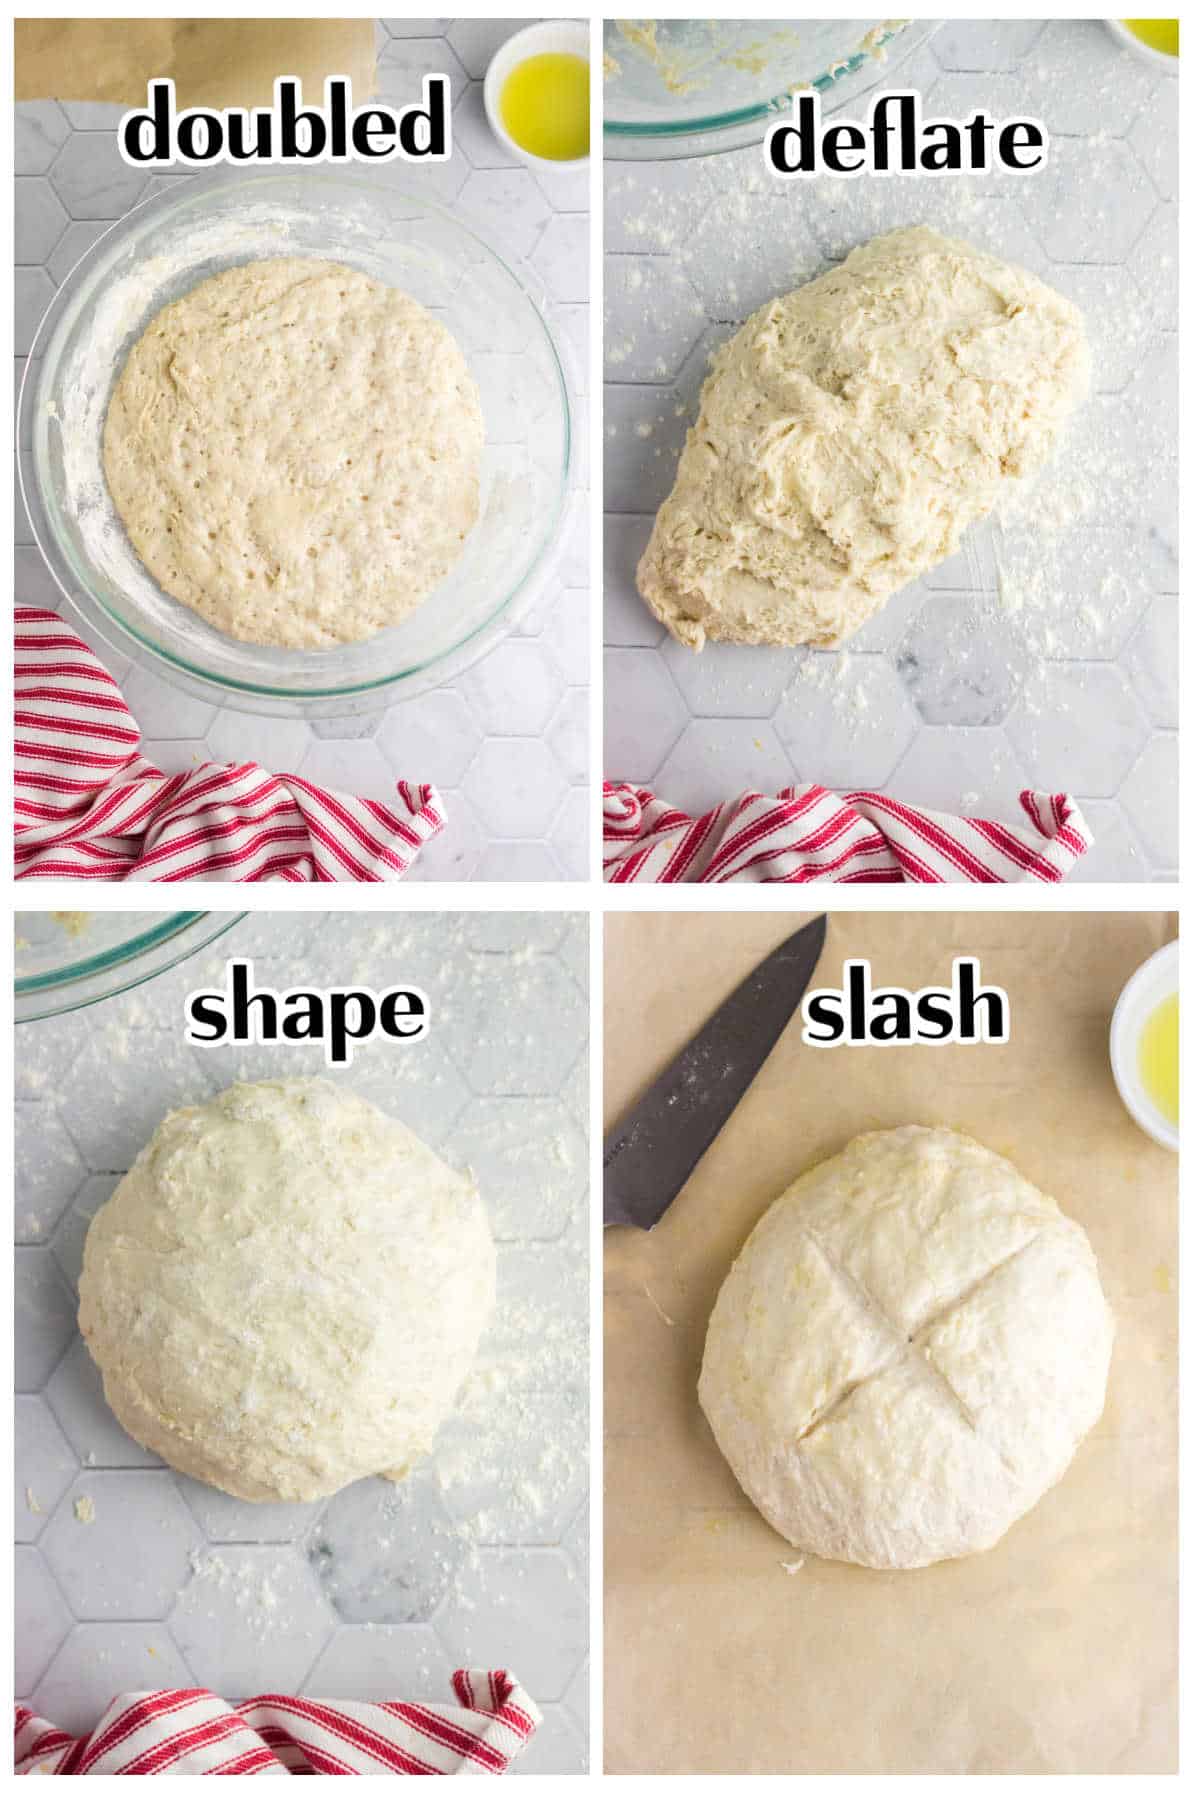
- The dough is done rising when it has doubled in size.
- Punch down to deflate it and place the dough on a lightly floured surface.
- Shape dough into a round loaf.
- Use a sharp knife to slash an X on top of the dough. Brush loaf with olive oil.
🍴 Equipment
- Large bowl
- Cookie sheet or cloche
🥫 How to store leftovers
For best results, put leftover bread in a paper bag or bread box or wrap it tightly in plastic wrap or aluminum foil. Store at room temperature for up to two days.
I don’t recommend refrigerating this rustic bread recipe, as that tends to dry out chewy bread.
Toasting a slice for a few minutes in the oven or air fryer revives the crispy crust and makes it nice and warm. You can also enjoy it at room temperature.
Feel free to freeze tightly wrapped bread for up to three months. Thaw frozen bread loaves at room temperature before toasting, or pop a single, frozen slice straight into the toaster.
Expert Tip:
Expert Tip: Don’t be intimidated by wet doughs! If you grease your hands with oil, then the dough won’t stick to your skin while you shape the loaf.
💭 Things to know
- You can blend the ingredients in a large
mixing bowl with a wooden spoon or mix the dough in a stand mixer fitted with the dough hook attachment. - Resist the urge to mix additional flour into the dough! It’s supposed to be wet, sticky, and soft.
- Remember, this is a no-knead dough! If you handle it too much while shaping the loaf, your bread won’t rise as high, and it will taste tough.
- Use this basic bread recipe to make different types of bread. Get creative with different add-ins like herbs, chopped nuts, dried fruit, or dried olives.
- Feel free to form your dough into a baguette-shaped loaf or oval-shaped loaf. You’ll need to reduce the baking time slightly for narrow loaves.
- You can bake your loaf of bread on a pizza stone or seasoned cast iron skillet instead of a baking sheet. Just make sure you preheat the baking stone or skillet for at least 30 minutes before baking your bread.
- Use a sharp knife or clean razor blade to create a deep lengthwise slash along the top of the dough, then again to create an X pattern. This helps the dough expand and rise properly in the oven.
- Fill your oven-safe bowl or casserole dish with at least 2 inches of boiling water to help steam up your oven faster.
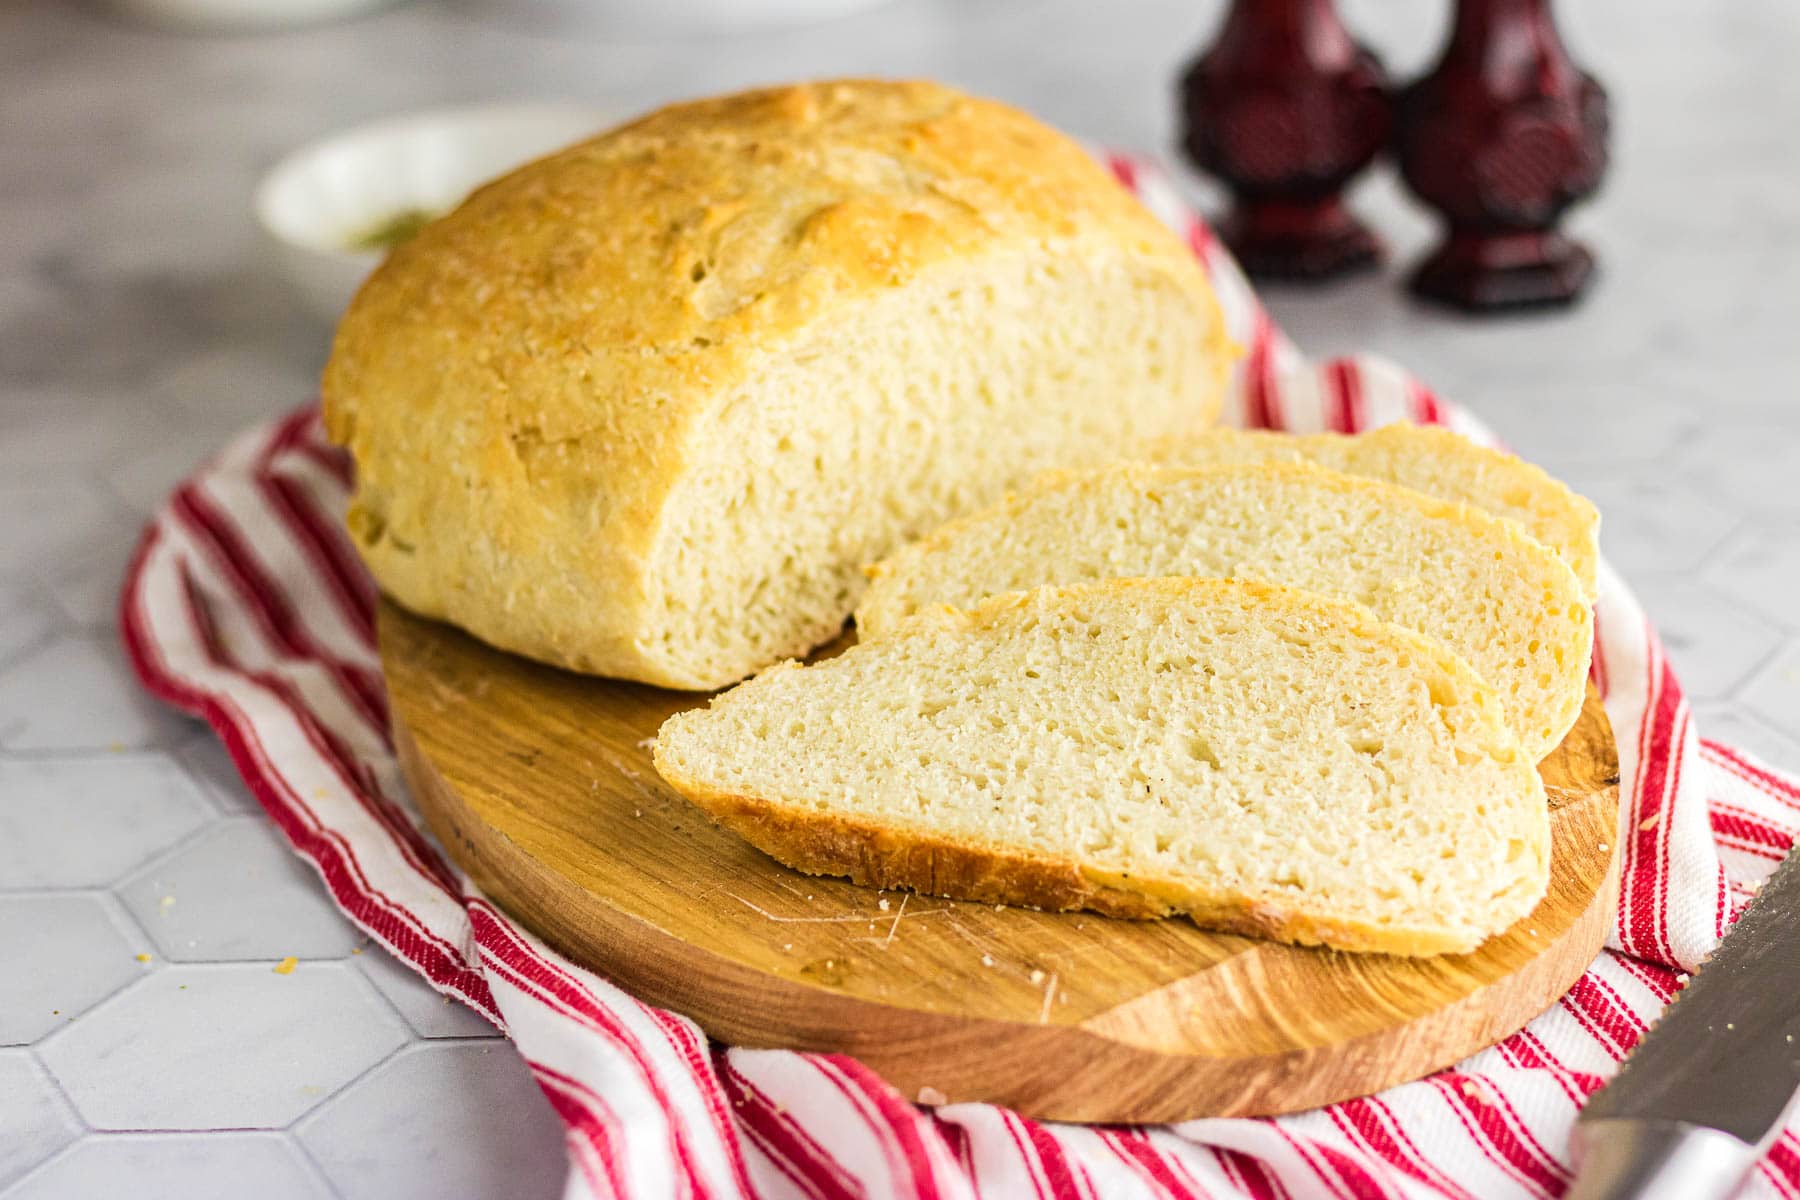
- Your bread is done baking when the crust turns golden brown and it sounds hollow when tapped on the bottom.
- Or, when an intant read thermometer registers 195-205 degrees F.
- Let your bread cool completely on a wire rack before slicing or storing. The airflow prevents the bottom of your loaf from getting soggy.
👩🍳 FAQs
The secret to a crispy, hard crust is steam. That’s why you need to place a bowl of water underneath the dough in the oven. The oven heats up the water to create steam, and that extra moisture helps harden the crust without drying out the inside of the bread.
It’s easy! Preheat your Dutch oven for at least 30 minutes before you want to bake your bread. Shape your loaf on a lightly floured sheet of parchment paper, then gently place it in the bottom of your Dutch oven.
Bake your bread with the lid on for 30 minutes, then take the lid off and bake for 5-10 more minutes until golden brown. Since the lid traps steam, there’s no need to put a dish of water in your oven.
Your yeast may have expired, or you used hot water that killed the yeast. Always use fresh yeast when making bread for the best results. Mix your yeast with warm—not hot—water that’s no more than 115 degrees F.
You either used too much flour or not enough water. Next time, make sure you measure your flour properly by spooning it into a measuring cup and leveling it off. Or use a kitchen scale for more accurate measurements. 3 ¼ cups of all-purpose flour weighs about 390 grams.
Homemade bread only stays fresh for a couple of days at room temperature. It quickly becomes stale and loses the crunchy texture. Don’t refrigerate it unless you like moist, gummy bread. You can make the crust crispy again by toasting it in the oven or air fryer.
📚 Related recipes
- Delightfully crispy on the outside with a tender crumb, Rustic Bread Made in a Cloche is one of my favorite beginner bread recipes ever!
- Enjoy chewy, crusty baguettes in under 30 minutes with my Baguette recipe. It’s perfect for sandwiches, garlic bread, or sopping up pasta sauce!
- The best Soup Bread Bowls are made with Italian dressing mix to complement any soup—they're done in under 2 hours!
🍽️ Serve with...

Crusty bread and soup are a match made in heaven! Enjoy a hunk of rustic Italian bread alongside a steaming bowl of Copycat Panera Chicken Noodle Soup, made with simple, budget-friendly ingredients.

Bread + soup + salad = a complete meal! My Southern Pear Salad features grilled pears, bleu cheese, toasted pecans, and a drizzle of golden jalapeno honey—so refreshing!
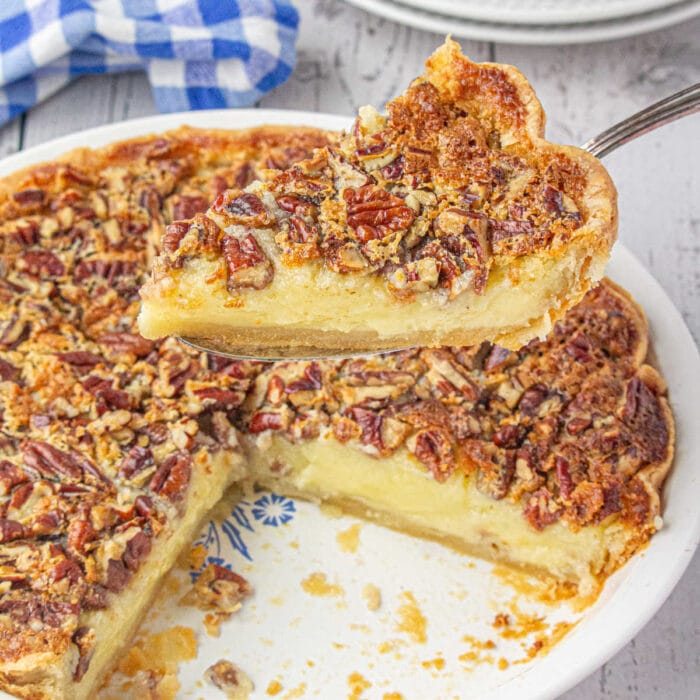
Reward your taste buds at the end of the day with a slice of Buttermilk Pecan Pie. Creamy, rich, tangy, crunchy, and sweet—it checks all the boxes!
📞 The last word
There's nothing better than a fresh loaf of bread coming out of the oven, unless it's a warm slice with butter melting into it.
This crusty loaf is easy enough to make every day!
If you click on the number of servings in the recipe card you can adjust the measurements up or down for the exact number of servings you need.
If you love this recipe please comment below and give it 5 stars! ⭐️⭐️⭐️⭐️⭐️
📖 Recipe
Rustic Italian Bread
Print Pin Recipe Save Recipe Rate RecipeIngredients
- 3 ¼ cups all purpose flour, and a bit more more for dusting
- 1 teaspoon kosher salt, if using table salt use ¾ teaspoon
- 1 ½ cups warm water
- 0.24 ounces active dry yeast, 1 packet or 2 ¼ teaspoons
- 1 tablespoon olive oil
Instructions
- In a large mixing bowl or your kitchen aid mixer add the flour, salt and yeast.
- Mix to combine well.
- Pour in the warm water and keep mixing until everything is incorporated and a soft dough has formed.
- Cover the bowl with a tea towel.
- Allow the dough to rise at room temperature for 2 to 3 hours until doubled in size.
- Sprinkle some flour on your kitchen counter and dump the bread dough on it.
- Dough will be very sticky - I spray no-stick cooking spray on my hands to keep it from sticking to me too much.
- Form dough into a round ball. Do not knead it, do not handle it anymore than you need to.
- Place it on a lightly floured piece of parchment paper on a cookie sheet or in a cloche.
- Use a sharp knife and lightly carve an X in the top of the loaf.
- Brush with olive oil.
- Preheat oven to 375F.
- Allow it to rest while your oven is heating up.
- Fill an oven proof bowl with 2 inches of water and place it on the bottom rack. This will create the steam that will cause the crust to become crispy as it bakes.
- Bake the bread for about 30 to 45 minutes until golden brown all over and cooked through. Loaf will register 195℉ - 205℉ when you poke an instant-read thermometer in it.
- Transfer the bread to a cooling rack and allow to cool completely.
Notes
If you do have leftovers you can store the bread in a paper bag, or wrapped in plastic wrap or aluminum foil for a day or two. For best results, store at room temperature for a day or two.
This freezes well for up to 3 months. Tips:
- If you don't have an oven-proof bowl, put some hot water in a casserole dish, a baking sheet, or a cast iron skillet. Just make sure the water and the dish are warm already.
- If you have a pizza stone or baking stone, you can use that instead of a cloche or baking sheet. If not, use your heaviest cookie sheet for even heat distribution.
- Unsure if your crusty Italian bread is finished baking all the way through? If you can, carefully lift up the hot loaf, turn it over, and knock on the bottom. The bread should sound more hollow and sharp than dull and soft.
Nutrition Facts
Nutrition information is estimated as a courtesy. If using for medical purposes, please verify information using your own nutritional calculator. Percent Daily Values are based on a 2000 calorie diet.
This recipe has been tested several times. If you choose to use other ingredients, or change the technique in some way, the results may not be the same.


Comments
No Comments