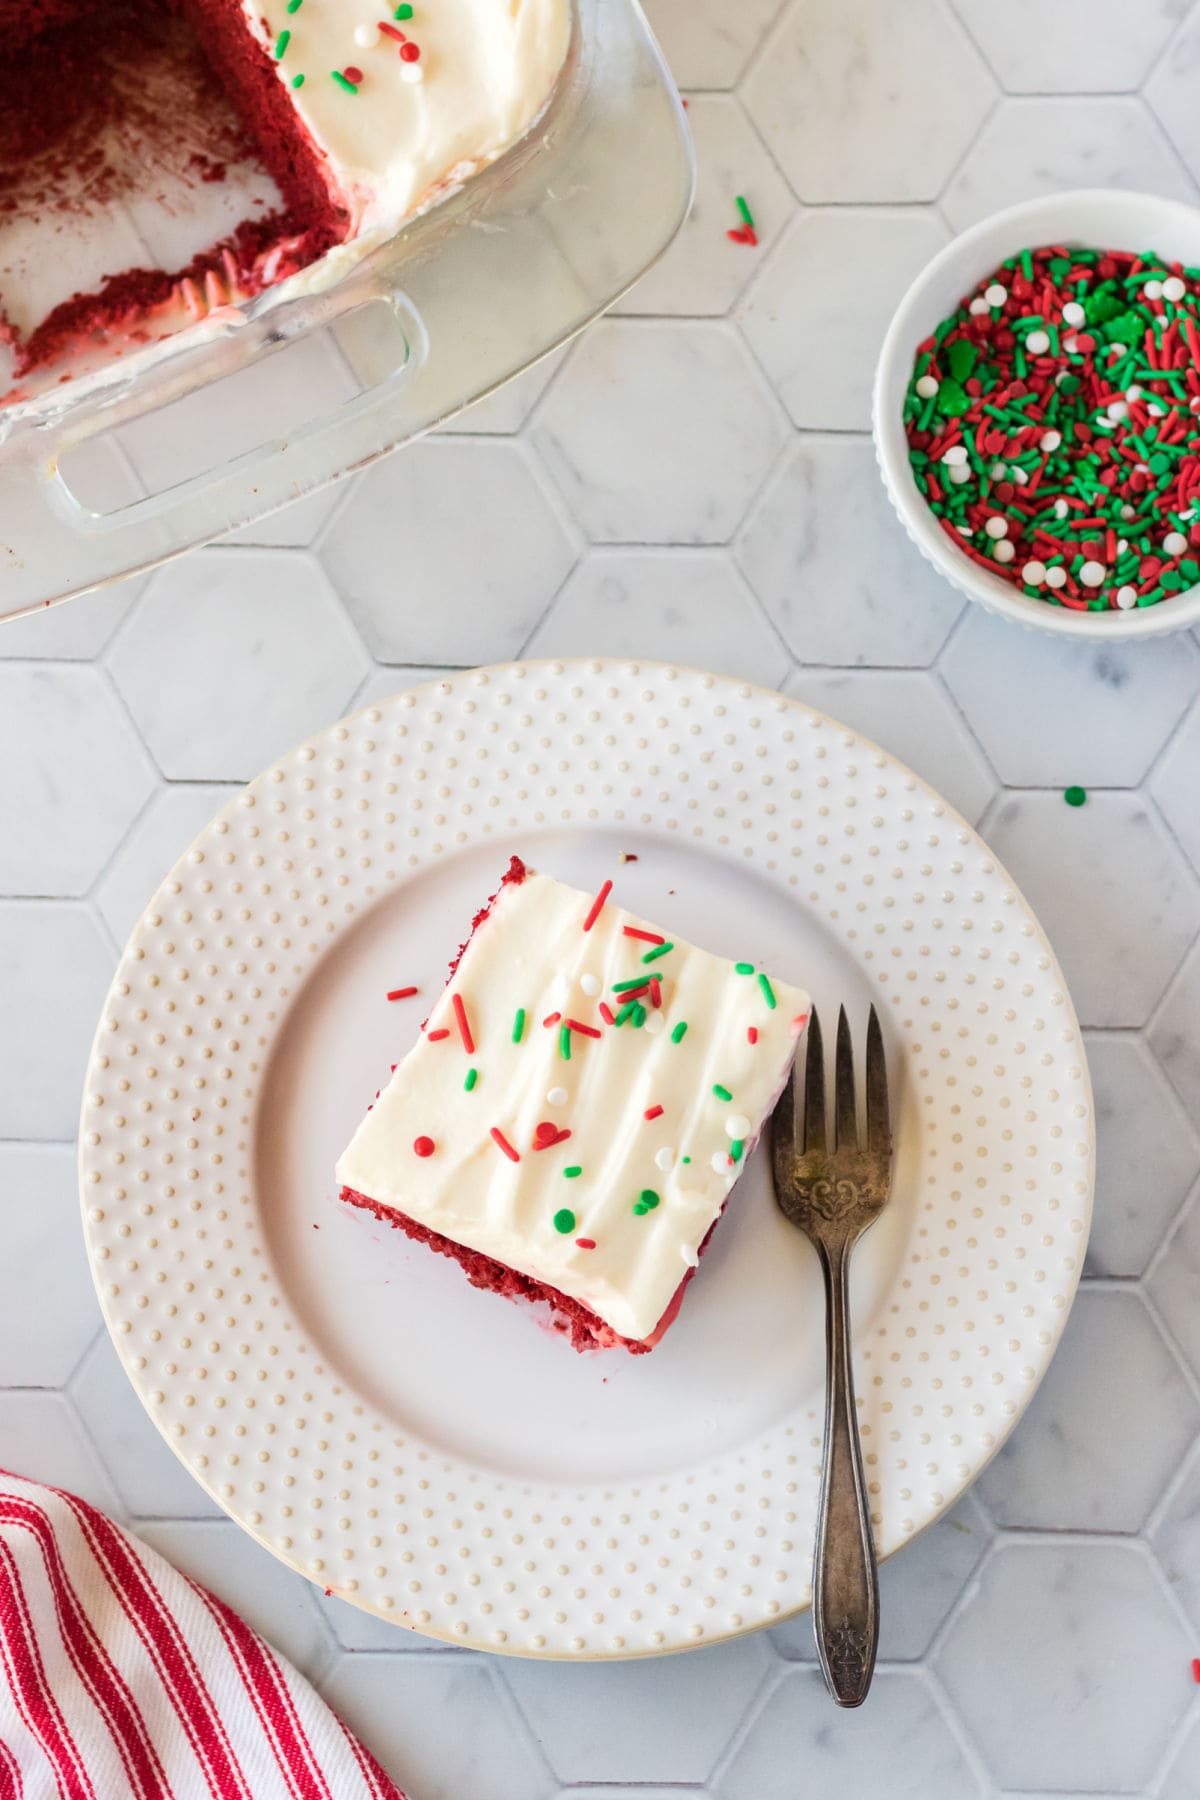
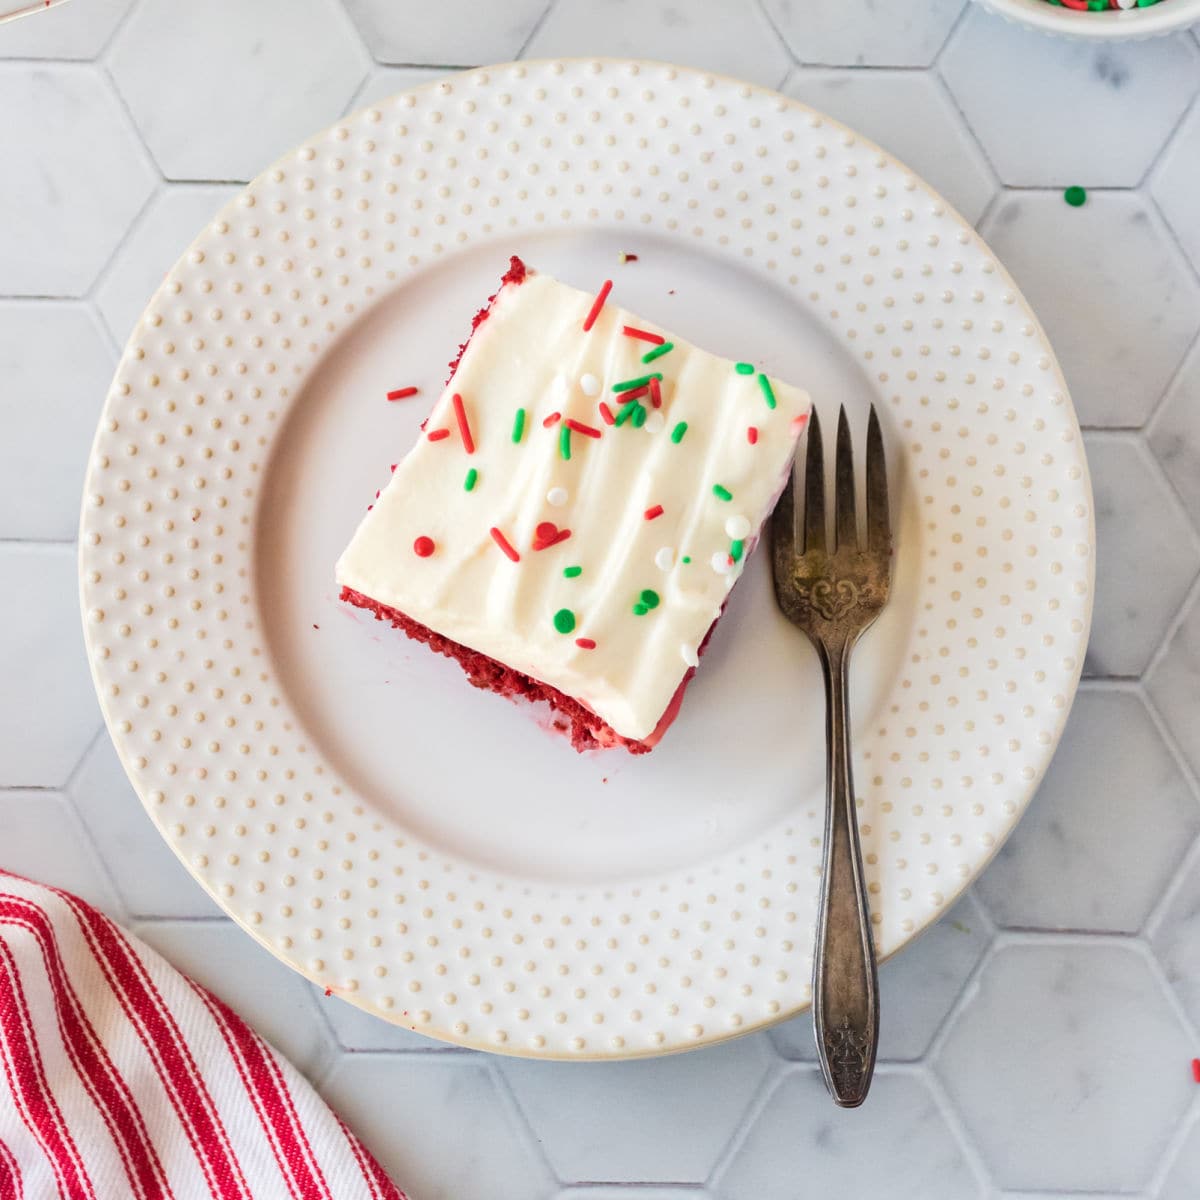
This easy dessert is so pretty for the holidays! Use red and green sprinkles for Christmas and white chocolate curls for Valentine's Day!
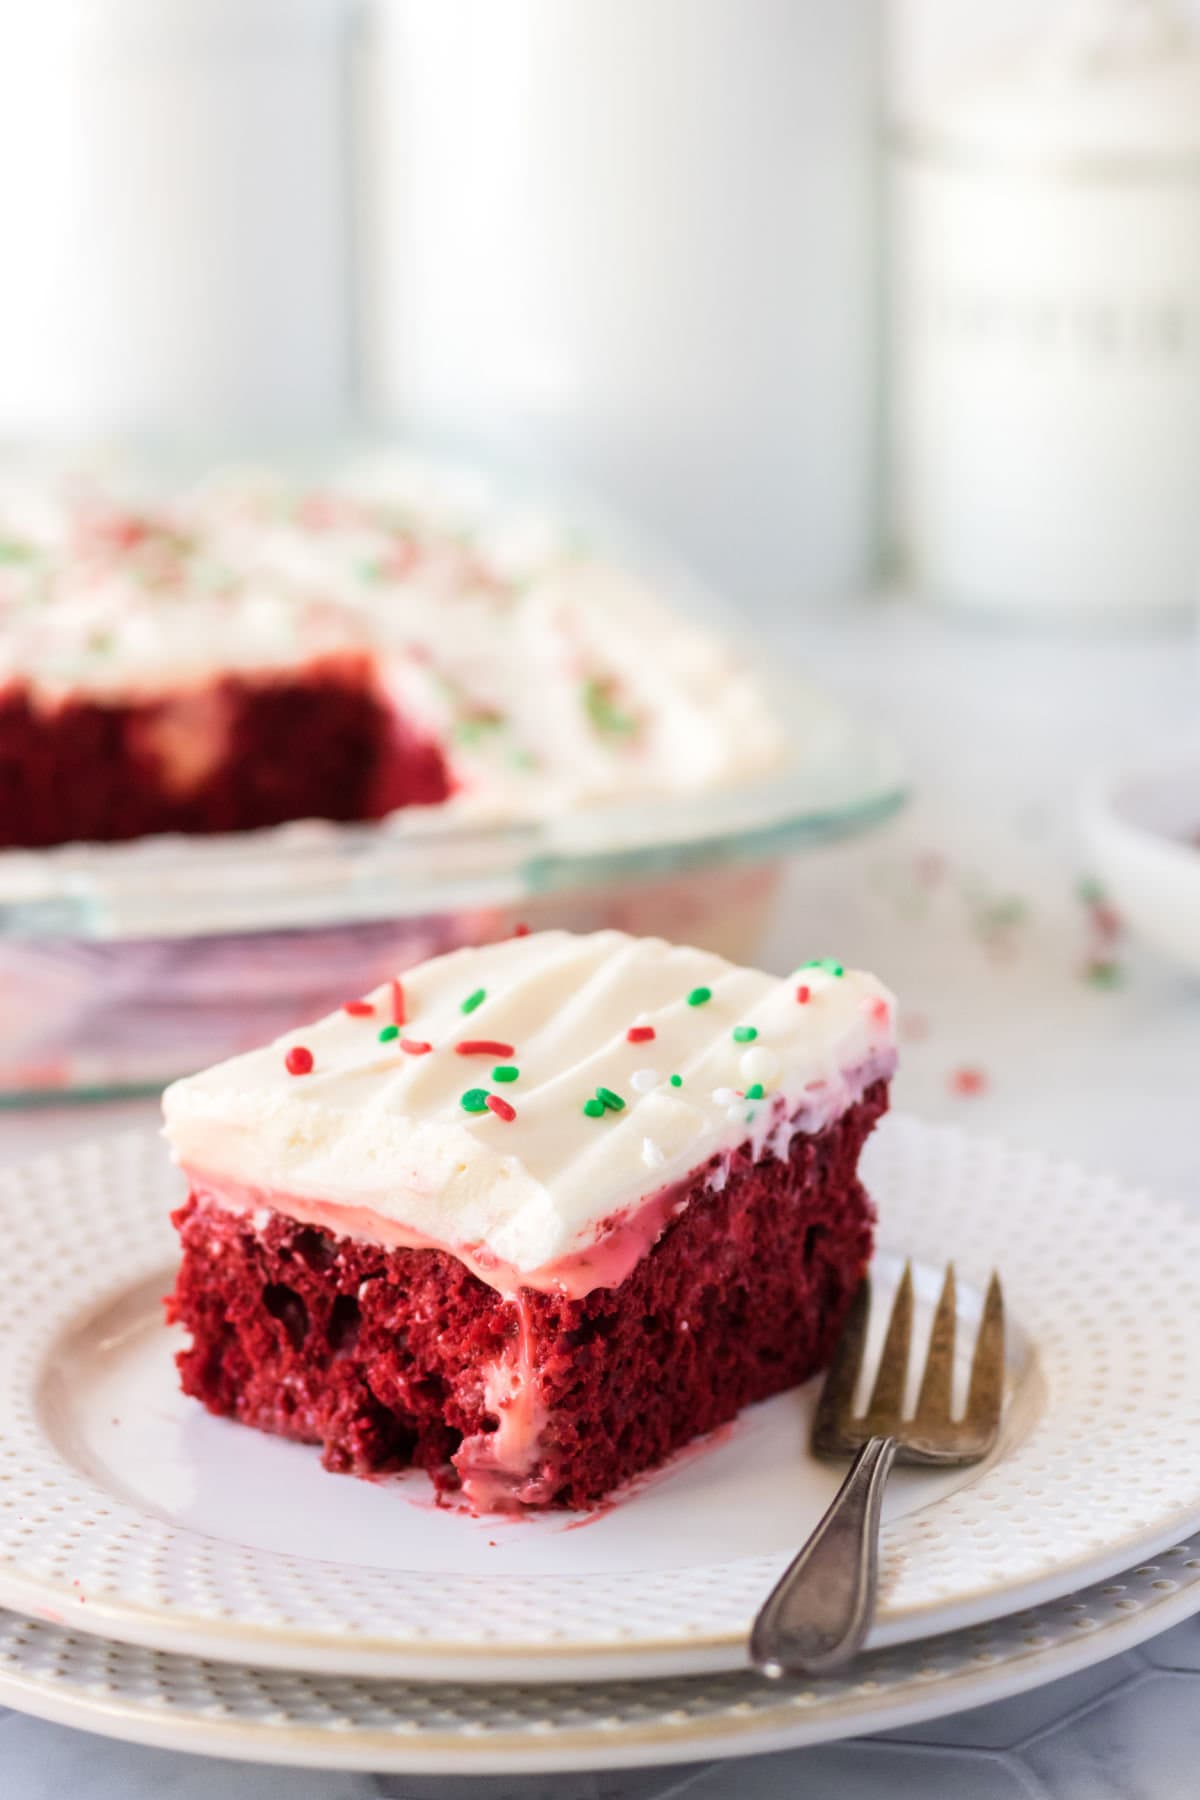
Table of Contents
🗝️ Key takeaways
- So easy because it starts from a boxed cake mix. Even the kids can help!
- Festive dessert for the holiday season—save the recipe for Valentine's day, too!
- Poke holes in the cake while it's still slightly warm. It's easier and works better.
If you like red velvet desserts, you're going to fall head-over-heels in love with this red velvet poke cake with pudding and cream cheese frosting!
No matter what the main meal is, be sure to leave plenty of room for dessert.
🧾 Ingredients
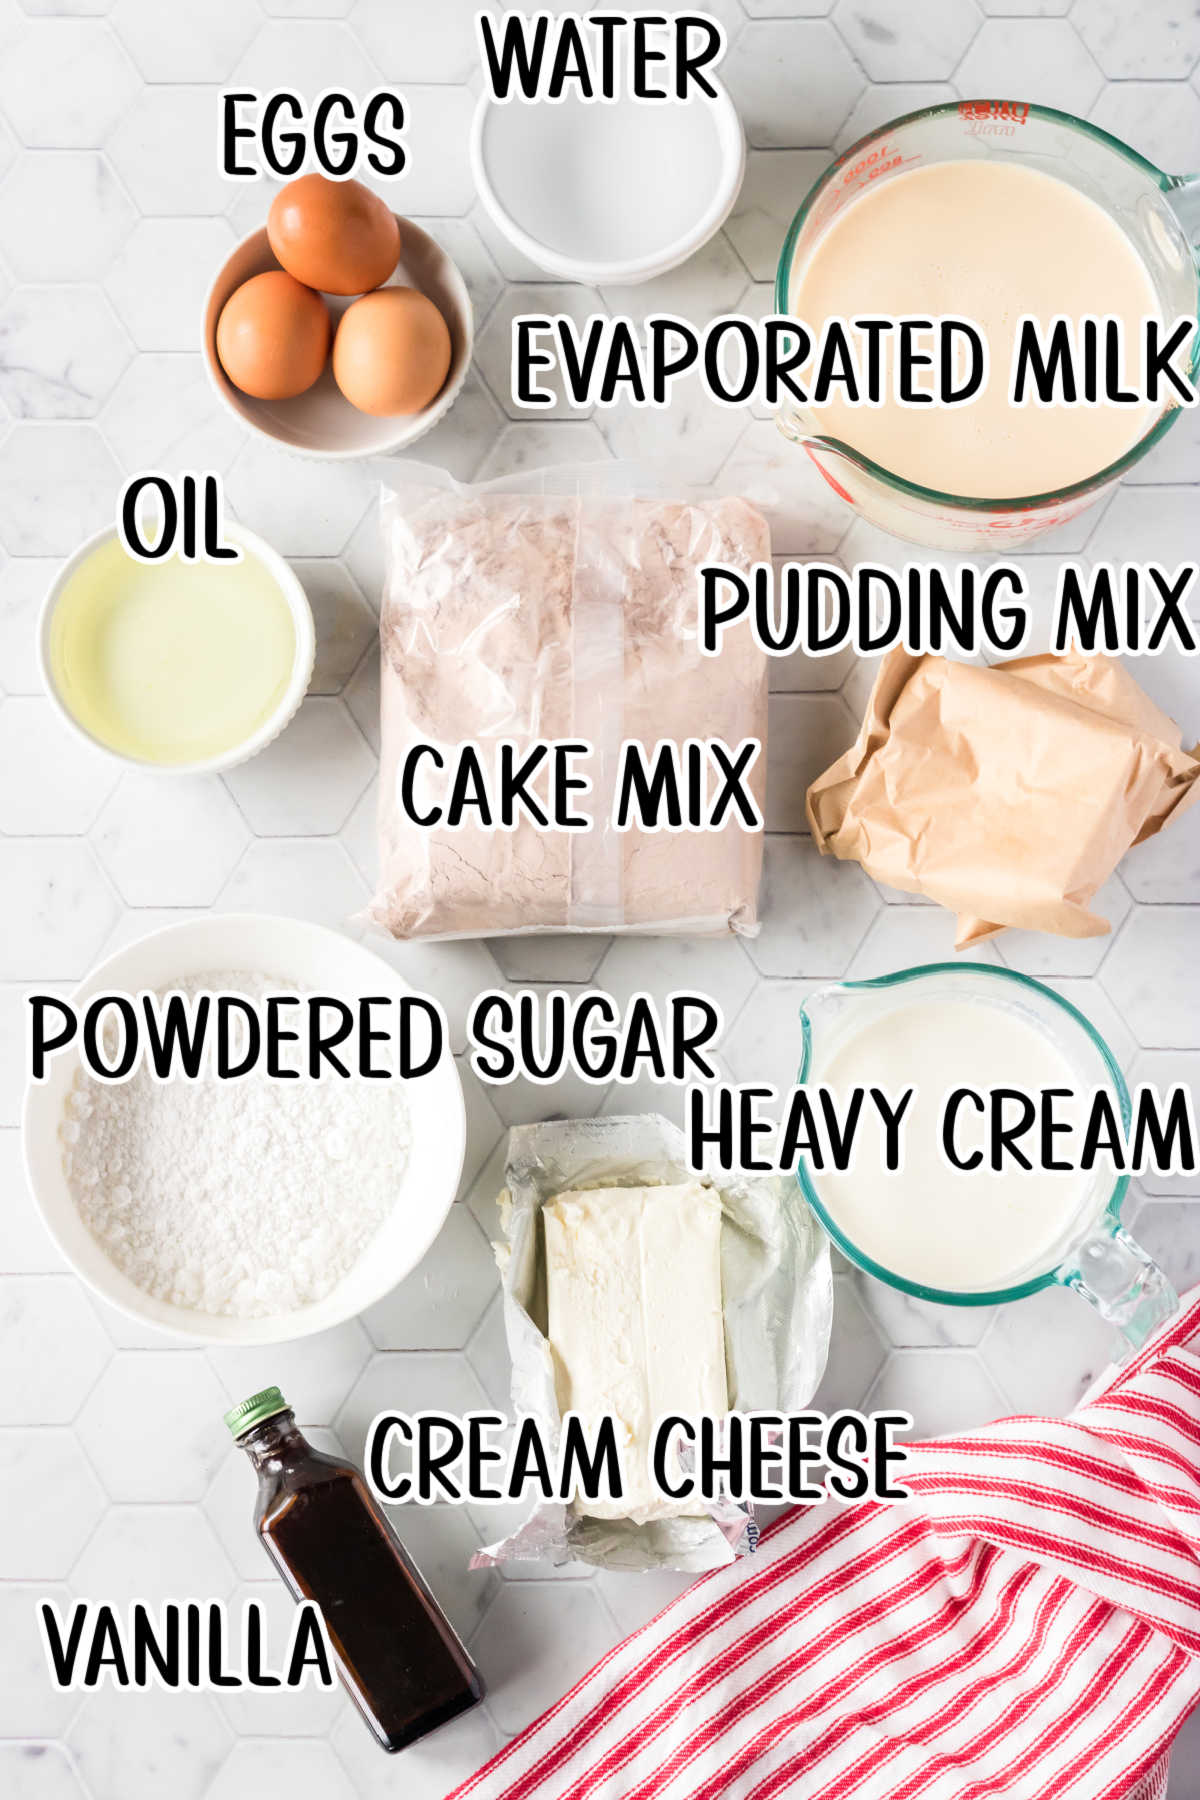
This is an overview of the ingredients. You'll find the full measurements and instructions in the green recipe card (printable) at the bottom of the page.
📖 Variations
- Red velvet cake mix makes this a super easy recipe, but if you're feeling fancy, you can use your favorite homemade red velvet cake recipe.
- Make it an adults-only cake by mixing a splash of Bailey's or Kahlua into the pudding/evaporated milk mixture.
- If you don't like cream cheese frosting, you could use plain whipped cream or cool whip.
- Or, to save time, you could use your favorite cream cheese frosting from the store—but I promise it's not as tasty as this one!
- Instead of vanilla extract, you could experiment with another festive flavor, like a bit of peppermint! Some people like to use almond extract.
- Swap the sprinkles for another fun topping. Mini chocolate chips complement the subtle taste of cocoa powder in classic red velvet recipes. However, white chocolate chips or white chocolate curls would also taste great!
- Use green and red food coloring to stripe the frosting for a holiday-ready Christmas red velvet poke cake. By alternating thin lines of red and green coloring, it'll look like a candy cane!
🔪 Instructions
This is an overview of the instructions. Full instructions are in the green recipe card at the bottom of the page.
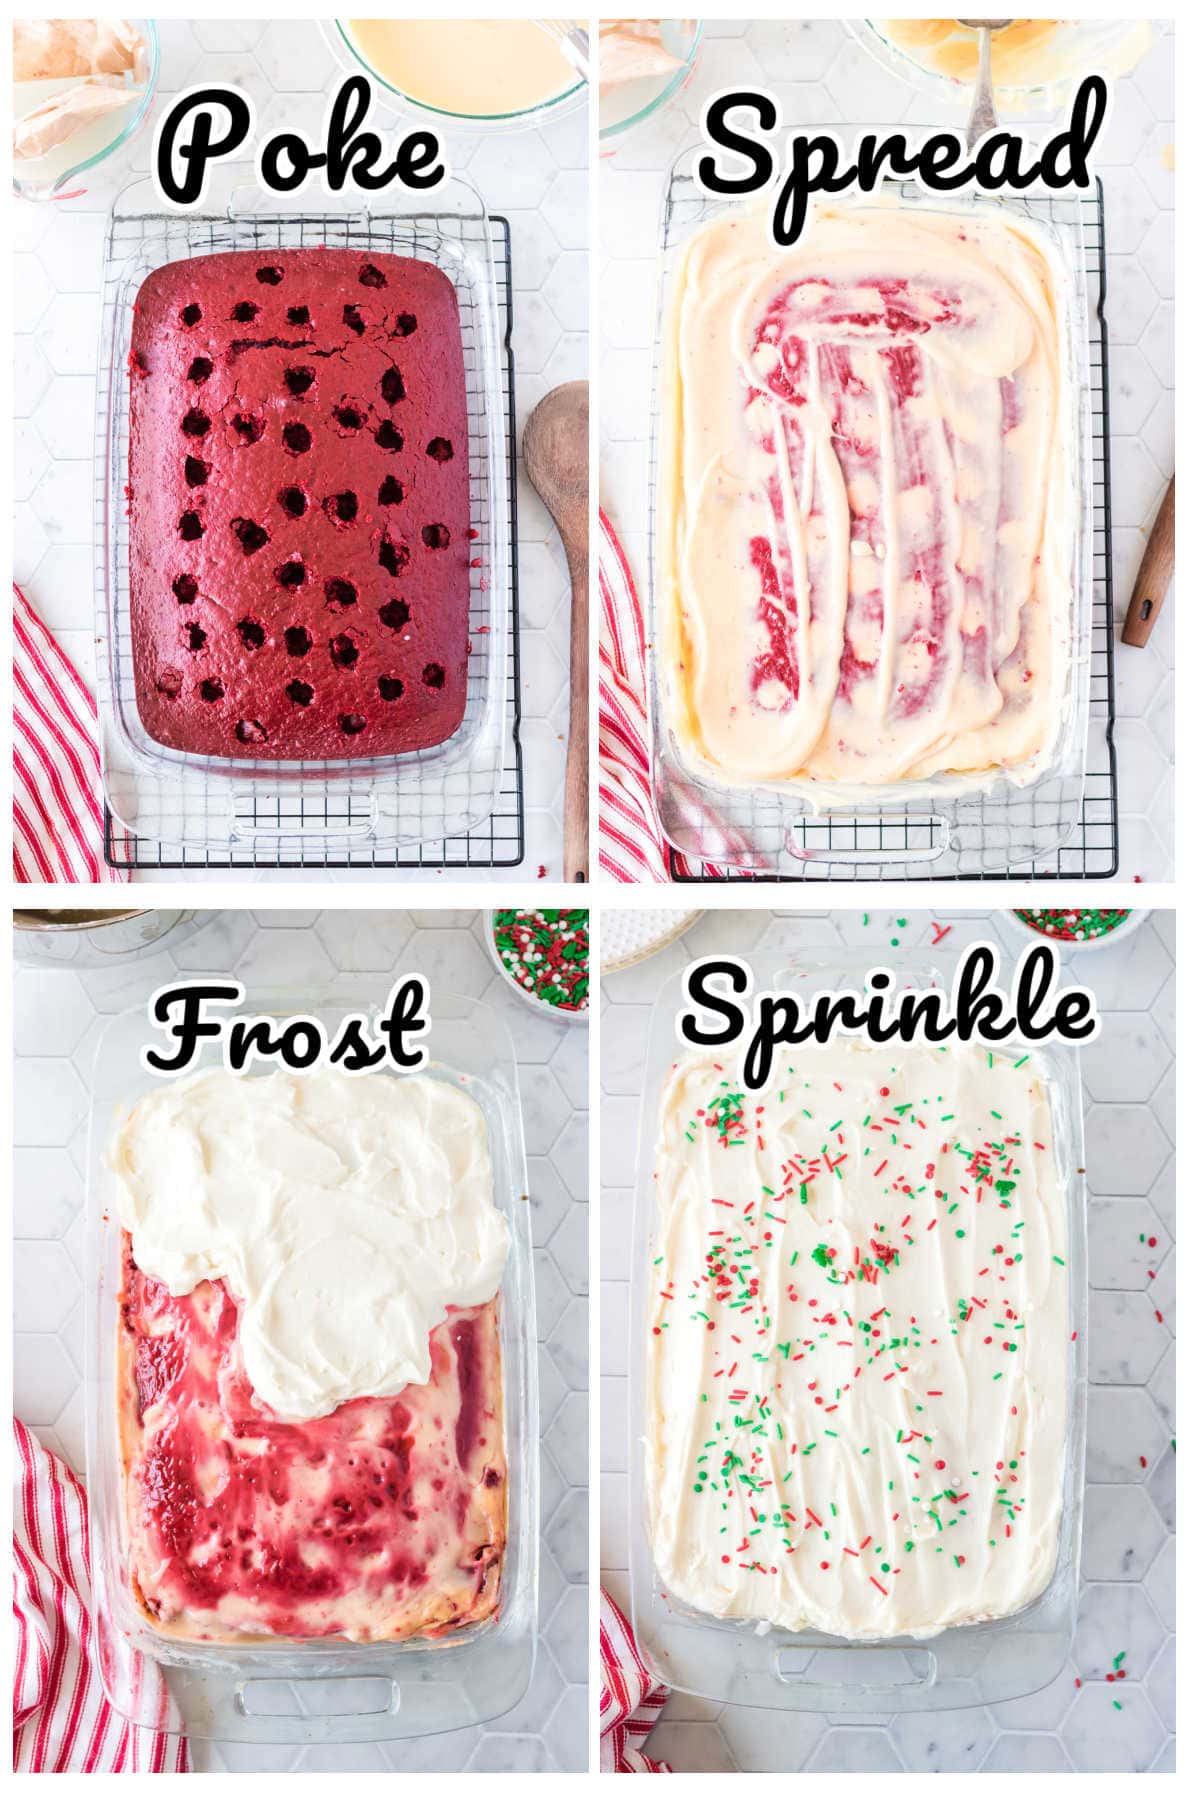
- Poke holes in moist red velvet cake with a wooden spoon handle.
- Spread the filling over top of the cake and into the holes. Chill.
- Frost with cream cheese whipped topping.
- Sprinkle with green and red sprinkles.
🍴 Equipment
- 13x 9-inch pan
- wooden spoon with round handle or a dowel about the size of your little finger
- mixing bowl
- electric mixer
- measuring cups and spoons
🥫 How to store leftover red velvet poke cake
Since this red velvet poke cake recipe uses a lot of dairy, it has to stay refrigerated at all times.
Cover the cake pan tightly with plastic wrap, or portion the cake into another airtight container.
The leftovers will last for about four days! Enjoy the cake cold, straight from the fridge, or let it come to room temperature—whatever you prefer!
💭 Things to know
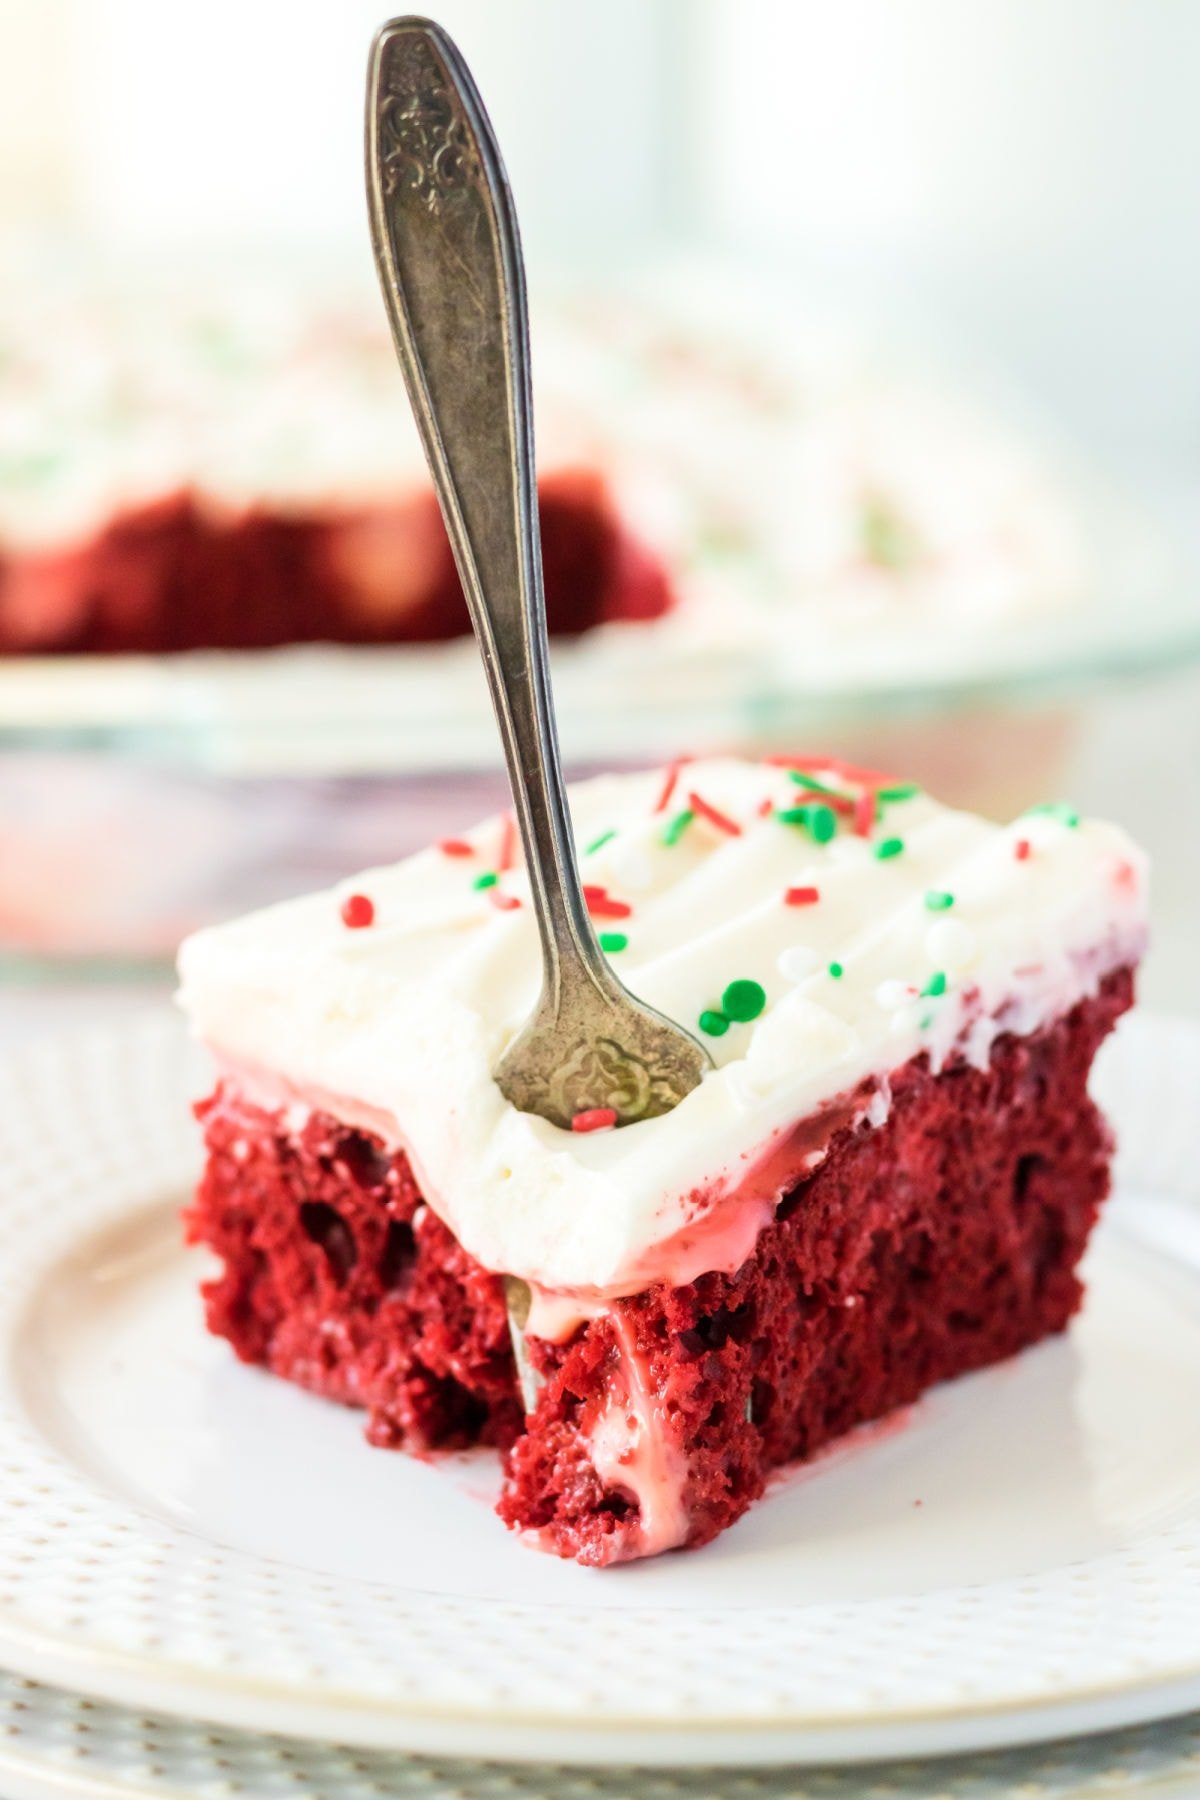
Expert Tip: It's easier to poke holes in a slightly warm cake, rather than one that's already room temperature. So, just let the cake cool a little bit—don't wait too long to get to pokin'!
- You don't necessarily have to use the back of a wooden spoon to poke the holes. If your spoon is oddly shaped, you could use the end of a spatula or some other similar kitchen utensil.
- Don't swirl the back of the spoon around to make giant holes, or the cake won't hold up. Just push it down and then remove it.
- Sweetened condensed milk has sugar already added, so don't confuse it with the evaporated milk used in this recipe or your cake will taste tooth-numbingly sweet.
- Don't stop at the middle of the cake—try to poke about three-quarters of the way down to the bottom so that the delicious cheesecake/white chocolate pudding mixture soaks into as much of the cake as possible!
- It's easiest to mix up the frosting using a hand-held or stand mixer. If you haven't whipped cream by hand before, it takes quite a bit of time and muscle power!
👩🍳 FAQs
A traditional poke cake is made by using the end of a wooden spoon to "poke" holes in a cake. Those holes are then filled with a condensed milk mixture, which soaks in and helps with flavor and tenderness. The whole cake is then frosted into one delicious dessert. They can be any flavor, but easy red velvet poke cake is my favorite!
You'll have to check the package directions for that answer! Be sure to follow the box instructions carefully so you don't overcook the cake. However, if it does come out a bit dry, it'll get doused in a thick layer of the white chocolate/cheesecake pudding mixture, so don't worry!
It really is good for everything! Serve it if you have a special occasion coming up, a potluck, a church dinner, or if you just want to enjoy a special treat with the family. After trying it for the first time, people always tell me that red velvet poke cake is one of their new favorite desserts!
Not really—it's kind of mushy after thawing. However, you can freeze the cake after poking holes in it, but before filling it with the pudding layer.
Yes, certainly.
📚 Related recipes
- Boston Cream Poke Cake tastes like the classic pie but in a fun, unique cake form! With creamy custard pudding and shiny chocolate ganache, it's impossible to refuse!
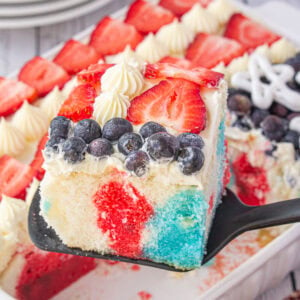
- This fruity Patriotic Jello Poke Cake is full of flavor. Plus, it's red, white, and blue all the way through—just like a proud American!
- With delicious flavors of lime, white chocolate, and rum, this delicious Lime White Chocolate Tres Leches Cake is always a huge hit for Cinco de Mayo!
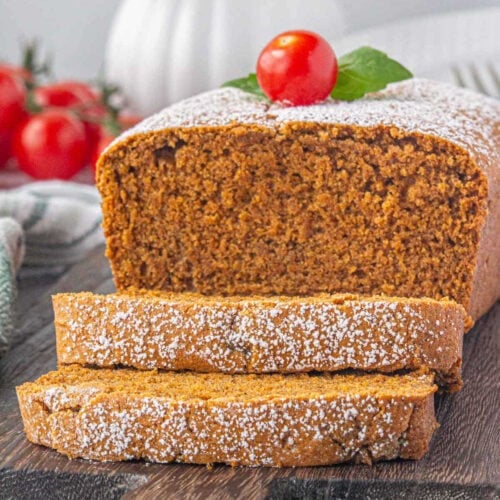
- I love this Pumpkin Spice Cake recipe! It's so easy and you could easily make it into a poke cake by using these instructions and adding cheesecake or vanilla pudding.
📞 The last word
If you are a true red velvet fan you'll love this collection of over 50 red velvet recipes!
If you click on the number of servings in the recipe card you can adjust the measurements up or down for the exact number of servings you need.
If you love this recipe please give it 5 stars! ⭐️⭐️⭐️⭐️⭐️
📖 Recipe
Red Velvet Poke Cake
Print Pin Recipe Save Recipe Rate RecipeIngredients
- 15.25 ounce box red velvet cake mix
- 3 eggs
- ½ cup oil
- 1 cup water
Filling
- 6.8 ounces instant pudding, white chocolate or cheesecake flavored
- 4 cups evaporated milk, 2 tall cans
Cream Cheese Frosting
- 8 ounces cream cheese
- 1 pint heavy whipping cream
- 1 ¼ cups powdered sugar
- 1 tablespoon instant pudding mix, white chocolate or cheesecake flavored
- 1 teaspoon vanilla
Instructions
Cake
- Prepare cake mix according to package directions for a 9x13 cake.
- Bake according to instructions on the box.
- Cake is done when an instant-read thermometer registers 200F - 210f when stuck in the center.
- Remove from oven and let cool for about 5 minutes.
- Poke holes in the warm cake with the handle of a wooden spoon.
Filling
- Whisk the pudding mix together with the milk just until well mixed and any lumps are gone.
- Quickly pour over the cake, pouring into the holes.
- Spread the pudding over the cake and use gently pressure to push it down into the holes.
- Cover with plastic wrap and chill overnight.
Frosting
- Beat the cream cheese, and Confectioner's sugar until fluffy.
- Add the cream, pudding mix, and vanilla extract.
- Beat until it thickens and stiff peaks form.
- Use it to top the chilled cake.
Notes
- It's easier to poke holes in a slightly warm cake, rather than one that's already room temperature. So, just let the cake cool a little bit—don't wait too long to get to pokin'!You don't necessarily have to use the back of a wooden spoon to poke the holes. If your spoon is oddly shaped, you could use the end of a spatula or some other similar kitchen utensil.
- Don't swirl the back of the spoon around to make giant holes, or the cake won't hold up. Just push it down and then remove it.
- Sweetened condensed milk has sugar already added, so don't confuse it with the evaporated milk used in this recipe or your cake will taste tooth-numbingly sweet.
- Don't stop at the middle of the cake—try to poke about three-quarters of the way down to the bottom so that the delicious cheesecake/white chocolate pudding mixture soaks into as much of the cake as possible!
- It's easiest to mix up the frosting using a hand-held or stand mixer. If you haven't whipped cream by hand before, it takes quite a bit of time and muscle power!
Nutrition Facts
Nutrition information is estimated as a courtesy. If using for medical purposes, please verify information using your own nutritional calculator. Percent Daily Values are based on a 2000 calorie diet.
This recipe has been tested several times. If you choose to use other ingredients, or change the technique in some way, the results may not be the same.
First published October 21, 2022. Last updated December 3, 2023 for editorial improvements and more helpful information.


Comments
No Comments