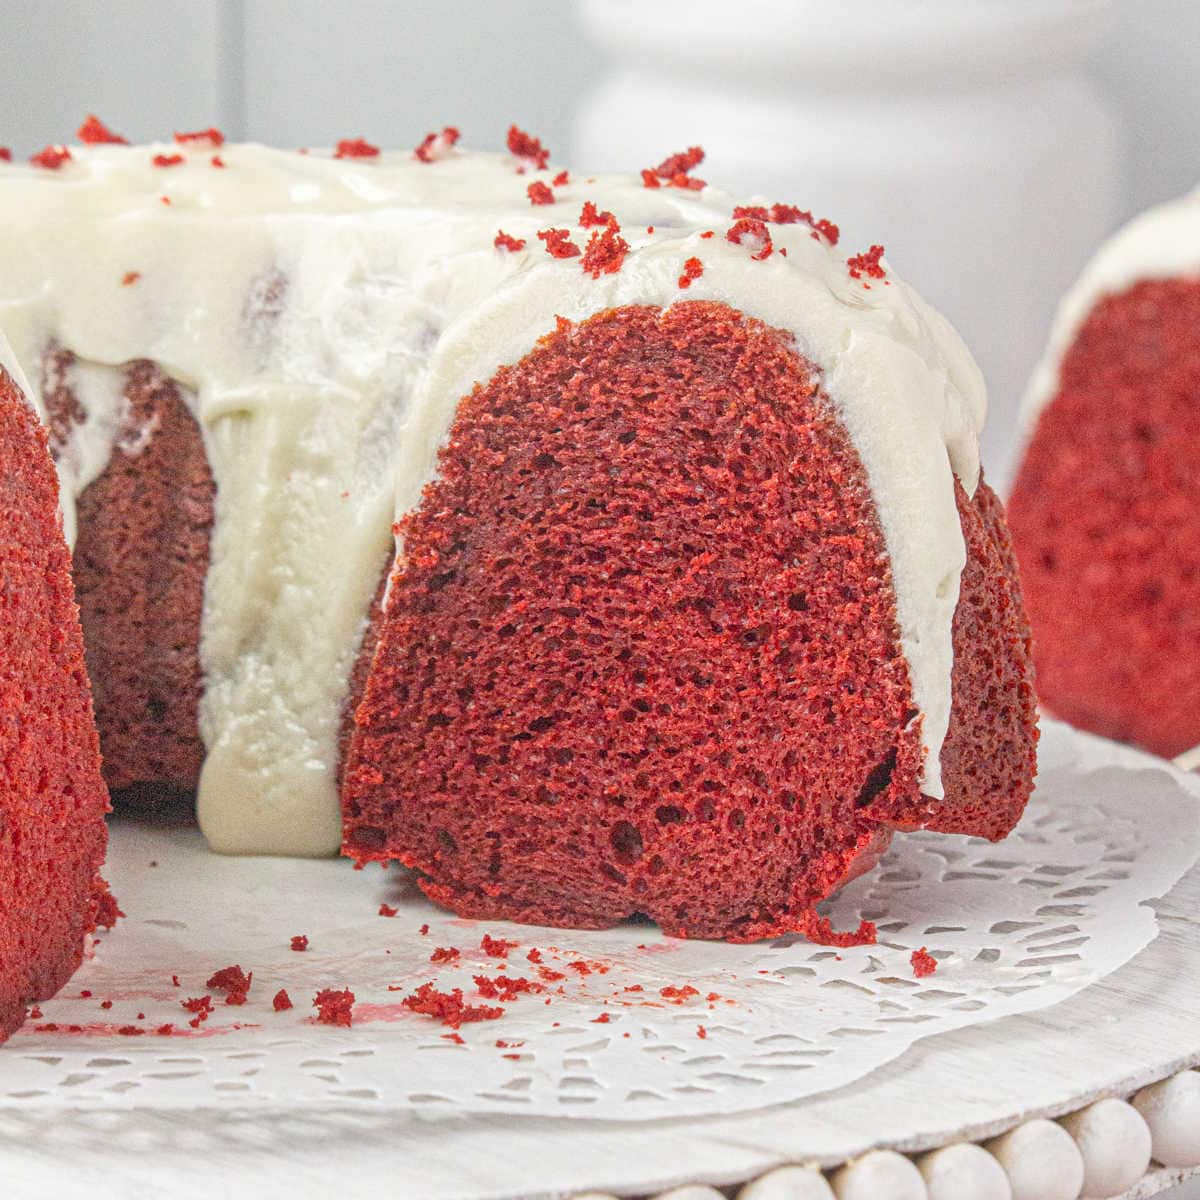
This moist and dense cake has the creamiest cream cheese frosting ever!
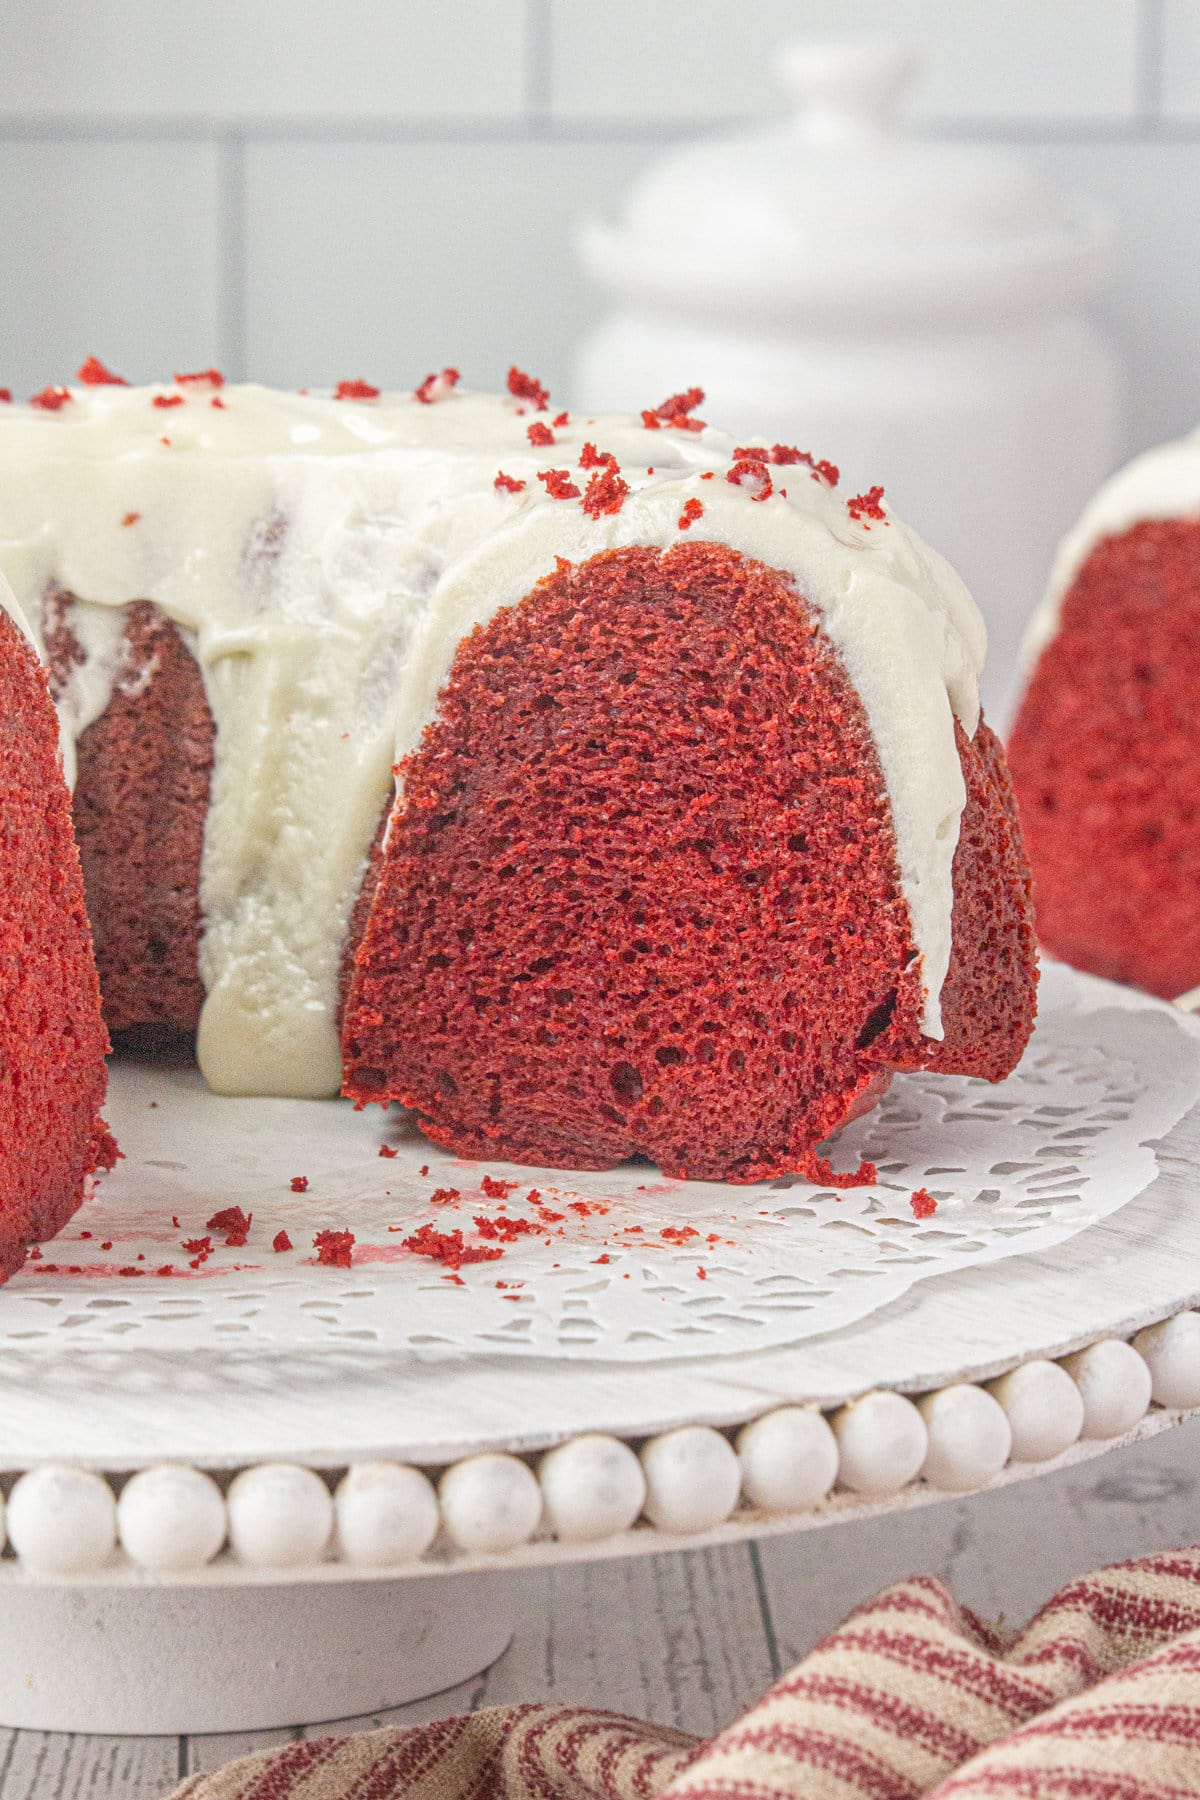
Table of Contents
🗝️ Key takeaways
- Easiest of red velvet recipes—just mix, pour, and bake!
- Classic, velvety texture with a tender crumb is perfect for Christmas and Valentine's Day.
- Start with a cake mix for an easy dessert everyone will love.
By doctoring up a box mix, you get a lip-smacking good dessert, while saving so much prep time—this red velvet bundt cake recipe only requires five minutes of effort.
Plus, the red color is so stunning, that you don't need any fussy decorating skills to make a showstopping, sweet treat!
Love red velvet as much as I do? Check out over 50 red velvet recipes that take this Southern classic from cake to so much more!
🧾 Ingredients
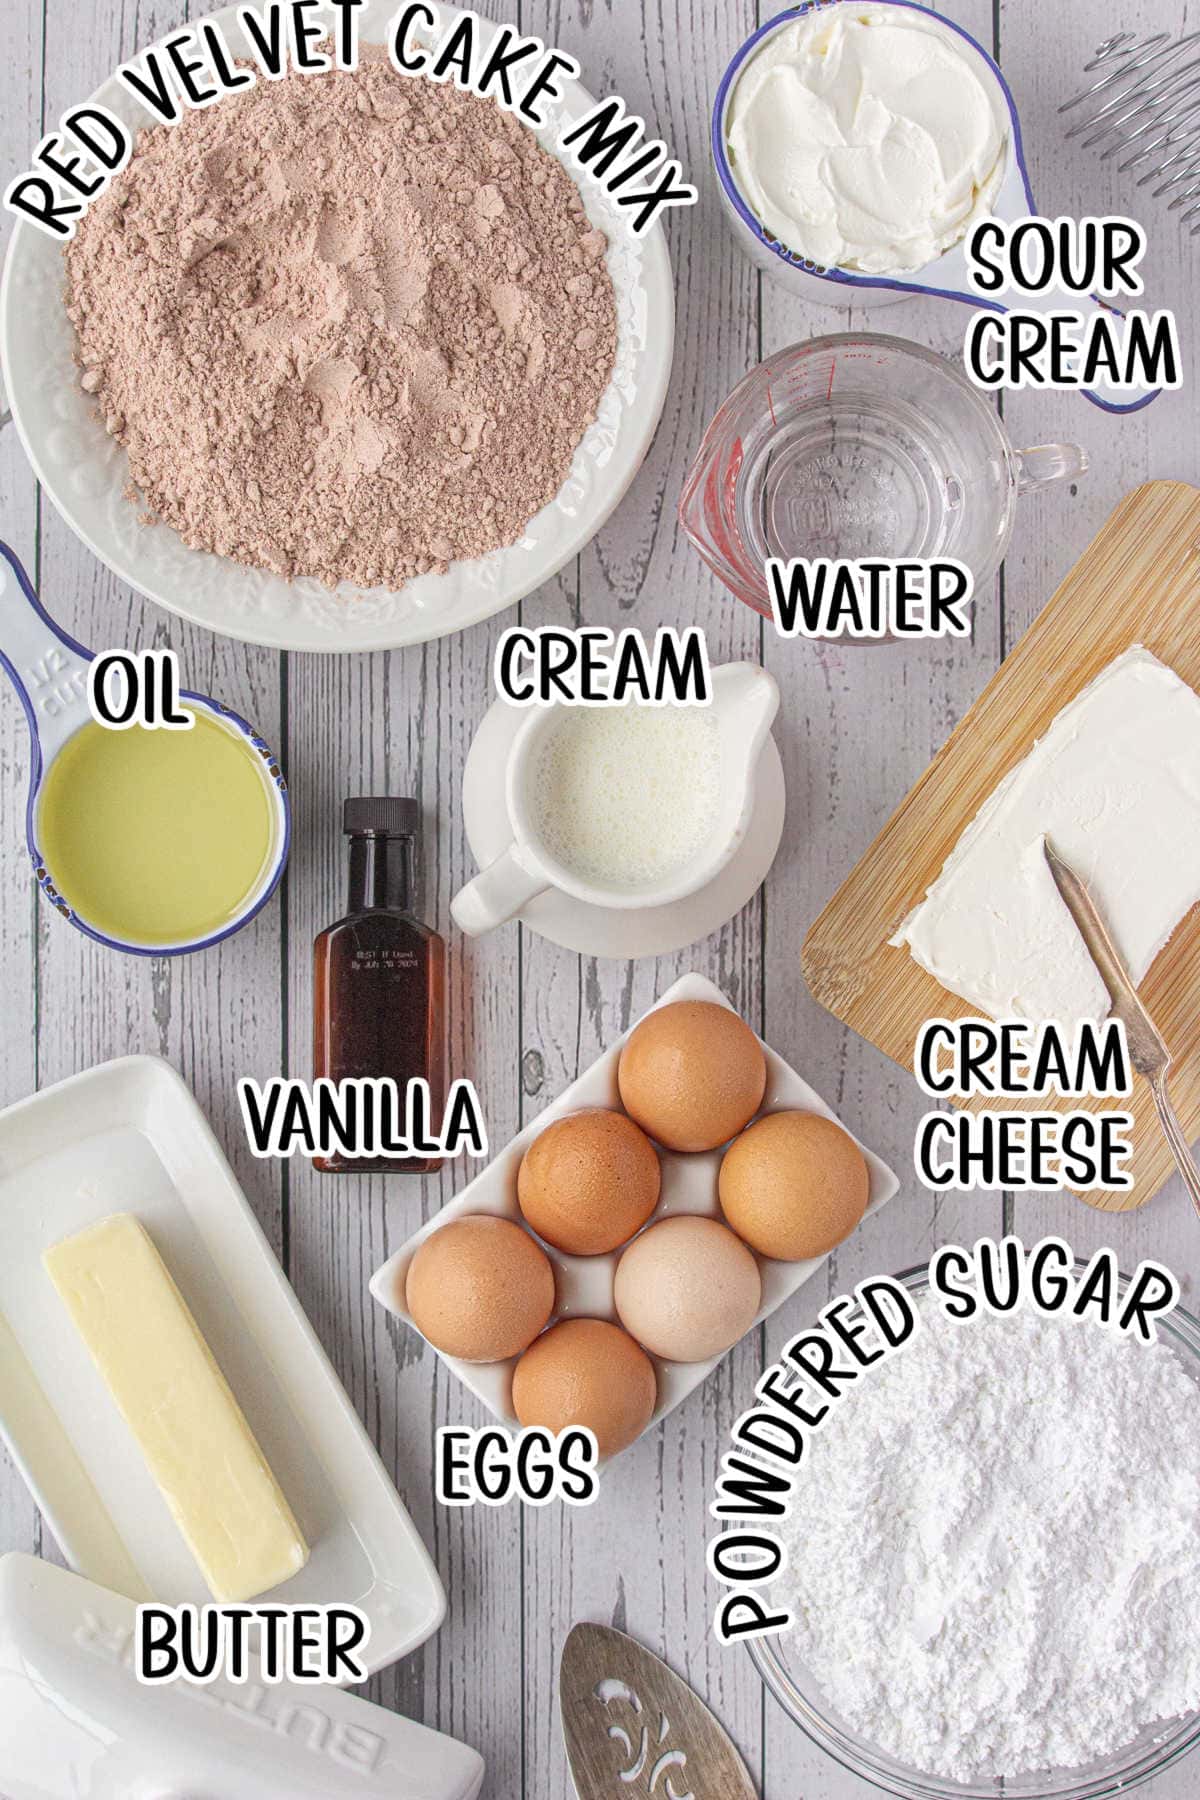
This is an overview of the ingredients. You'll find the full measurements and instructions in the green recipe card (printable) at the bottom of the page.
📖 Variations
- If you don't have any sour cream, buttermilk works just as well in red velvet cake recipes.
- You can add a tablespoon or two of cocoa powder if you want to deepen the flavor.
- If you prefer a thinner cream cheese icing, add more heavy cream to the frosting, until the consistency is to your liking.
- Not a fan of cream cheese? Drizzle the cake with chocolate ganache.
- Add festive sprinkles or yummy chocolate shavings to the top of the cake (after icing) for a fantastic finish!
- Chopped pecans are a tasty garnish and pretty sprinkled on top, too.
- Portion the batter into a cupcake tin to make tasty red velvet cupcakes. Start checking for doneness after about 20-25 minutes.
- If you don't have a bundt pan, use two 8-inch round cake pans. The bake time will be around 25-35 minutes. Then, stack and layer them with the cream cheese filling!
🔪 Instructions
This is an overview of the instructions. Full instructions are in the green recipe card at the bottom of the page.
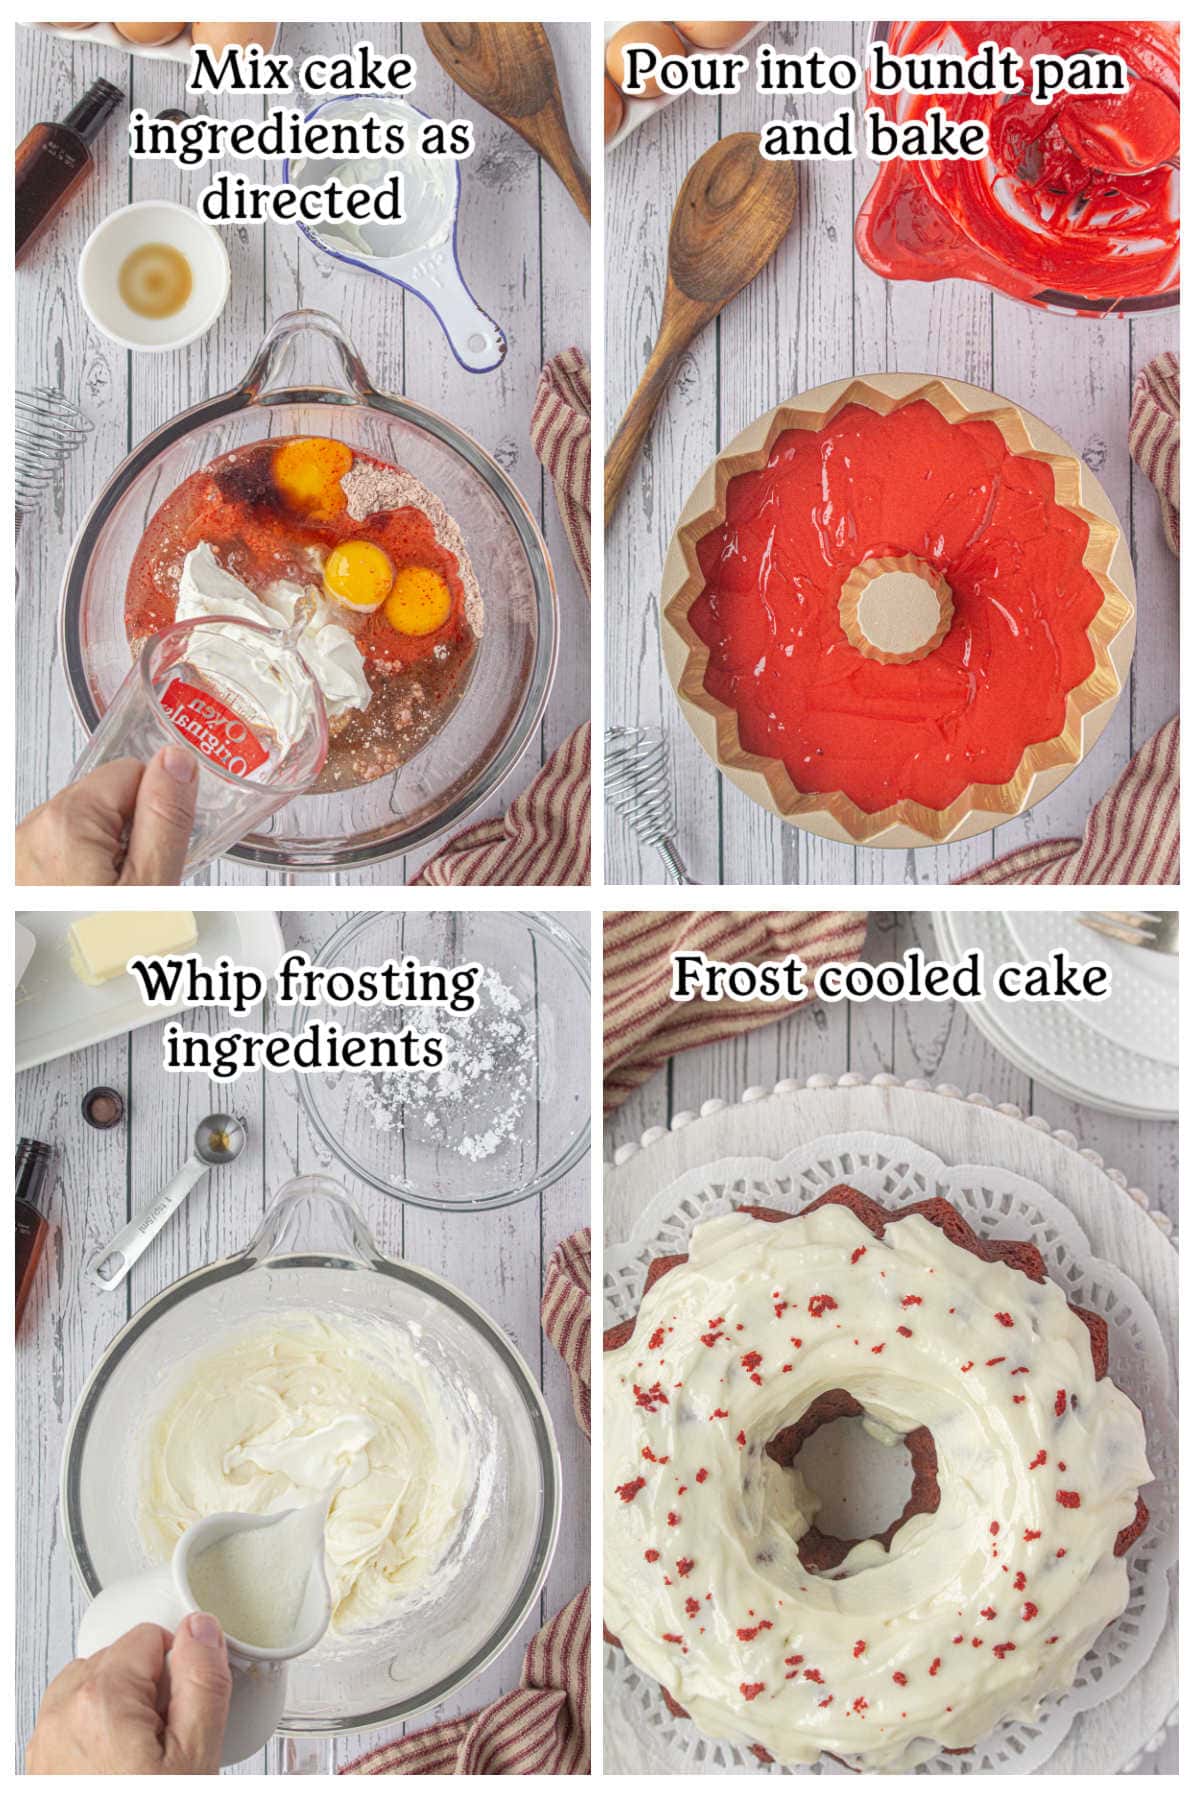
- In a large bowl, combine the red velvet cake mix, sour cream, vegetable oil, eggs, water, and vanilla extract.
- Pour into prepared pan and bake. Let cool for ten minutes in the bundt pan before removing.
- Whip frosting ingredients together.
- Frost cake.
🥫 Storage
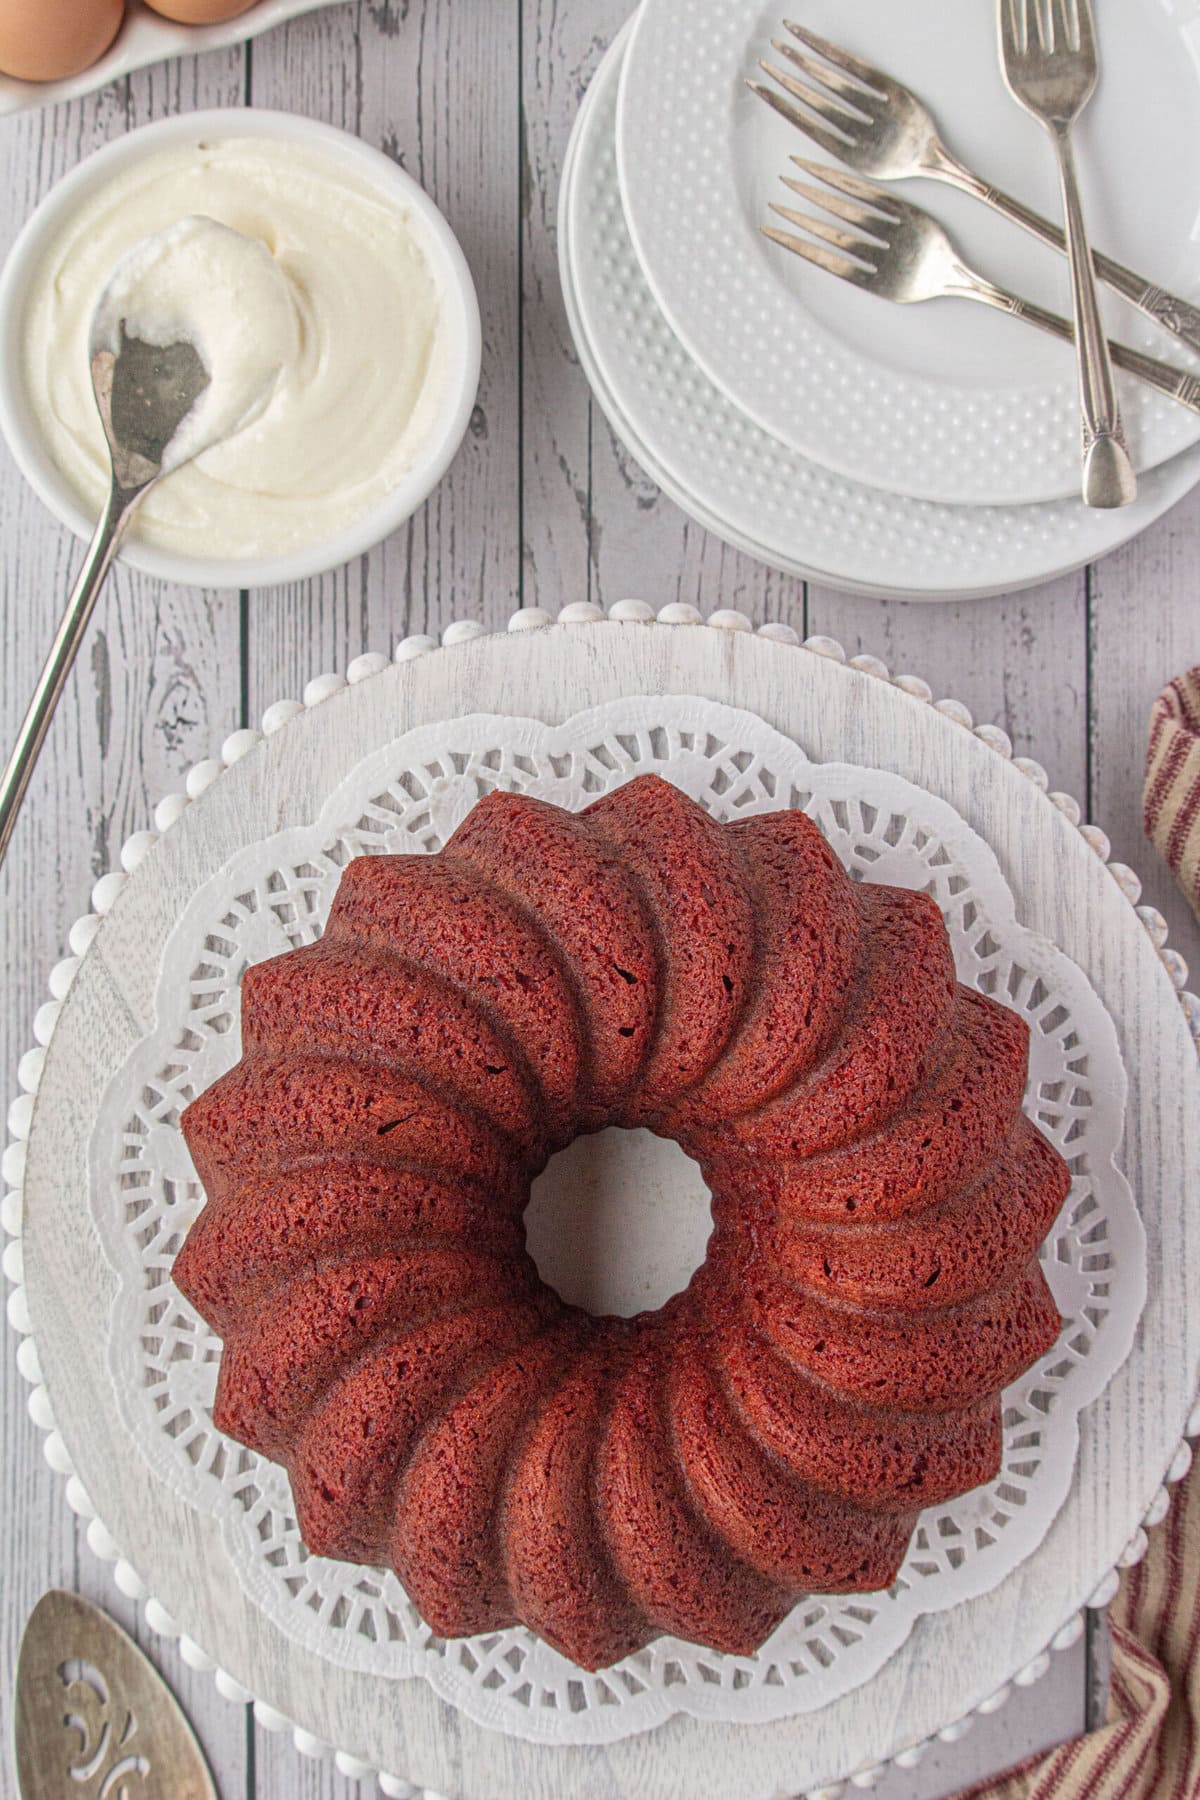
There's nothing like enjoying a slice of homemade red velvet bundt cake for breakfast the next morning. Stored properly, your treat will taste just as delicious as it did on the first day.
Due to the cream cheese frosting, you should keep the cake refrigerated at all times. Cover the bundt with a cake dome or cover, or store slices in an airtight container if you don't have a ton of fridge space. It'll keep for up to five days.
For best results, I don't recommend freezing anything with a cream cheese glaze or frosting. However, you can freeze unfrosted cake wrapped tightly in two layers of plastic wrap.
💭 Things to know
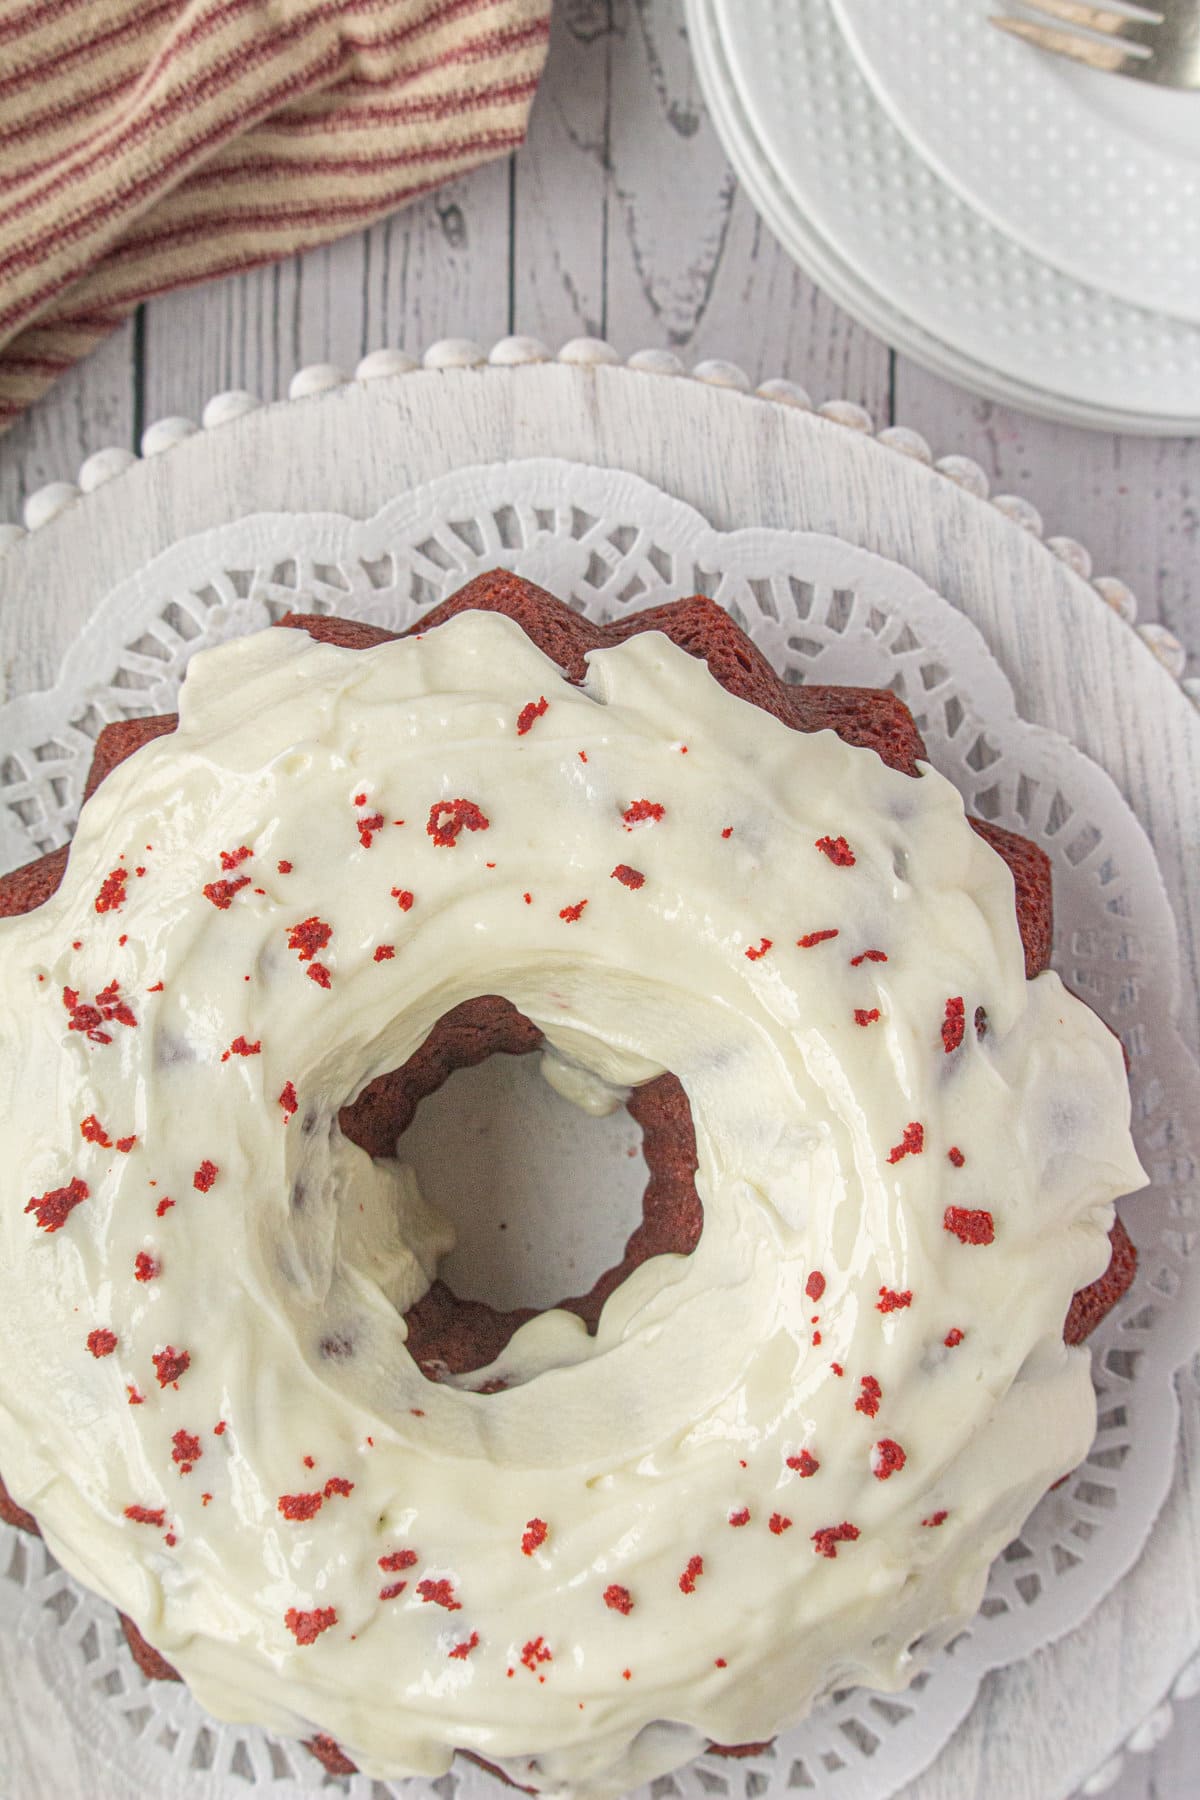
Expert Tip: You don't need any red food coloring for this great recipe, so don't add it! The box mix creates a beautiful, vibrant red cake.
- For this recipe, the sour cream and eggs should be at room temperature. It helps the wet ingredients mix together better.
- If you're combining everything in the bowl of a stand mixer, use the paddle attachment. Though, if using a hand mixer, the whisks are fine.
- The mini white chocolate chips melt into the cake. I'll use regular-sized ones in the future if I use them at all.
- Use a pastry brush to make sure the oil or cake release thoroughly coats the entire pan. It needs to get into every little nook and cranny!
- For a really moist red velvet cake, don't overcook it! Start testing the center of the cake for doneness a few minutes before the timer goes off.
- Allow your butter and cream cheese time to soften or it'll be a pain to beat. Plus, the final texture is much smoother if the ingredients have reached room temperature.
- Let the cake cool fully before icing. Otherwise, your frosting will melt and slide right off the sides of the cake!
👩🍳 FAQs
Nope! Simply follow this recipe as written. We use the box mix to save steps when it comes to measuring out and combining the dry ingredients.
There are a few tips to remove a bundt cake from the pan in one piece, including greasing the pan well and dropping the pan on the counter a few times to remove air bubbles. The recipe also makes a big difference—this is one of the best red velvet cakes I've made, so it'll hold together in one piece but still remain moist and tender.
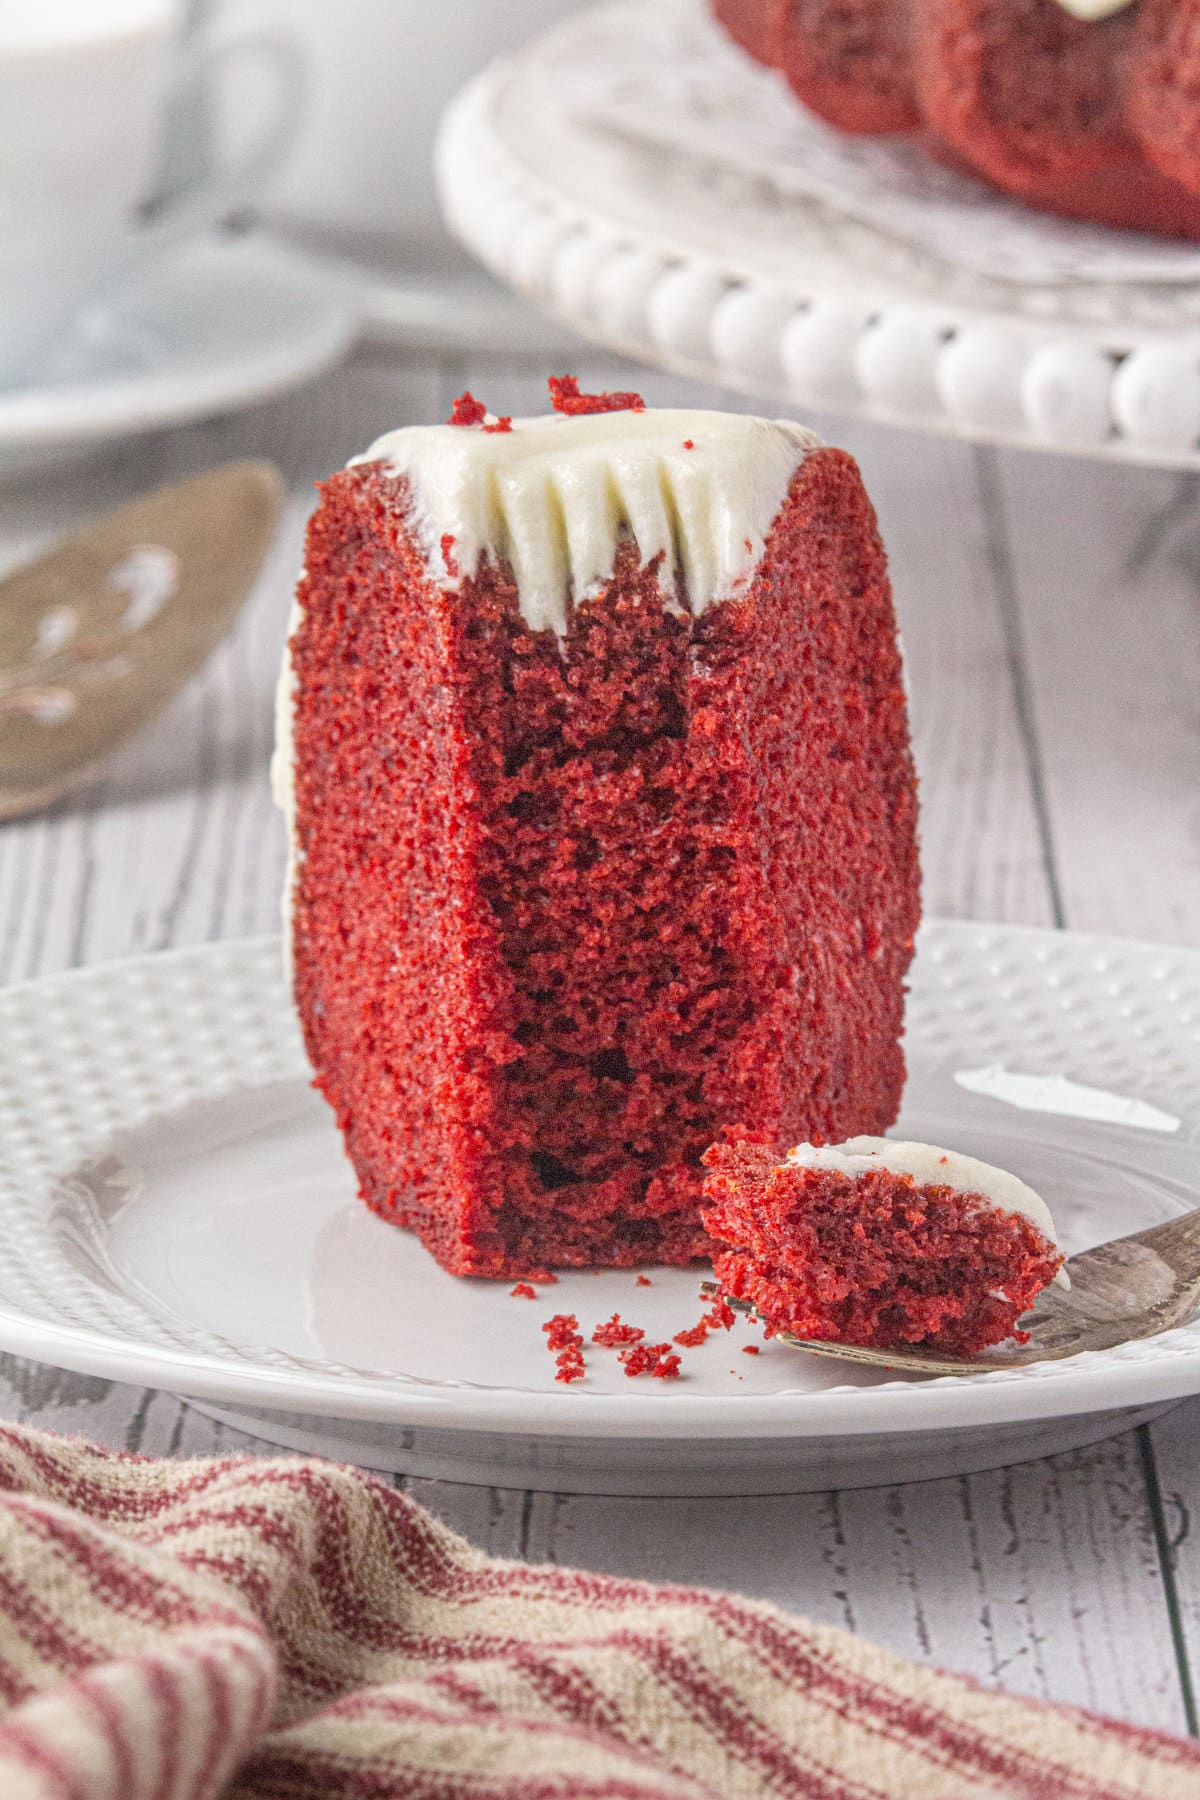
The South has sort of adopted red velvet as one of it's own cakes, but the earlier origins are a bit unknown. Red velvet is famous for it's incredibly moist texture. A chemical reaction between acidic ingredients and the cocoa gives the cake its signature brick-red hue.
Not exactly. Traditional red velvet cake recipes do use a few tablespoons of cocoa power, but the cake has a milder flavor. Compared with with a classic chocolate cake, red velvet has just a hint of cocoa. This lets both the cream cheese frosting and delicious texture of the cake shine as the main stars!
📚 Related recipes
- Red Velvet Cheesecake combines two recipes that are practically made for each other into one stunning, scrumptious dessert.
- Unique and so pretty, these Red Velvet Sandwich Cookies with Bourbon white chocolate ganache are a fun twist on favorite Southern flavors.
- Super moist, fun, and easy, Red Velvet Poke Cake starts with a boxed mix and ends with a deliciously rich treat everyone will love!
🍽️ Serve with...
📞 The last word
I love red velvet cake any time of the year but it's extra special around Valentine's Day and Christmas.
This moist red velvet bundt cake is absolutely fantastic. No one will guess it started with a boxed mix.
If you click on the number of servings in the recipe card you can adjust the measurements up or down for the exact number of servings you need.
If you love this recipe please give it 5 stars! ⭐️⭐️⭐️⭐️⭐️
📖 Recipe
Red Velvet Bundt Cake
Print Pin Recipe Save Recipe Rate RecipeIngredients
- 15.25 ounces red velvet cake mix
- 1 cup sour cream, at room temperature
- ½ cup vegetable oil
- ½ cup water
- 3 large eggs, at room temperature
- 2 teaspoons vanilla extract
For the frosting
- 8 ounces cream cheese, softened
- ¼ cup butter, softened
- 2 ½ cups powdered sugar
- 1 teaspoon vanilla
- cream as needed to thin the frosting
Instructions
For the cake
- Preheat oven to 350°F.
- Grease and flour a bundt pan or use no-stick baker's release spray (works best). Be sure to get it in all the nooks of the bundt pan or your cake may stick!
- Shake out excess flour and set aside.
- Place all ingredients in a large bowl.
- Mix on low with an electric mixer until ingredients are combined, then turn up the speed to medium high and beat for two minutes.
- Pour into prepared pan and drop the pan to the counter from about 2-inches up to help release air bubbles.
- Bake for 45-55 minutes or until a tooth pick inserted in the middle comes out clean. The internal temperature should be about 200F when using an insta-read thermometer.
- Let cool 10 minutes then remove from pan to finish cooling.
For the frosting
- Add butter and cream cheese to a large bowl.
- Beat with an electric mixer on medium for 2 minutes.
- Turn the mixer down to low speed and gradually add the powdered sugar and vanilla until it's combined.
- Turn the mixer up to medium high and whip for two minutes.
- Use a piping bag to add the frosting to the cake or thin it a little to use as a thick glaze.
Notes
- You don't need any red food coloring for this great recipe, so don't add it! The box mix creates a beautiful, vibrant red cake.
- For this recipe, the sour cream and eggs should be at room temperature. It helps the wet ingredients mix together better.
- If you're combining everything in the bowl of a stand mixer, use the paddle attachment. Though, if using a hand mixer, the whisks are fine.
- Use a pastry brush to ensure the oil or cake release thoroughly coats the entire pan. It needs to get into every little nook and cranny!
- For a really moist red velvet cake, don't overcook it! Start testing the center of the cake for doneness a few minutes before the timer goes off.
- Allow your butter and cream cheese time to soften or it'll be a pain to beat. Plus, the final texture is much smoother if the ingredients have reached room temperature.
- Let the cake cool fully before icing. Otherwise, your frosting will melt and slide right off the sides of the cake!
Nutrition Facts
Nutrition information is estimated as a courtesy. If using for medical purposes, please verify information using your own nutritional calculator. Percent Daily Values are based on a 2000 calorie diet.
This recipe has been tested several times. If you choose to use other ingredients, or change the technique in some way, the results may not be the same.
First published January 25, 2023. Last updated November 28, 2023 for better images and recipe adjustments.

Comments
No Comments