Calling all peanut butter lovers! No-Bake Peanut Butter Icebox Pie is super creamy and nutty and also happens to be one of the easiest desserts ever. With just six simple ingredients and five minutes of prep, this make-ahead dessert is a new family favorite.
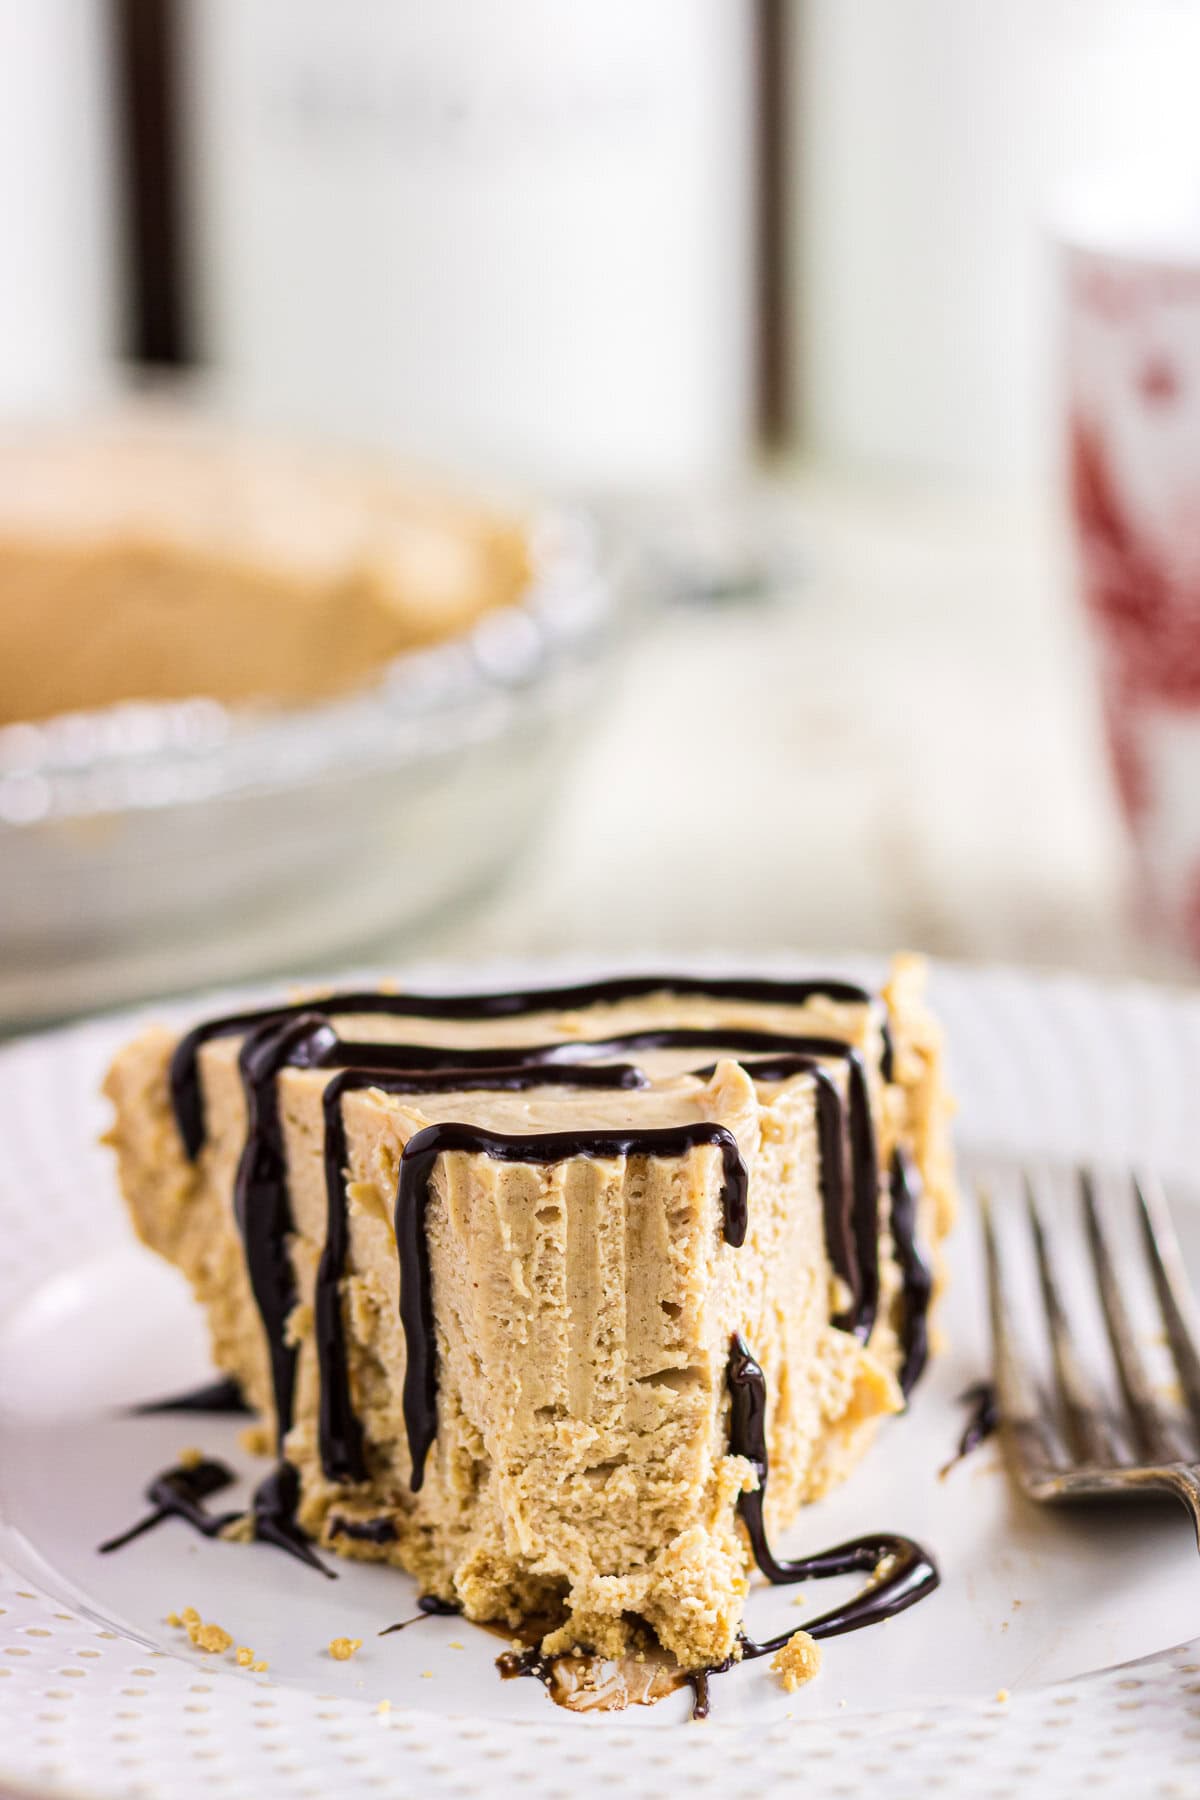
Table of Contents
- 🗝️ Key takeaways: why this recipe is your new favorite
- 🧾 Gather your ingredients: what you'll need
- 📖 Make it your own: yummy variations
- 🔪 Step-by-step guide: instructions for success
- 🥫 Leftover love: how to store peanut butter icebox pie
- Marye's Tip o' the day
- 💭 Insider tips: things to know
- 👩🍳 Let's answer those questions: FAQs
- 📚 More Southern comfort: related recipes you'll love
- 🍽️ No waste: creative ways to repurpose peanut butter pie
- 📞 Wrapping it up: the last word
- 📖 Recipe
- 💬 Comments
Save this recipe by clicking on the ❤️ heart on the right-hand side of the screen or in the recipe card.
🗝️ Key takeaways: why this recipe is your new favorite
- This classic, easy pie recipe is packed with peanut butter and has a mouthwatering, creamy texture.
- No-bake pies are great for potlucks and family dinners because you can prep them quickly ahead of time.
- The key to this pie is letting it chill—it needs at least 8 hours in the fridge or 4 hours in the freezer for best results.
You don't even need to fuss with crust for this simple pie. Just use a pre-made one, whip up the ingredients, and let it chill—it's quite literally as easy as pie!
🧾 Gather your ingredients: what you'll need
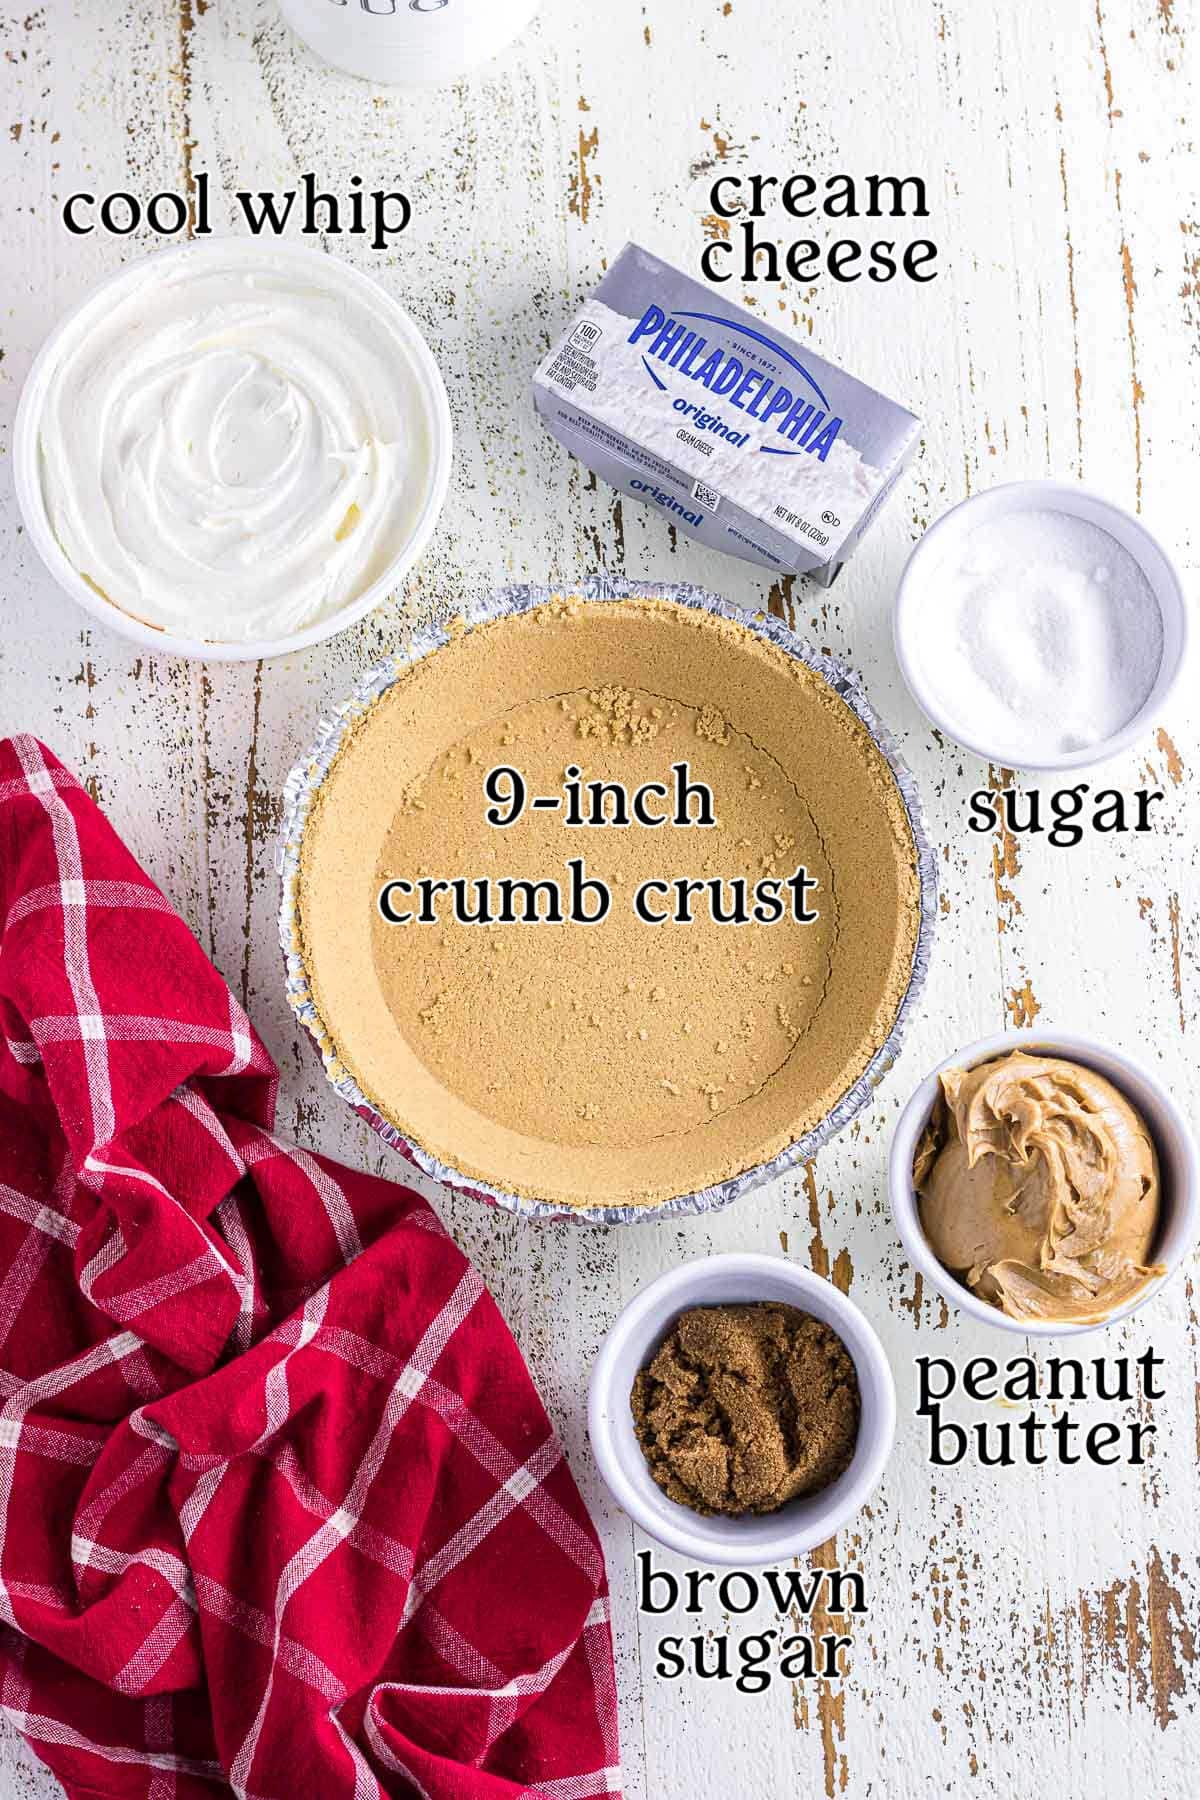
This is an overview of the ingredients. You'll find the full measurements and instructions in the green recipe card (printable) at the bottom of the page.
📖 Make it your own: yummy variations
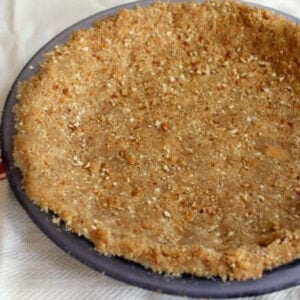
- Instead of store-bought pie crust (which is totally fine, by the way), feel free to make crumb crust from scratch.
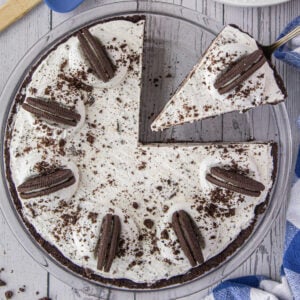
- Peanut butter no-bake pie is really delicious in an Oreo crumb crust.
- I feel that creamy peanut butter enhances the creaminess of the pie filling, but if you like chunky peanut butter, you can give it a try. Keep in mind that you will taste the crunchy peanuts in the filling.
- Buy chocolate peanut butter instead of regular if you're a fan of that flavor combo. Nutella would also be good in this! Or, give this similar Oreo Icebox Pie a look.
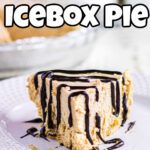
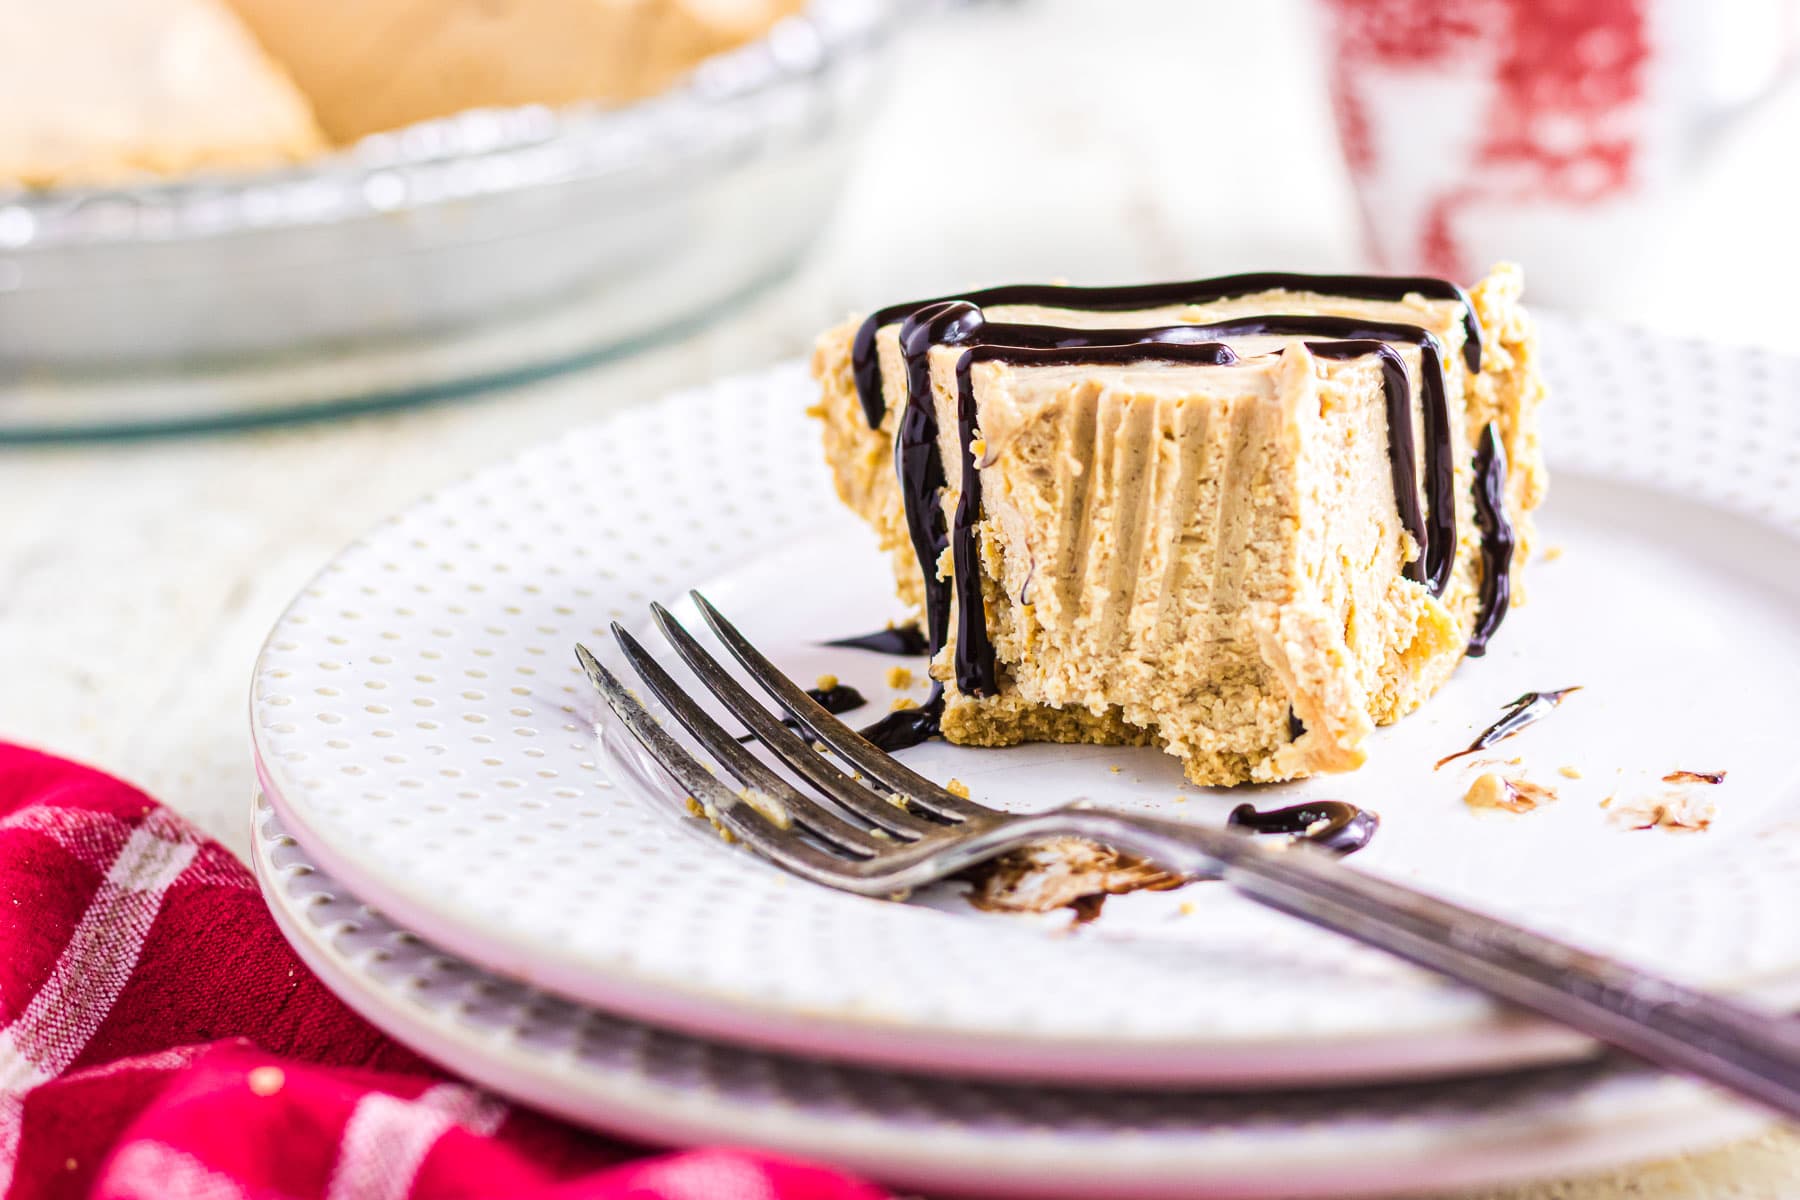
- Crush up some peanuts or pretzels as a garnish for a salty and sweet treat, or drizzle chocolate sauce on top like I did.
🔪 Step-by-step guide: instructions for success
This is an overview of the instructions. Full instructions are in the green recipe card at the bottom of the page. Click on the image to see it full size.
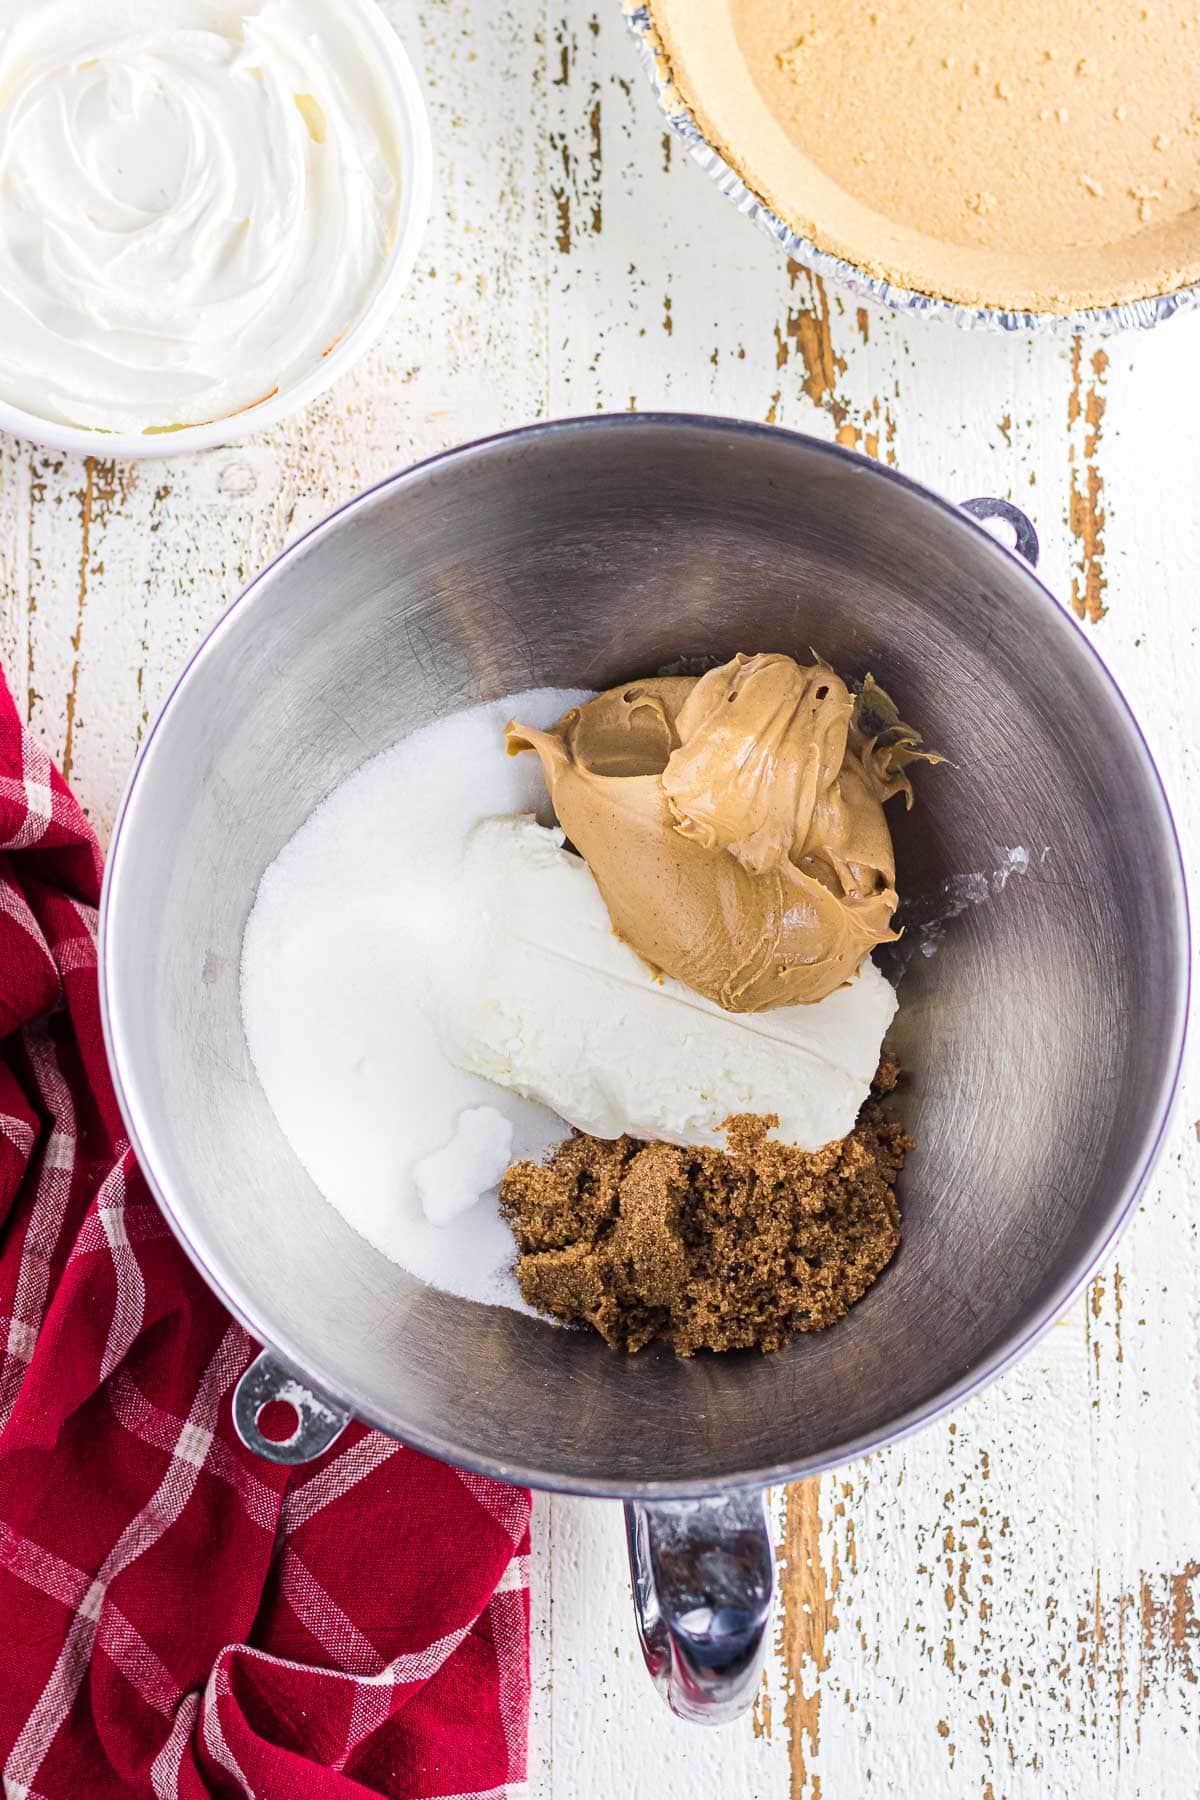
Beat sugars, peanut butter, and cream cheese...
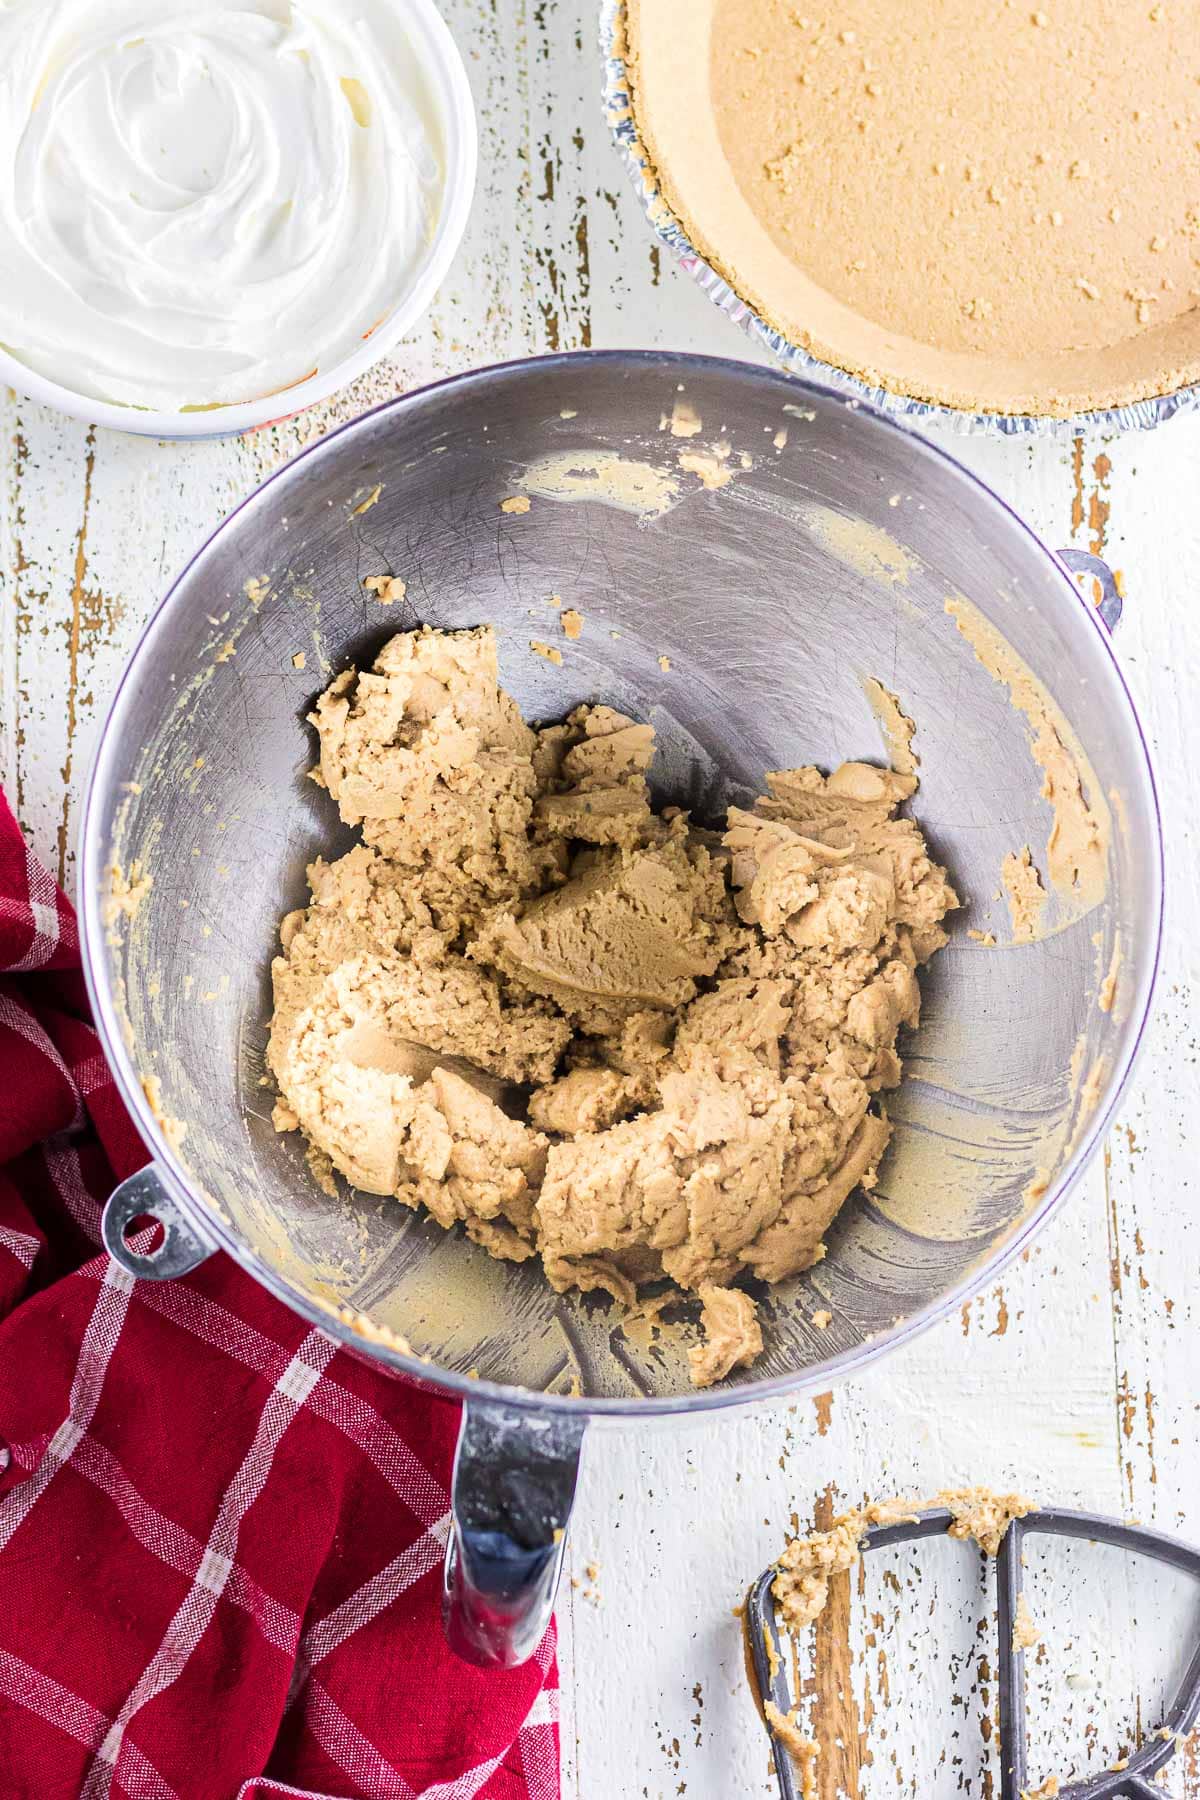
...until smooth, scraping the sides down if needed.
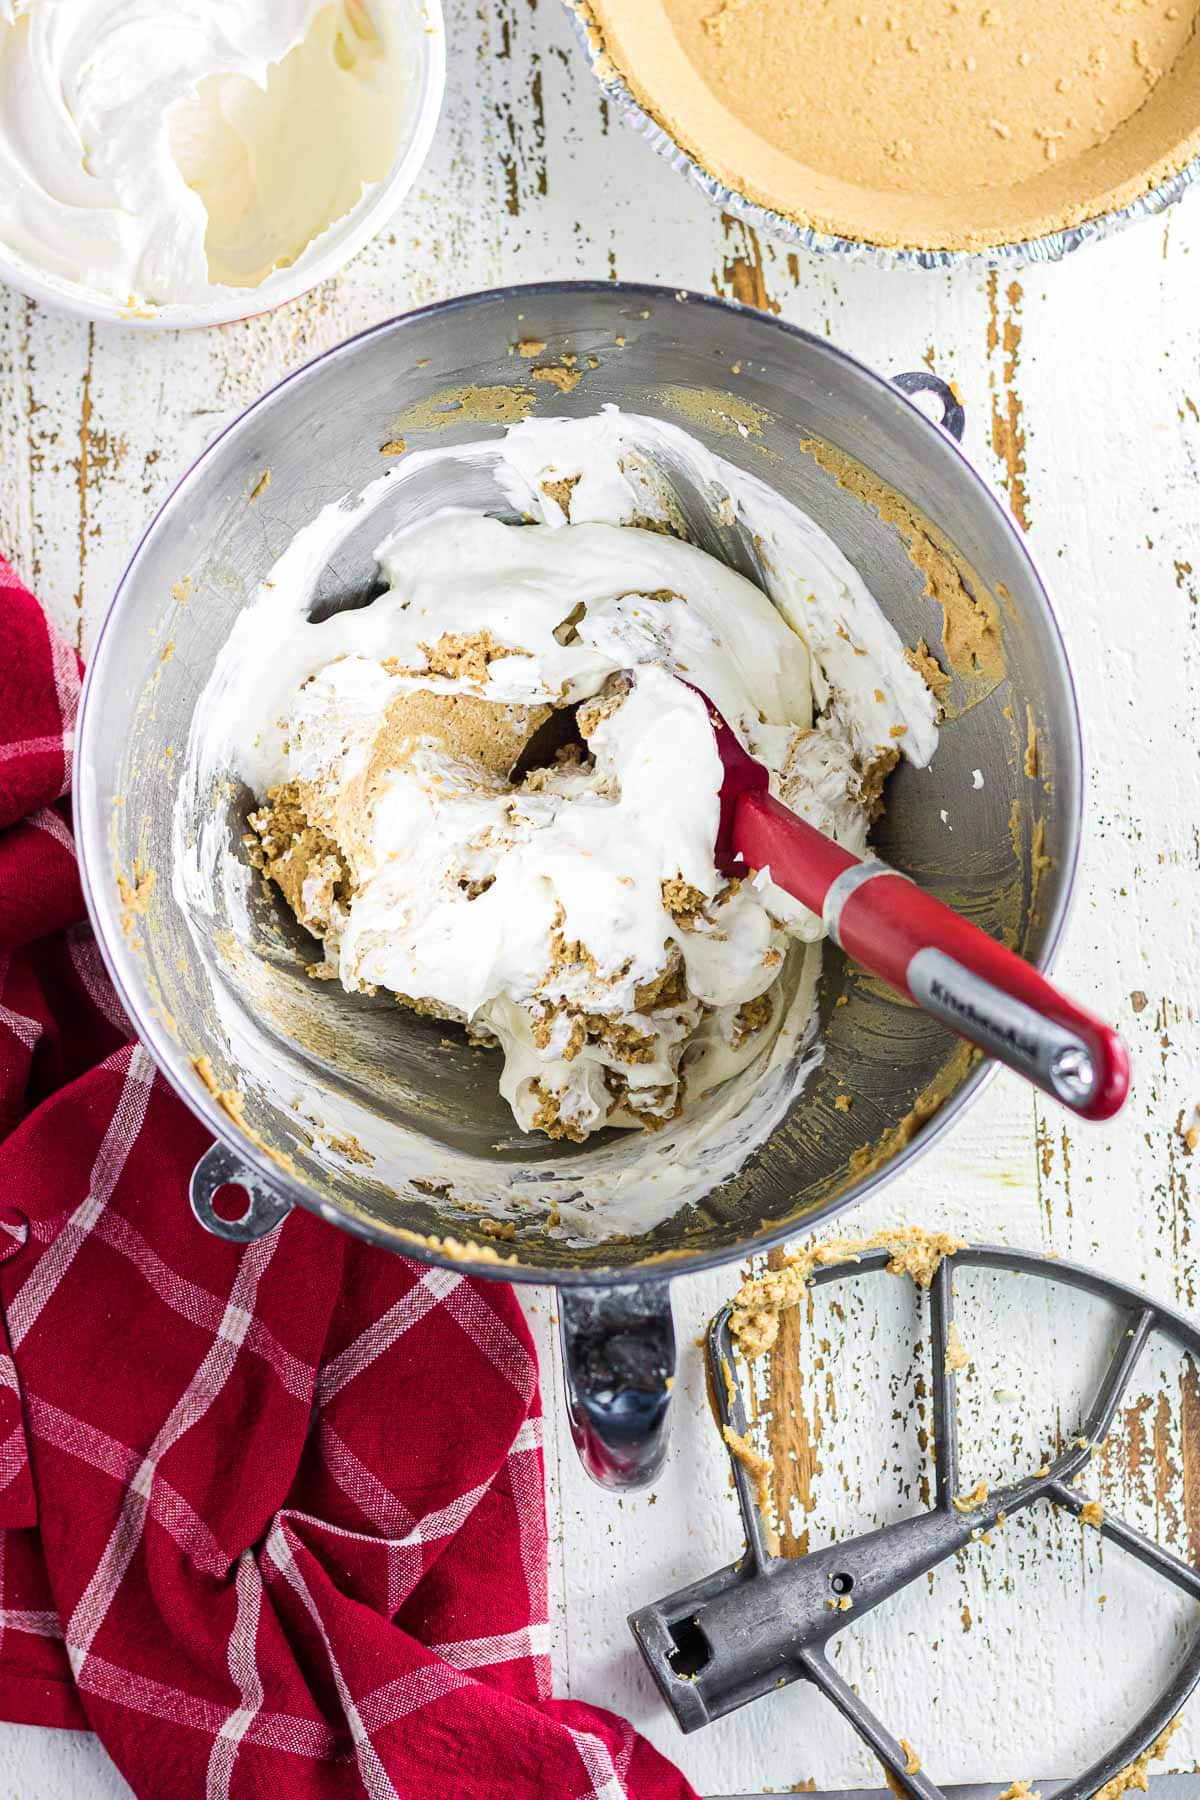
Fold in the Cool Whip in two additions until evenly mixed.
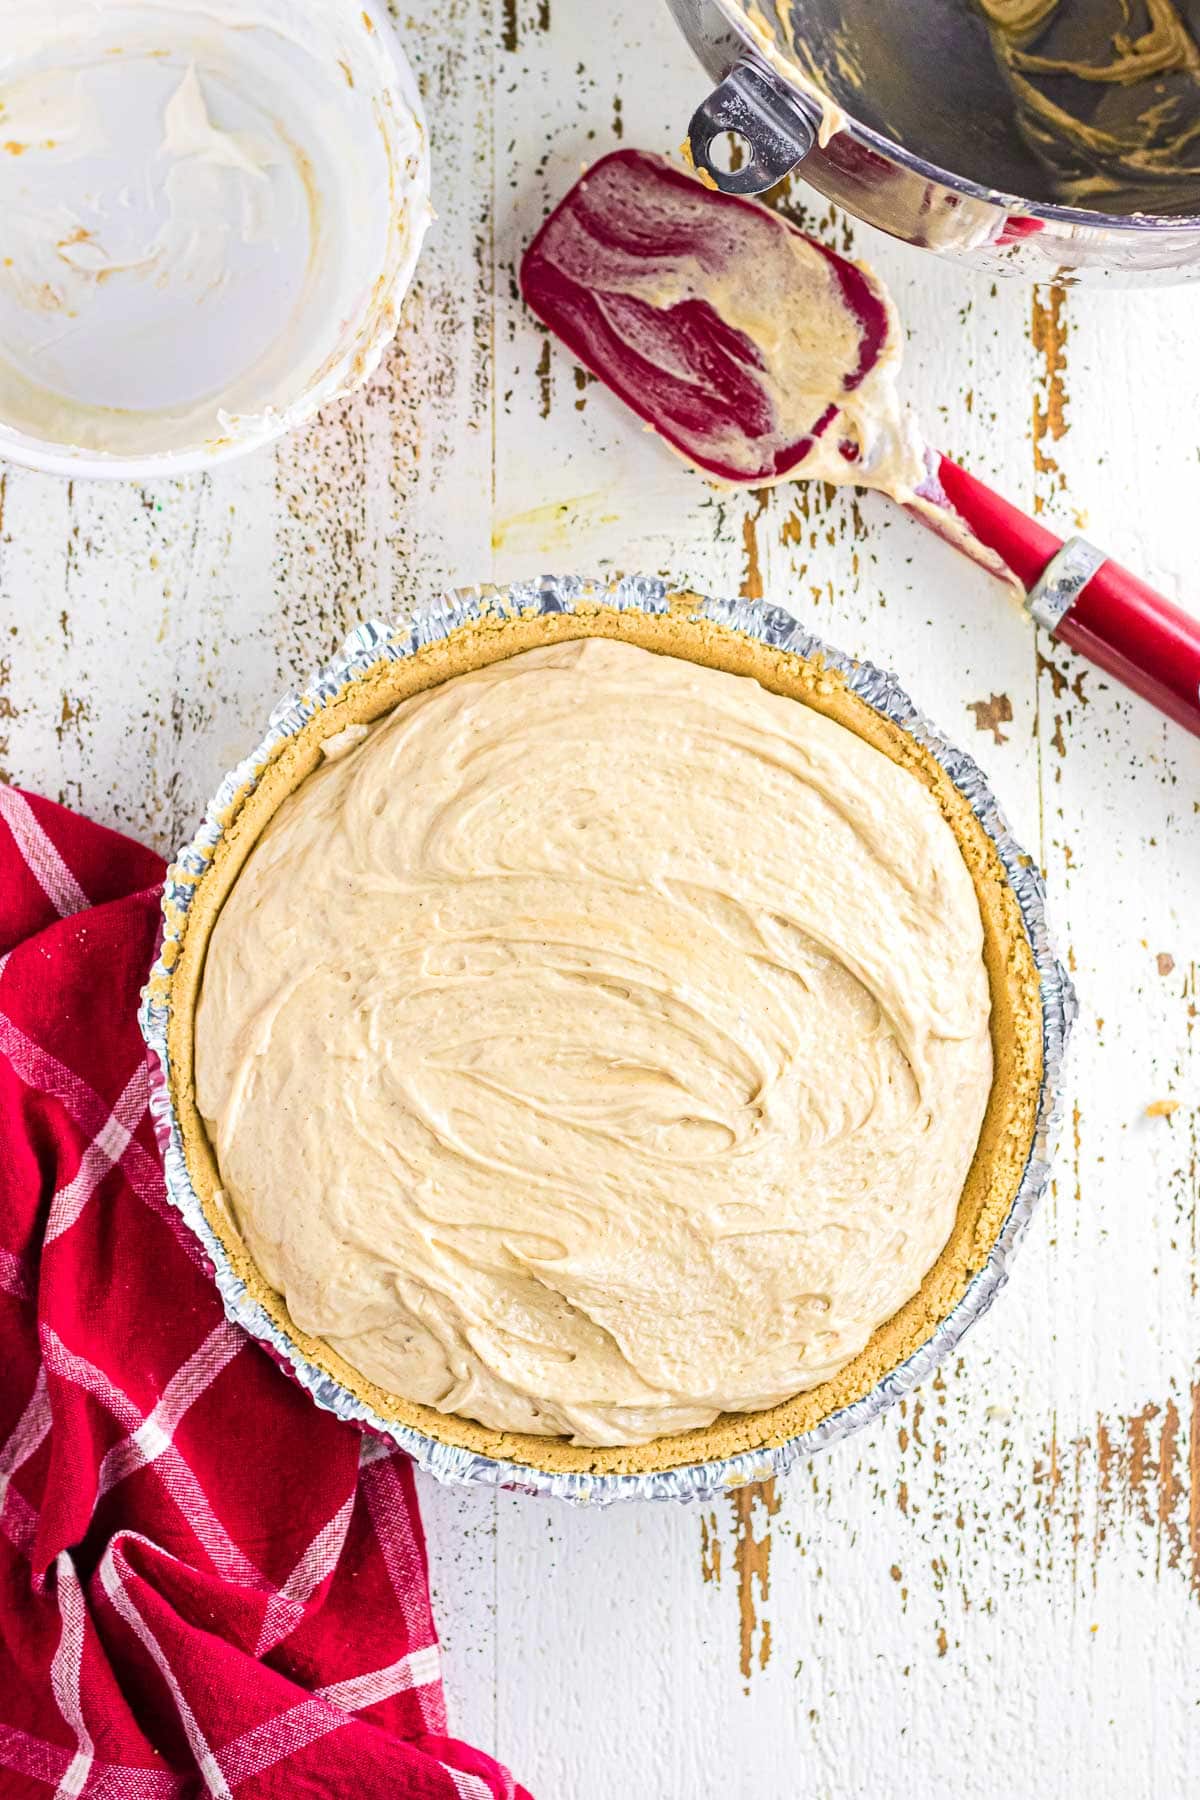
Spread peanut butter filling in the pie crust and chill for 8 hours.
🤫 Marye's secret for zhuzhing it up -
Just before serving, drizzle the pie with chocolate or sprinkle on some chocolate chips, shaved chocolate, or crushed Oreo cookies. You can also use more whipped cream to add some pretty swirls on top!
zhuzh: verb. To make something more interesting or attractive
🥫 Leftover love: how to store peanut butter icebox pie
Keep your peanut butter icebox pie chilled in the fridge until you're ready to enjoy it. Afterward, cover the leftovers with plastic.
Refrigerate extra no-bake pie for up to three days, or freeze leftovers for up to three months.
You can enjoy it at room temperature, chilled from the fridge, and even straight from frozen! It's so versatile and delicious no matter which way you prefer it.
Marye's Tip o' the day
Don't beat the Cool Whip in with a mixer. Rather, fold it in gently using a spatula. This prevents it from deflating, keeping the texture light and fluffy.
💭 Insider tips: things to know
- Blend the sugar in until it dissolves. If you're unsure, rub a little bit of the mixture between two of your fingers—it shouldn't feel gritty.
- Don't use low-fat cream cheese or the whipped kind in a tub. It'll be too watery for this pie. Go with regular cream cheese in a foil block.
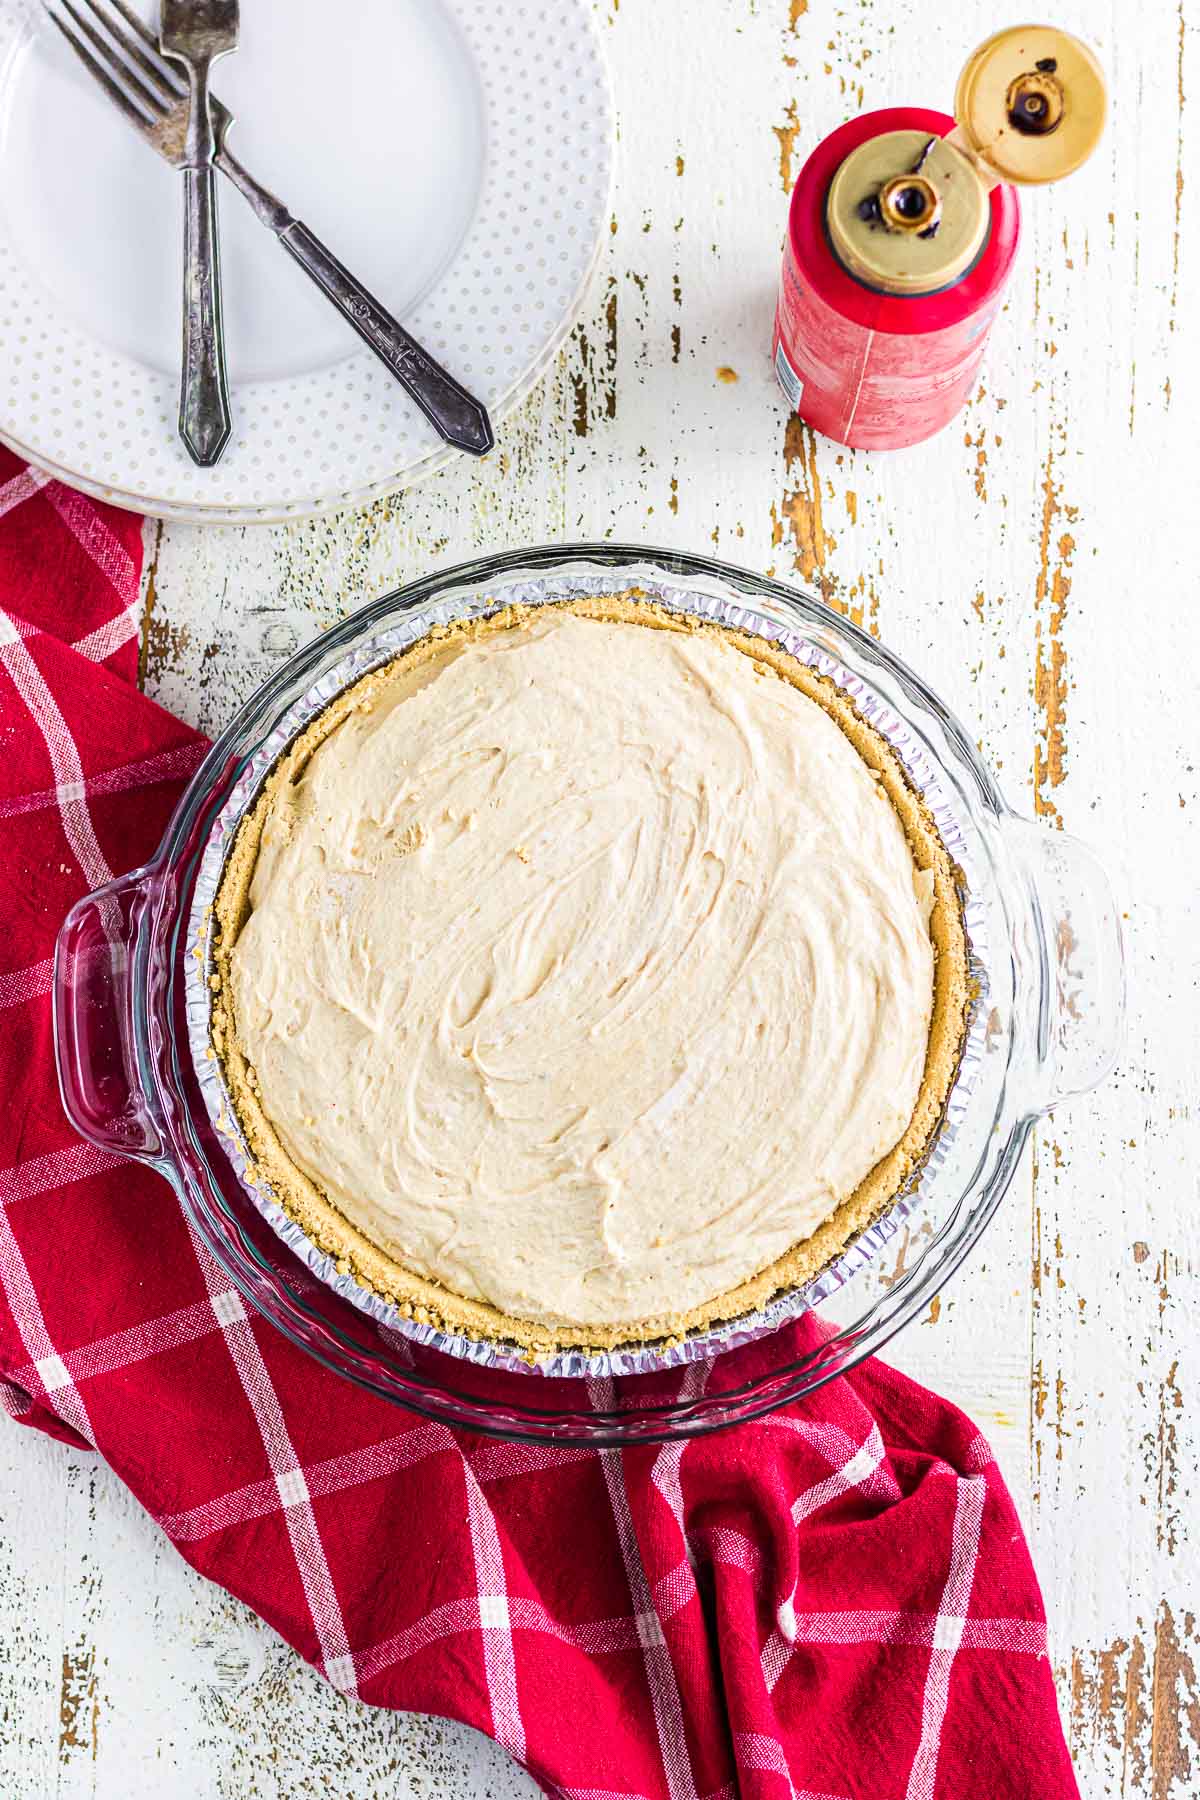
- For more stability when traveling with the pie, place the entire foil baking pan in a sturdier glass or ceramic pie dish—take a peek at my photo below the FAQs to see what I mean.
- If freezing the pie for longer storage, be sure to seal it well with plastic first, then a layer of foil to prevent freezer burn.
- Before bringing a dish with nuts to a gathering, it's always a good idea to double-check that no one has a peanut allergy!
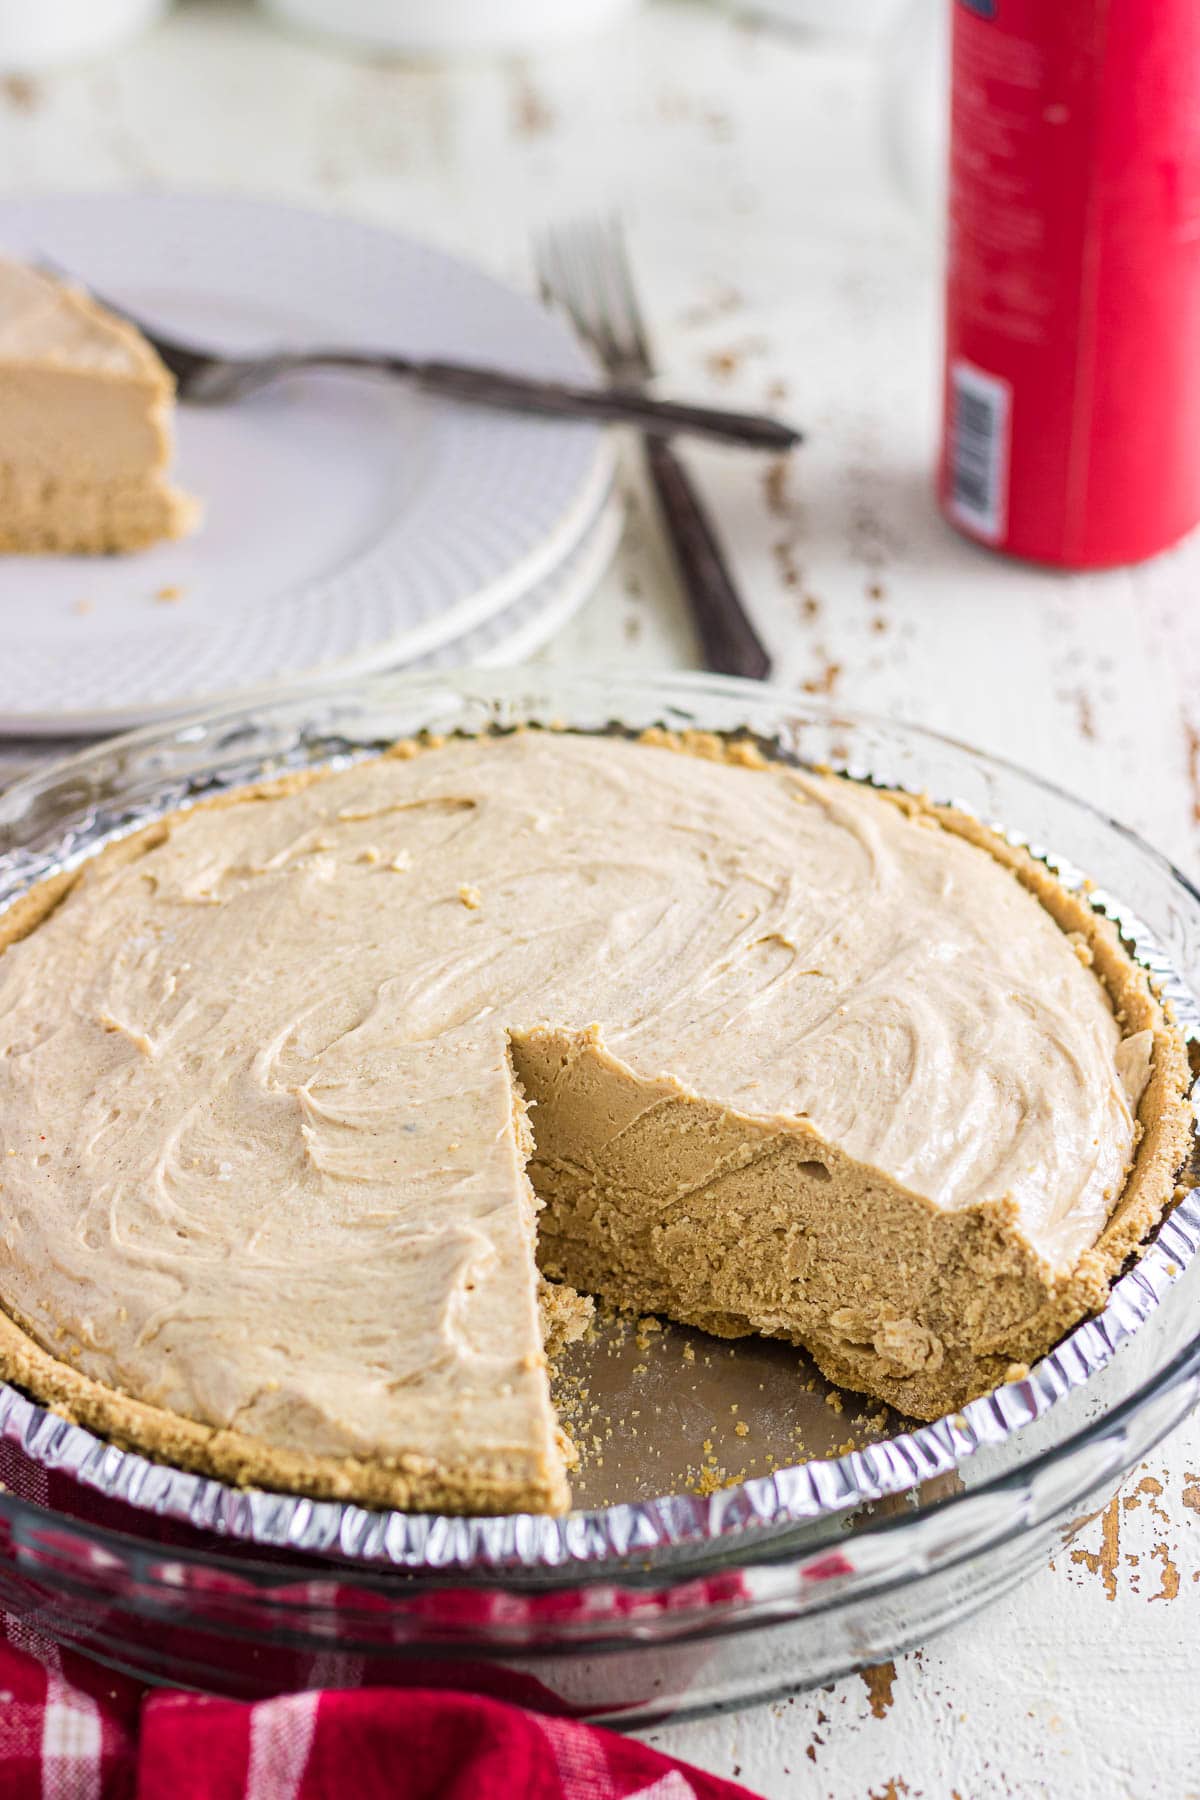
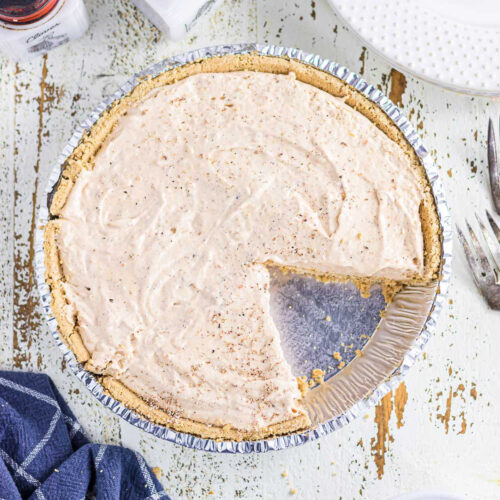
- It's easier to cut out a big slice of pie first so that your pie server can slide fully under it. Save the little slices for later on.
👩🍳 Let's answer those questions: FAQs
Have other questions? Ask me in the comments!
Yes. Let it thaw overnight in the fridge before using.
Either buy or make your own gluten-free crumb crust. (Psst—gluten-free Oreos are great in a homemade crust!)
No, at least not for very long. If you plan to serve it soon, you can have it out for about two hours, but it may get a little soft.
These no-bake pies used to be called icebox pies because that's where they'd be kept to chill before refrigerators were around. (Aren't we glad for modern technology now? Phew!)
⏲️ Marye's time saving hacks -
Since this no-bake peanut butter pie is so easy to make, I recommend prepping two pies at once. You can serve one now and freeze the other for last-minute guests or enjoy it as a random surprise during the week with the kids!
📚 More Southern comfort: related recipes you'll love
🍽️ No waste: creative ways to repurpose peanut butter pie
Leftover peanut butter pie? Not likely! If you have more self-control than the rest of us, here's how you can enjoy the leftovers:
- Frozen and diced into a topping for yogurt or ice cream
- Scoop out the peanut butter filling and portion it into mini phyllo cups
- Add jam to small slices for PB&J-inspired dessert bites
- Use it as the bottom layer in a trifle
📞 Wrapping it up: the last word
I love peanut butter. Literally, it's a trigger food for me. I'll take a bite of peanut butter right out of the jar and, if I'm not careful, three hours later you'll find me on the kitchen floor surrounded by empty peanut butter jars.
I love the stuff.
This pie isn't fancy but it is full of the flavor of peanut butter. I hope you'll try it.
If you click on the number of servings in the recipe card you can adjust the measurements up or down for the exact number of servings you need.
If you love this recipe please comment below and give it 5 stars! ⭐️⭐️⭐️⭐️⭐️
📖 Recipe
Peanut Butter Icebox Pie
Print Pin Recipe Save Recipe Rate RecipeIngredients
- 1 graham cracker crust, 9-inch
- 1 cup peanut butter
- 8 ounces cream cheese, room temperature
- ¾ cup sugar
- ¼ cup dark brown sugar
- 8 ounces Cool Whip
- Chocolate syrup, for garnish
Instructions
- Add the peanut butter, cream cheese, and both sugars to a mixing bowl and blend on medium speed until completely mixed and the sugar crystals have dissolved. Scrape down sides as needed.
- Gently fold in half the Cool Whip until no streaks remain.
- Fold in remaining Cool Whip until completely mixed and there are no streaks of peanut butter or Cool Whip.
- Spoon into graham cracker crust.
- Cover.
- Refrigerate for 8 hours. You may also freeze for up to 3 months.
- Garnish as desired with chopped peanuts, chopped chocolate, chocolate syrup, or more Cool Whip.
Notes
- Blend the sugar in until it dissolves. If you're unsure, rub a little bit of the mixture between two of your fingers—it shouldn't feel gritty.
- Don't use low-fat cream cheese or the whipped kind in a tub. It'll be too watery for this pie. Go with regular cream cheese in a foil block.
- If freezing the pie for longer storage, be sure to seal it well with plastic first, then a layer of foil to prevent freezer burn.
- It's easier to cut out a big slice of pie first so that your pie server can slide fully under it. Save the little slices for later on.
Nutrition Facts
Nutrition information is estimated as a courtesy. If using for medical purposes, please verify information using your own nutritional calculator. Percent Daily Values are based on a 2000 calorie diet.
This recipe has been tested several times. If you choose to use other ingredients, or change the technique in some way, the results may not be the same.

Comments
No Comments