I had totally forgotten about this easy salad until I was going through some of Mom's old recipe cards. It was actually my aunt's recipe but since we lived in another state Mom kind of took it over.
Once I saw it I had to share it with y'all - it's always a big hit!
Save this recipe by clicking on the ❤️ heart on the right-hand side of the screen or in the recipe card.
Table of Contents
🗝️ Key takeaways
- Crunchy pea salad with cashews is a vintage recipe that deserves a comeback! It's so easy to make and just delicious.
- Pea salad is the perfect side dish for potlucks, picnics, and barbecues on hot summer days.
- Wait to add the bacon pieces until just before serving so the dressing doesn’t make ‘em soggy!
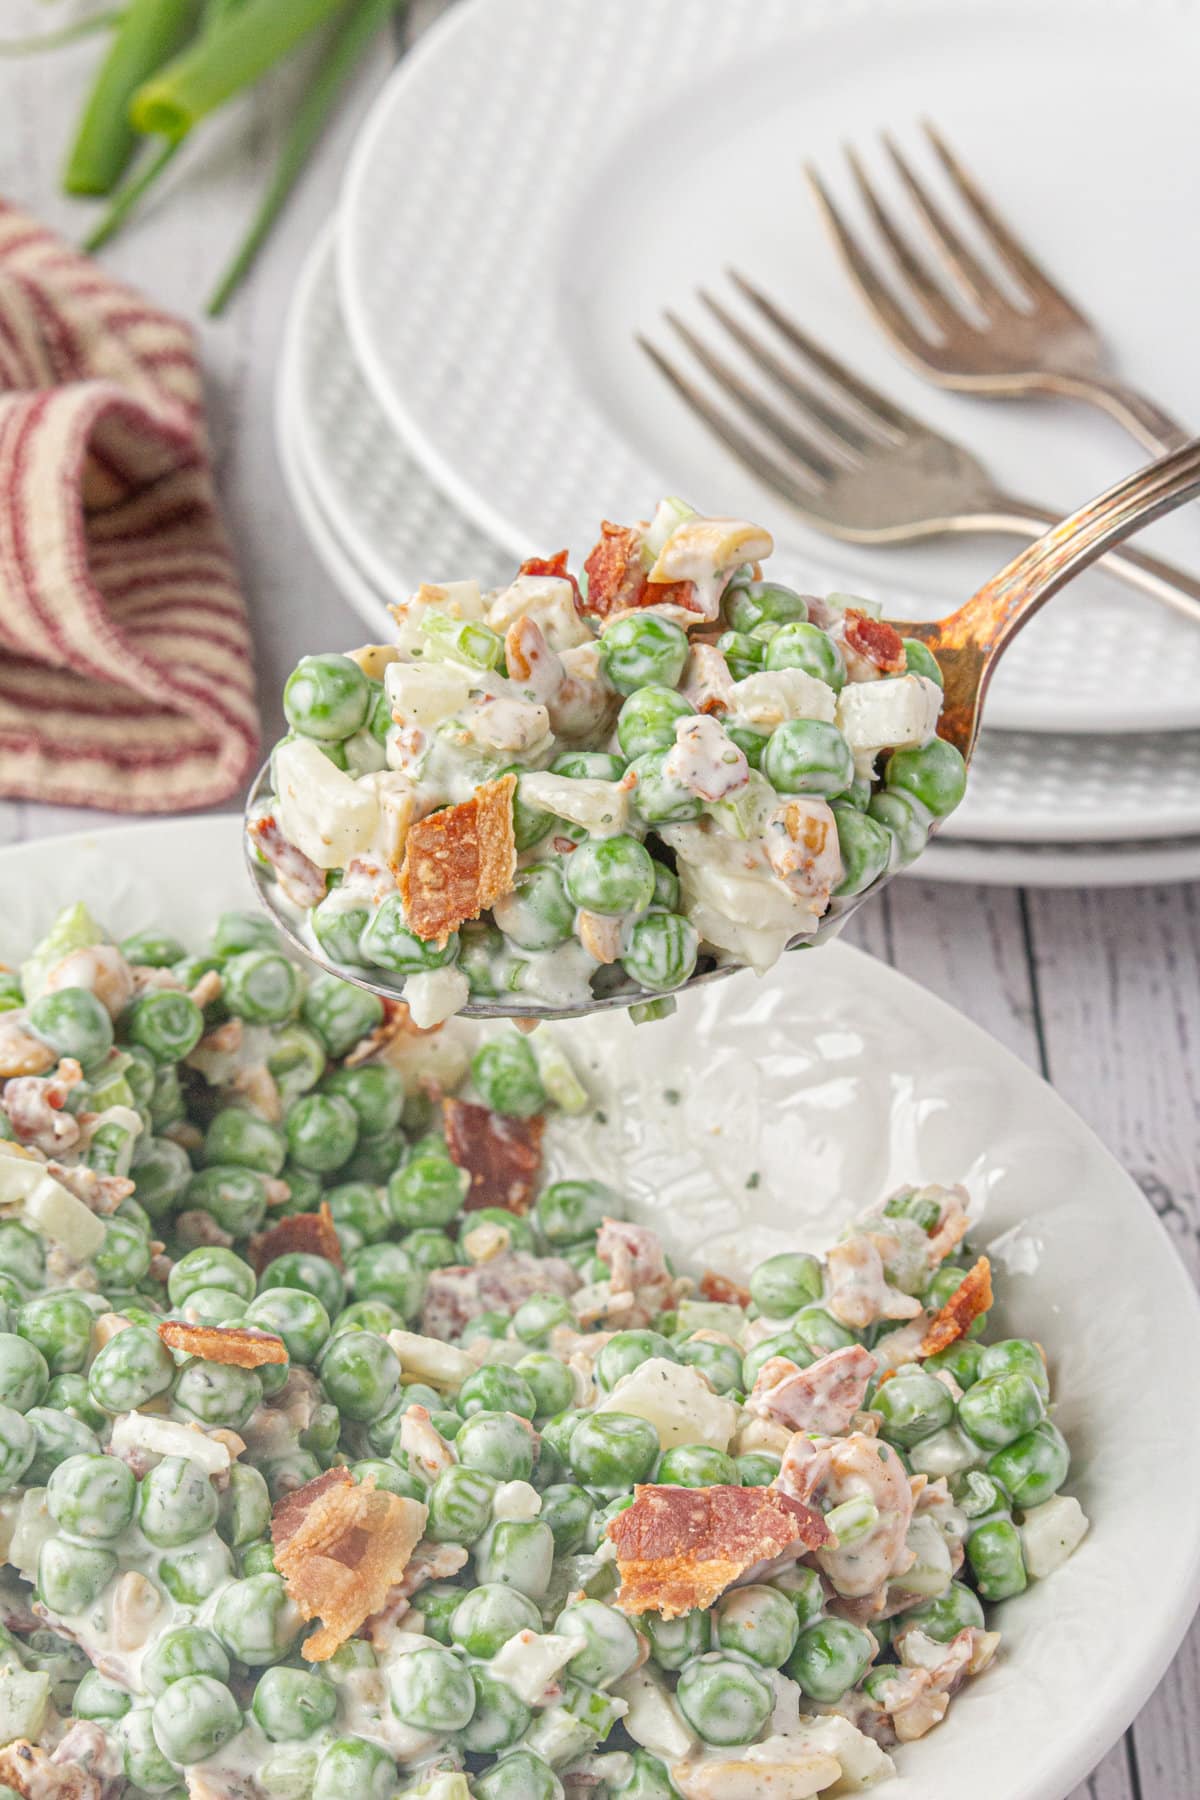
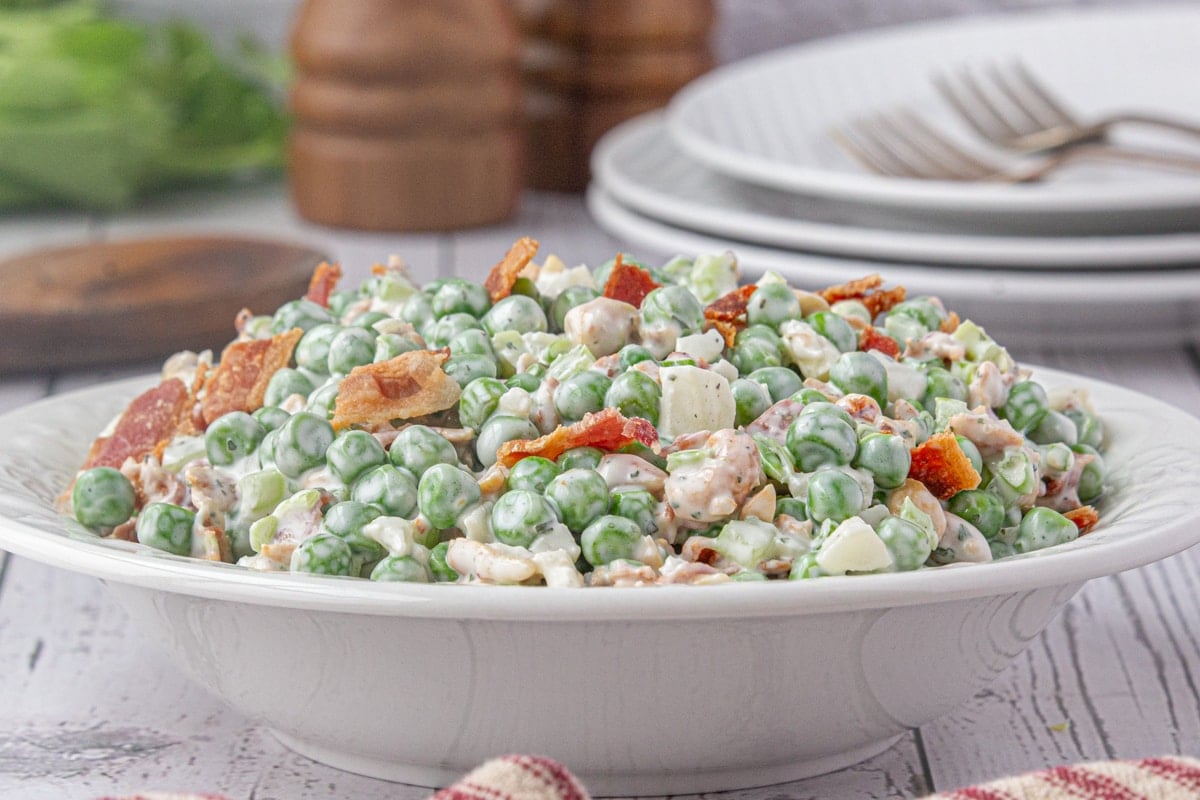
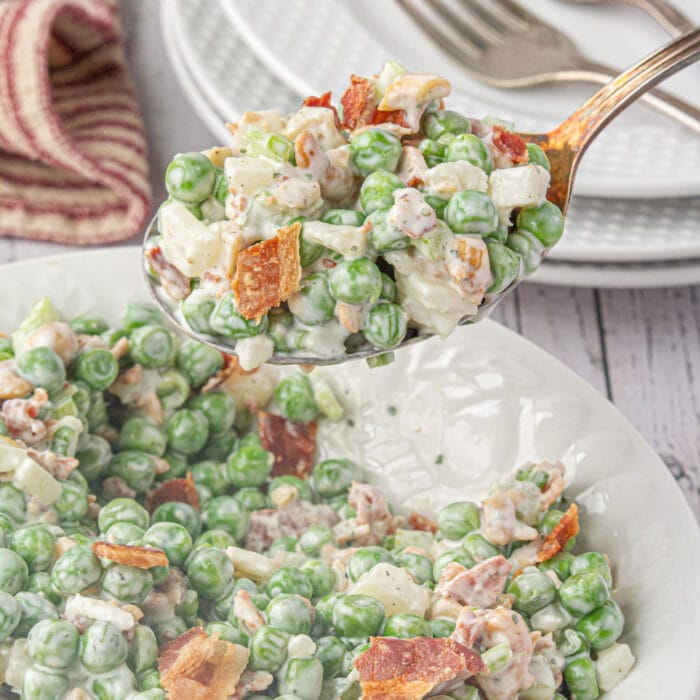
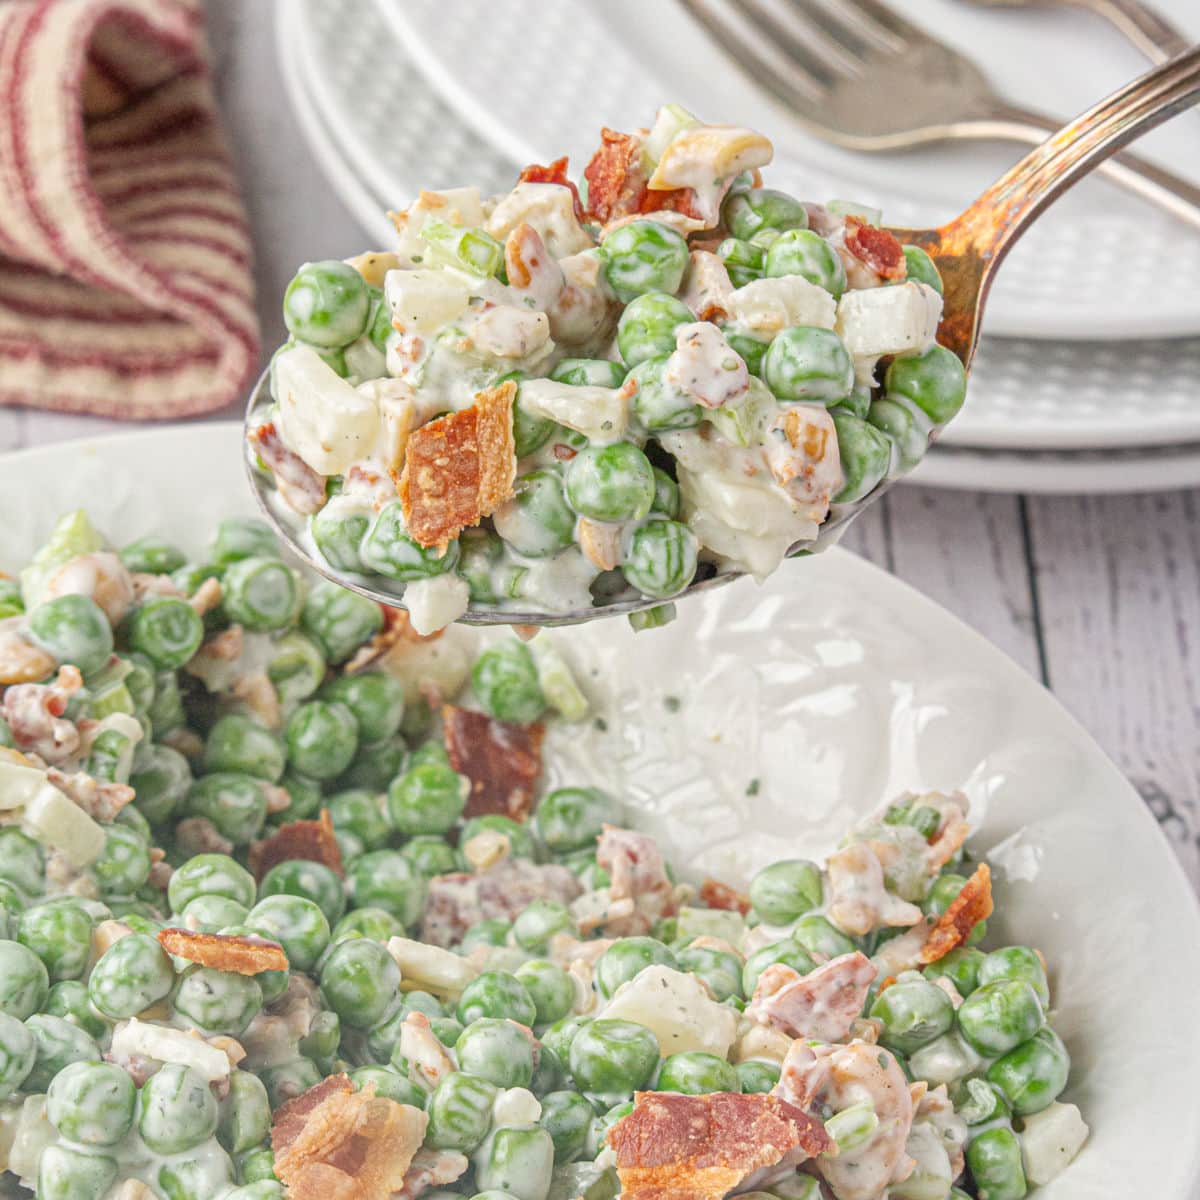
Salty cashews and crispy bacon blend perfectly with the sweet peas, crunchy water chestnuts, and creamy dressing in this great salad.
The salty-sweet flavors and contrasting textures will make your taste buds dance a two-step!
🧾 Ingredients
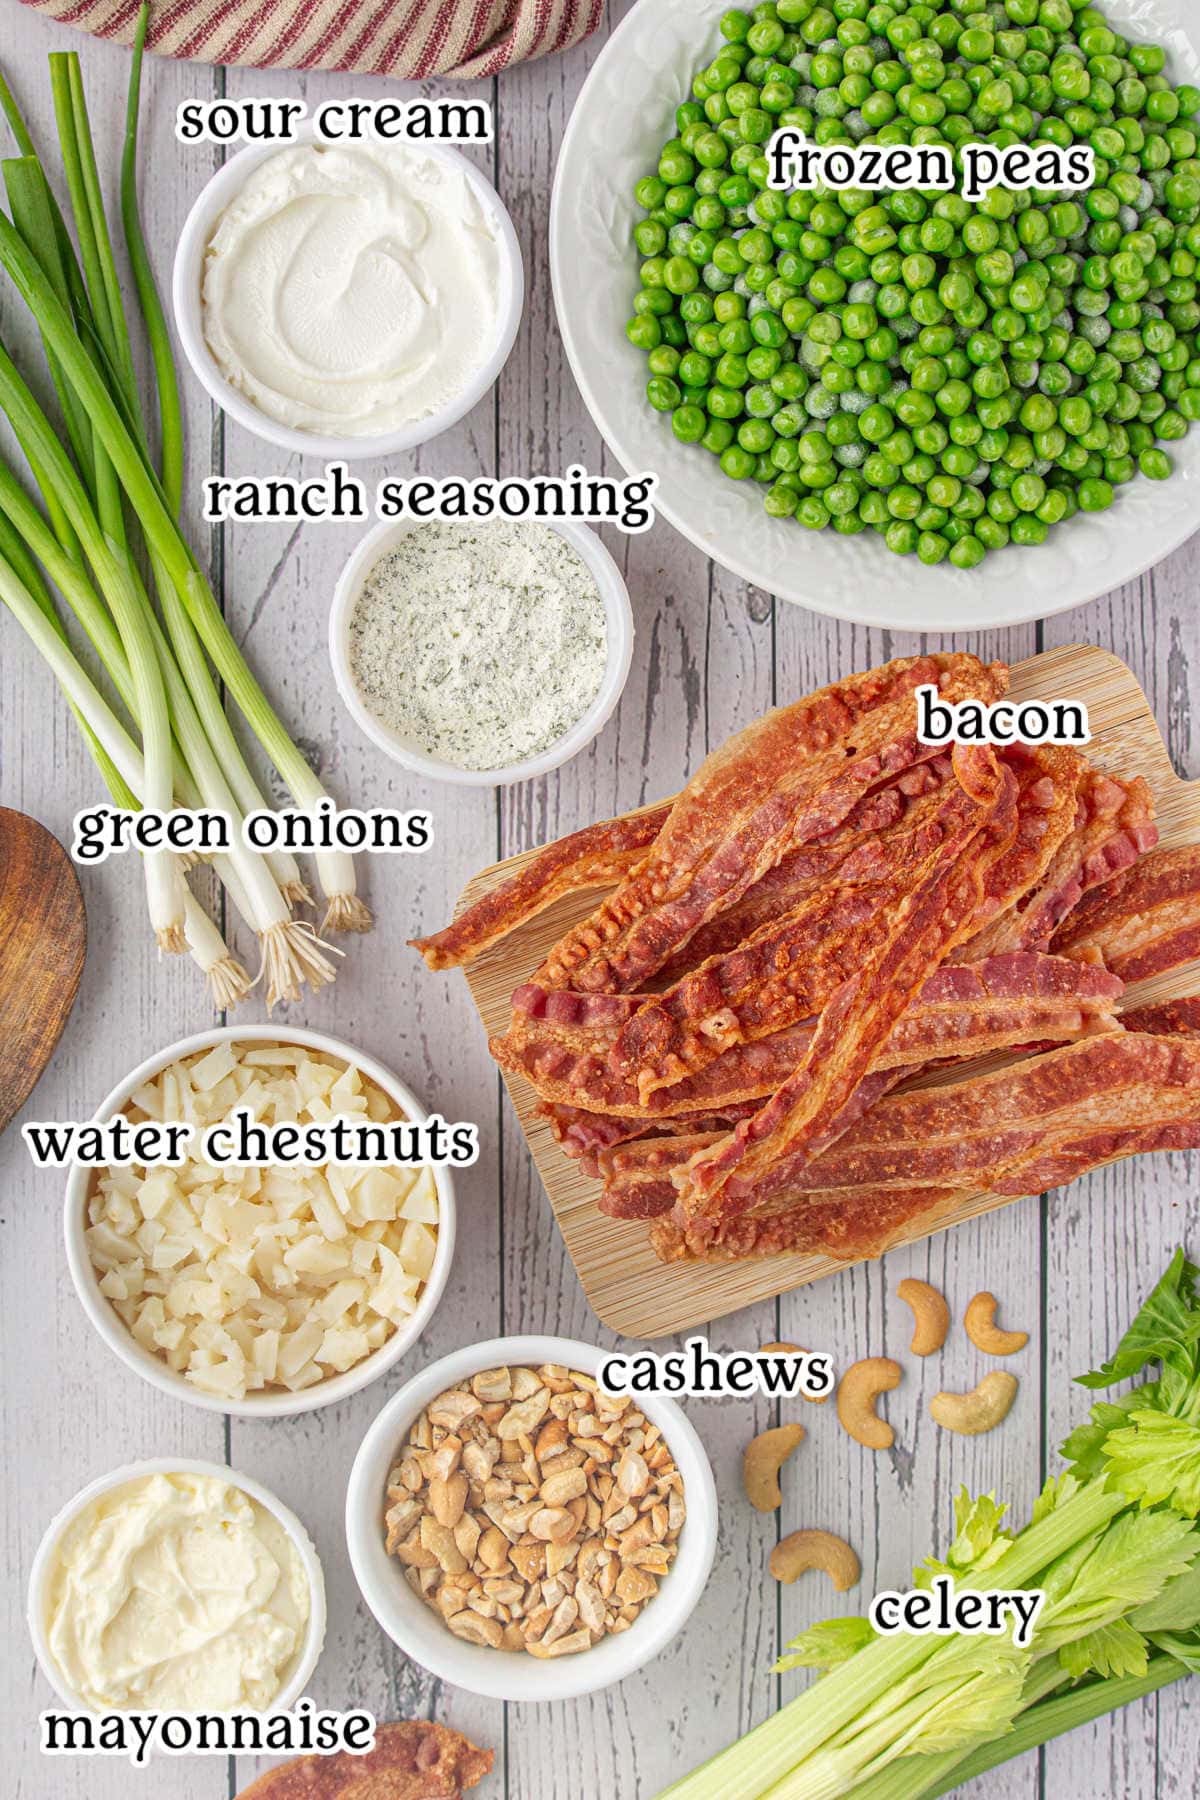
This is an overview of the ingredients. You'll find the full measurements and instructions in the green recipe card (printable) at the bottom of the page.
📖 Variations
- Feel free to use fresh peas instead of frozen peas if you'd like. (You'll have to boil fresh peas for about a minute to soften 'em.)
- Turkey bacon can be substituted for pork bacon—but be sure to make it nice and crispy!
- You can use unsalted cashews if you want to reduce the sodium content, though I prefer the taste of salted nuts.
🔪 Instructions
This is an overview of the instructions. Full instructions are in the green recipe card at the bottom of the page. Click on the image to see it full size.
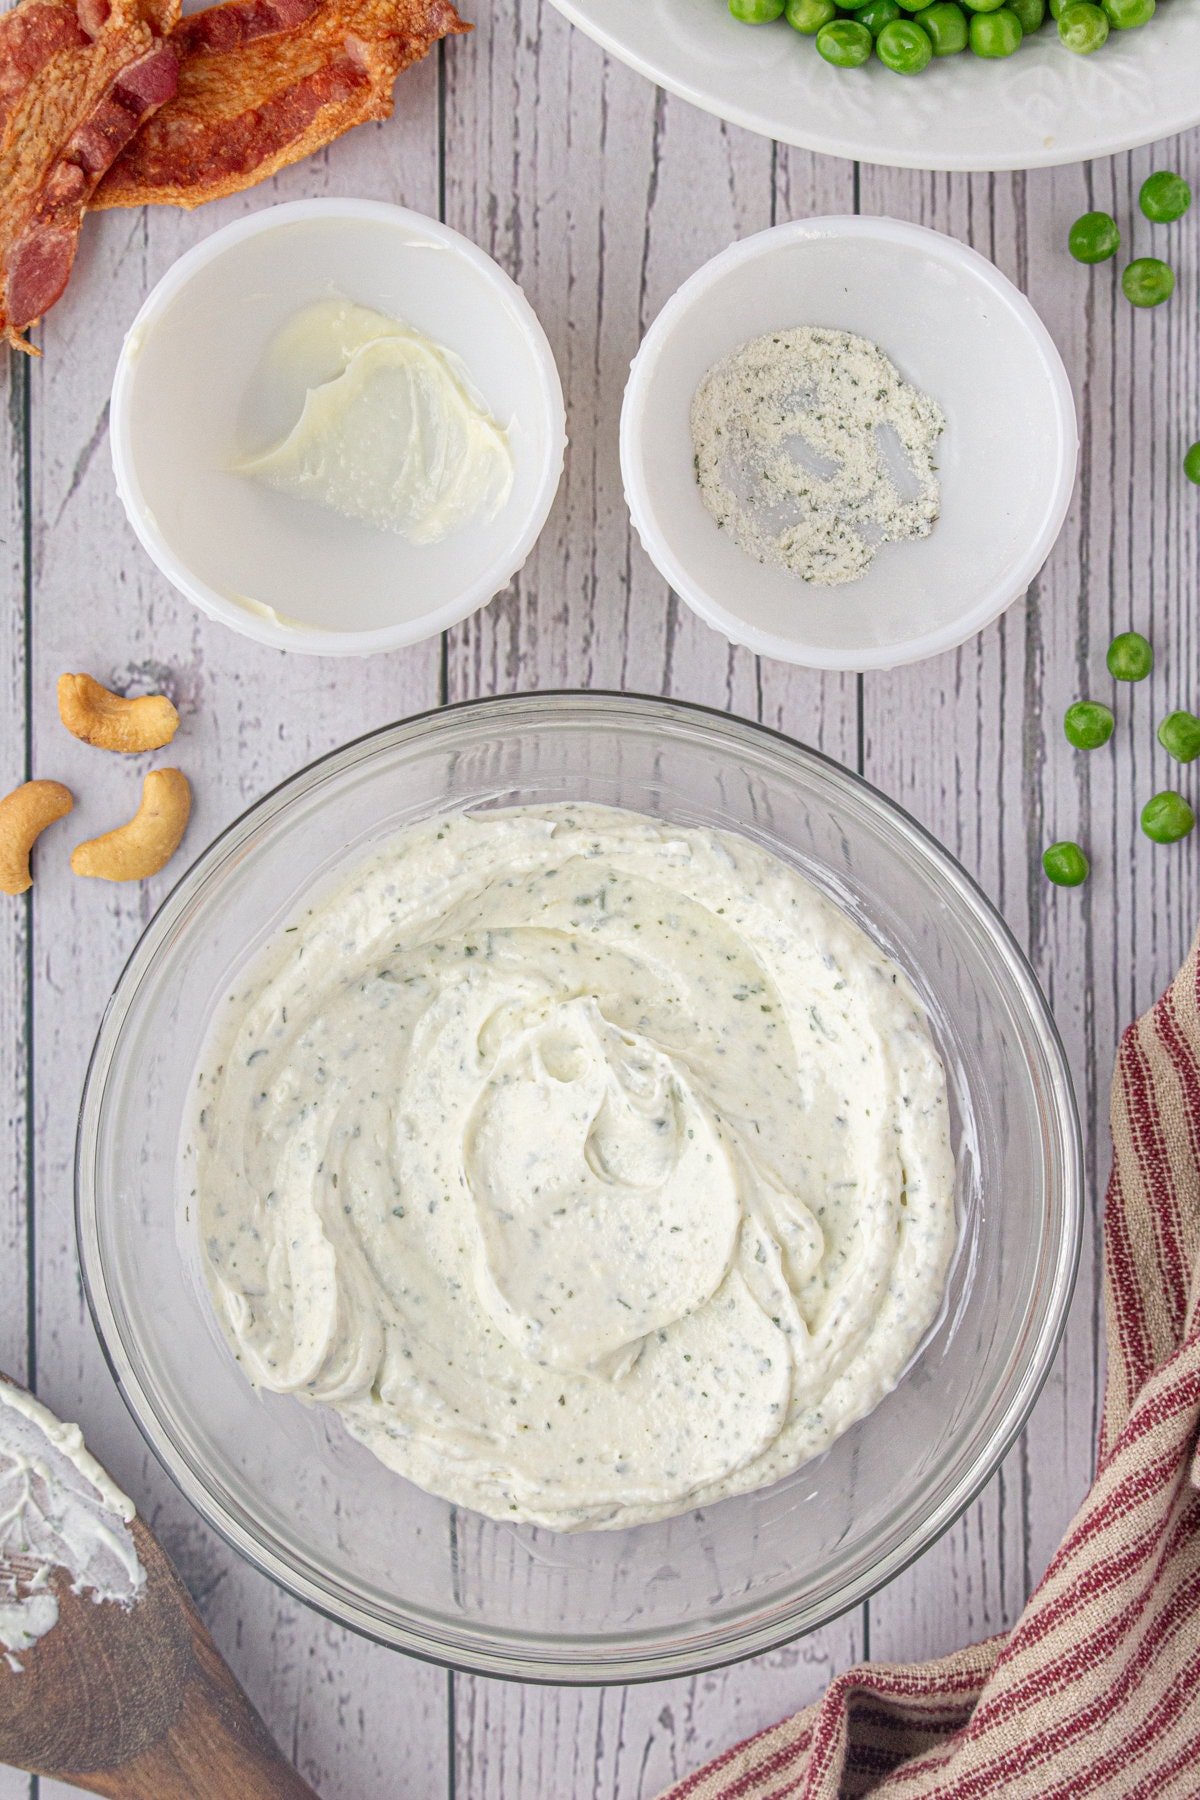
Mix the sour cream, mayonnaise, and dry Ranch dressing mix in a small bowl.
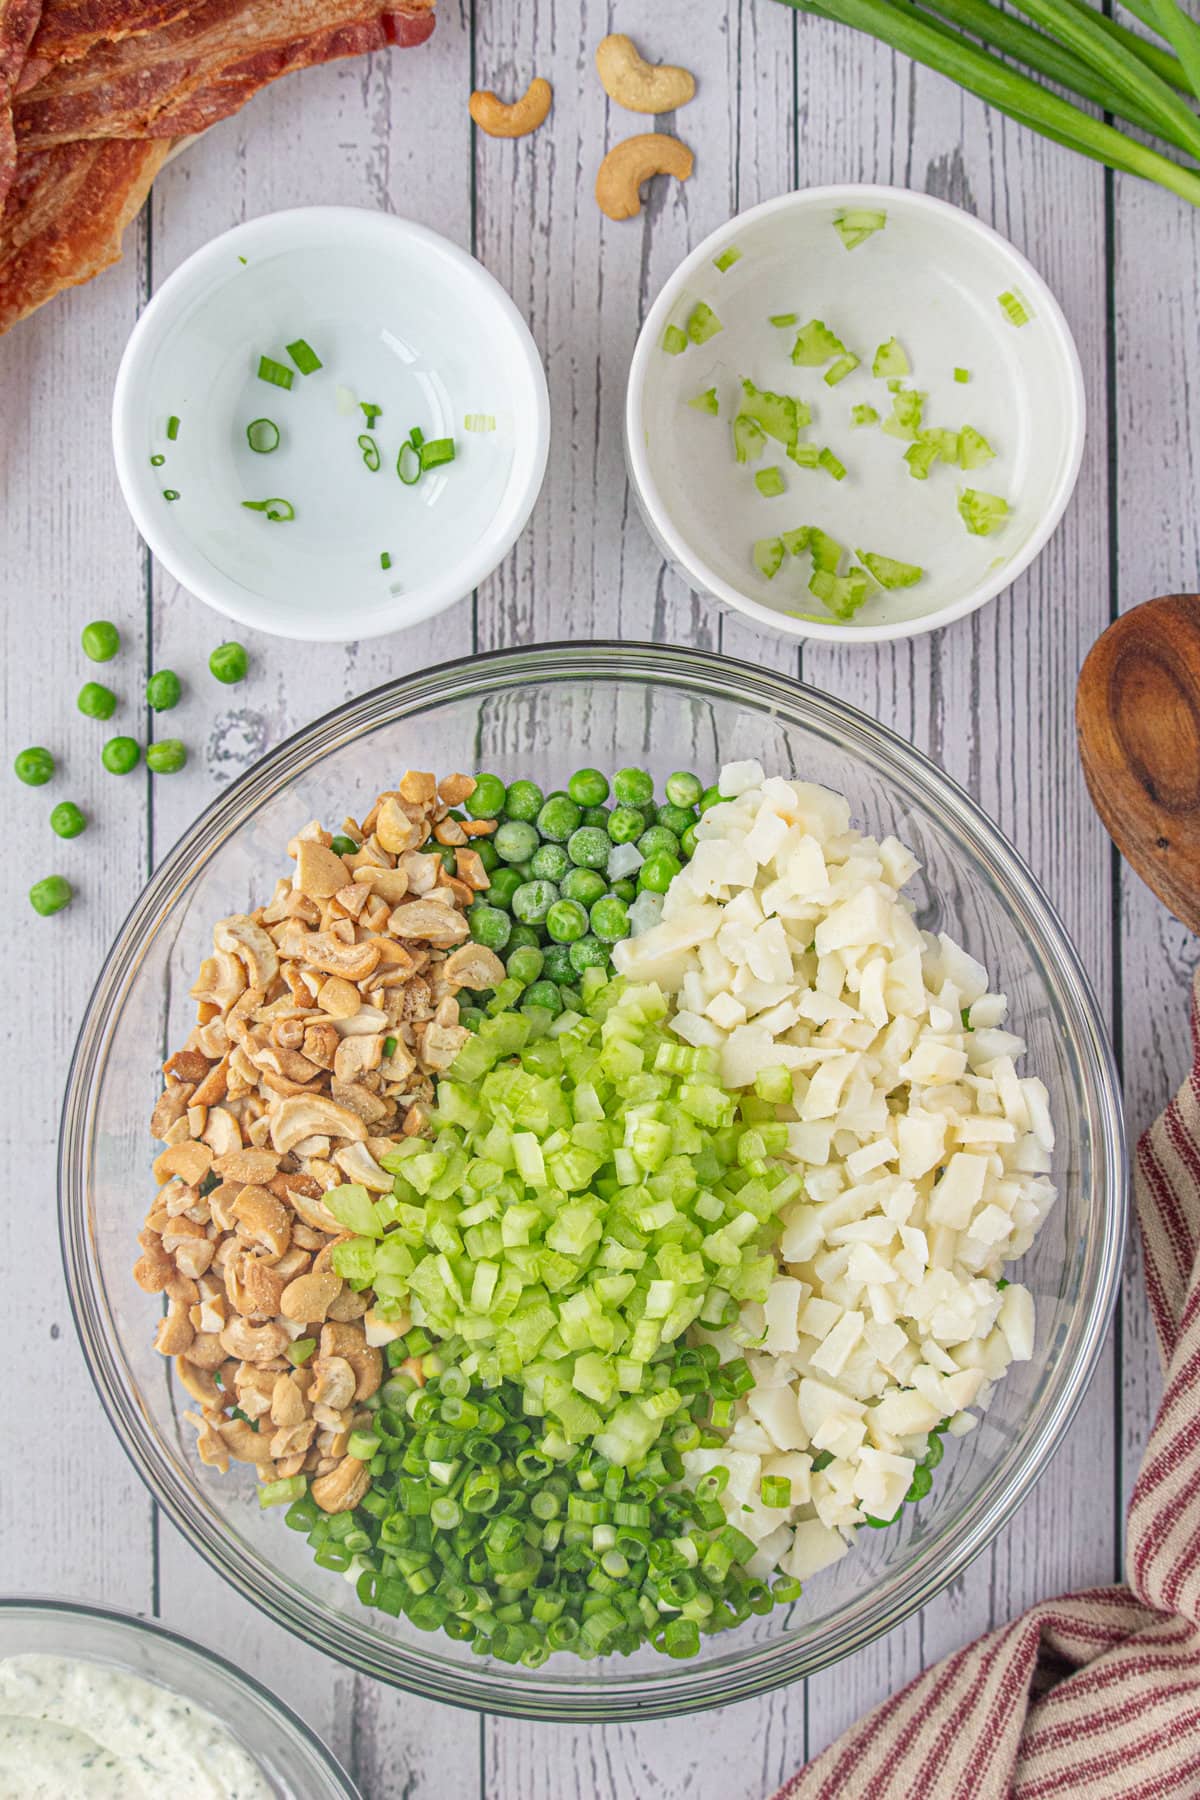
Combine peas, green onions, celery, cashews, and sliced water chestnuts in a large bowl.
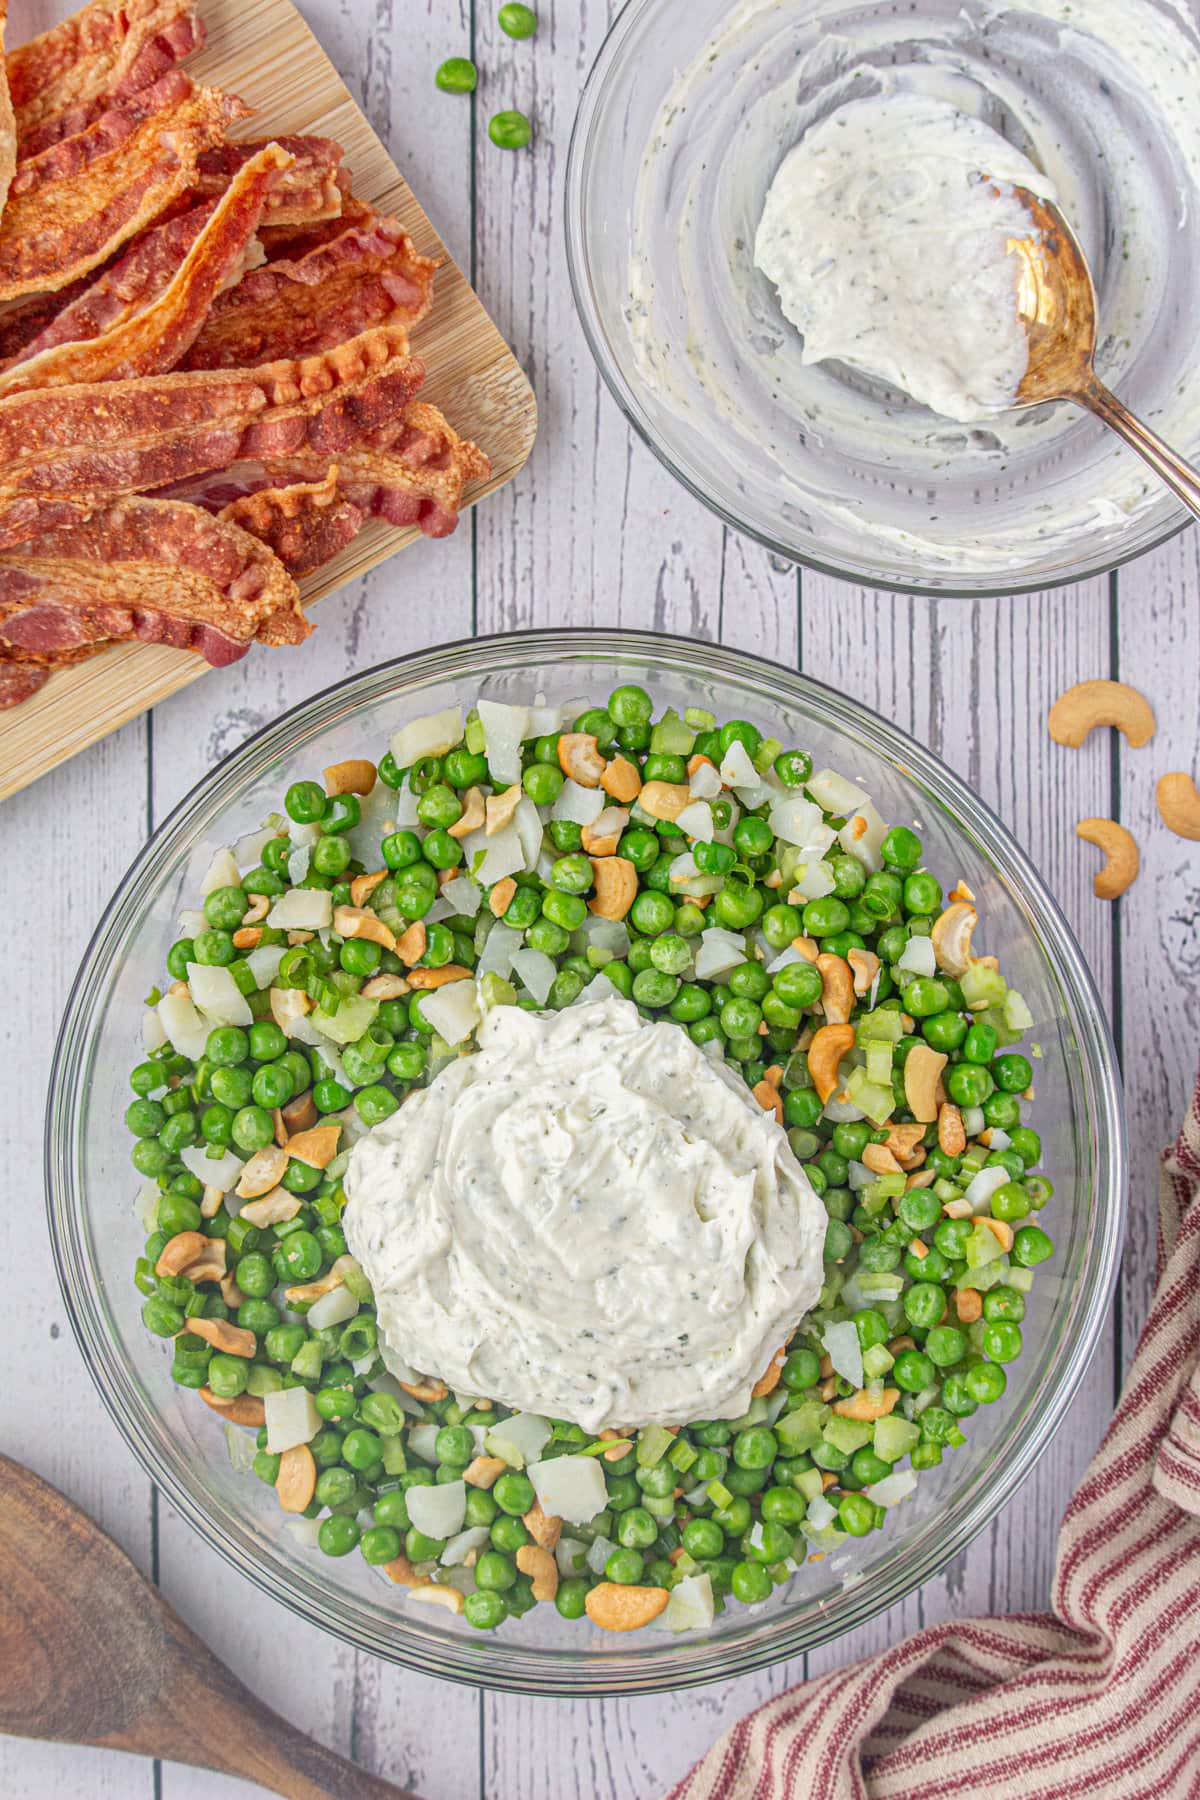
Add the dressing and mix it well. Cover with plastic wrap and chill for 24 hours.
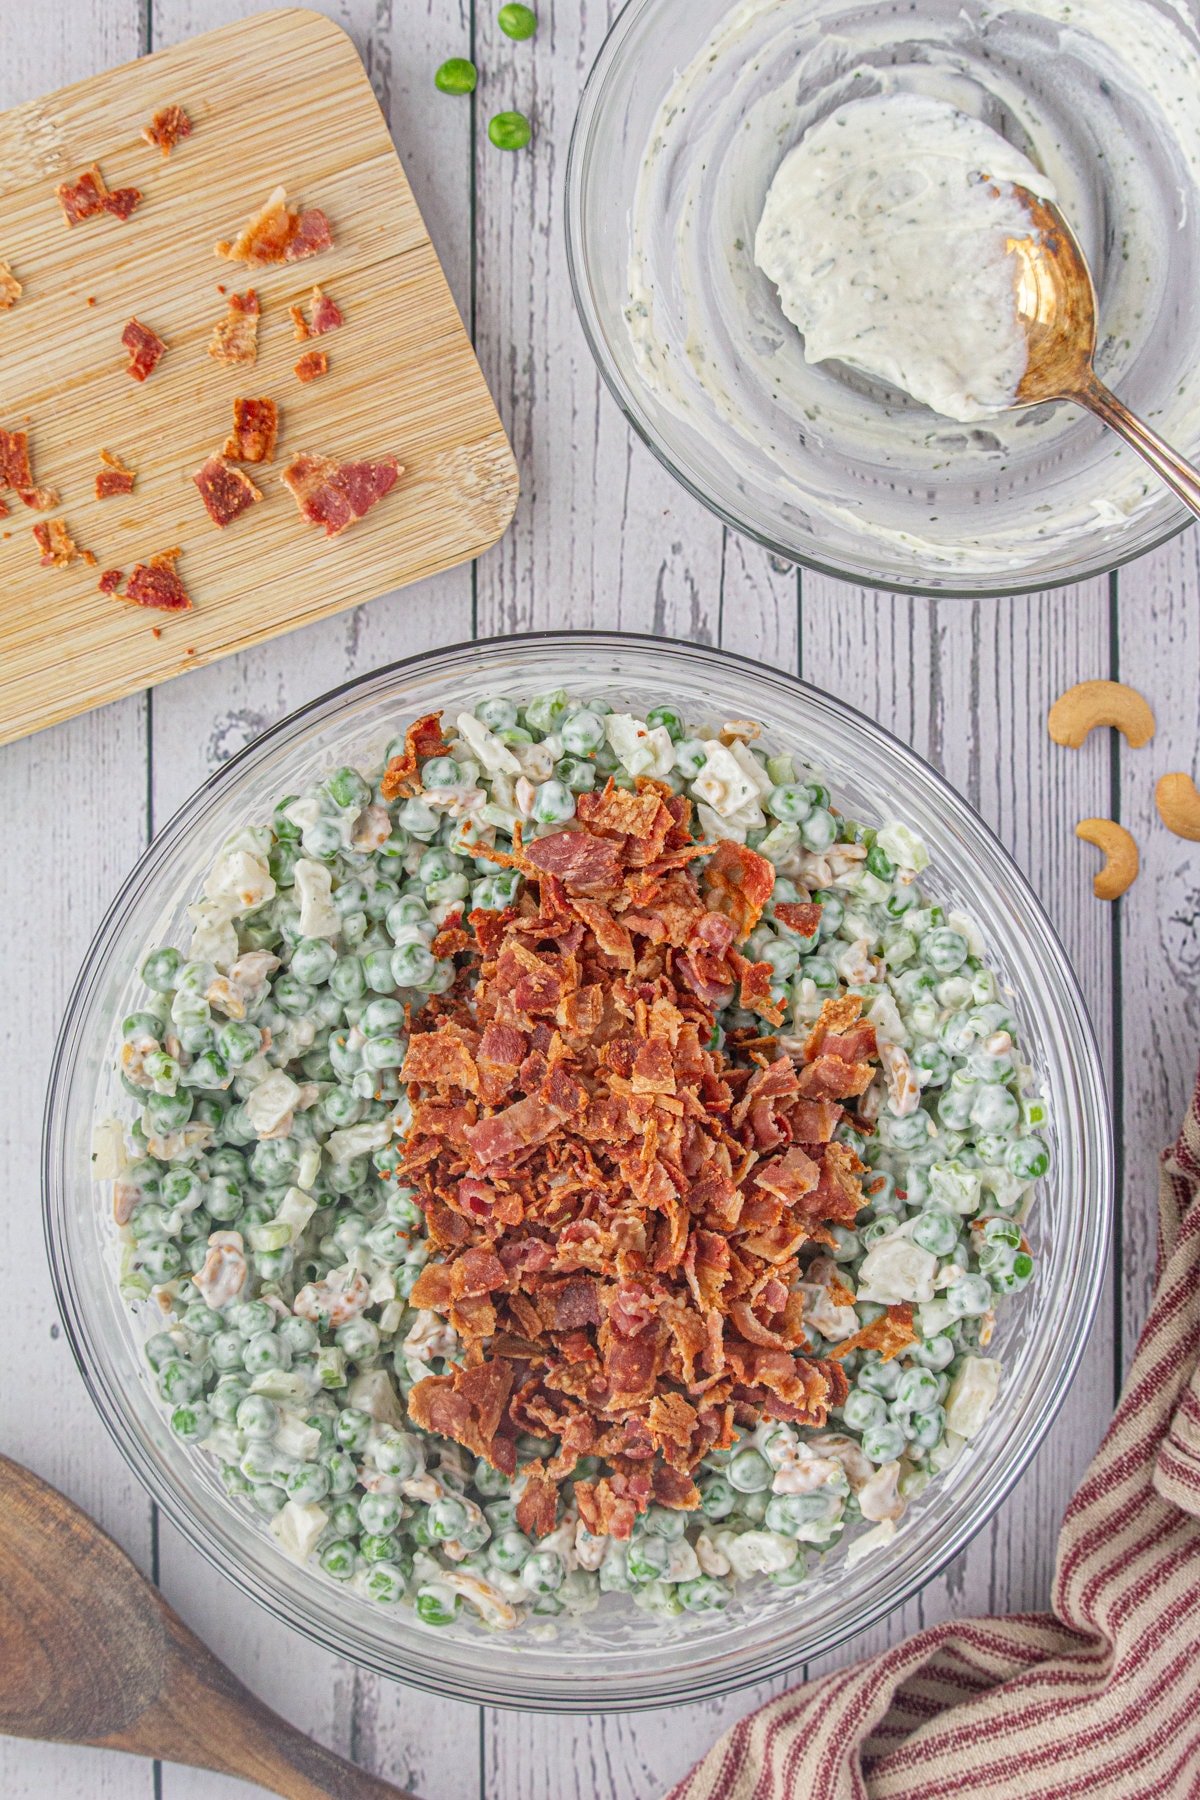
Stir in the bacon just before serving.
🍴 Equipment
- Mixing bowls
- Large serving bowl
🎥 Video
Hey y'all! Don't forget to check out my latest video where I guide you through each step of this delicious recipe. It's always great to have a visual guide, right? And as always, my cooking show, Restless Chipotle Kitchen, has got your back. If you're looking for more yummy ideas, dive into our full recipe collection on YouTube. You're gonna love it!
🥫 How to store leftover potluck pea salad
Pea salad is best enjoyed the day after it's made. However, leftovers can be refrigerated in a bowl covered with plastic wrap or in an airtight container for up to two more days.
Serve it chilled. Just a heads-up: this is not a freezer-friendly recipe. I don't recommend storing leftovers in the freezer.
Marye's Notes
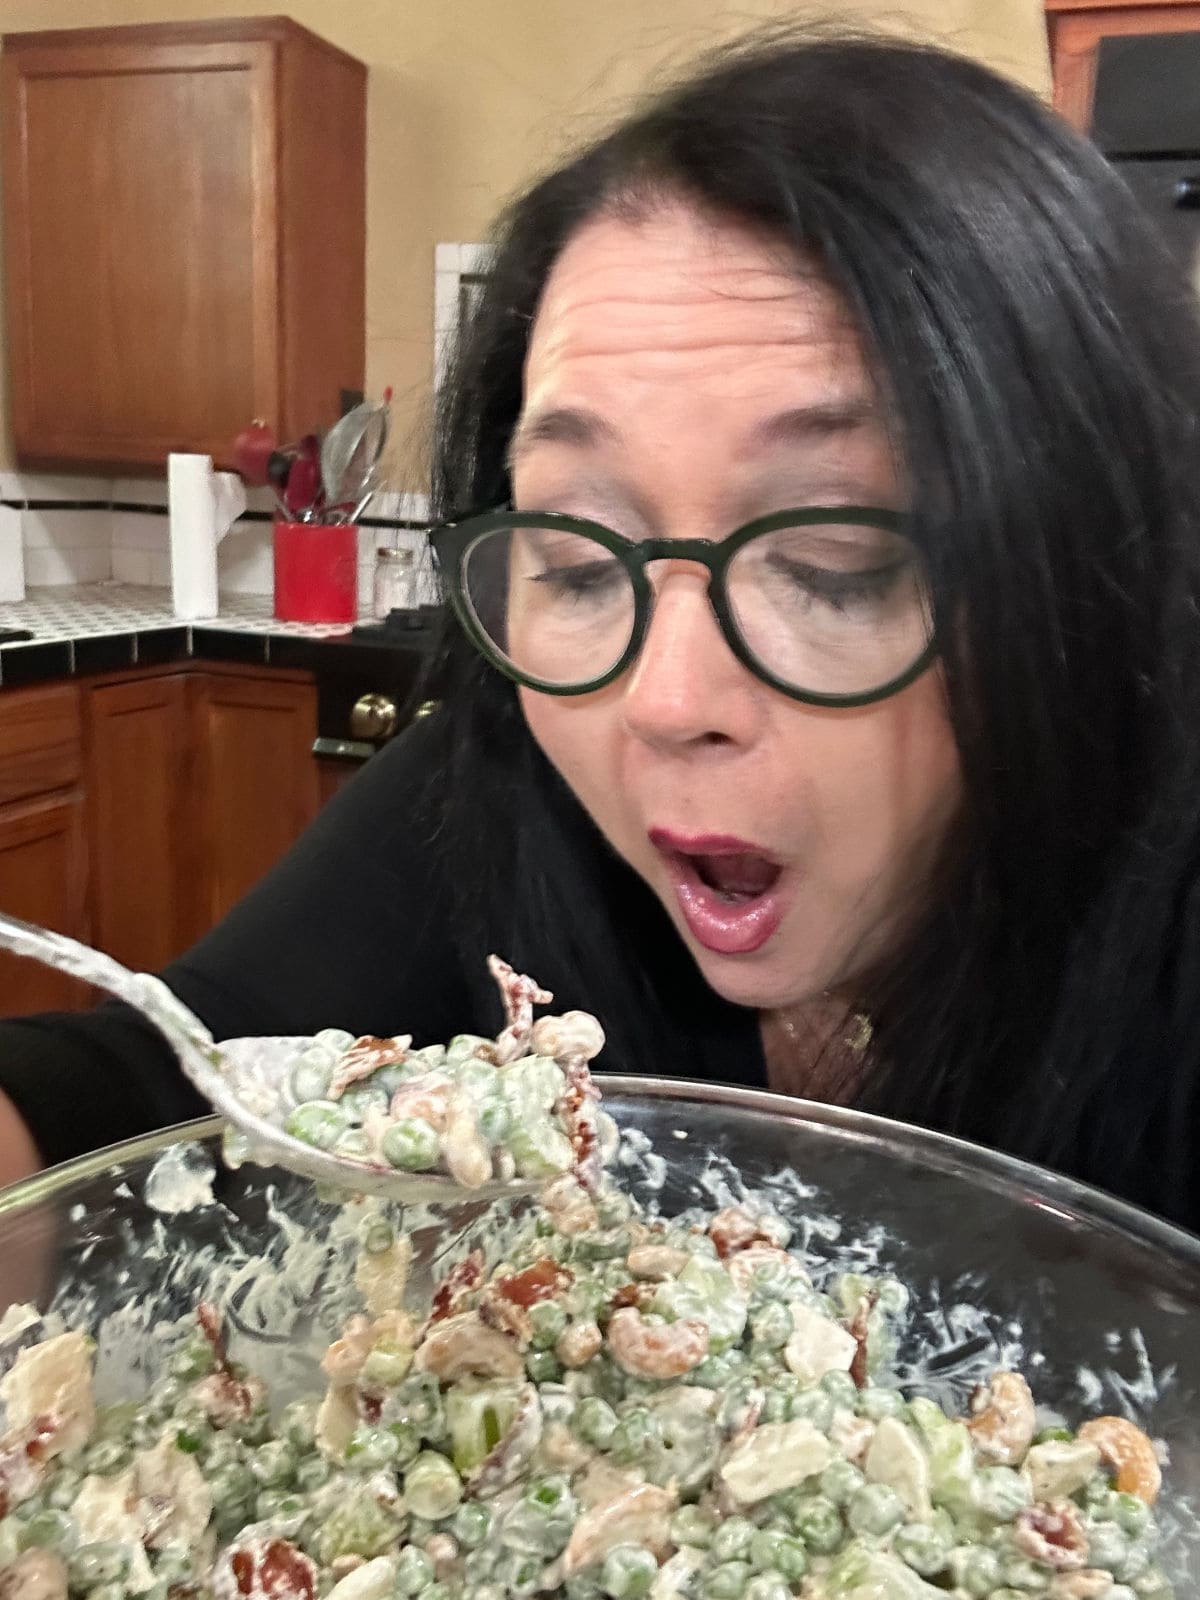
Mom used to stir a tablespoon or so of the bacon grease into the salad when she added the bacon for even more smoky-bacony goodness.
💭 Things to know
- You can use both the white and green parts of the green onions for maximum flavor.
- Don't forget to drain and chop the water chestnuts! You don't need the water they're stored in, and chopping gives this salad a great texture.
- Make sure you use dry Ranch dressing mix, not Ranch dressing from a bottle!
- Don’t skip the chilling time! You need to refrigerate your pea salad for the full 24 hours so the flavors meld together.
- Fry up and mix in the bacon bits when ready to serve your pea salad so they stay nice and crispy. If you add them the day before, the creamy dressing will soften them in the fridge.
- You can top your pea salad with extra bacon, fried onions, grated cheddar cheese, parmesan, feta, or blue cheese.
👩🍳 FAQs
I don't recommend canned peas—simply put, they're too mushy! My picks are fresh or frozen for the most delicious pea salad.
Yep! Allowing the pea salad to sit in the fridge for 24 hours lets the flavors blend well and improves the texture.
This pea salad will only last 2-3 days in the fridge. Much past that, and the creamy dressing will start to split. But this great salad is so tasty that I doubt you’ll have any leftovers!
📚 Related recipes
📞 The last word
This was always served in one of those big Tupperware bowls out on the picnic table. You know the one, right?
Ours was turquoise but my aunt's was pink.
Red checkered plastic tablecloths, grilled hamburgers, potato chips, and buckets of ice with root beer, Dr Pepper - y'all, those are some great memories.
Make some of your own memories with this easy side dish.
If you click on the number of servings in the recipe card you can adjust the measurements up or down for the exact number of servings you need.
If you love this recipe please comment below and give it 5 stars! ⭐️⭐️⭐️⭐️⭐️
📖 Recipe
Potluck Pea Salad with Cashews
Print Pin Recipe Save Recipe Rate RecipeIngredients
Salad
- 1 pound bacon, fried crisp and crumbled
- 1 cup green onions, about 6-8, chopped
- 1 cup celery, chopped
- 1 cup cashews, chopped
- 16 ounces packages frozen peas
- 8 ounces water chestnuts, chopped
Dressing
- ⅔ cup sour cream
- ⅓ cup mayonnaise
- 2 tablespoons Ranch dressing mix, one packet of the dry mix.
Instructions
Dressing
- Stir together the sour cream, mayonnaise, and Ranch dressing mix.
- Add salt and pepper to taste.
- Set aside.
Salad
- Mix all ingredients except the bacon in a large serving bowl.
- Top with the dressing and mix well.
- Cover with plastic wrap.
- Chill 24 hours.
- Stir in bacon just before serving.
Notes
-
- Make sure you use dry Ranch dressing mix, not Ranch dressing from a bottle!
-
- Don’t skip the chilling time! You need to refrigerate your pea salad for the full 24 hours so the flavors meld together.
-
- Fry up and mix in the bacon bits when ready to serve your pea salad so they stay nice and crispy. If you add them the day before, the creamy dressing will soften them in the fridge.
Nutrition Facts
Nutrition information is estimated as a courtesy. If using for medical purposes, please verify information using your own nutritional calculator. Percent Daily Values are based on a 2000 calorie diet.
This recipe has been tested several times. If you choose to use other ingredients, or change the technique in some way, the results may not be the same.
Don't lose this recipe
Pin for later
Keep this recipe where you can easily find it! Pin to your Pinterest board!

Comments
No Comments