I've adapted my mom's recipe for this decadent dessert so that it's done in minutes in the microwave!
Don't want to scroll through the page to get to the recipe? Use the table of contents to click on the section you want to go to.
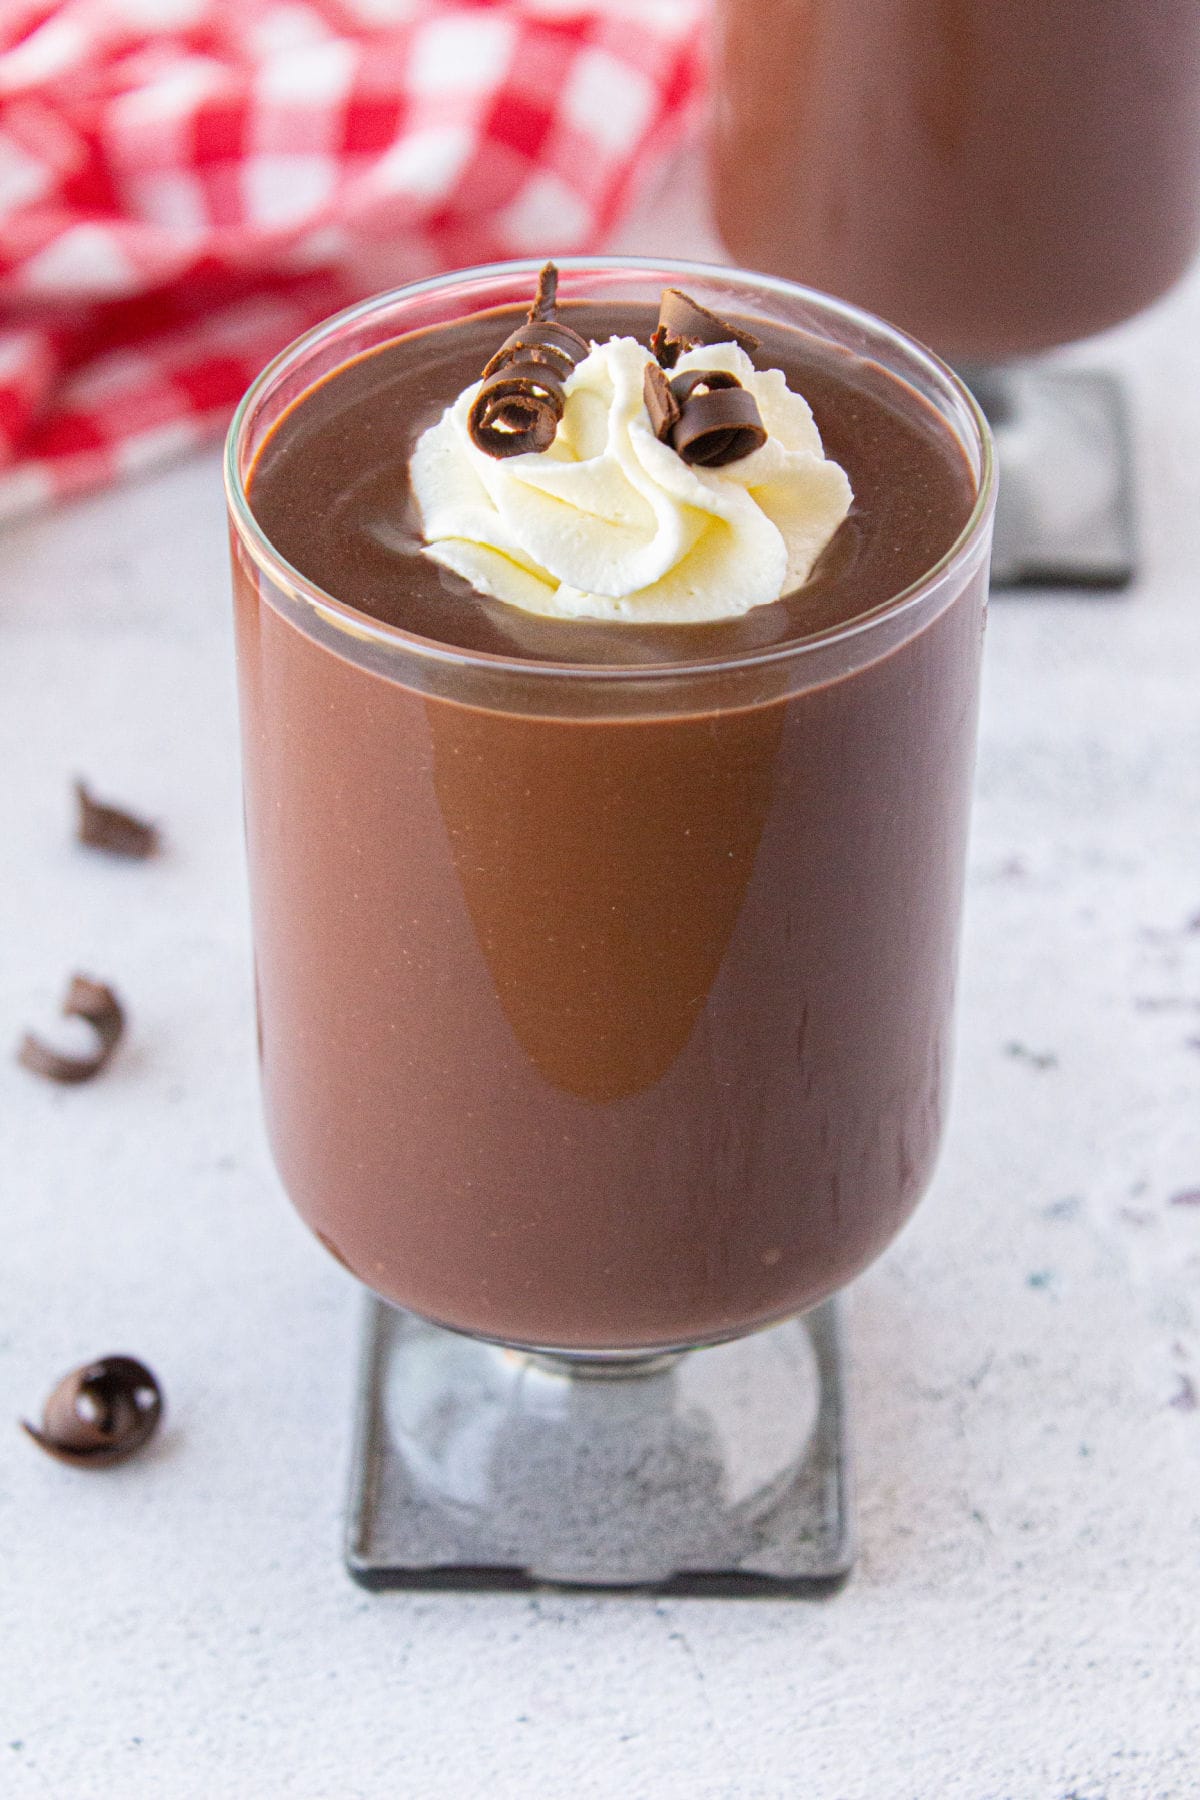
Table of Contents
🗝️ Key takeaways
- When you need dessert fast you'll love this rich chocolate pudding - it takes just 10 minutes total!
- It's the perfect pudding for "dirt" cups, trifles, no-bake pies, or serving as is.
- Using the microwave means that there's no worry about scorching or burning.
Making a satisfying, sweet chocolate dessert has never been as easy as this microwave chocolate pudding recipe.
It's one of those great recipes that's easy enough to make with kids, but so tasty that everyone will be begging for more.
🧾 Ingredients
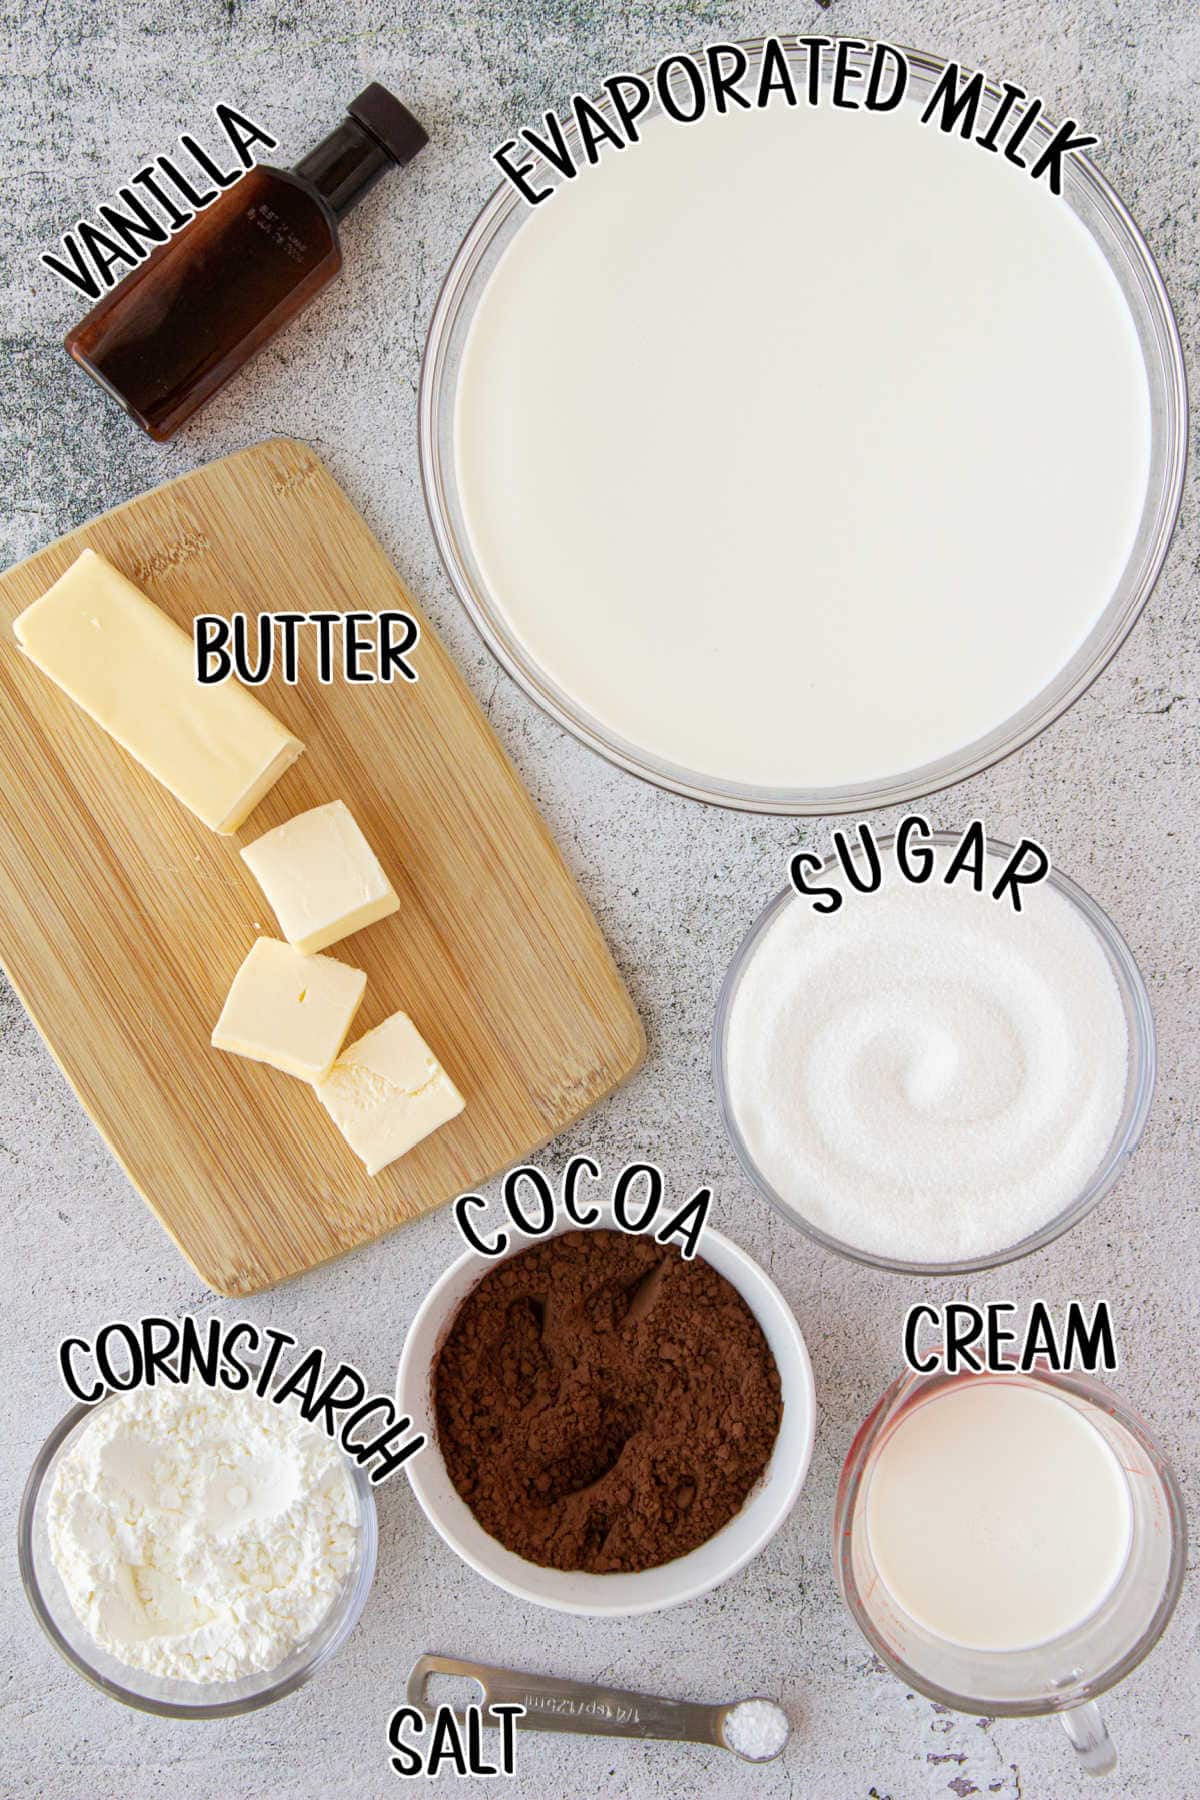
This is an overview of the ingredients. You'll find the full measurements and instructions in the green recipe card (printable) at the bottom of the page.
📖 Variations
- Flavor: Swap the vanilla extract with another flavor to switch up your treat. Orange extract and peppermint oil are both tasty options to pair with chocolate dessert!
- Milk Swap: Replace the whole milk with evaporated milk and your pudding will be extra thick—almost custardy!
- Dairy-Free: Dairy-free milk alternatives don't work very well in this recipe. They make the pudding taste thin. The only exception is coconut milk (the thickest kind you can buy.) You won't have as thick pudding as with whole milk, but it'll be closer.
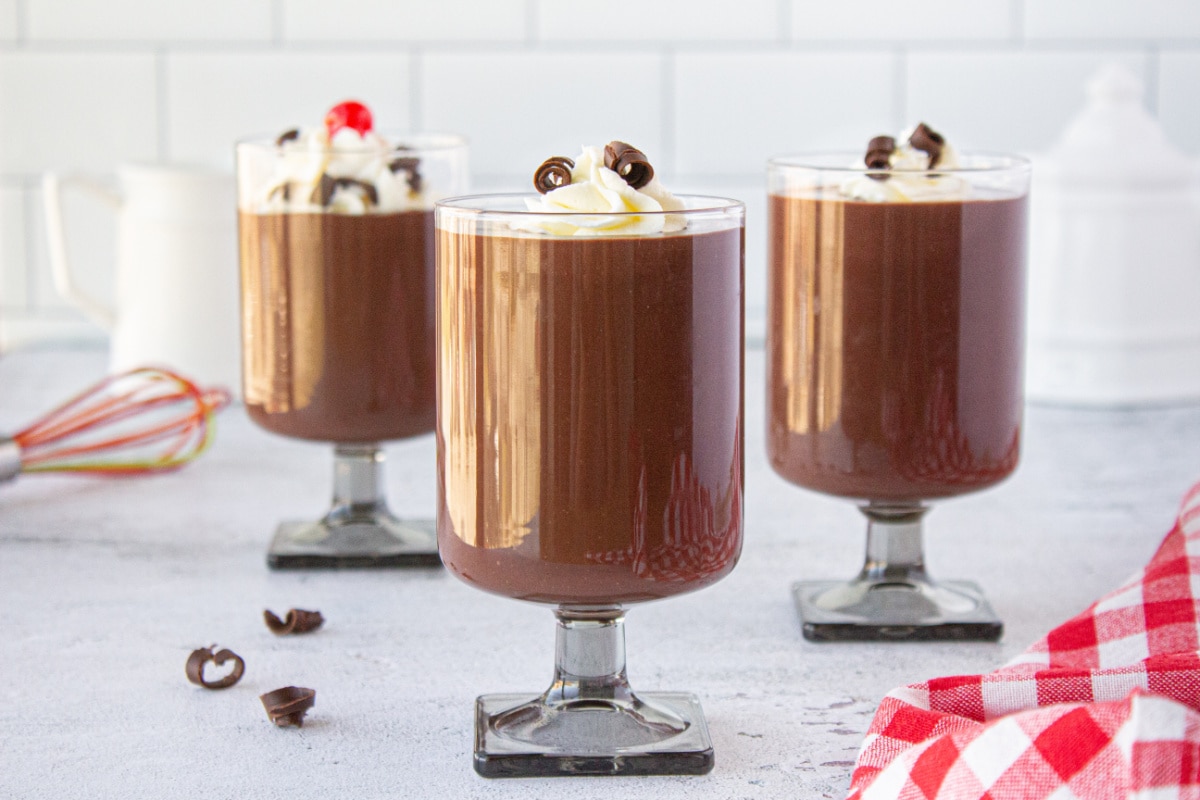
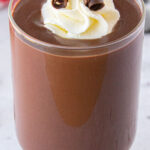
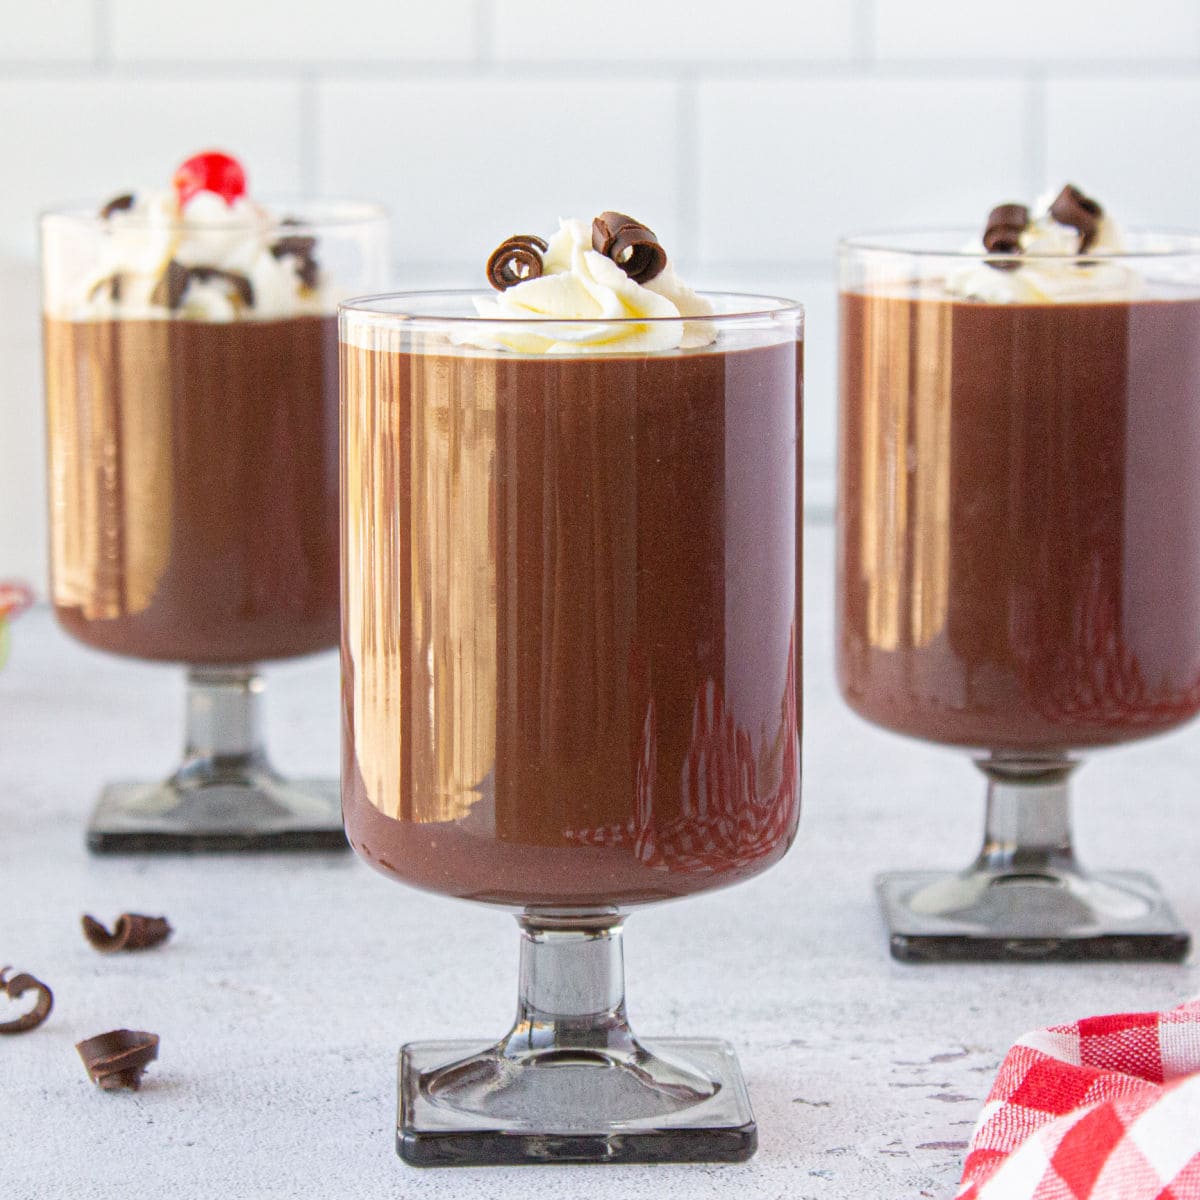
- Topping: Garnish the pudding with whipped cream/cool whip and some chopped milk chocolate chips (or chocolate shavings) for the perfect presentation.
- Top of the Stove Cooking Option: Combine the ingredients per the recipe instructions. However, instead of heating in the microwave, stir constantly in a saucepan over medium heat. Let the mixture come to a gentle bubble and continue cooking for two more minutes. Remember, stir constantly and switch to low heat if the pan gets too hot. Remove from heat and continue with the two tablespoons butter and vanilla.
- Make Homemade Pudding Mix: Combine the dry ingredients in a mason jar. Attach a tag with the measurements for the wet ingredients and the cooking instructions. Give it as a gift or store it in the pantry for next time!
- This recipe is super versatile. Use it for trifles, in "dirt cups," as the filling for no-bake pies, and more. Be sure to check out the "Serve with" section towards the bottom for additional ideas!
This simple pudding recipe works really well in my chocolate chip cookie delight recipe!
🔪 Instructions
This is an overview of the instructions. Full instructions are in the green recipe card at the bottom of the page.
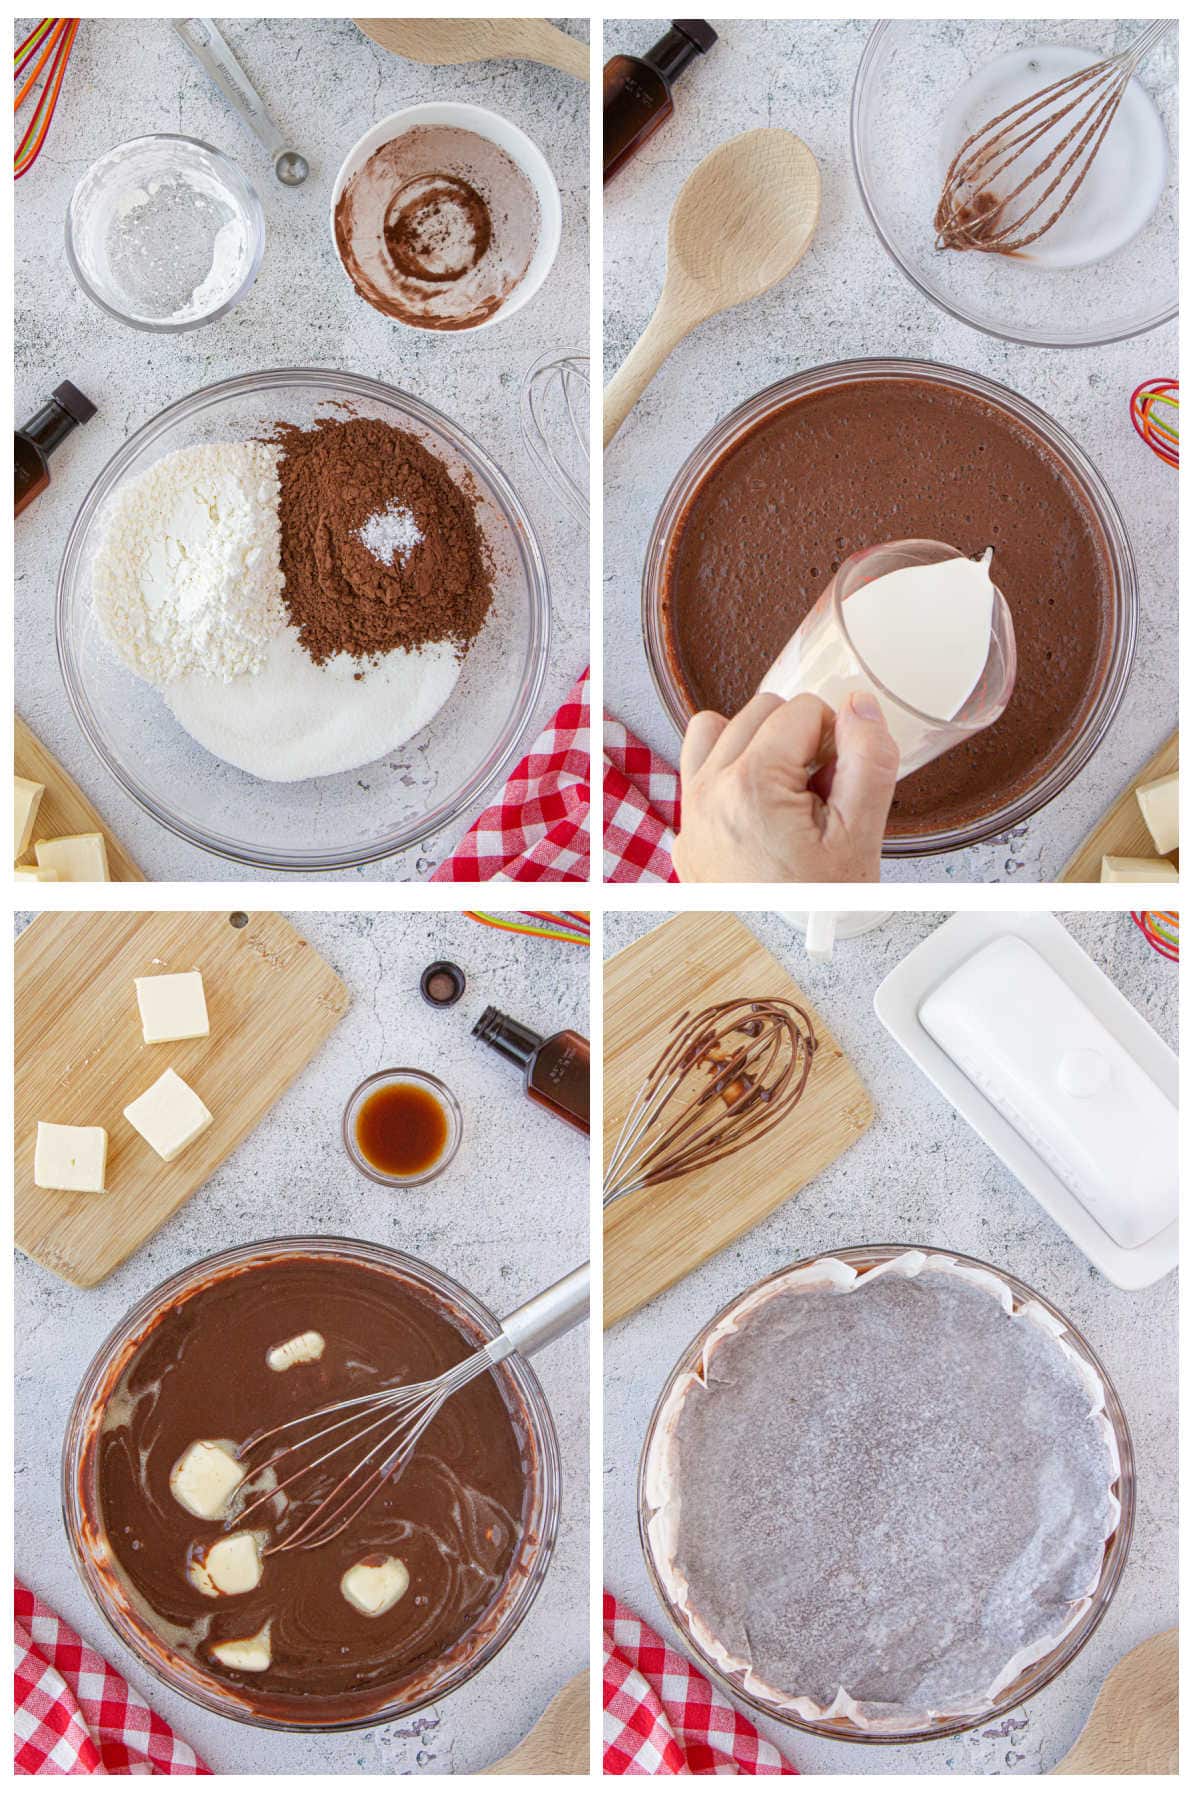
- In a microwave-safe bowl, mix the dry ingredients together.
- Whisk in the milk, then the cream, stirring until smooth.
- Microwave in one-minute increments until thick, stirring in between each. Melt butter into the hot pudding and add vanilla. Whisk until combined.
- Cover with oiled waxed paper and chill.
🎥 Video
🥫 Storage
Homemade chocolate pudding is a treat I always like to have in my fridge. It'll last for about three days as long as it's covered tightly.
For storage, be sure to seal the dish or bowl with plastic wrap so that the homemade pudding doesn't absorb any funky odors.
I like to store leftovers in glass, but you can use whatever containers you prefer.
Eat it chilled, right out of the fridge for the best results! Don't freeze—it won't keep well. It may even separate and get watery.
💭 Things to know
Expert Tip: If you like a skin on top of the pudding, don't cover it while chilling. On the other hand, to prevent pudding skin from forming, press a piece of plastic or wax paper right onto the surface of the pudding.
- The key to a smooth pudding is whisking your dry ingredients well. If you have clumps, consider sifting everything together.
- Evaporated milk or whole milk, and heavy cream give this easy pudding the best texture. 2%, 1%, and skim milk are too thin.
- Boxed pudding mix requires cold milk, but in this recipe, the temperature doesn't really matter.
- I don't recommend using a sweetener alternative, as they can have weird after-tastes. Sometimes, they don't melt as well, either.
- While in the microwave, the pudding bubbles up a bit. So, use a larger bowl to prevent it from overflowing.
- Use a wire whisk (rather than a plastic one.) They're heartier and combine ingredients together more effectively.
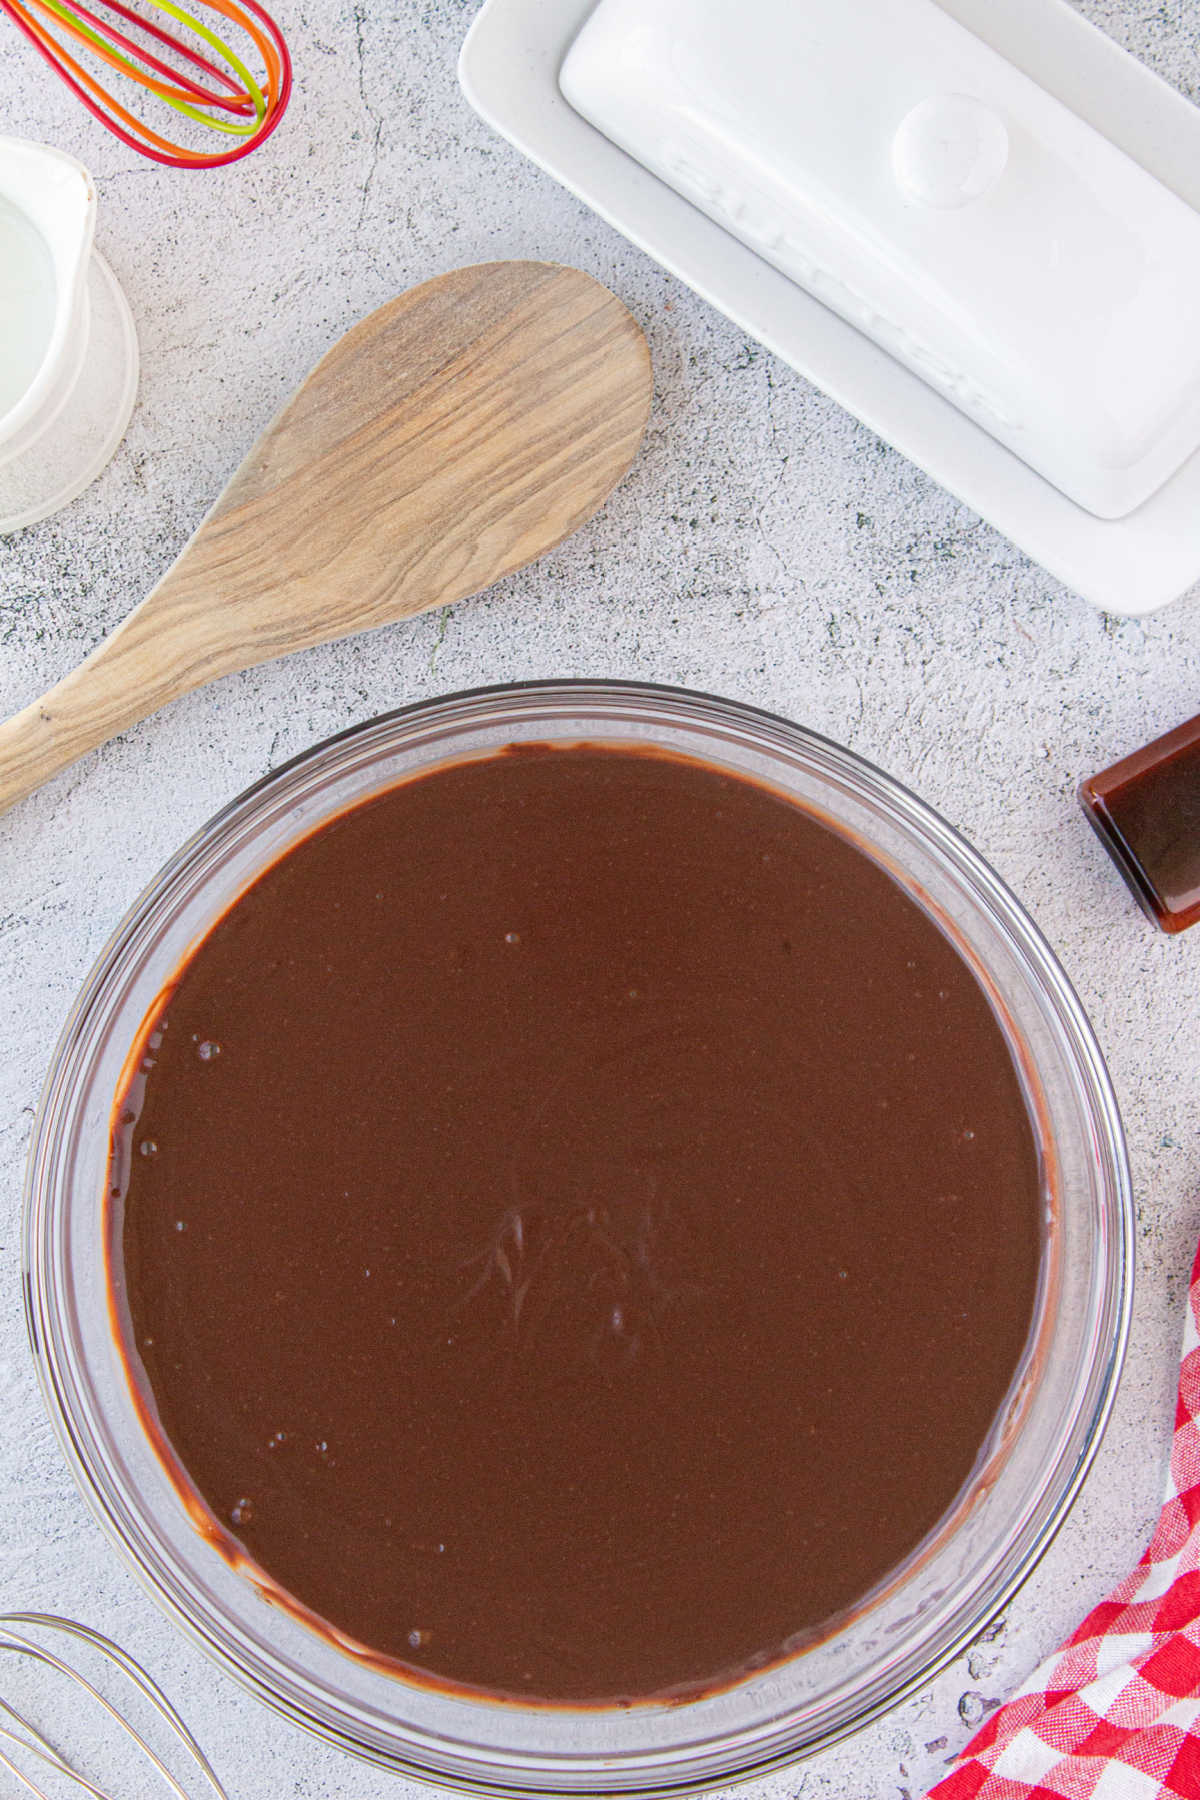
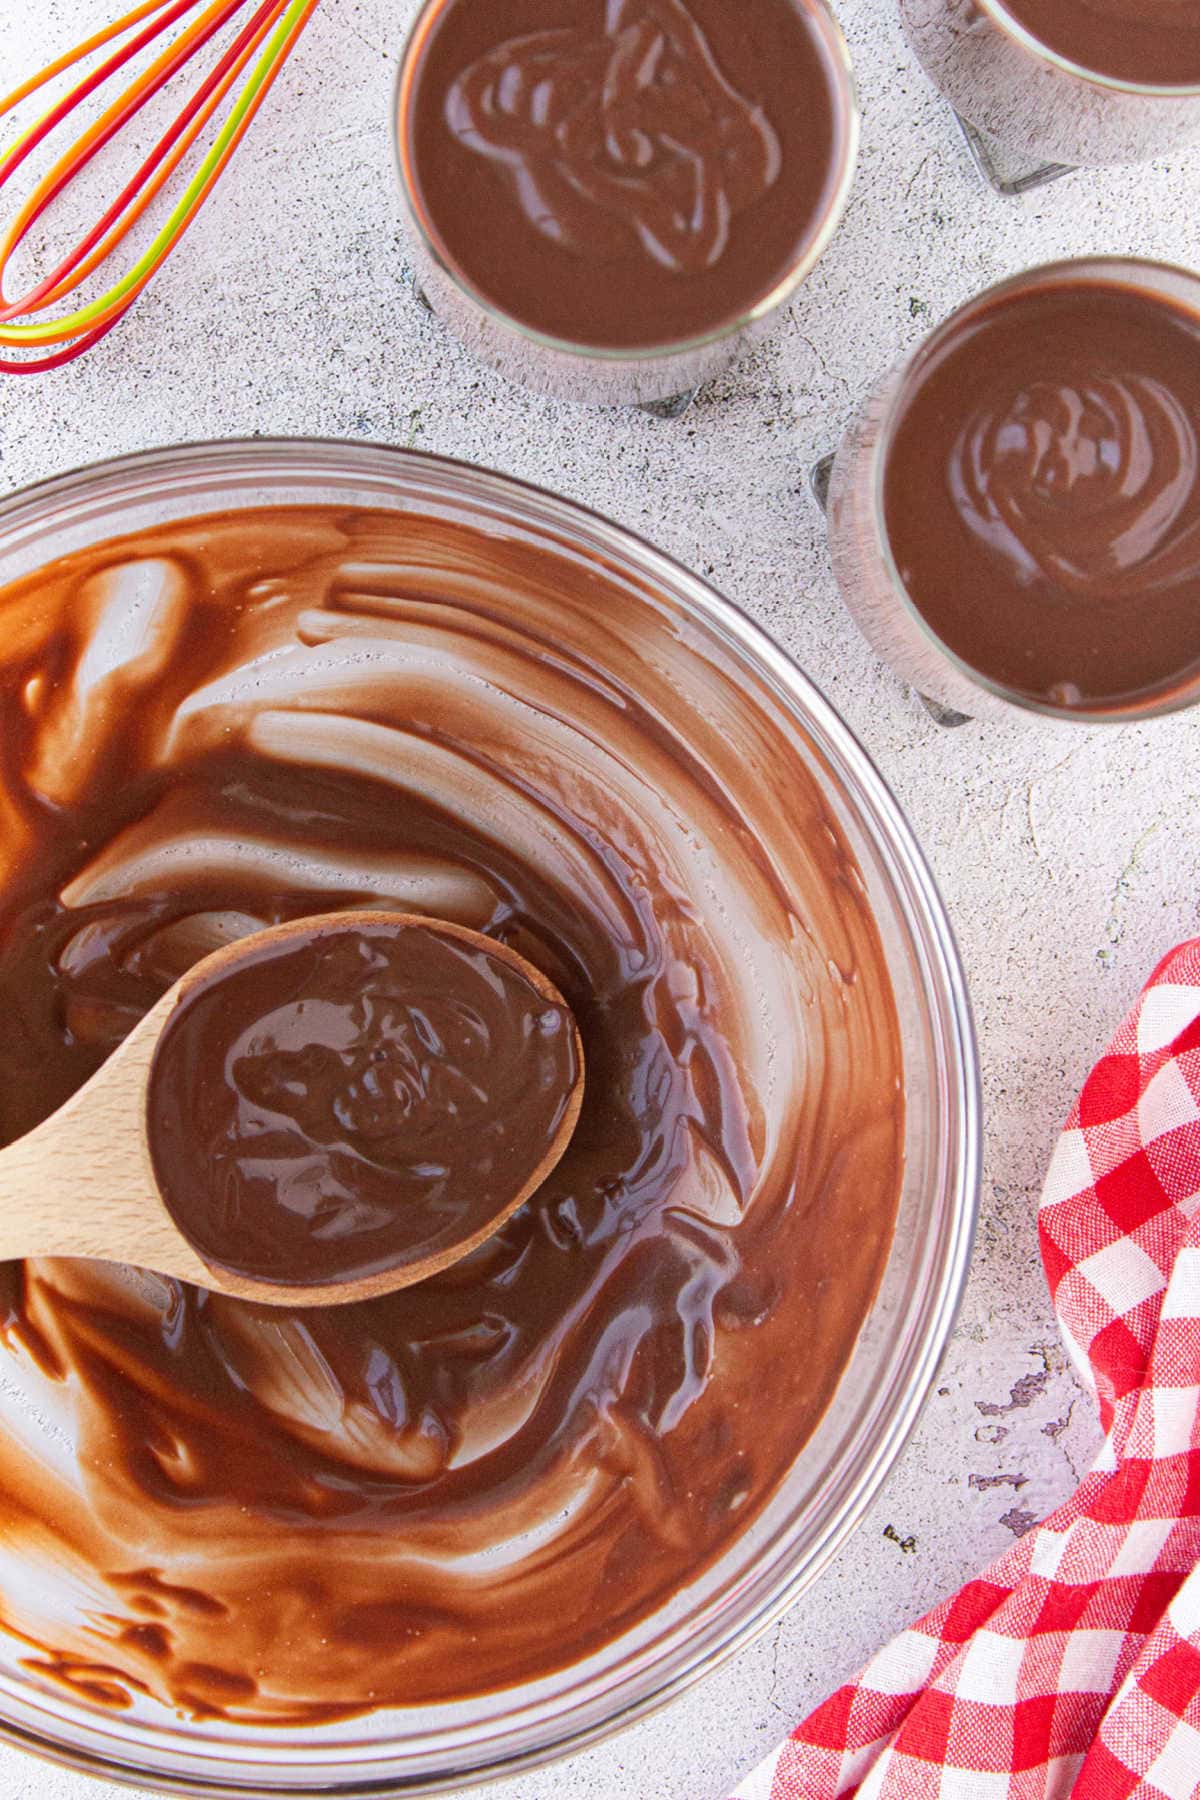
- Test the thickness of your pudding by swirling a wooden spoon in it. If you can draw a line with your finger through the pudding on the back of the spoon, and the line doesn't immediately fill in, it's thick enough!
- If your microwave is extra powerful, you might only need to heat the pudding for 5-6 minutes. Don't overcook it if it's thickened enough.
- To cool the pudding very quickly, spoon it into a baking sheet or a 9x13 pan before refrigerating. It'll have a larger surface area, thus cooling more quickly than in a bowl.
- Make individually-sized pudding "cups" by dividing the pudding into ramekins or parfait glasses before chilling it.
👩🍳 FAQs
I prefer this easy chocolate pudding recipe with unsweetened cocoa powder. It has a delicious dark chocolate taste and the creamiest consistency. Melted chocolate chips have other additives that just don't make as tasty of a pudding—trust me, the cocoa powder is worth trying!
Microwave on the standard setting, or high power. The cornstarch needs to be heated to boiling in order to thicken, so you'll need the strongest heat your microwave can supply.
Stovetop recipes for custard use egg yolks and flour as a thickener. However, easy microwave chocolate pudding doesn't. The key is cornstarch. That also makes this a naturally gluten-free pudding, which is great when cooking for someone with an intolerance or allergy.
📚 Related recipes
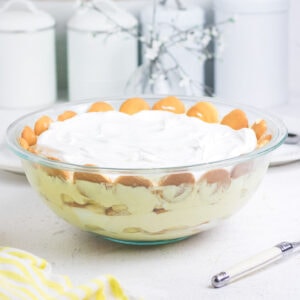
- Made completely from scratch, decadent Old-Fashioned Banana Pudding is a Southern classic that tastes just like grandma's used to.
- You can make Old-Fashioned Vanilla Pudding with simple, pantry staples either on the stove or in the microwave—it's easy and so delish!
- Impress your friends with delicious Peanut Butter Pots de Creme—they sound fancy (and taste like it!) but are so simple to make.
🍽️ Serve with...
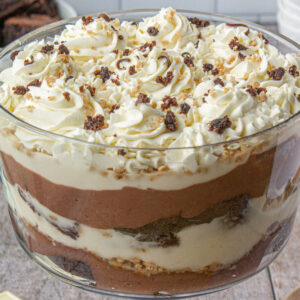
- Brownie Trifle with Toffee
- No-Bake Oreo Cookie Pie Crust
- Homemade Cool Whip without Gelatin
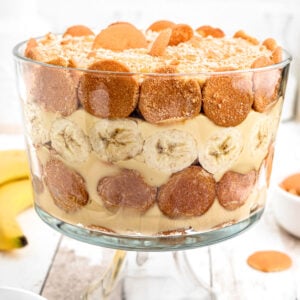
- No-Bake Banana Pudding Pie (swap out the banana pudding for a fun chocolate-banana twist!)
🥄 Restless Chipotle recommends
The following are affiliate links. We are a participant in the Amazon Services LLC Associates Program, an affiliate advertising program designed to provide a means for us to earn fees by linking to Amazon.com and affiliated sites.
You'll need the following items to make this recipe successfully.
📞 The last word
This recipe can be used for pie filling or pudding. If you refrigerate it uncovered it will get that nasty skin on it.
My family thinks it is the best part of the pudding. In fact, ::::shudder::: my daughter has been known to pour it in a saucer to cool so that it is mostly......skin.
If you don't want the skin to form butter a piece of wax paper and place it on top of the pudding as it is chilling.
If you click on the number of servings in the recipe card you can adjust the measurements up or down for the exact number of servings you need. Don't forget that you can click on "add to collection" to save it to your own, private recipe box!
If you love this recipe please give it 5 stars! ⭐️⭐️⭐️⭐️⭐️
📖 Recipe
Homemade Chocolate Pudding
Print Pin Recipe Save Recipe Rate RecipeIngredients
- 1 cup sugar
- ⅓ cup dark cocoa powder, I use Hershey's extra dark
- ½ cup cornstarch
- ¼ teaspoon salt
- 4-½ cups evaporated milk
- ½ cup heavy cream
- ½ cup butter
- 2 teaspoons vanilla extract
Instructions
- Mix dry ingredients together in a large, microwave safe bowl, until there are no lumps of cocoa or cornstarch.
- Add the milk slowly, whisking smooth as you add it.
- Whisk in the cream just until it's smooth.
- Put in the microwave and cook, stirring every minute, until mixture is thick and coats a spoon - about 6 to 9 minutes.
- Remove from microwave and add butter in small pieces, whisking it in to blend.
- Finally add vanilla.
- Cover (or not) and chill until ready to serve.
Notes
- If you like a skin on top of the pudding, don't cover it while chilling. On the other hand, to prevent pudding skin from forming, press a piece of plastic or wax paper right onto the surface of the pudding.
- The key to a smooth pudding is whisking your dry ingredients well. If you have clumps, consider sifting everything together.
- Evaporated milk or whole milk, and heavy cream give this easy pudding the best texture. 2%, 1%, and skim milk are too thin.
- I don't recommend using a sweetener alternative, as they can have weird after-tastes. Sometimes, they don't melt as well, either.
- While in the microwave, the pudding bubbles up a bit. So, use a larger bowl to prevent it from overflowing.
- Test the thickness of your pudding by swirling a wooden spoon in it. If you can draw a line with your finger through the pudding on the back of the spoon, and the line doesn't immediately fill in, it's thick enough!
- If your microwave is extra powerful, you might only need to heat the pudding for 5-6 minutes. Don't overcook it if it's thickened enough.
- To cool the pudding very quickly, spoon it into a baking sheet or a 9x13 pan before refrigerating. It'll have a larger surface area, thus cooling more quickly than in a bowl.
- Make individually-sized pudding "cups" by dividing the pudding into ramekins or parfait glasses before chilling it.
Nutrition Facts
Nutrition information is estimated as a courtesy. If using for medical purposes, please verify information using your own nutritional calculator. Percent Daily Values are based on a 2000 calorie diet.
This recipe has been tested several times. If you choose to use other ingredients, or change the technique in some way, the results may not be the same.
✍🏻 A note from Marye...
I know y'all don't always like the stories bloggers tell so when I have one I try to put it at the very bottom so you can read or skip as you like.
When I was little I got tonsillitis a lot. My mom didn't believe in having tonsils removed so in they stayed and I missed a fair amount of school until I developed an immunity to those particular germs.
The best part of staying home was not watching F-Troop or Hogan's Heroes... The BEST part of being sick was that the "only thing" I could manage to choke down was my mom's homemade chocolate pudding.
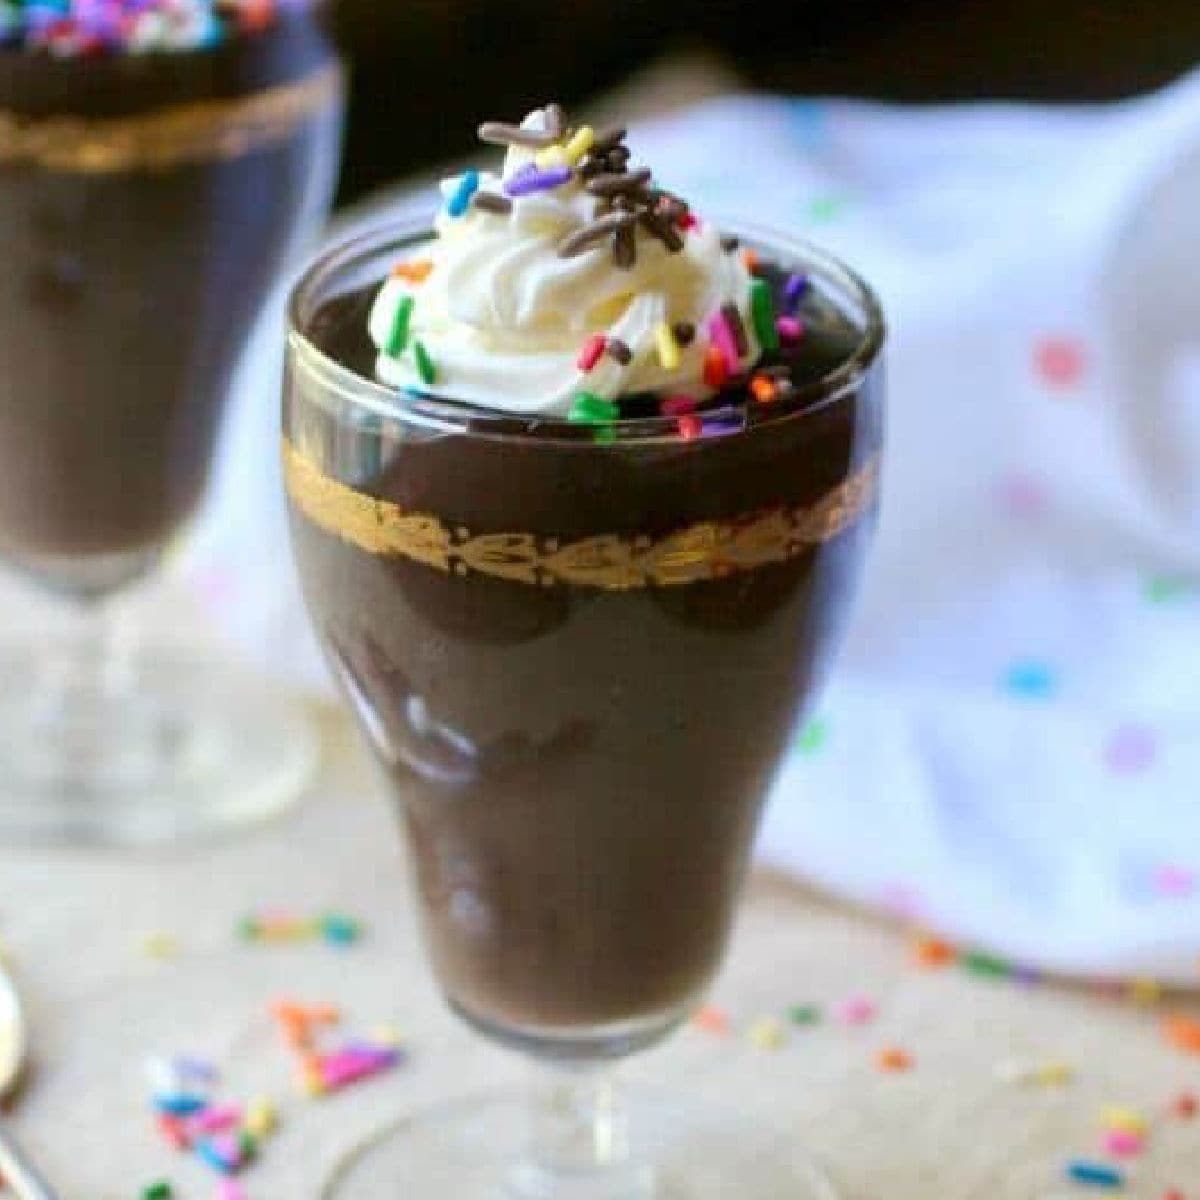
I even had my own special glass that it *had* to be served in - and I still have the glass... and I still make myself pudding to serve in it... AND it STILL makes me feel better.
I've adapted my mom's recipe to make it quicker and easier... but it's still primo comfort food! I know you'll love it as much as I do.
First published August 11, 2016. Last updated August 29, 2023 for new images and more helpful information.




Comments
No Comments