You don't need a bread machine or any fussy equipment—the only thing you'll want for this homemade bread is a hearty appetite!
Don't want to scroll through the page to get to the recipe? Use the table of contents to click on the section you want.
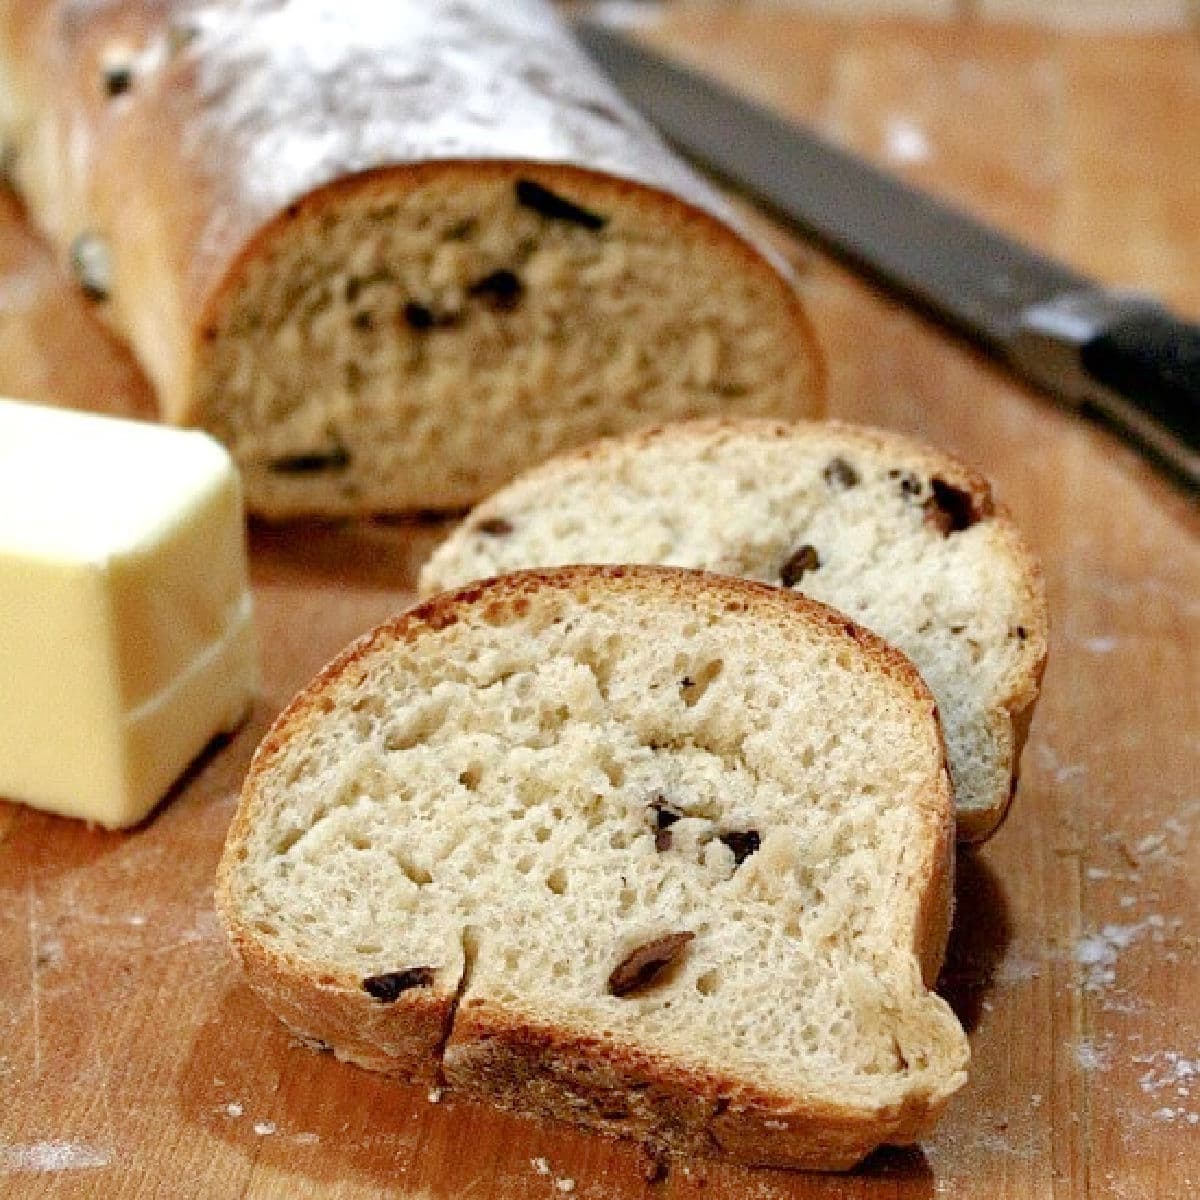
Table of Contents
🗝️ Key takeaways
- Olive lovers will crave the briny flavor, crispy crust, and pockets of chopped olives hidden inside the chewy bread.
- Make it into a loaf of bread for sandwiches or shape it into a baguette to serve alongside dinner (like with creamy lemon chicken—oh my yum.)
- Learn a two-second secret to making really good bread. Here's a hint: all it takes is a little extra water!
Simple enough, even if you've never baked before, this kalamata olive bread recipe has a wonderful flavor and perfect texture.
📖 Variations
- Salty kalamata olives hold up great in bread and have the best flavor. However, you can swap them for green or black olives if you need to.
- Stir in some garlic powder or herbs (like fresh rosemary or thyme.) This is fabulous bread without any add-ins, but you can use 'em if you want!
- The dough is super versatile—you can shape it almost any way you want. Form a round loaf, long baguette, or make individual dinner rolls.
🥫 How to store leftovers
After putting in the effort to make your own bread, it's important to store it properly so you can enjoy it longer. I've written a complete guide on bread storage, but here's the gist to keep your leftover olive loaf:
Place extra bread into a bread box or a brown paper bag. Store it at room temperature and enjoy within three days or so.
Can't finish it off that quickly? You can extend the life of your olive loaf bread by freezing it. This works sliced or unsliced, your choice.
Be sure to seal the bread with plastic wrap and then place it in a plastic bag to prevent freezer burn. It'll keep for about two months and thaws quickly at room temperature or in the toaster.
💭 Things to know
Expert Tip: Too much flour makes olive bread taste dry. Add it slowly until the bread dough pulls away from the sides of the bowl and makes a smooth ball. A little stickiness is okay, but it shouldn't feel gluey.
- If the yeast doesn't bubble up, it's likely old and won't help your dough rise. I recommend stopping and trying again with some new yeast.
- Warm water and olive brine help the yeast to rise better than cold.
- Bread flour and wheat gluten give this easy olive bread recipe its signature chewy texture. All-purpose flour won't work as well.
- No mixer or dough hook? Just use a wooden spoon and some muscle!
- A damp cloth keeps the dough moist during the first and second rises.
- Scoring the bread with a very sharp knife helps it to expand. Without doing so, the bread might not rise as well or may crack in a weird spot.
- Nervous about putting water on your oven floor? Place a baking sheet on the bottom while it preheats. Then, pour the water onto it instead.
- Once you toss in the water, don't open the oven. Steam keeps the bread moist so it can grow larger. As it evaporates, a perfect crust will form.
👩🍳 FAQs
It should only take about ten minutes or so, as long as you used the correct temperature water and added some sugar (no salt yet!) If you don't see any gas bubbles after this time, toss it and try again.
I recommend a good quality, active dry yeast (I linked my tried-and-true brand in the recipe card.) It helps the flavor develop better than rapid rise or instant yeast.
This simple recipe is easy to follow, and as long as you stick to it, you should be good to go. Check out my yeast bread troubleshooting guide to figure out what went wrong when you tried originally.
The water creates steam. This extra moisture keeps the top of the bread soft (at first) so the dough can expand. Don't worry—as the steam evaporates, a perfectly chewy, crispy crust forms.
📚 Related recipes
- This beginner-friendly, no-knead Sourdough Bread is perfect if you're craving homemade artisan bread but don't have much experience—yet!
- Muesli Bread is packed with dried fruit, sunflower seeds, and nuts (if you want) for a flavorful, hearty loaf that tastes great with breakfast.
- Fabulous with soup or slathered with butter, Rustic Bread is made in a cloche or Dutch oven and tastes like the bread Mom used to make.
📞 The last word
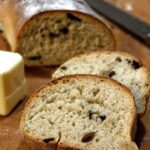
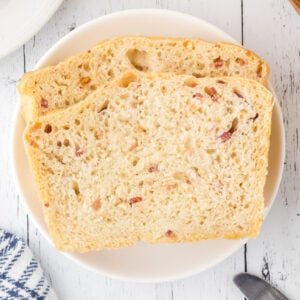
Kalamata Olive Bread has a crispy crust, chewy crumb, and plenty of salty Kalamata olives. It is a lot easier to make than you might think.
I do away with the "poolish" starter and simplify the steps to keep this do-able for the most inexperienced bread baker.
If you click on the number of servings in the recipe card you can adjust the measurements up or down for the exact number of servings you need.
If you love this recipe please comment below and give it 5 stars!
📖 Recipe
Kalamata Olive Bread
Print Save Recipe Rate RecipeIngredients
- 1 ½ cups warm water, (95-105° F)
- 1 tablespoon yeast
- 2 teaspoons sugar
- ⅛ teaspoon ginger
- 2 tablespoons olive brine, , warmed
- 2 teaspoons of salt
- 3 ½ - 5 cups bread flour
- ½ cup vital wheat gluten
- 1 ¼ cups Kalamata olives, , pitted and chopped
Instructions
- Combine the water, sugar, and yeast.
- Stir to dissolve the yeast fully.
- Let stand until bubbly.
- Add 1 cup of the flour and mix on low speed until well blended.
- Add the brine and salt -- blend well.
- Add the gluten and the olive -- set the mixer to medium speed.
- Slowly add the remaining flour until the dough "cleans" the sides of the bowl.
- Knead for about 8 minutes by mixer or 15 minutes by hand.
- Remove the dough from the mixing bowl.
- Place the dough in a large oiled bowl and allow to rise for an hour, or until doubled. (If you are in a hurry you can skip this first rising. Your bread will be good, just not quite as good)
- Divide the dough into 2 pieces.
- Roll each piece of dough into a boule, or a baguette.
- Place the dough on the counter and cover with a warm, damp cloth. Let rise for 30 minutes. Preheat the oven to 500° F.
- Score the loaves with a sharp knife.
- Just as you put the loaves in the oven pour about 1.4 cup of water on the floor of the oven to create steam. Keep door closed.
- Bake 10 minutes then reduce the heat to 400° F and bake about 20 to 30 minutes longer.
- Loaves will sound hollow when tapped.
- Remove the bread from the oven and cool for at least 30 minutes, or as long as you can wait.
Notes
Can't finish it off that quickly? You can extend the life of your olive loaf bread by freezing it. This works sliced or unsliced, your choice.
Be sure to seal the bread with plastic wrap and then place it in a plastic bag to prevent freezer burn. It'll keep for about two months and thaws quickly at room temperature or in the toaster. Tips:
- Too much flour will make the bread dry.
- If the yeast doesn't bubble up, it's likely old and won't help your dough rise.
- Warm water and olive brine help the yeast to rise better than cold.
- Bread flour and wheat gluten give this easy olive bread recipe its signature chewy texture. All-purpose flour won't work as well.
- No mixer or dough hook? Just use a wooden spoon and some muscle!
- A damp cloth keeps the dough moist during the first and second rises.
- Scoring the bread with a very sharp knife helps it to expand. Without doing so, the bread might not rise as well or may crack in a weird spot.
- Nervous about putting water on your oven floor? Place a baking sheet on the bottom while it preheats. Then, pour the water onto it instead.
- Once you toss in the water, don't open the oven. Steam keeps the bread moist so it can grow larger. As it evaporates, a perfect crust will form.
Nutrition Facts
Nutrition information is estimated as a courtesy. If using for medical purposes, please verify information using your own nutritional calculator. Percent Daily Values are based on a 2000 calorie diet.
This recipe has been tested several times. If you choose to use other ingredients, or change the technique in some way, the results may not be the same.
First published Feb 11, 2015. Last updated September 12, 2023 for editorial improvements.










Donna Lane says
Hi there Marye,
For medical reasons I am having to change my diet, so I love your recipes My diet change is a cross of antiinflammatory diet and gluten Free so how do I incorporate these changes in diet and still get My Texan Southern food that I love so much?
Do you have any suggestions that may be helpful for me?
Thank you for your time and consideration and help with this difficult time.
Respectfully yours,
Donna Lane
Kingman Az
Angie Russell says
Would I be able to use this recipe in a bread machine? And what would the steps be? Thanks
Marye says
I've never used a bread machine so I really don't know.
Deborah L Eck says
How would you do this with a gas oven? Put water in a shallow pan and use 450 instead of 500, since that is the temperature that my broiler comes on at
Thanks
Marye says
I am unsure. Sorry.
Monalisa L Slattery says
Can you taste the ginger?
Marye Audet says
No, it's just a tiny bit to help the yeast grow.
Kelle says
Can't wait to try this recipe! We enjoyed this type of bread while stationed in Hawaii and haven't seen it anywhere else. Thank you
Kelle says
Turned out awesome, I have been thoroughly enjoying this bread! Just ordered your bread boot camp book and I am waiting impatiently for it to get here 🙂