Have you ever come across scalded milk while reading a recipe and thought to yourself, "Does scalding actually matter?"
Today, we'll dive into the food science and learn how to scald milk. Plus, we'll find out why you shouldn't ignore it when a recipe calls for the simple—but important— step.
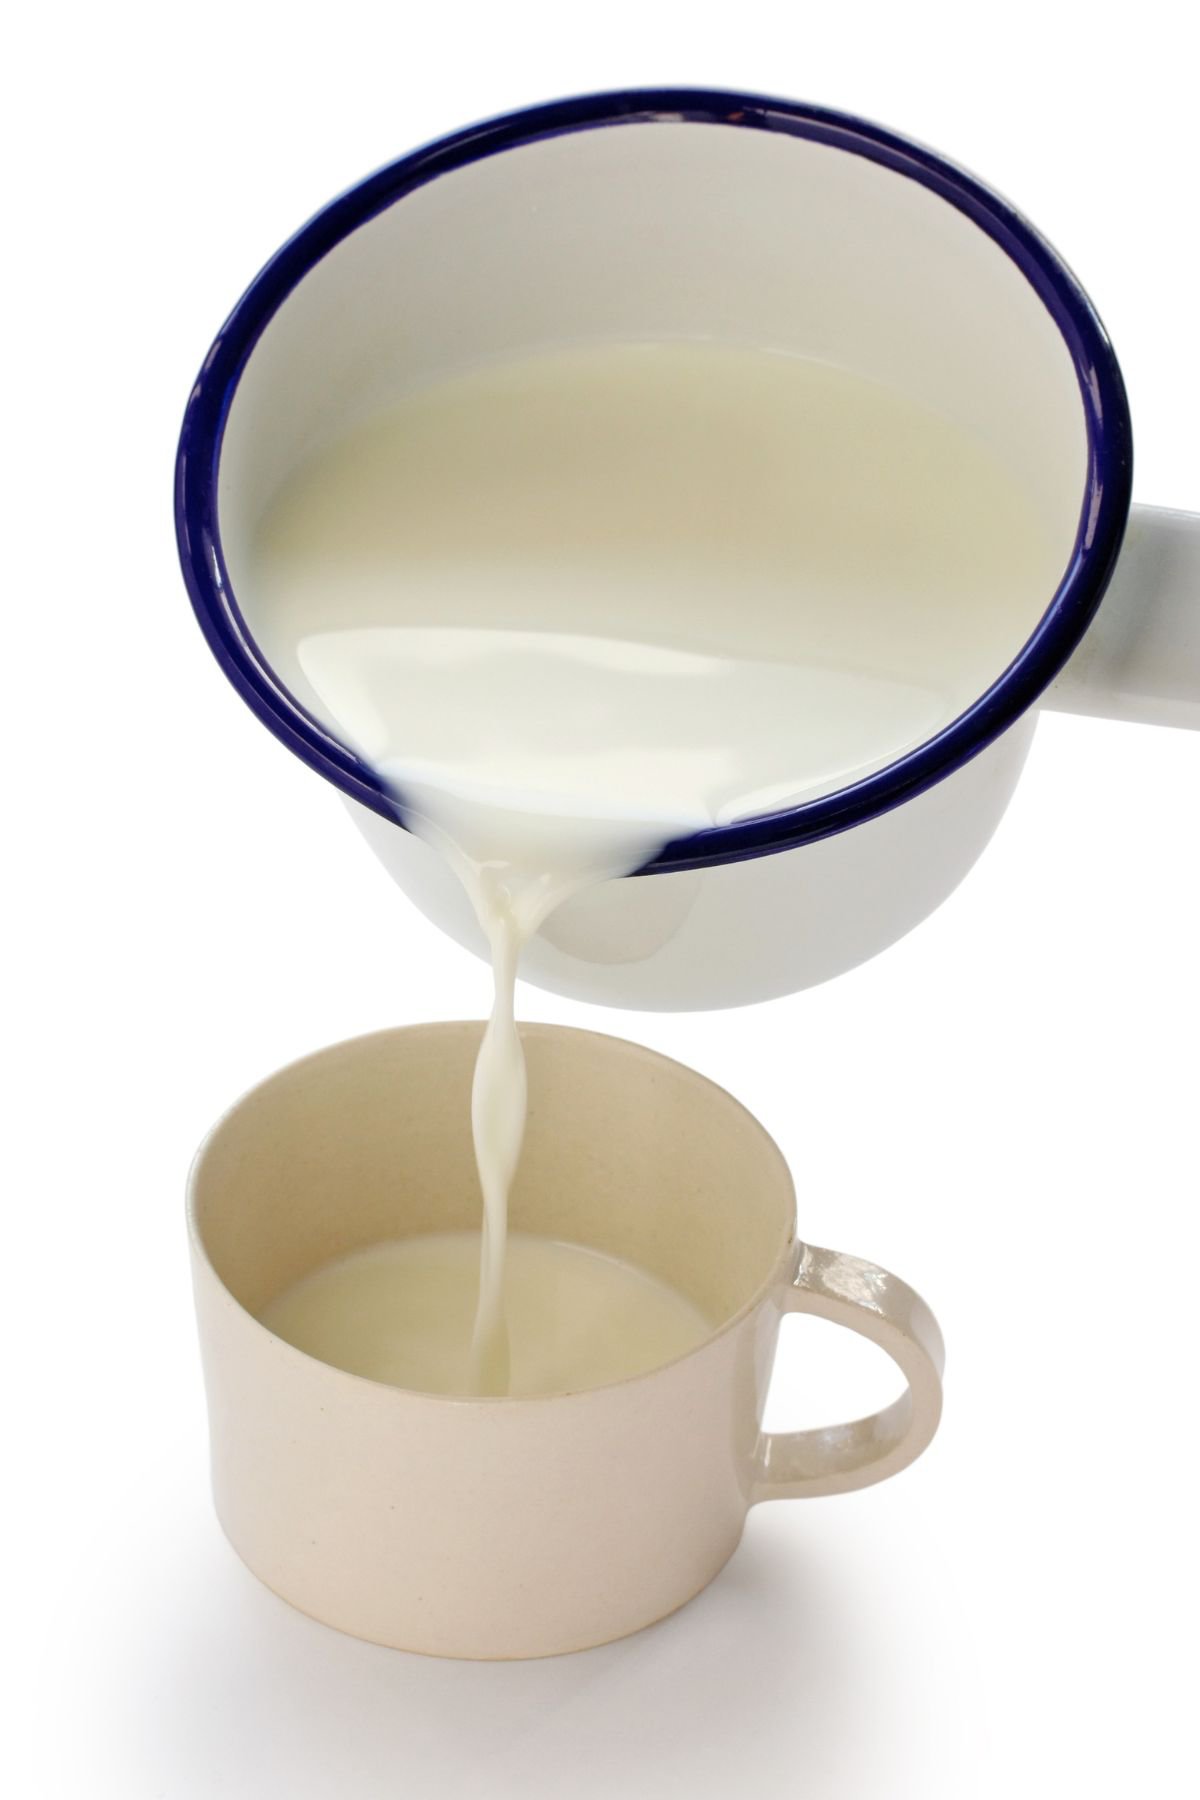
Table of Contents
What is it?
We often use the term "scalding" to describe something really hot—like, I prefer my bath water scalding! However, the second definition of "scald" defines it as the process of heating a liquid near (but not all the way to) its boiling point.
So, scalded milk, when it comes to certain baking recipes, is hot milk that's heated—but not boiled. The temperature of the milk reaches its scalding point, at which point tiny bubbles form and some steam begins to rise off the surface.
Why use it?
So, why scald milk?
Older recipes often instructed readers to scald fresh milk to get rid of potentially harmful bacteria.
However, with modernized food safety regulations came a little process called pasteurization. These days, we don't have to worry about bacteria in dairy products we purchase at the store—they're already heated to a safe, pasteurization temperature.
Still, that's not the only reason to scald your milk. When you warm milk, the whey protein in it starts to break down. Experts have noticed that these milk proteins, if left intact, actually prevent bread recipes from rising.
Plus, adding warm milk to a yeast-based recipe jumpstarts the proofing process a little bit more quickly than room temperature milk. This advantage is great if you're cooking in a chillier kitchen or don't have a ton of time to let your dough rise.
Heating milk also allows it to absorb flavors better than cold milk. For example, pastry creams often start off with milk that is infused—or scalded—with vanilla bean pods.
Scalding regular milk with subtle herbs (like lavender buds or fresh mint) or spices (like cinnamon sticks) draws out their oils—or, flavor. This can really take your favorite recipes to the next level.
How to scald milk step by step
There are two, easy methods you can choose between when it comes to scalding milk: on the stovetop or in the microwave. Of course, the microwave offers less control than the stove, but it'll work if you're pinched for time.
How to scald milk on the stovetop:
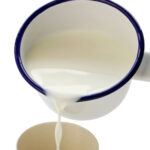
- Pour milk into a heavy-bottomed stainless steel pot, or into the top of a double boiler.
- Turn the burner on and set it to medium heat.
- Stir constantly with a spatula or wooden spoon. Be sure to scrape the bottom of the pan, checking to make sure the milk isn't burning.
- Milk has reached scalding temperature when small bubbles form around the sides of the pan and steam rises from the surface of the milk.
- You can also tell milk is scalded with a candy thermometer—the temperature of scalded milk is about 180 degrees F.
- Let the milk cool a little and use it in your recipe as directed.
How to scald milk in the microwave:
- Pour milk into a microwave-safe bowl or cup.
- Heat in thirty-second increments, stirring in between each.
- Stop the microwave as soon as little bubbles form.
- You can also perform the thermometer test if you're not sure the milk has reached the proper scalding temperature.
Scalded milk vs. regular milk
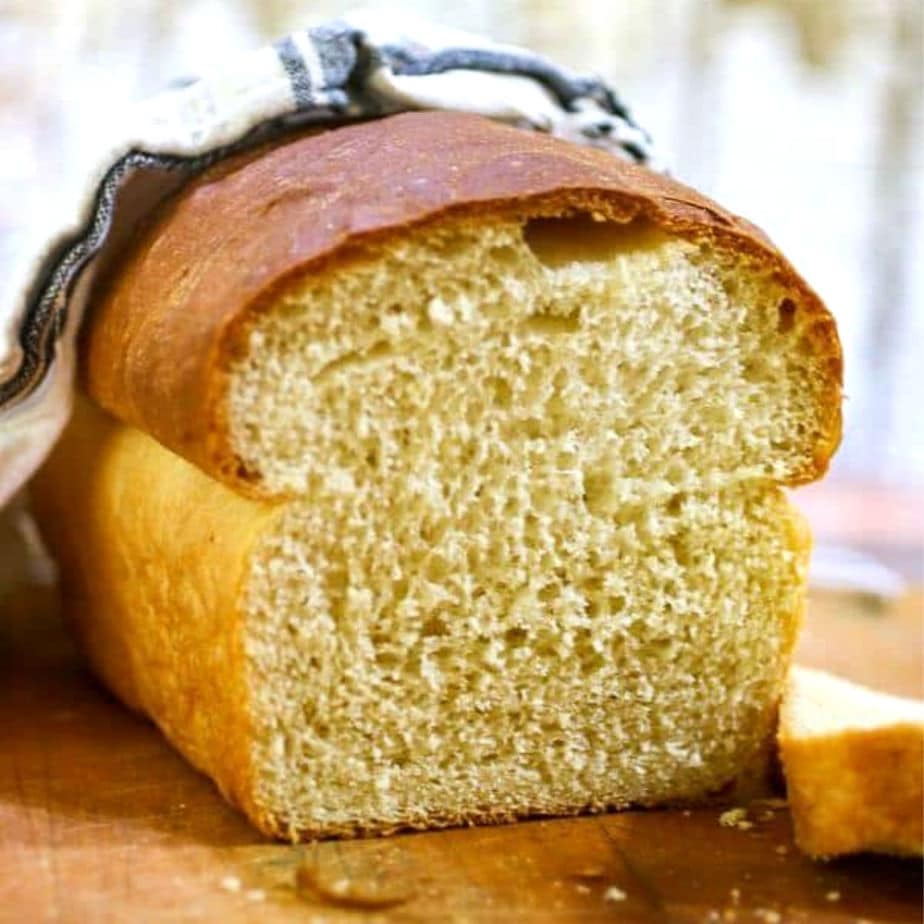
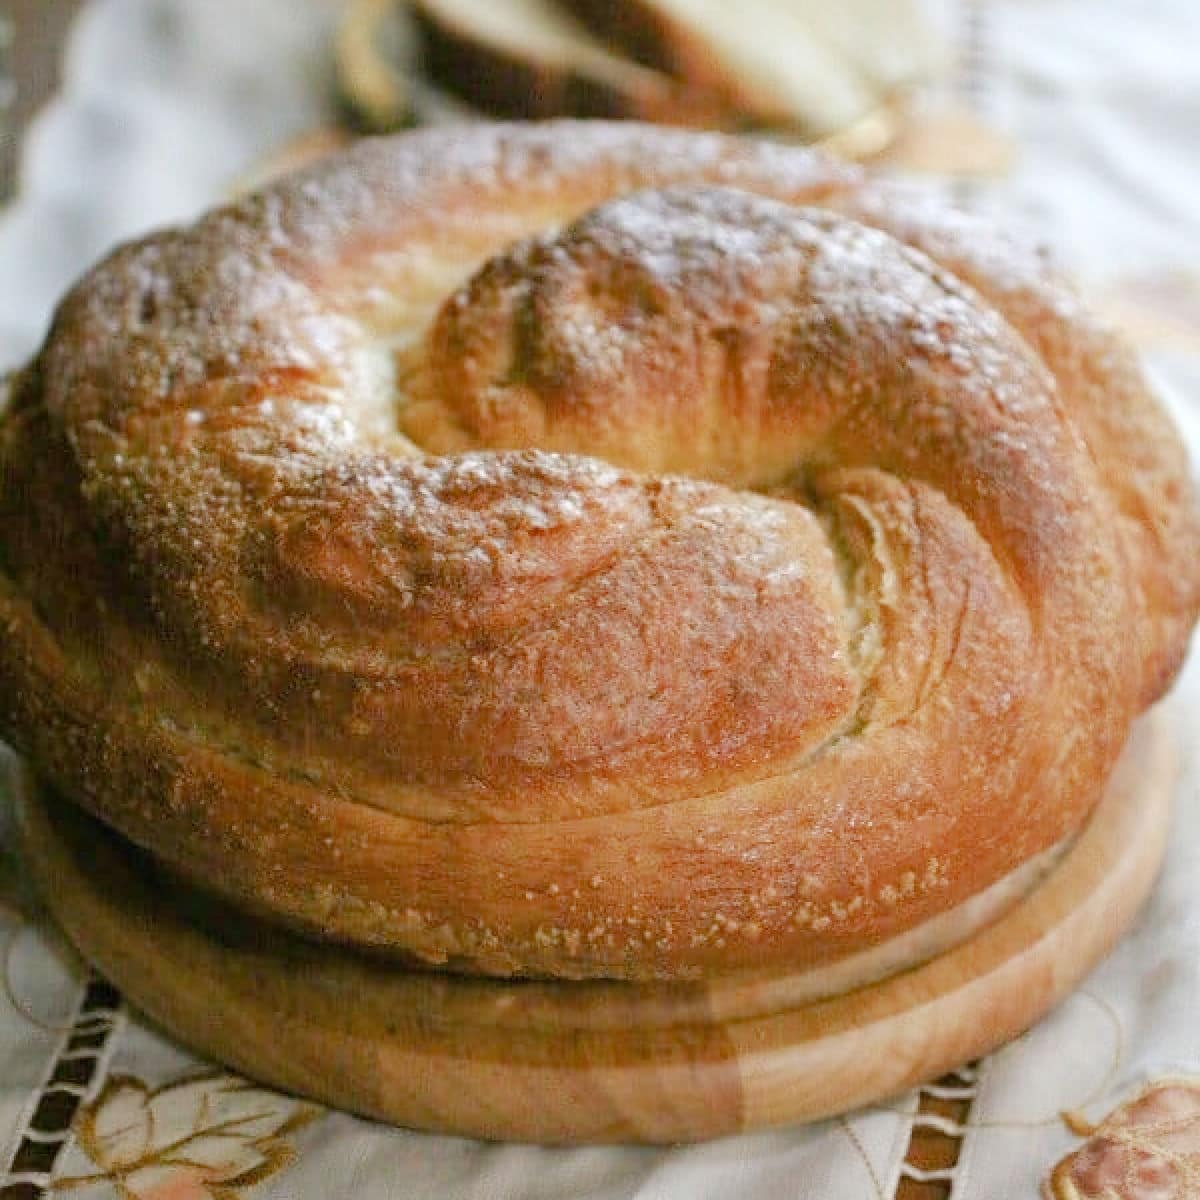
Scalded milk makes your bread rise higher, and can give cakes a more tender, soft crumb. It's often used in ice cream recipes, as well, to add more flavor to the yummy, custardy base. And, because you allow some of the water to evaporate, scalded milk is slightly creamier.
Whole milk is best for scalding because of its fat content. You can use 2% milk for scalding, but I'd stay away from skim anytime your recipe calls for milk—scalded, or otherwise.
Dairy-free milk (almond milk, coconut milk, soy milk, etc.) doesn't have whey protein like regular milk does. So it doesn't matter if you scald it—there's no whey to break down!
How to clean burnt-on milk from the pan
Even with the best of intentions, life can distract us—kids, pets, the endlessly buzzing phone... well, you know how it goes.) Before you know it, shoot—the milk burned.
Don't worry. Follow these three, simple tips to easily clean burnt milk off of a pan: soak, scrub, and salt.
- Soak the pan with water and detergent for at least an hour.
- Scrub the pan with a brush or, better yet, a flat wooden spatula.
- If the first steps didn't work, sprinkle a little coarse salt into the pan (or make a baking soda and vinegar paste) and scrub again. Both methods work like a charm—it just depends on what you have on hand.
💭 Things to know
Is scalding milk necessary? Well, in the old days, it was. Today though, you don't have to scald the milk.
However, if you want your bread, rolls, and buns to have that old-fashioned texture like Mom's did, scalding is the key.
Let's discuss a few doubts and misconceptions about scalded milk:
- Do not let it get to the boiling point - 212 degrees F. Boiling milk breaks down the proteins, making it a lower quality for baking and having less nutrition.
- Scalded milk is not the same as evaporated milk or sweetened condensed milk. Those milks are reduced longer so they're thicker.
- If you're scalding the milk for a recipe, be sure to add a little extra to the pan to account for evaporation. Then, measure the correct amount after scalding. (If the recipe is written to include scalding the milk, you don't have to make any changes.)
- Don't use metal to stir scalding milk. It can react with the milk and damage the bottom of your pan.
Scenarios where you can skip scalding milk:
- If you're making a recipe that uses dairy-free milk.
- If you've purchased ultra-high temperature pasteurized milk (UHT milk is heated to 150 degrees F, so it's not totally scalded, but it's close.)
- If you don't care about gluten development, or are making a flourless recipe, like flourless chocolate cake.
- If you want a chewy, tight texture, like baguettes or pretzels.
👩🍳 FAQs
Well, no, it's not necessary to scald milk. However, it can help your bread rise higher and yeast prove more quickly. So, depending on your intended results, skip scalding if you dare!
When the milk reaches 180 degrees F, it's scalded. However, make sure to take the temperature of the milk—don't let the probe touch the bottom of the pan or you'll get an inaccurate reading.
Yep! Use the Instant Pot Yogurt setting, but only let it run through the first step—boil. (Note: Though it says "boil" it's technically only scalding the milk.)
Sure! However, you have less control over the heat, so be sure it doesn't burn. Warm the milk in a microwave-safe container in thirty-second increments until it starts to bubble and steam.
Stirring the milk while scalding helps to
Recipes that use scalded milk
Scalded milk improves the texture of bread, cakes, and custards. Try it today in one of these tasty recipes:
- Homemade Honey Buns are rich yet light, and sweet enough to make everyone happy in the morning (or in the afternoon, or before bedtime!)
- Easter Bunny Sweet Rolls have a tender, soft texture and an orange flavor that lights up your taste buds. Plus, they're absolutely adorable!
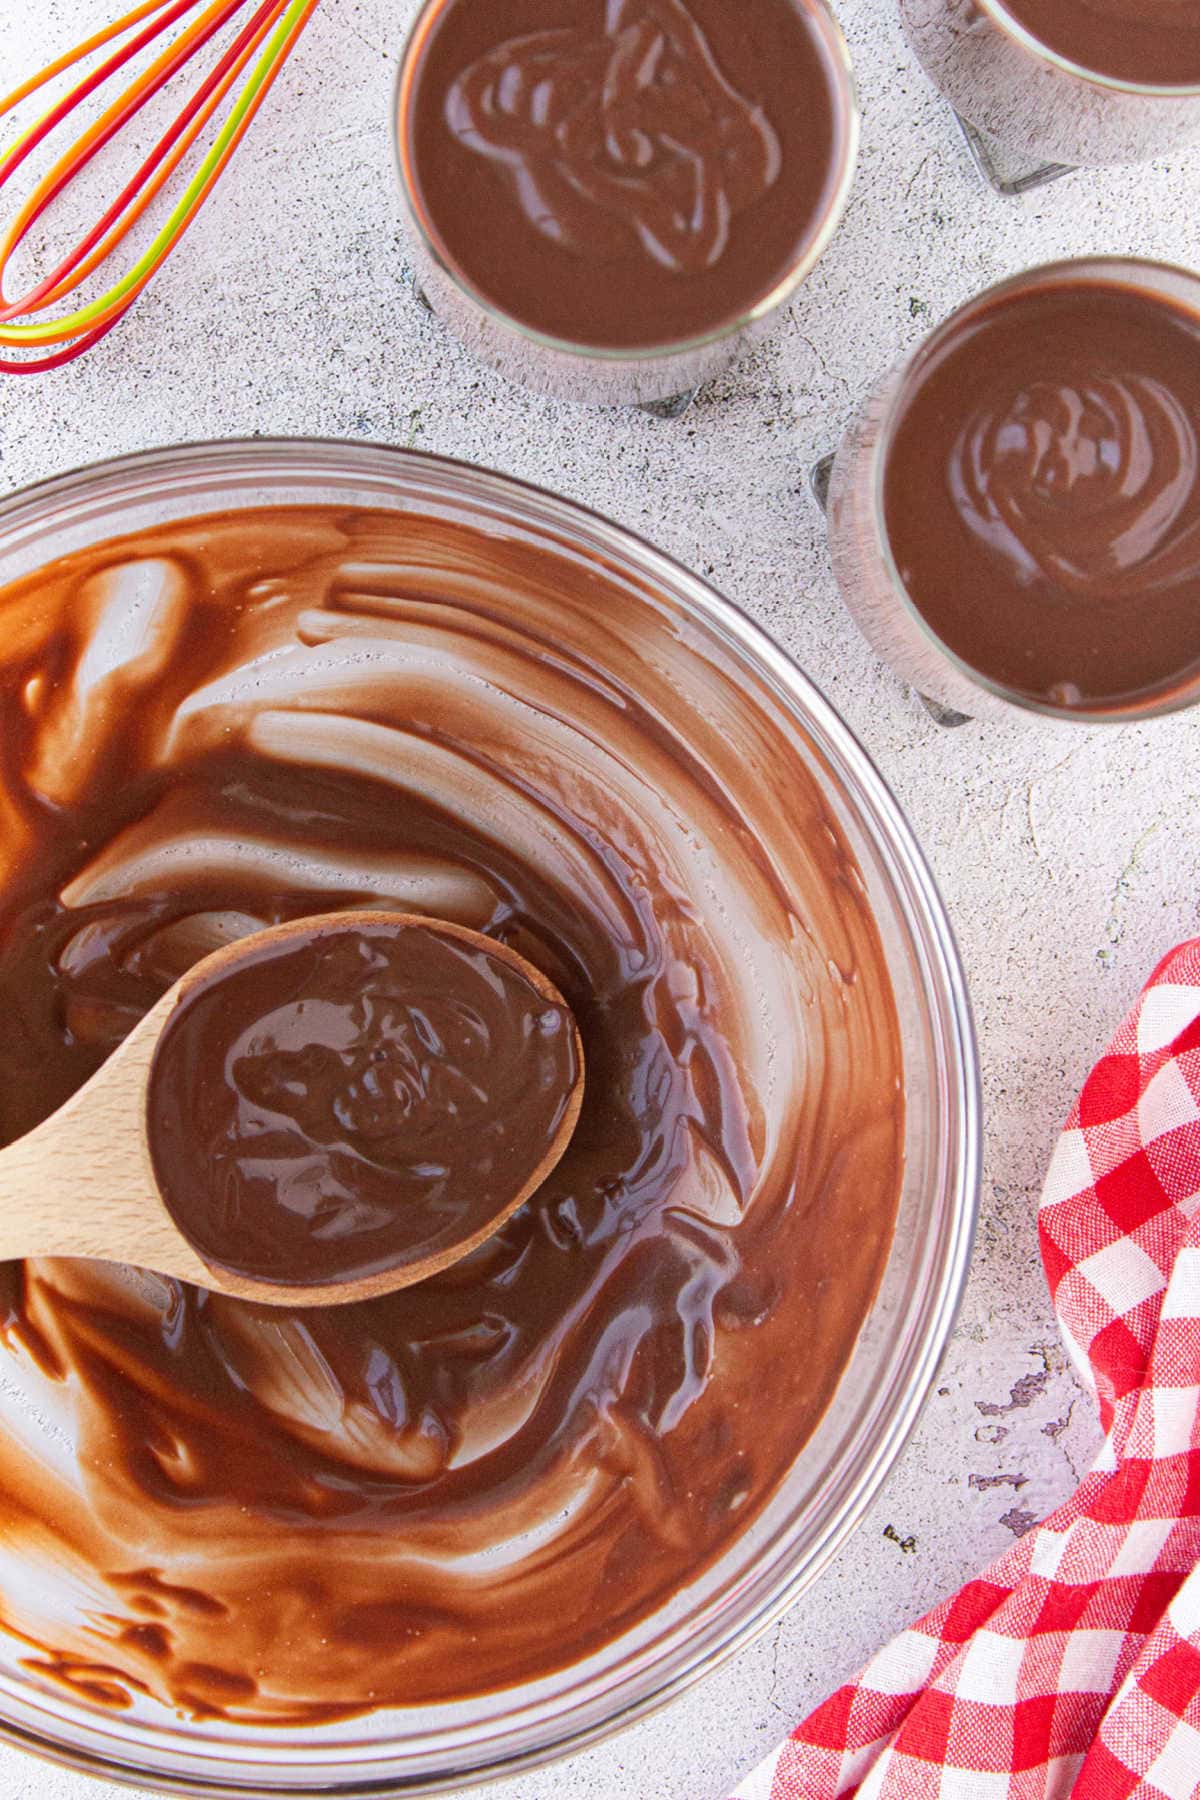
- Spiked Mexican Hot Chocolate is made with scalded milk that's infused with sweet and spicy flavors for a unique beverage you'll love to sip.
- Homemade French Vanilla Ice Cream starts with a custard base that you scald with vanilla bean and bourbon—you'll never want to buy pints from the grocery store again!
Scalding milk is still an important step in many recipes - especially yeast breads and custards. This easy technique will take your baking to the next level when you understand when and how to do it!


Comments
No Comments