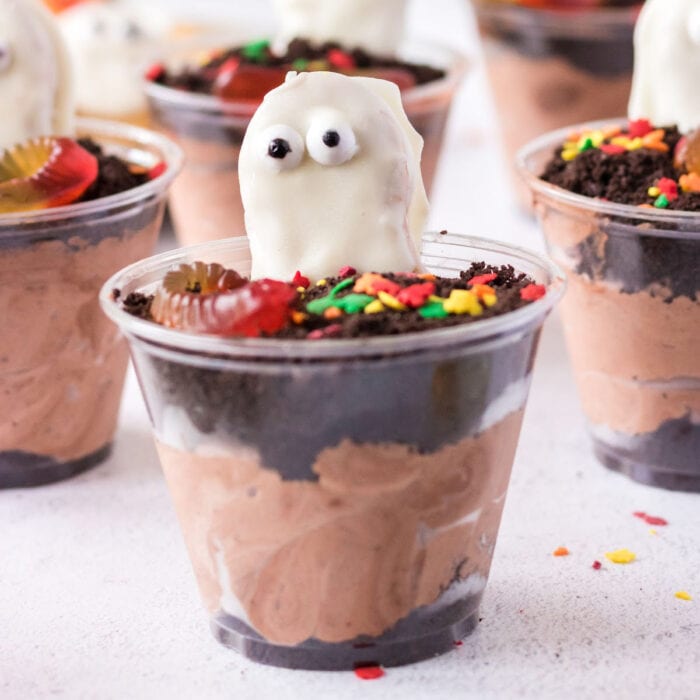
Get ready for some spooky fun with these Halloween Dirt Cups! This easy dessert is perfect for both kids and adults, combining layers of creamy chocolate pudding, crushed cookies, and creepy gummy worms for a treat that’s as fun to make as it is to eat.
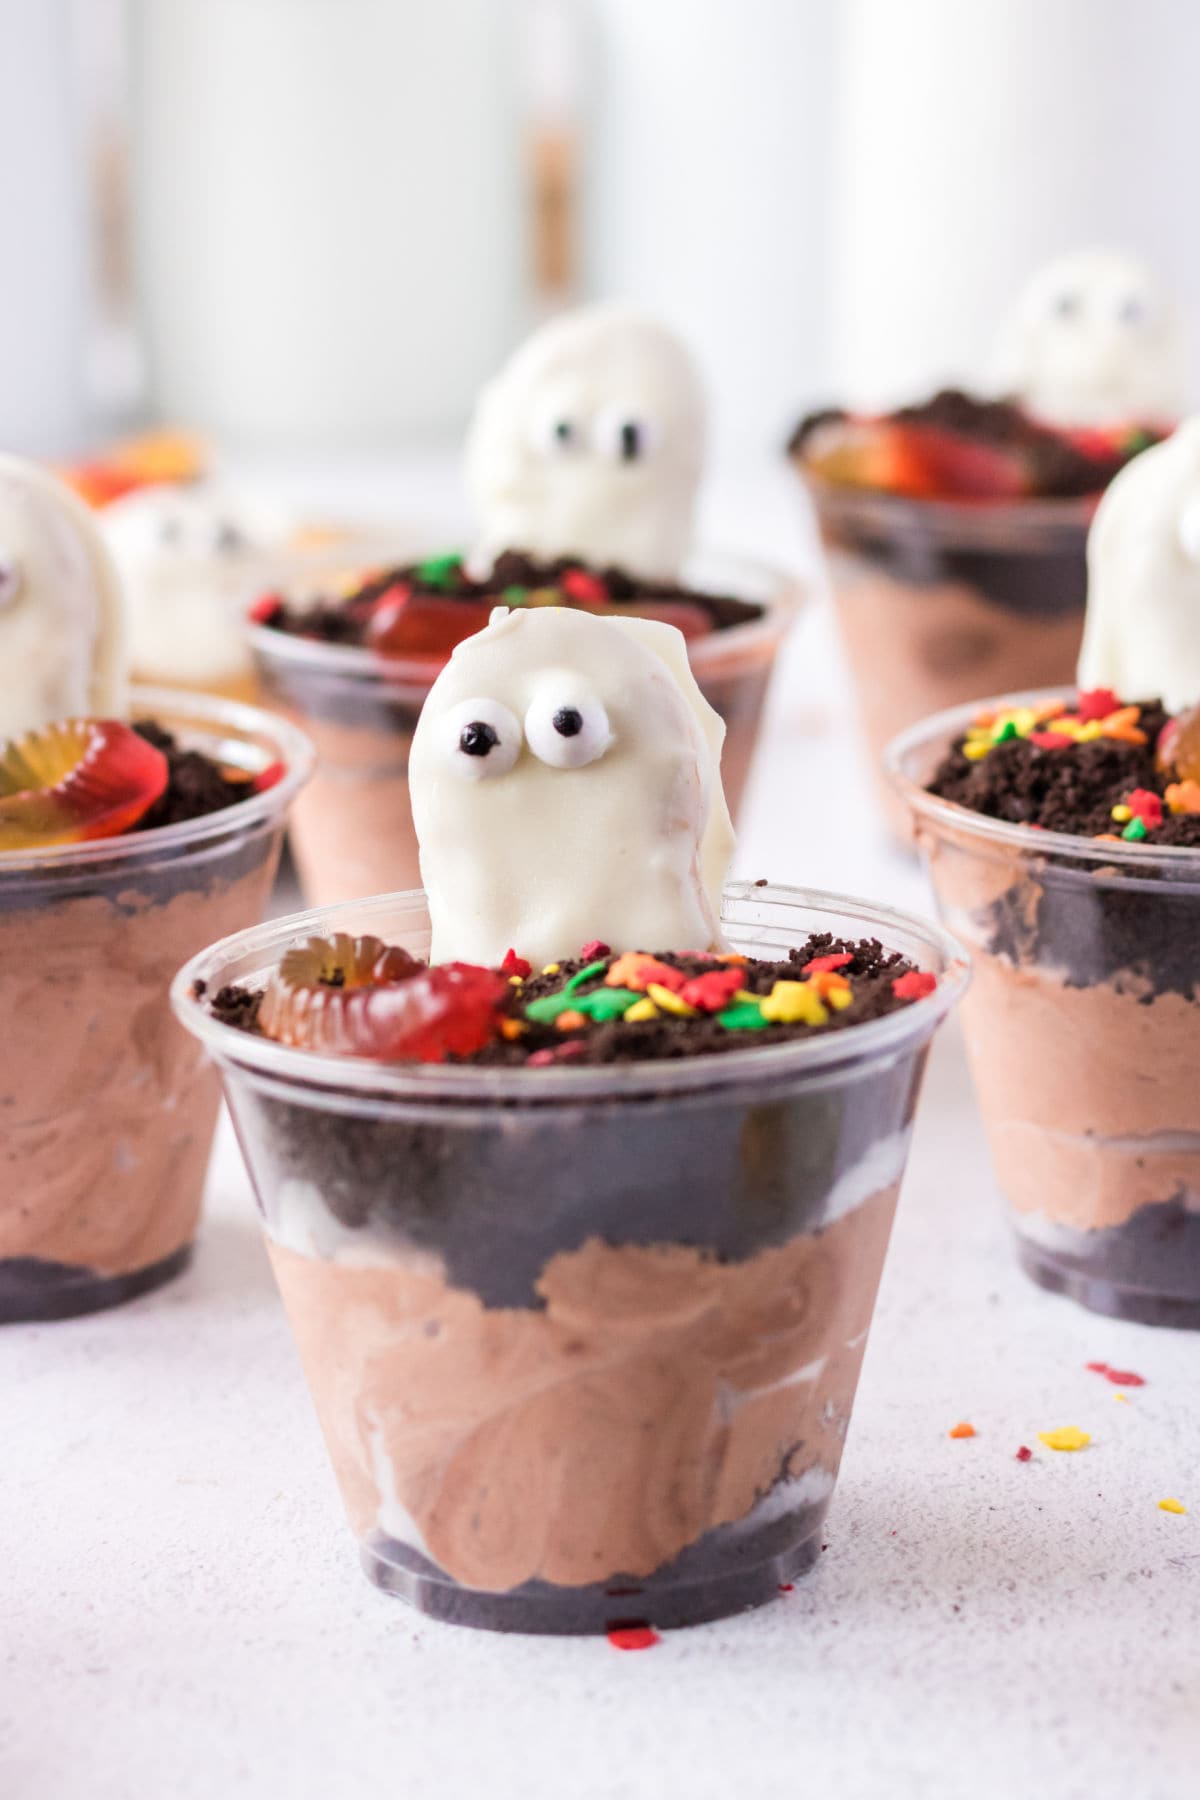
Table of Contents
- 🗝️ Key takeaways: why this recipe is your new favorite
- 🧾 Gather your ingredients: what you'll need to make Halloween dirt cups
- 📖 Make it your own: yummy variations
- 🔪 Step-by-step guide: instructions for success
- 🍴Must have tools: essential equipment
- 🥫 Leftover love: how to store Halloween dirt cups
- Marye's Tip o' the day
- 💭 Insider tips: things to know
- 👩🍳 Let's answer those questions: FAQs
- 📚 More Southern comfort: related recipes you'll love
- 📞 Wrapping it up: the last word
- 📖 Recipe
- Halloween Dirt Cups
- 💬 Comments
Save this recipe by clicking on the ❤️ heart on the right-hand side of the screen or in the recipe card.
🗝️ Key takeaways: why this recipe is your new favorite
- This easy Halloween dessert is quick and easy to make - no oven or stove needed!
- This is such a creative, fun dessert for Halloween parties. Oreo cookies and a chocolate pudding layer are tasty for adults, too.
- Wondering what kind of milk is best in pudding mixes? My preference is evaporated milk because it's richer and creamier.
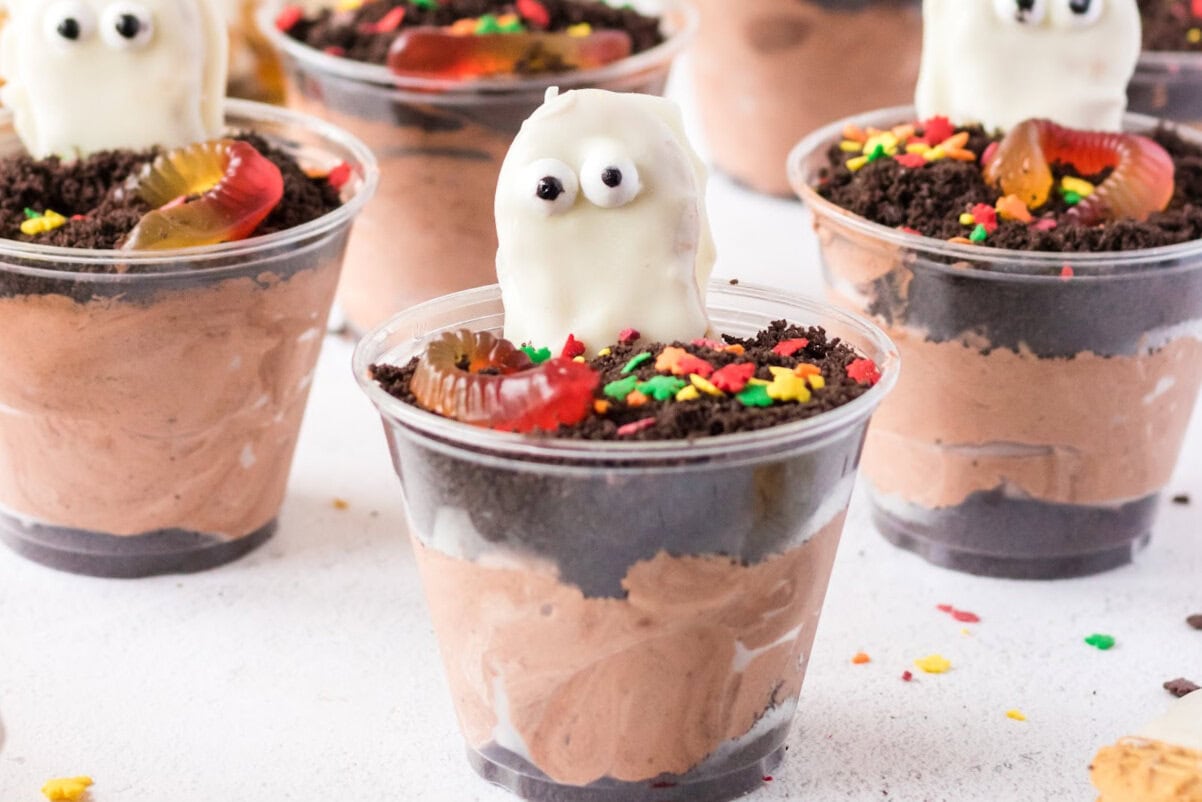
Filled with gummy worms, Nutter Butter ghosts, candy pumpkins, and fall leaf sprinkles, these fun Halloween dirt cups are the festive treat you need to make this year!
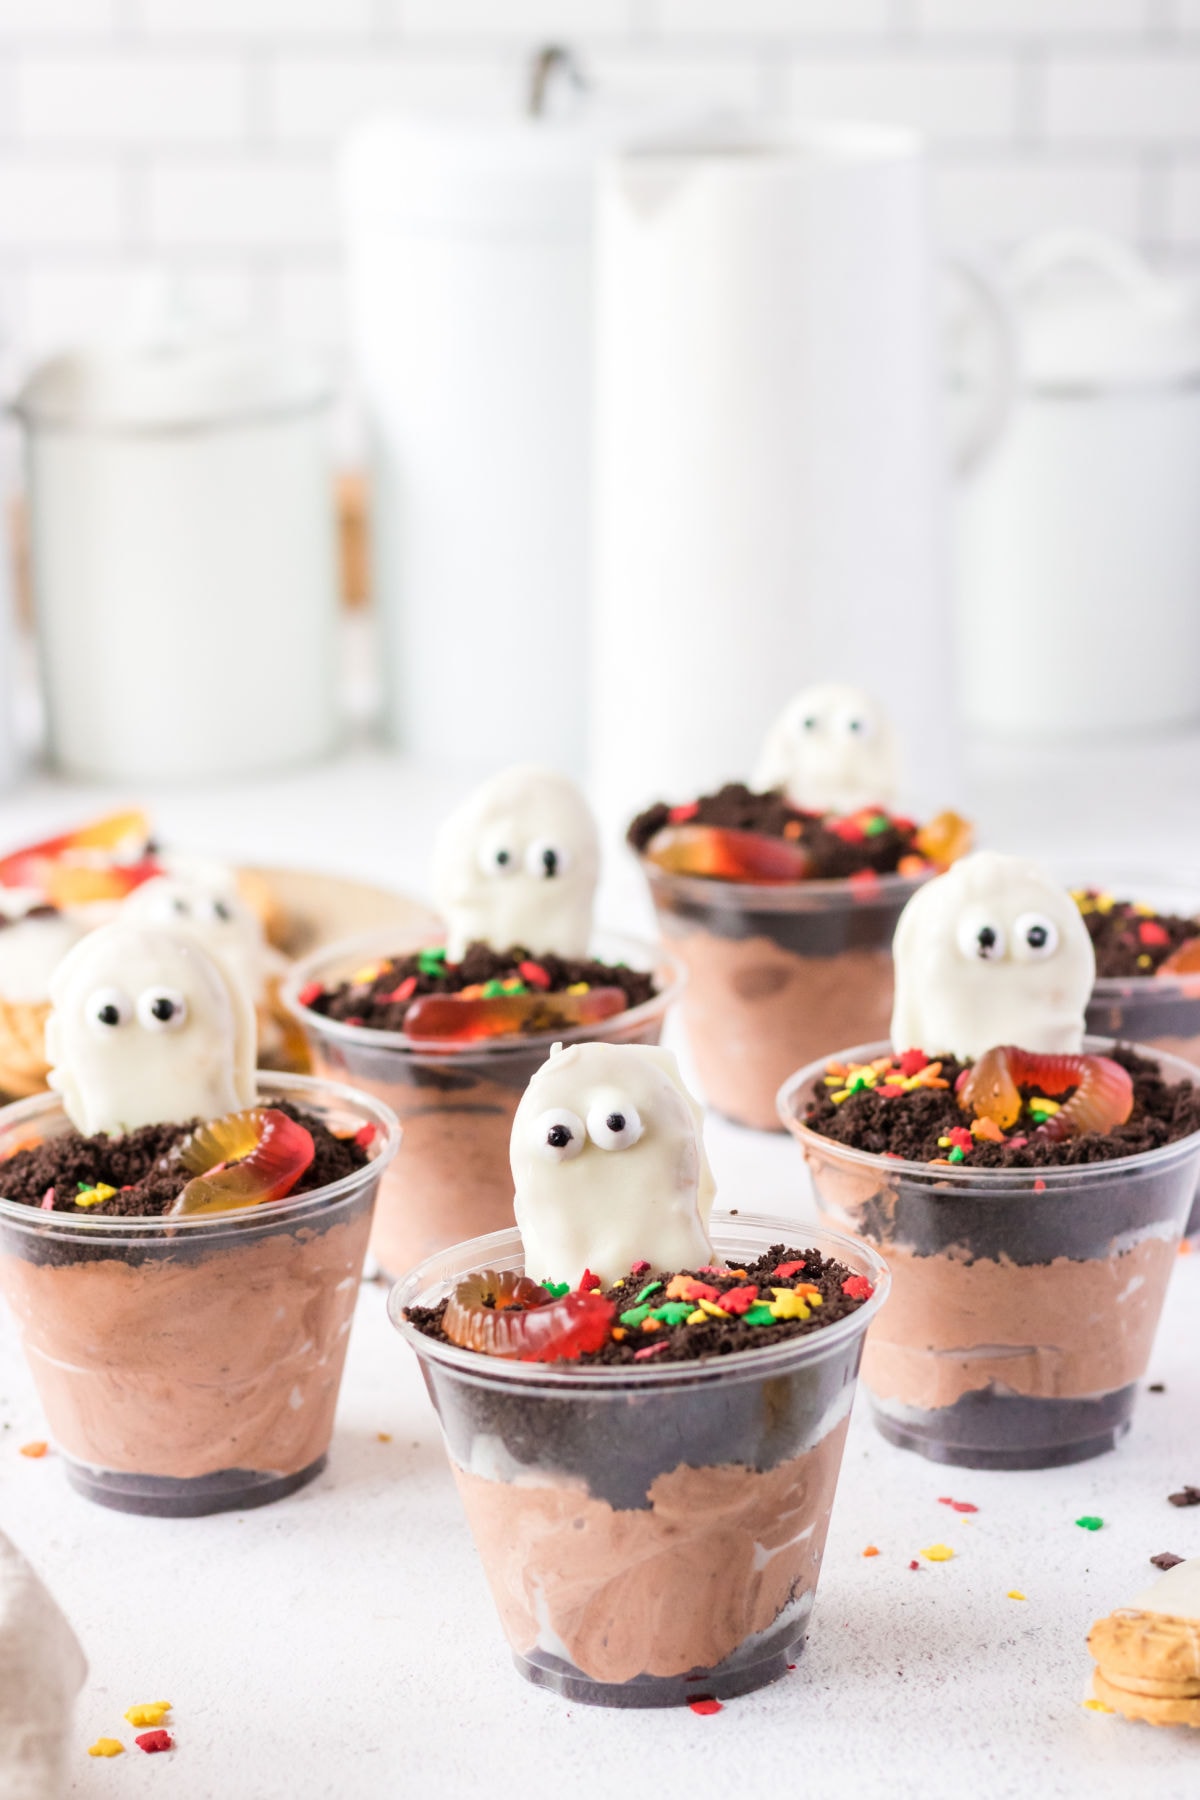
Whether you're hosting a Halloween party or just want a fun, themed dessert, these dirt cups are sure to be a hit. Plus, they’re quick to put together and a boo-tiful way to get into the Halloween spirit!
I'm warning you now, this easy dessert is eerie-sistibly delicious!
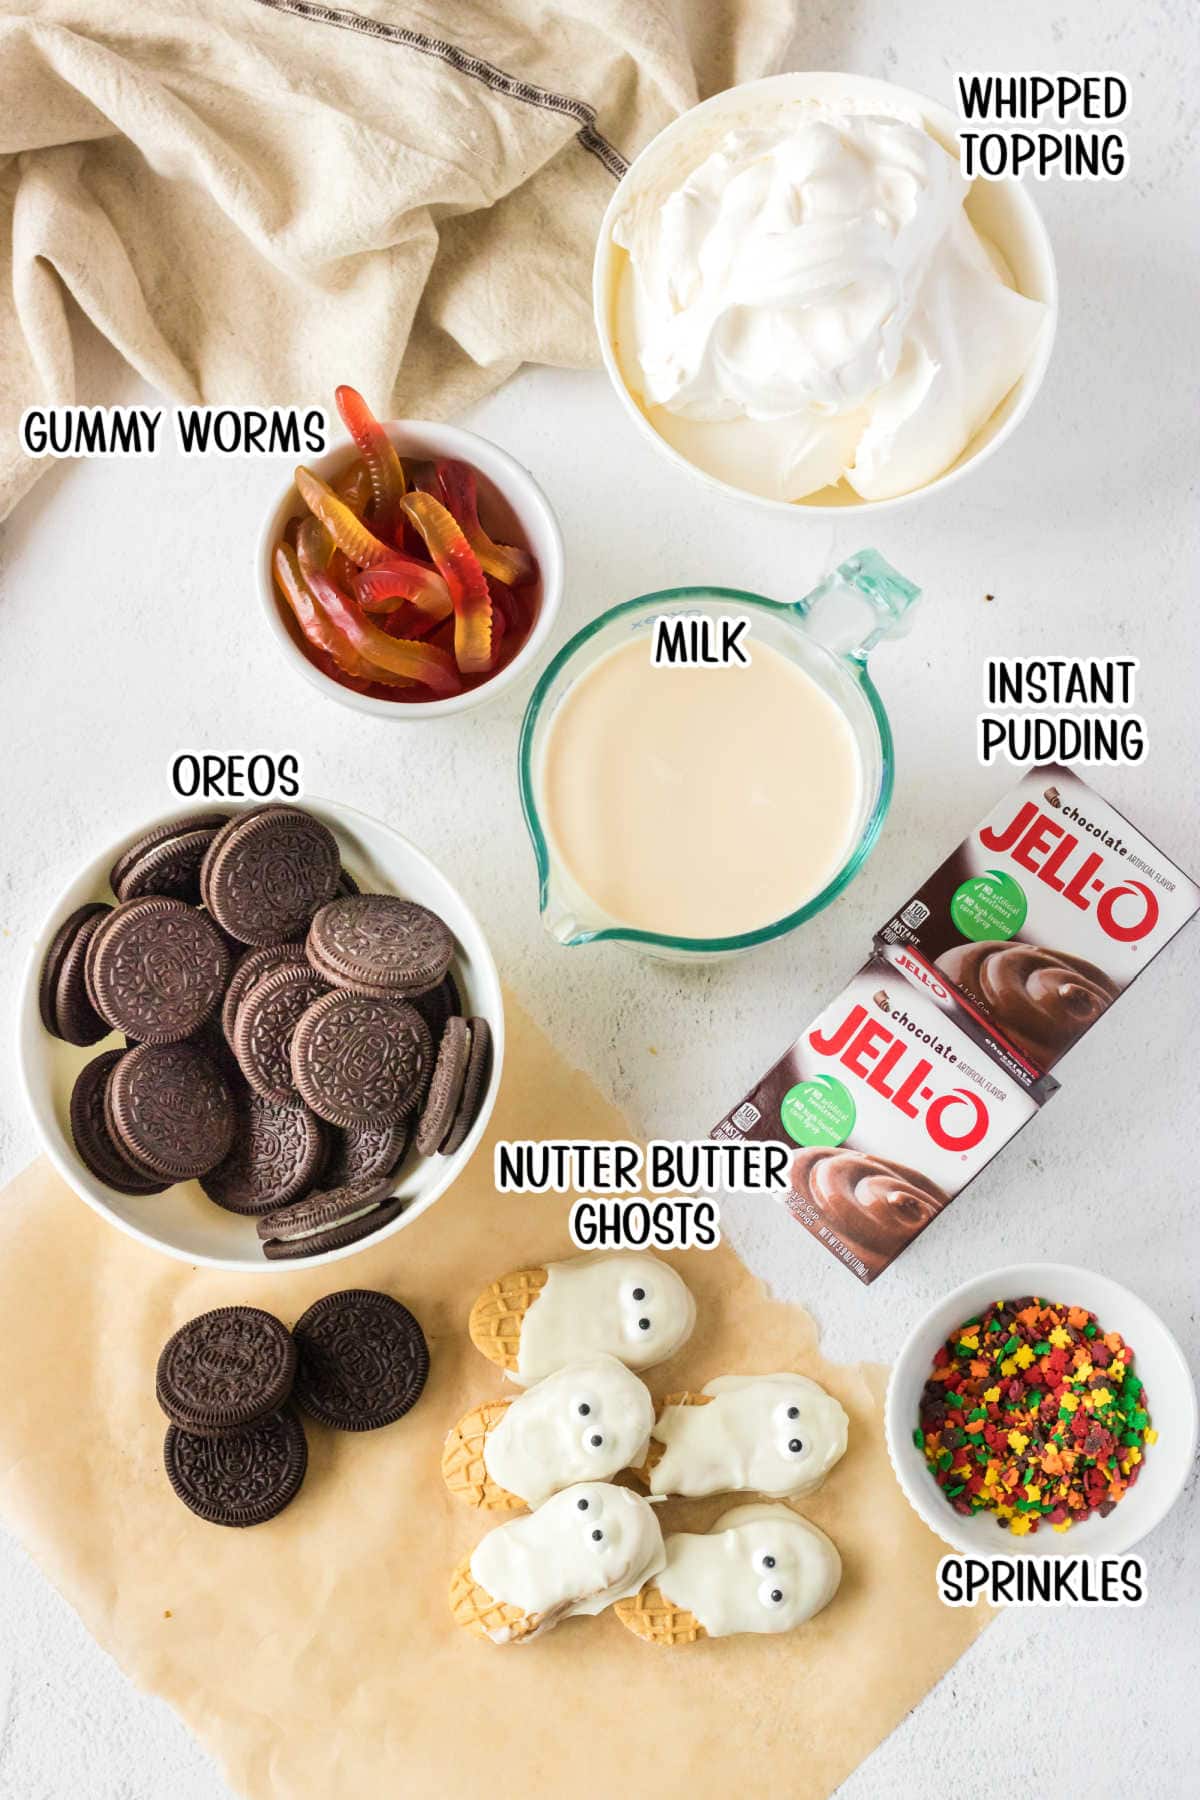
🧾 Gather your ingredients: what you'll need to make Halloween dirt cups
This is an overview of the ingredients. You'll find the full measurements and instructions in the green recipe card (printable) at the bottom of the page.
📖 Make it your own: yummy variations
The best part about this Halloween dirt pudding recipe is that it's scary-easy to customize! Here are some ideas:
- I made these in individual plastic cups but you could put it all in one pan. You could even use a trifle bowl!
- You can use vanilla pudding or any flavor of instant pudding mix you like.
- For fun recipes, I like to keep things easy, but you can make homemade chocolate pudding, if you prefer.
- Use smaller cups to make individual portions, or layer everything in a casserole dish or large bowl to make a whole spooky graveyard.
- Some people like to spoon a layer of ganache on the bottom of each cup for extra decadence. Melt chocolate chips (about 8 oz) in a double boiler, then slowly whisk in about 4 oz of heavy cream.
- Speaking of graveyards, turn some of the Nutter Butter ghosts into tombstone cookies to create scary graveyard pudding cups. (To do so, tint the white chocolate gray. Use black piping gel to "engrave" names on them.)
- You can top your Halloween graveyard dirt cups with pretty much any festive, fun treats. We like gummy worms, Halloween sprinkles, and pumpkin candy, but feel free to get creative.
- Mix some skull and bone skeleton candy into the crushed Oreos to add a spooky surprise to the Halloween dirt cups. Bonus points when you can see the "bones" in the layers through the sides of the cup!
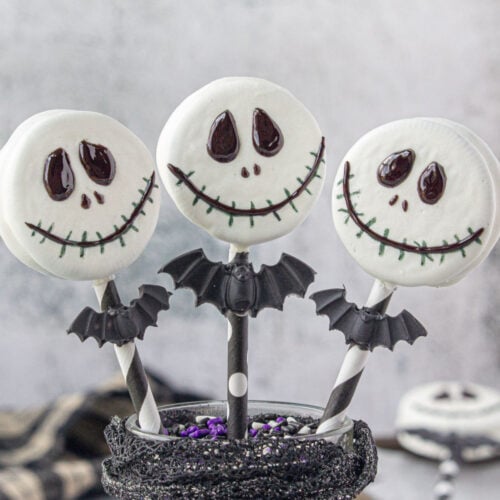
- Add a few of these Jack Skellington Oreo pops for extra spooky cuteness.
🔪 Step-by-step guide: instructions for success
This is an overview of the instructions. Full instructions are in the green recipe card at the bottom of the page. Couldn't be easier!
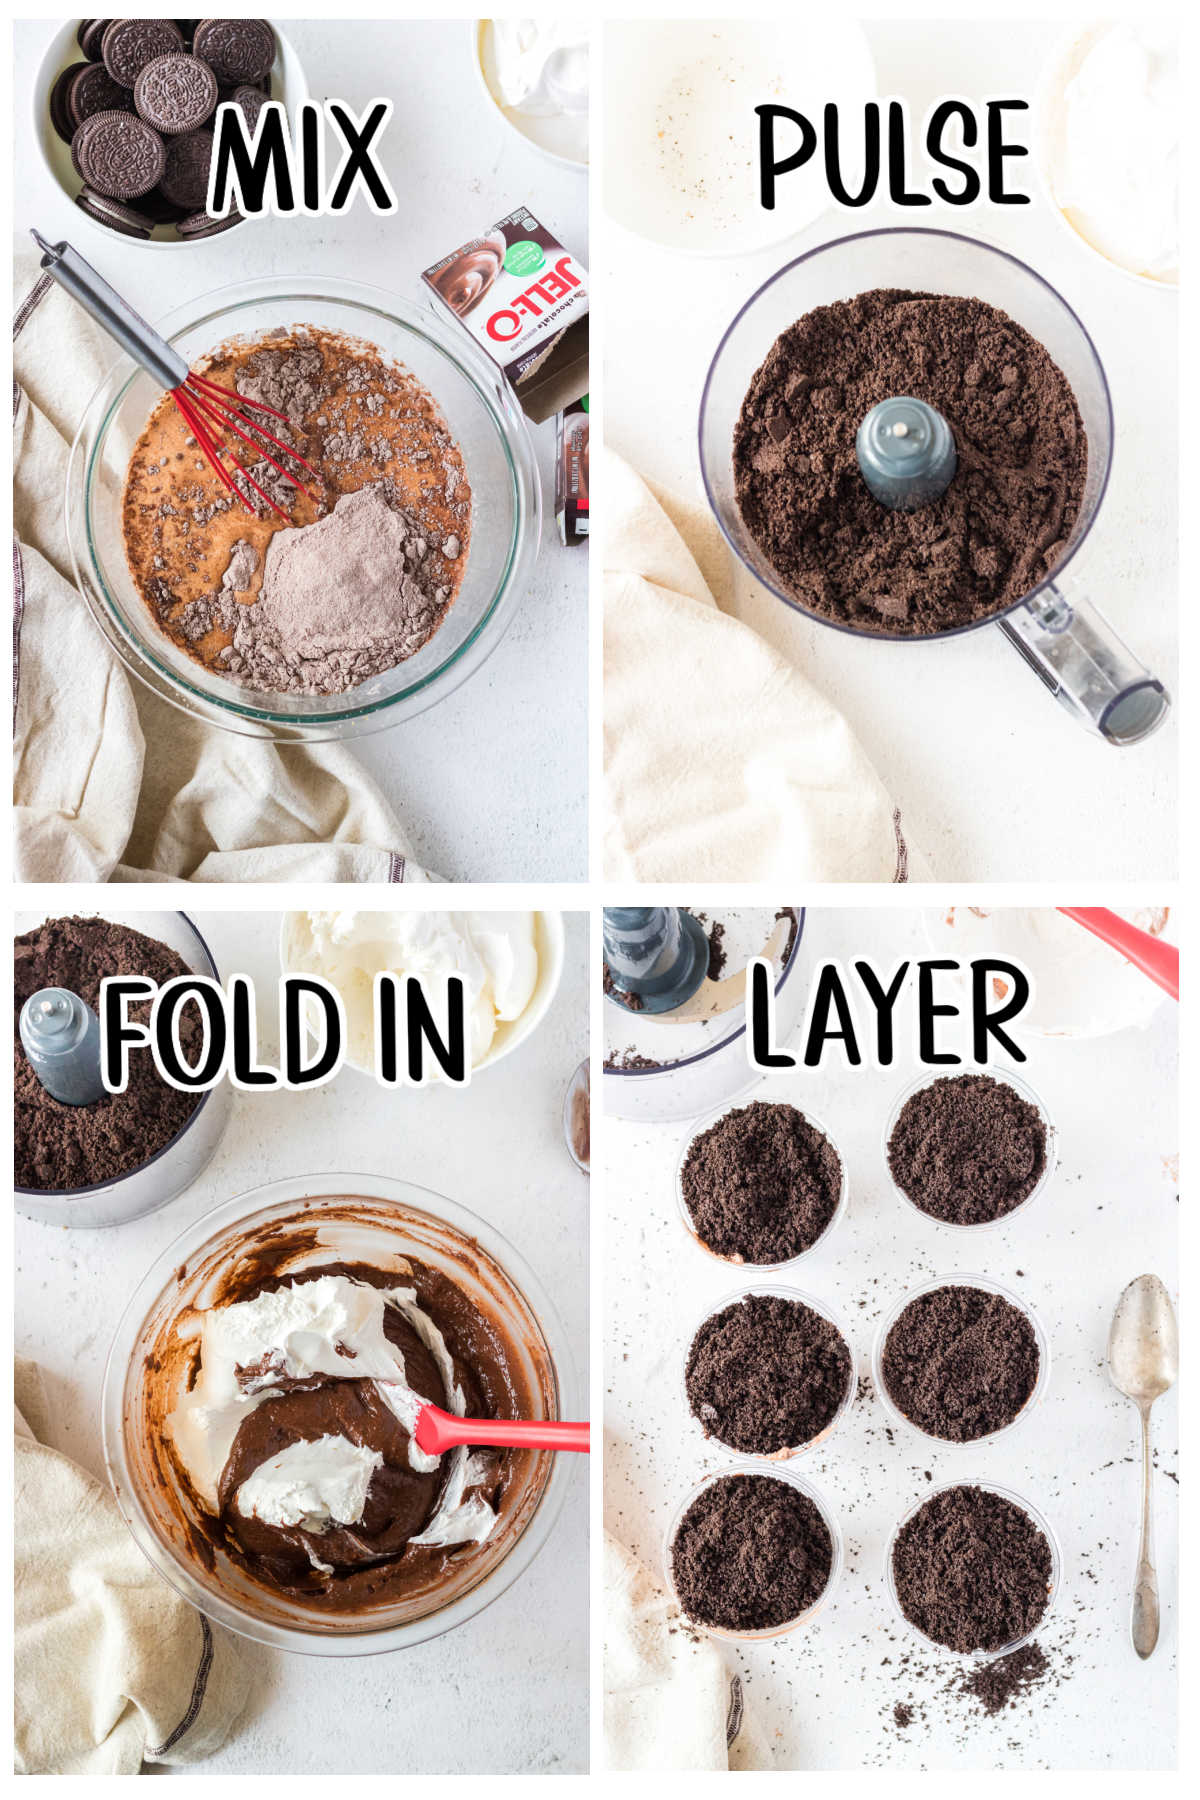
- Mix the milk and instant pudding together.
- Pulse the Oreo cookies in a food processor until they resemble dirt.
- Fold the cool whip into the pudding.
- Add a layer of crumbs to the cups then a layer of pudding mixture, then another layer of Oreo crumbs. Decorate with gummy worms, candy pumpkins, and ghosts.
🤫 Marye's secret for zhuzhing it up -
This is a great craft project for kids to do at a Halloween party! Just make the plain pudding cups then put Oreo crumbs and spooky candies out for the kids to create their own graveyard dirt cups!
zhuzh: verb. To make something more interesting or attractive
🍴Must have tools: essential equipment
As an Amazon Associate, I earn commission from qualifying purchases.
🥫 Leftover love: how to store Halloween dirt cups
Halloween dirt pudding cups are best served shortly after assembly. However, they'll last for a few hours before the chocolate sandwich cookie crumbs start to get soggy.
If you want to prep the Oreo dirt cups a few hours in advance, simply cover each cup with some plastic wrap. It's easiest to put them all on a cookie sheet and slide into the fridge. Be careful not to spill them, and refrigerate until serving time!
Though a bit soggy, the dirt pudding cups are still safe to eat for up to 5 days, properly refrigerated. You can top them with fresh cookie crumbs to add some crunch back into your bite if you don't want to waste any.
They don't freeze very well - I don't recommend.

Marye's Tip o' the day
If you don't have a food processor, place the cookies in a ziptop bag and smash them with a rolling pin. This is so much fun for kids!
💭 Insider tips: things to know
- You can use an electric mixer to combine the pudding, but it's pretty easy to do so with a wire whisk, too.
- Make the Nutter Butter ghosts using this method.
- If you have a peanut allergy in the family, Milano cookies are a great option for ghosts and tombstones.
- You can usually find clear plastic cups or dessert cups in the food storage section of the grocery store. Look near other disposable flatware.
- Cut the gummy worms in halves or thirds. Make a small hole in the top layer of the crushed cookies with a straw. Then, place the worm, cut side down, into the hole for a more realistic Halloween dessert.
👩🍳 Let's answer those questions: FAQs
Have other questions? Ask me in the comments!
I like to use evaporated milk but whole milk or reduced fat is fine, too. Double-check the back of your specific pudding mix, as different brands might require different types of milk.
No, I don't recommend it. Cool Whip or a homemade stabilized whipped cream adds the best texture and flavor to your spooky dirt cups.
⏲️ Marye's time saving hacks -
Buy prepared pudding cups (like Snack-Pak) and add the crumbs and candies to the top.
📚 More Southern comfort: related recipes you'll love
- Old-Fashioned Vanilla Pudding comes together in only minutes and tastes just like mom used to make for dessert on chilly winter nights!
- Round out your Halloween party with black velvet cupcakes!
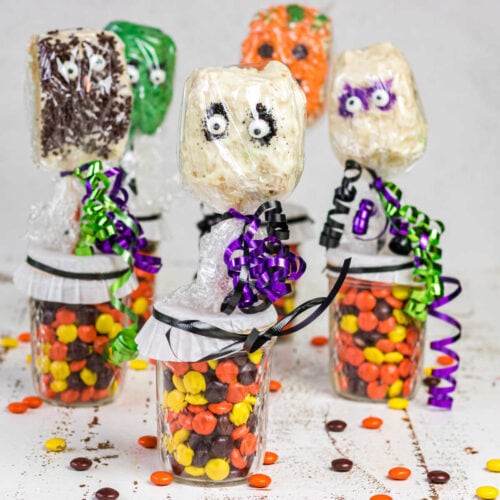
- Halloween Rice Krispy Treats are easy to create and great party favors—make them cute-spooky or scary-spooky depending on the crowd!
More spooky recipes for Halloween!
📞 Wrapping it up: the last word
You can make these fun Halloween dirt cups for any holiday by changing out the cookies, candy, and decorations. They're perfect for kids' parties!
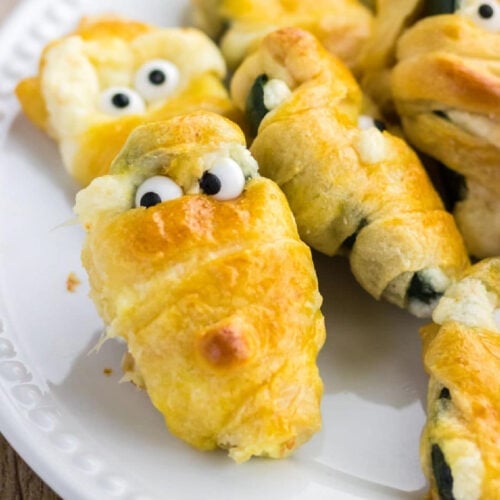
And for the adults? How about these Halloween Jalapeno Poppers? Honestly, part of the fun is the great Halloween treats, right?
If you click on the number of servings in the recipe card you can adjust the measurements up or down for the exact number of servings you need.
If you love this recipe please comment below and give it 5 stars! ⭐️⭐️⭐️⭐️⭐️
📖 Recipe
Spooky Dirt Cups
Print Pin Recipe Save Recipe Rate RecipeIngredients
- 6.6 ounces instant chocolate pudding mix
- 2 cups milk
- 16 ounces Cool Whip
- 24 Oreo cookies
- 6 gummy worms, or more
Optional
- candy pumpkins
- 6 Nutter Butter Ghosts
- Halloween sprinkles
Instructions
- Pour cold milk into a large bowl.
- Add pudding mix and whisk until very thick.
- Place pudding in the refrigerator for 15 minutes or so.
- Pulse the Oreo cookies in a food processor or blender until they are crumbs.
- Remove the pudding from the refrigerator and gently fold in half the Cool Whip.
- Fold in the remaining whipped topping.
- Add a layer of Oreo crumbs to the bottom of each cup.
- Top with the pudding mixture.
- Add another layer of Oreo crumbs to the top.
- Add the gummy worms, ghosts, and other candies as desired.
Notes
- If you don't have a food processor, place the cookies in a ziptop bag and smash them with a rolling pin. This is so much fun for kids!
- Make the Nutter Butter ghosts using this method.
- If you have a peanut allergy in the family, Milano cookies are a great option for ghosts and tombstones.
- You can usually find clear plastic cups or dessert cups in the food storage section of the grocery store. Look near other disposable flatware.
- Cut the gummy worms in halves or thirds. Make a small hole in the top layer of the crushed cookies with a straw. Then, place the worm, cut side down, into the hole for a more realistic Halloween dessert.
Nutrition Facts
Nutrition information is estimated as a courtesy. If using for medical purposes, please verify information using your own nutritional calculator. Percent Daily Values are based on a 2000 calorie diet.
This recipe has been tested several times. If you choose to use other ingredients, or change the technique in some way, the results may not be the same.
First published August 30, 2022. Last updated October 21, 2024 for editorial improvements and updates.
Don't lose this recipe!
Halloween Dirt Cups
Pin to your favorite Pinterest board to keep it handy.





Comments
No Comments