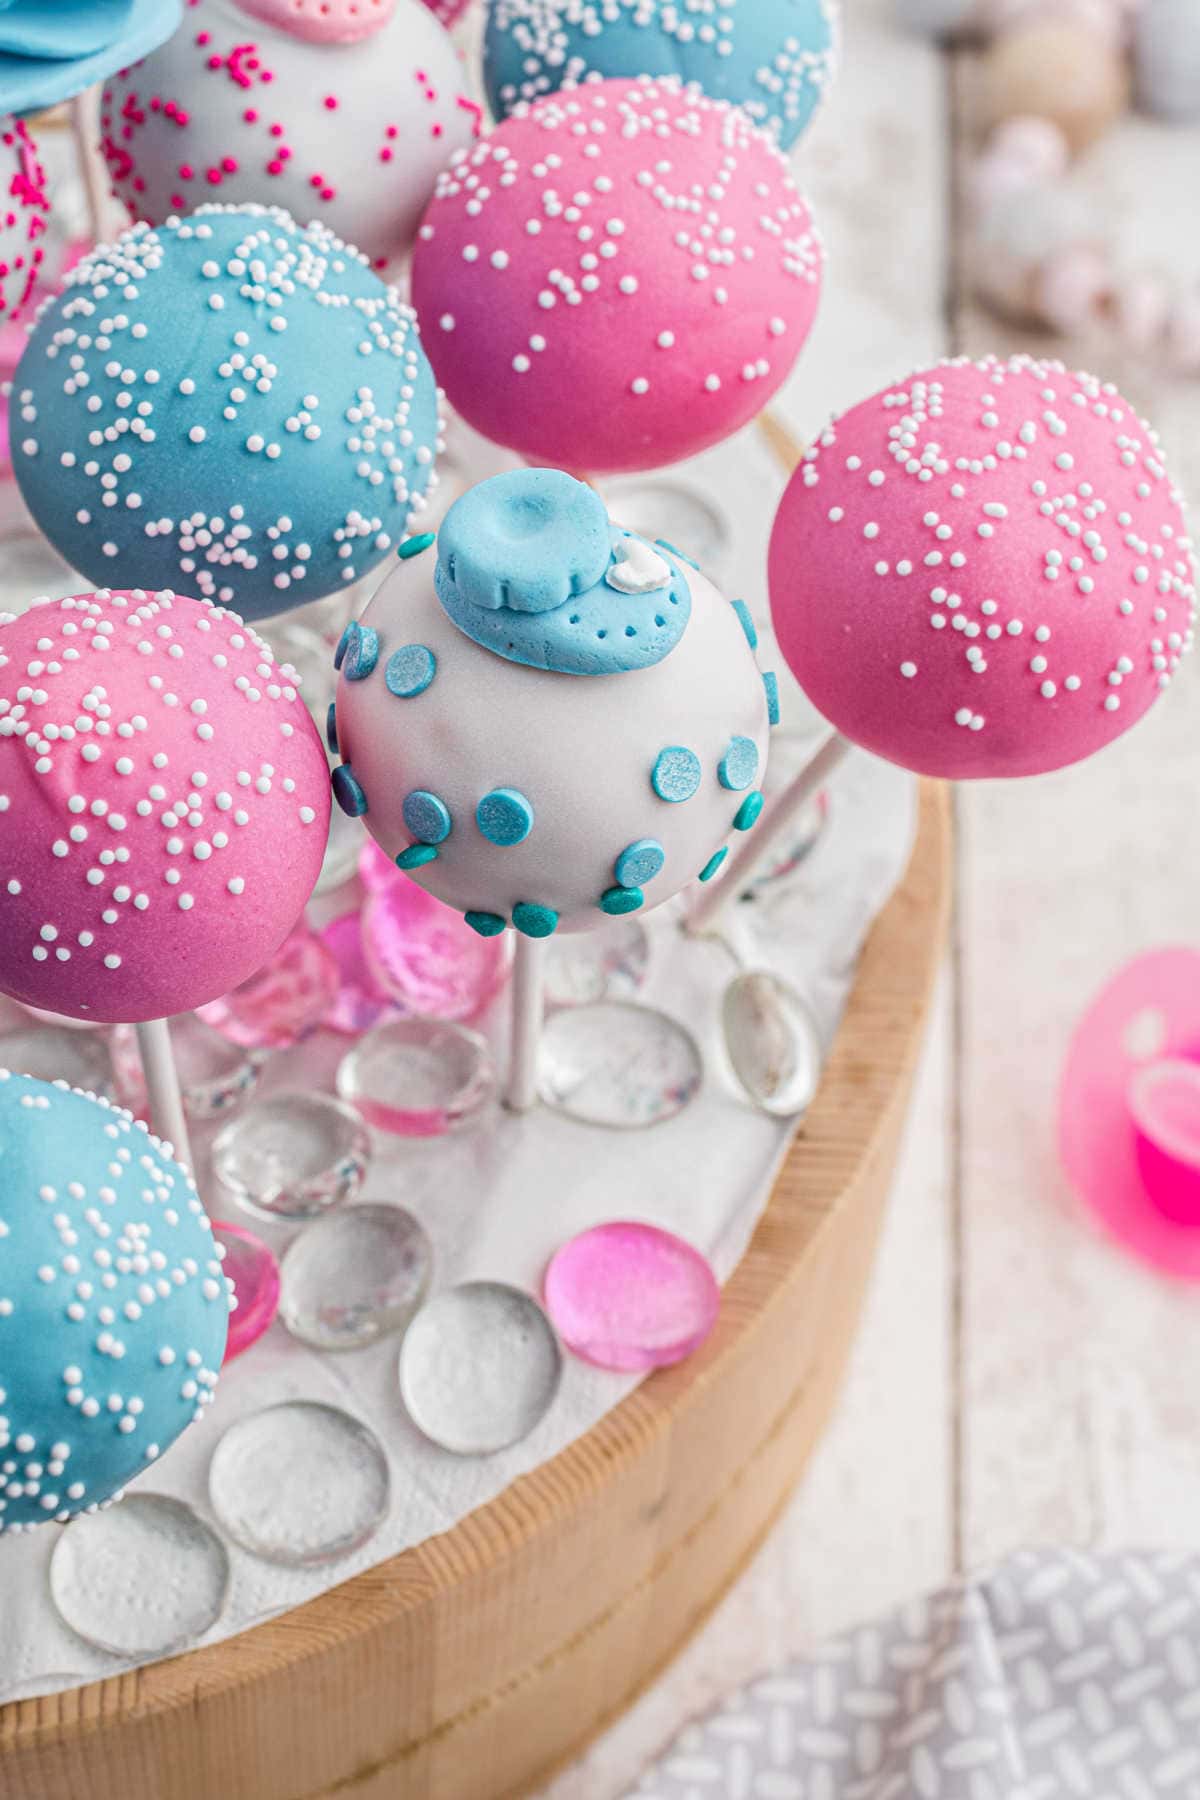
These adorable treats are every bit as cute as those at the bakery and they are so much fun to make!
Don't want to scroll through the page to get to the recipe? Use the table of contents to click on the section you want to go to.
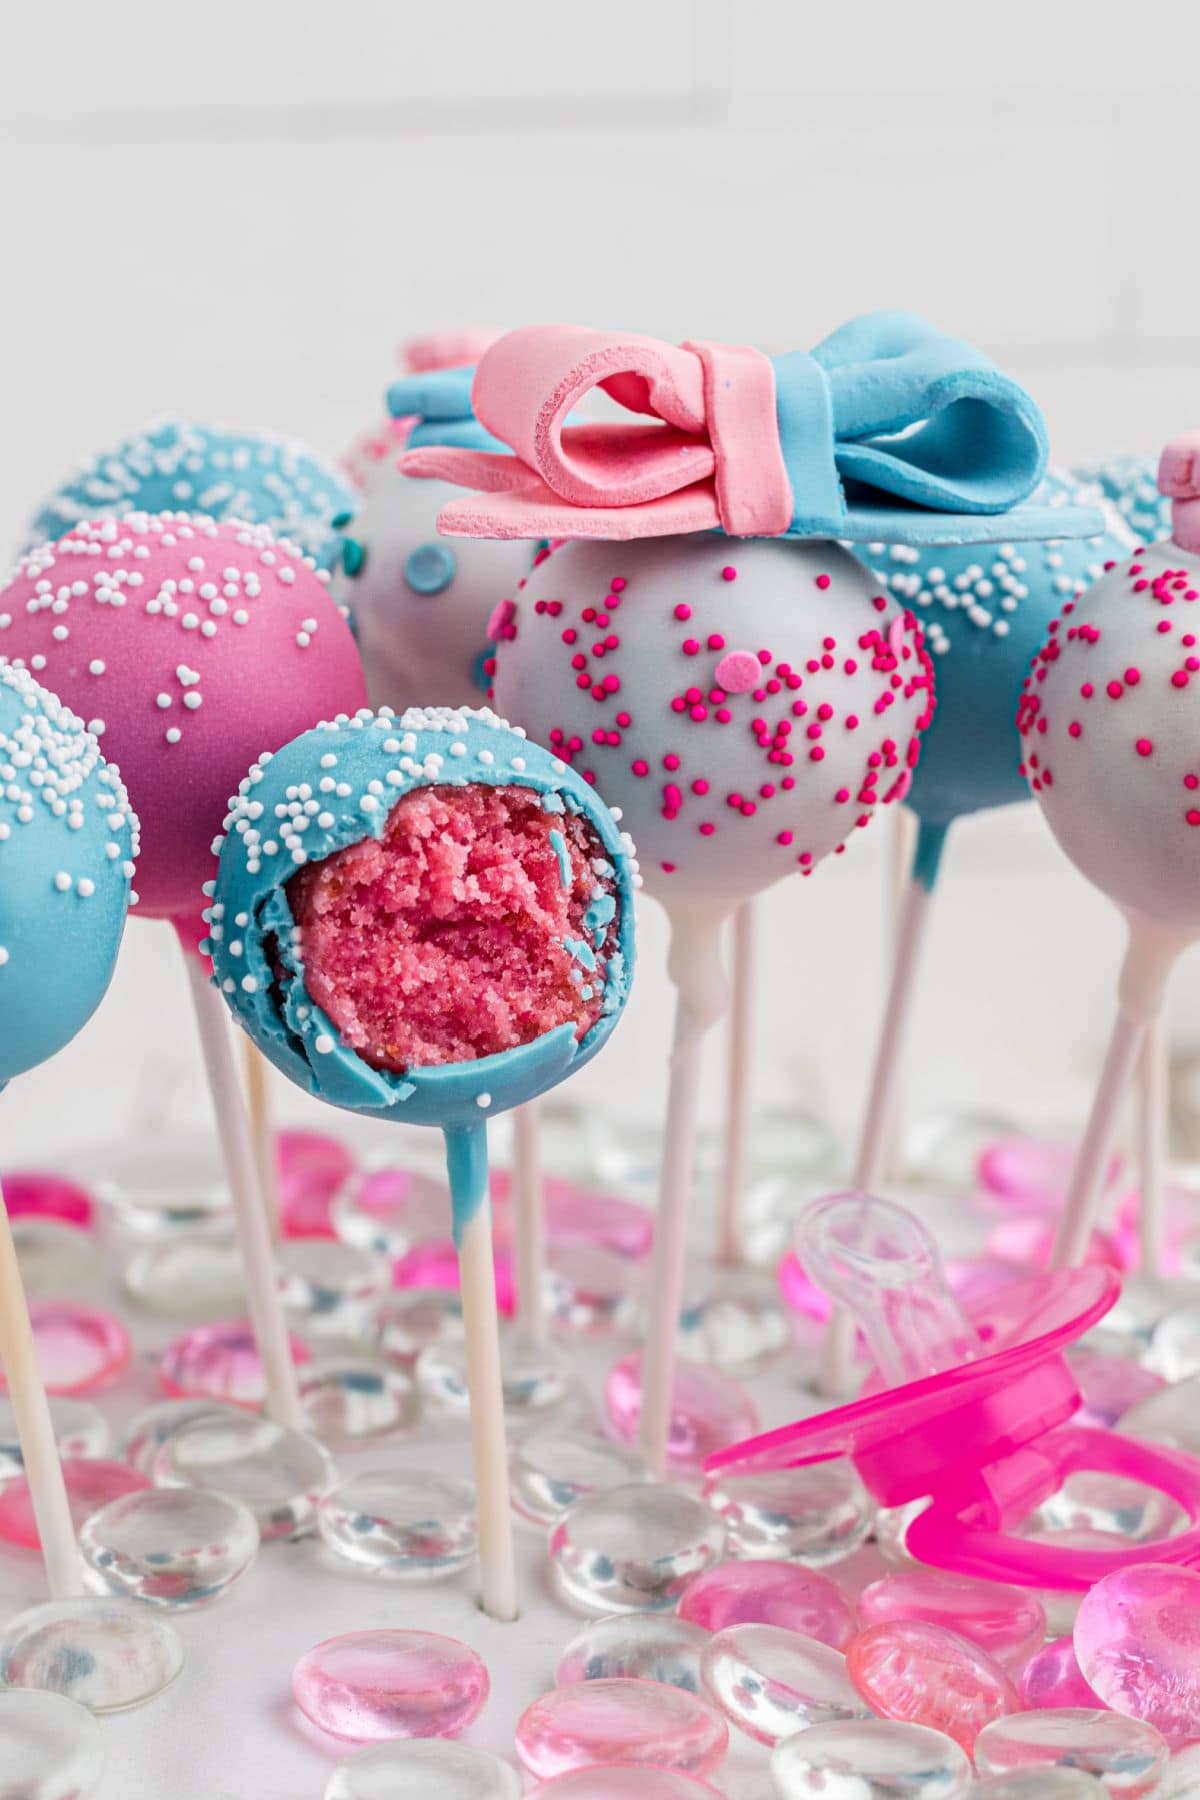
Table of Contents
❤️ Why you'll love it
- Easy recipe (starts with a box cake mix) and simple steps
- Bite-sized desserts mean everyone is included in the special occasion
- Homemade cake pops are easy to make and less expensive than those from a bakery
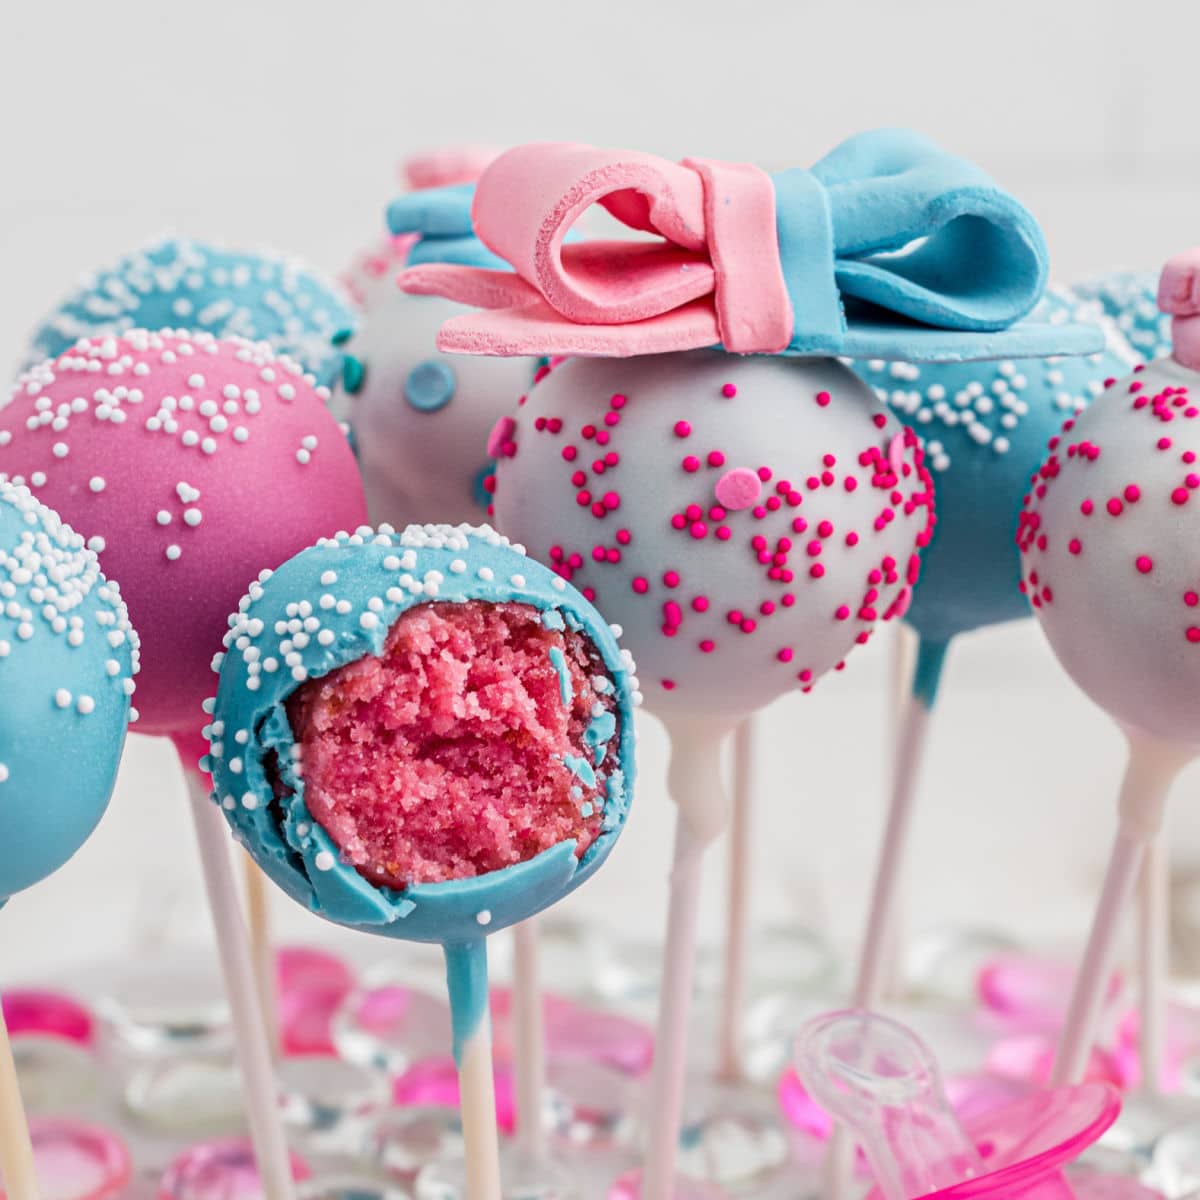
These impressive gender reveal cake pops stand out on any dessert table—just look at those bright, beautiful hues!
Plus, biting into the colorful candy coating is an exciting, easy way to find out if the little bundle of joy is a boy or a girl!
🧾 Ingredients
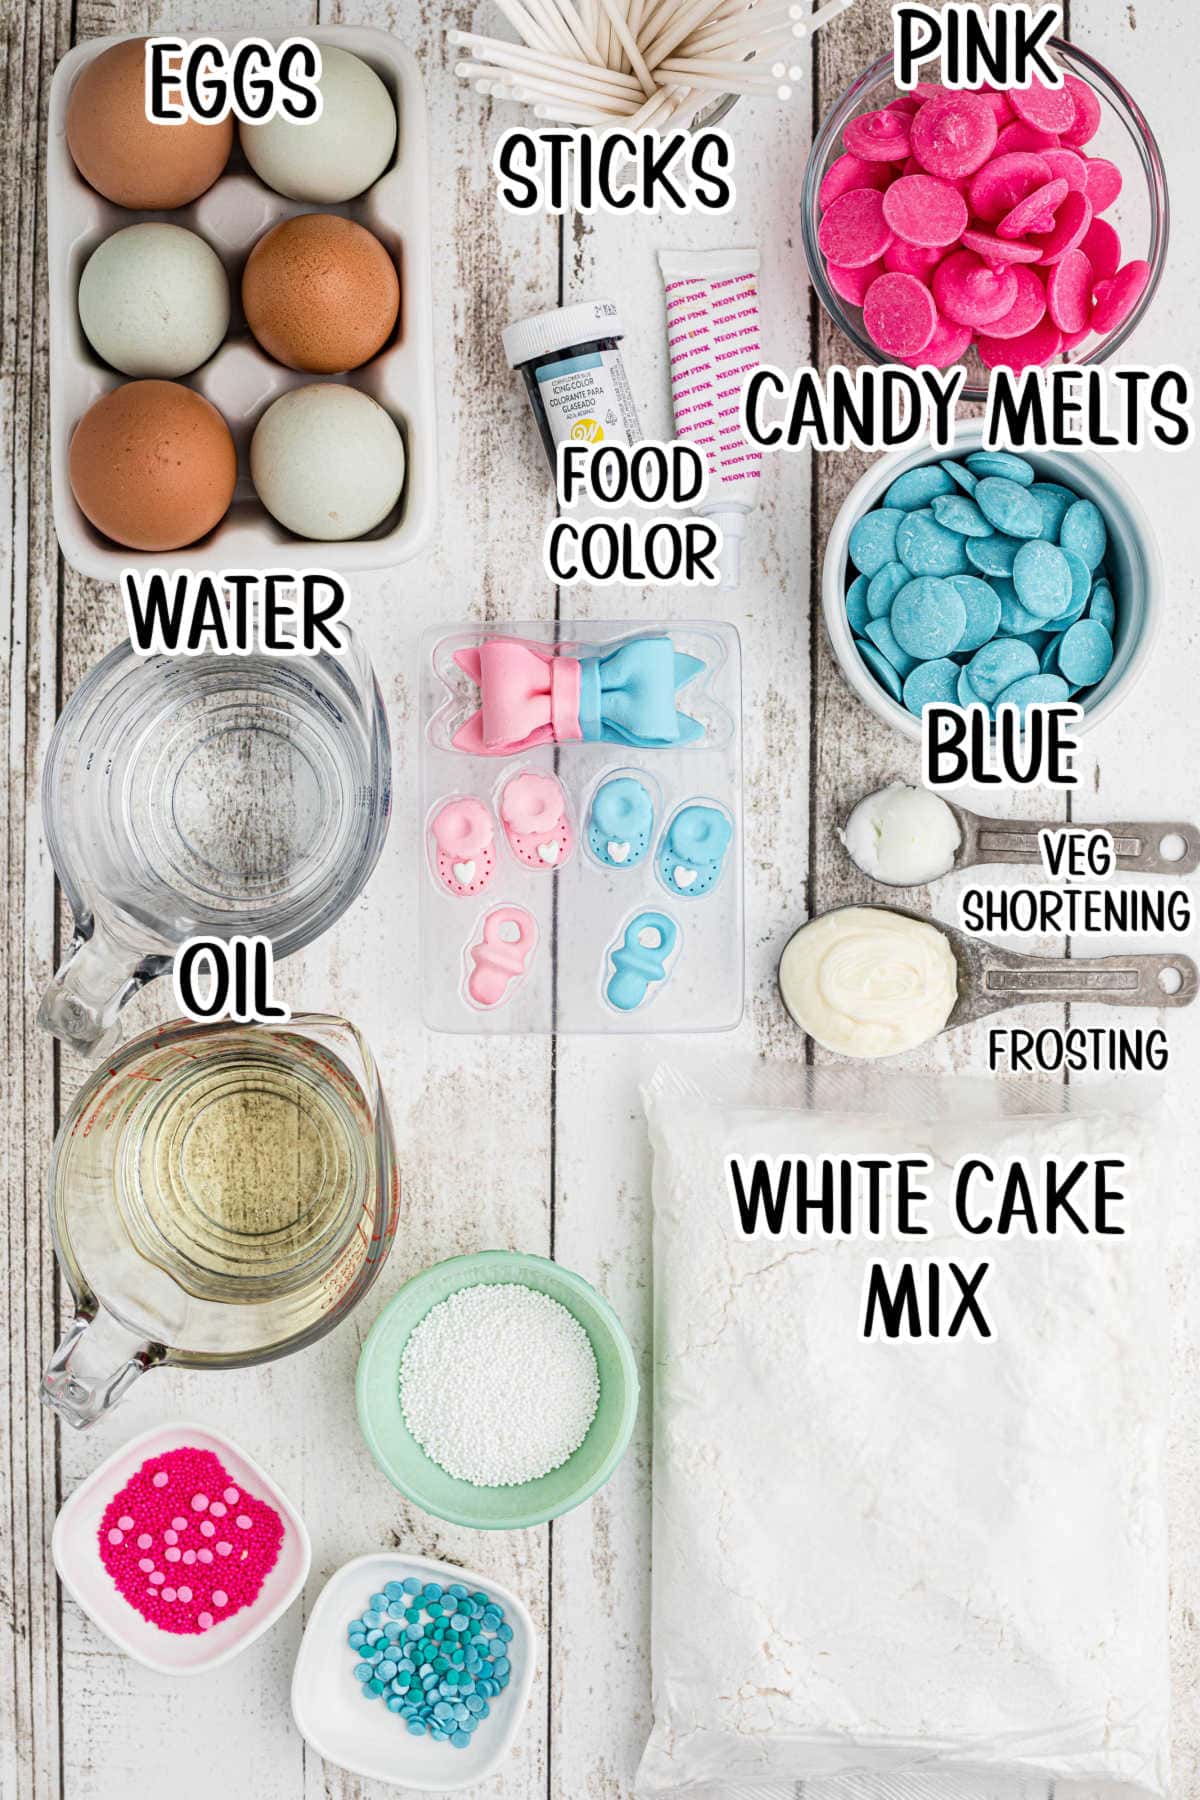
This is an overview of the ingredients. You'll find the full measurements and instructions in the green recipe card (printable) at the bottom of the page.
📖 Variations
- A boxed cake mix makes for extra easy cake pops, but you can use a homemade white cake recipe if you have one you like.
- If you leave out the lollipop stick, you'll have gender reveal cake balls instead of pops—totally fine either way!
- Using colored candy melts is the easiest way to achieve bright colors, but you can tint white melts or white chocolate with oil based food coloring. Don't use a water-based food color or water-based gel. It will make the chocolate seize up.
- Feel free to follow this cake pop tutorial for other fun family events, like a birthday party, school-spirit celebration, or the holidays. Just tap into your creative side and switch up the colors a bit, and you're good to go!
🔪 Instructions
This is an overview of the instructions. Full instructions are in the green recipe card at the bottom of the page.
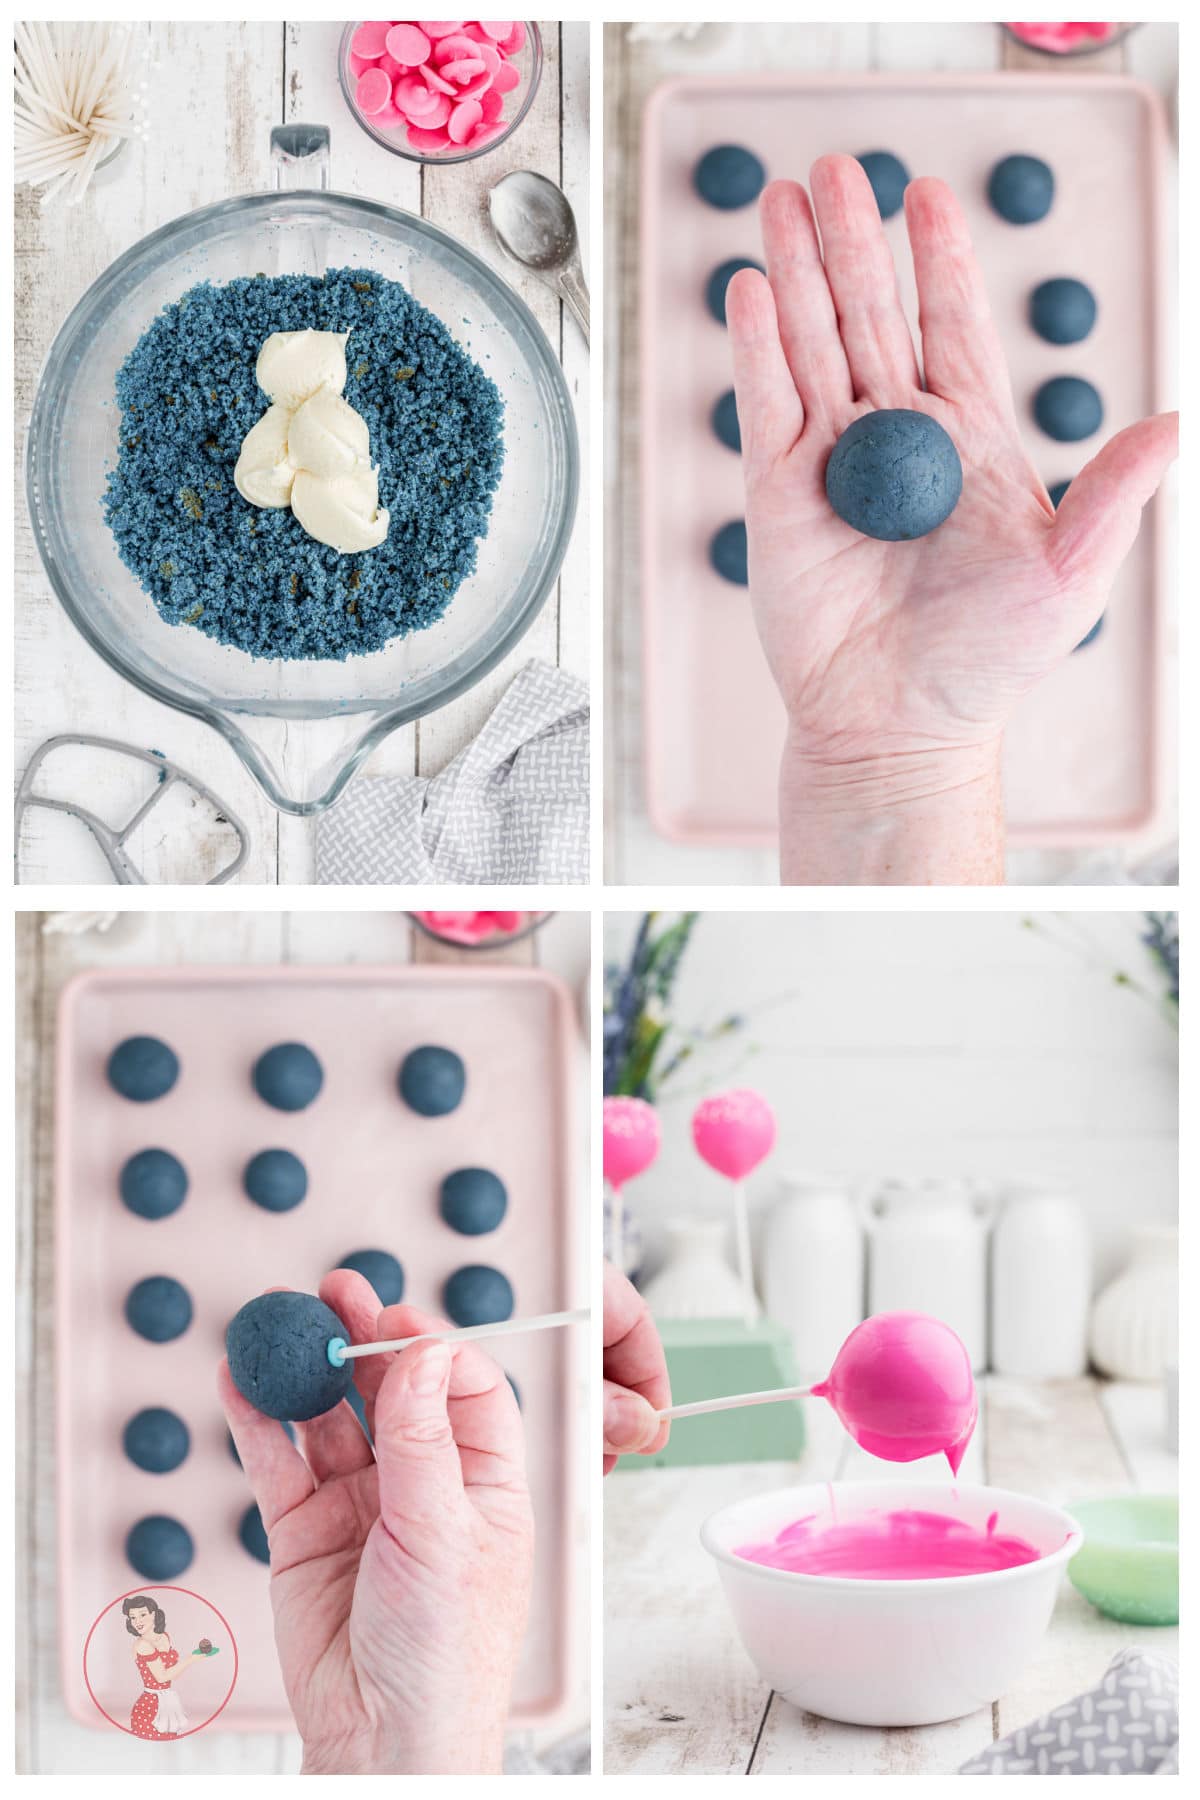
- In a large bowl, combine the cooled, crumbled cake and frosting.
- Roll two tablespoons of the cake mixture into a smooth ball. Place on a cookie sheet lined with wax/parchment paper. Repeat.
- Dip the cake pop sticks into the melted candy melts and insert them into the cake balls. Freeze for ten minutes.
- Dip each of the cake pops into the melted coating. Remember to add sprinkles/decorations before the coating sets.
How to melt white chocolate for cake pops
Prefer to use melted chocolate instead of candy melts? No problem!
Chop a high-quality white chocolate bar into small pieces, or use chocolate chips. Then, place the chocolate into a microwave-safe bowl.
Heat in 30-second increments, stirring well in between, until it's smooth. Don't overheat—the chocolate will continue to melt a little each time you stir it.
You can also use a double boiler if you prefer. However, stir often so the chocolate on the bottom doesn't burn. Be careful not to let any water splash into the chocolate or it'll seize up!
How to thin candy melts for cake pops
If you find your melted candy coating a little too thick, add some vegetable oil or vegetable shortening.
A note of caution: start with small additions first—I'm talking half of a teaspoon or so. You can always add more as you need to reach a perfect consistency for dipping.
As you dip the gender reveal cake pops, the candy melts will cool down and might start to thicken again. Try rewarming the candy melts a bit, first, before grabbing the shortening again.
🥫 How to store leftovers
Whether you've got some leftovers or want to prep ahead of time, these are the perfect cake pops for the job.
Simply store the pops in an airtight container at room temperature for up to one week. Keep them out of direct sunlight and away from heat sources.
Freeze leftover gender reveal cake pops in a heavy-duty zip-top bag for up to six months. You can enjoy them again after your baby boy or girl has arrived!
💭 Things to know
Expert Tip: For the best cake pops, make sure the balls are smooth before you dip them. If you're struggling (or have a hot kitchen) pop the cake/frosting in the fridge for a bit—it's easier to work with chilled dough.
- If you want to flavor the cake, stir a few teaspoons of extract into the batter before baking. Try lemon, coconut, banana, or almond.
- The top of the cake will look brown when it comes out of the oven. Gently cut or scrape it off to reveal the bright blue or pink shade inside.
- Don't add extra frosting or the cake pops will taste soggy. It won't look like much frosting compared to the amount of cake, but that's okay!
- Use a small cookie scoop to evenly portion out the cake ball dough.
- Wrap cake pops in individual treat bags to give away as fun party favors!
👩🍳 FAQs
Cake pops tend to crack when there is a large temperature difference between the candy melts and the cake. If yours start to crack, let the candy melts cool and the cake pops sit at room temperature for a bit.
You'll get about 18 gender reveal cake pops from one box of mix. They're a little smaller than golf balls. Need more? You can easily double or triple the recipe using the option in the recipe card below.
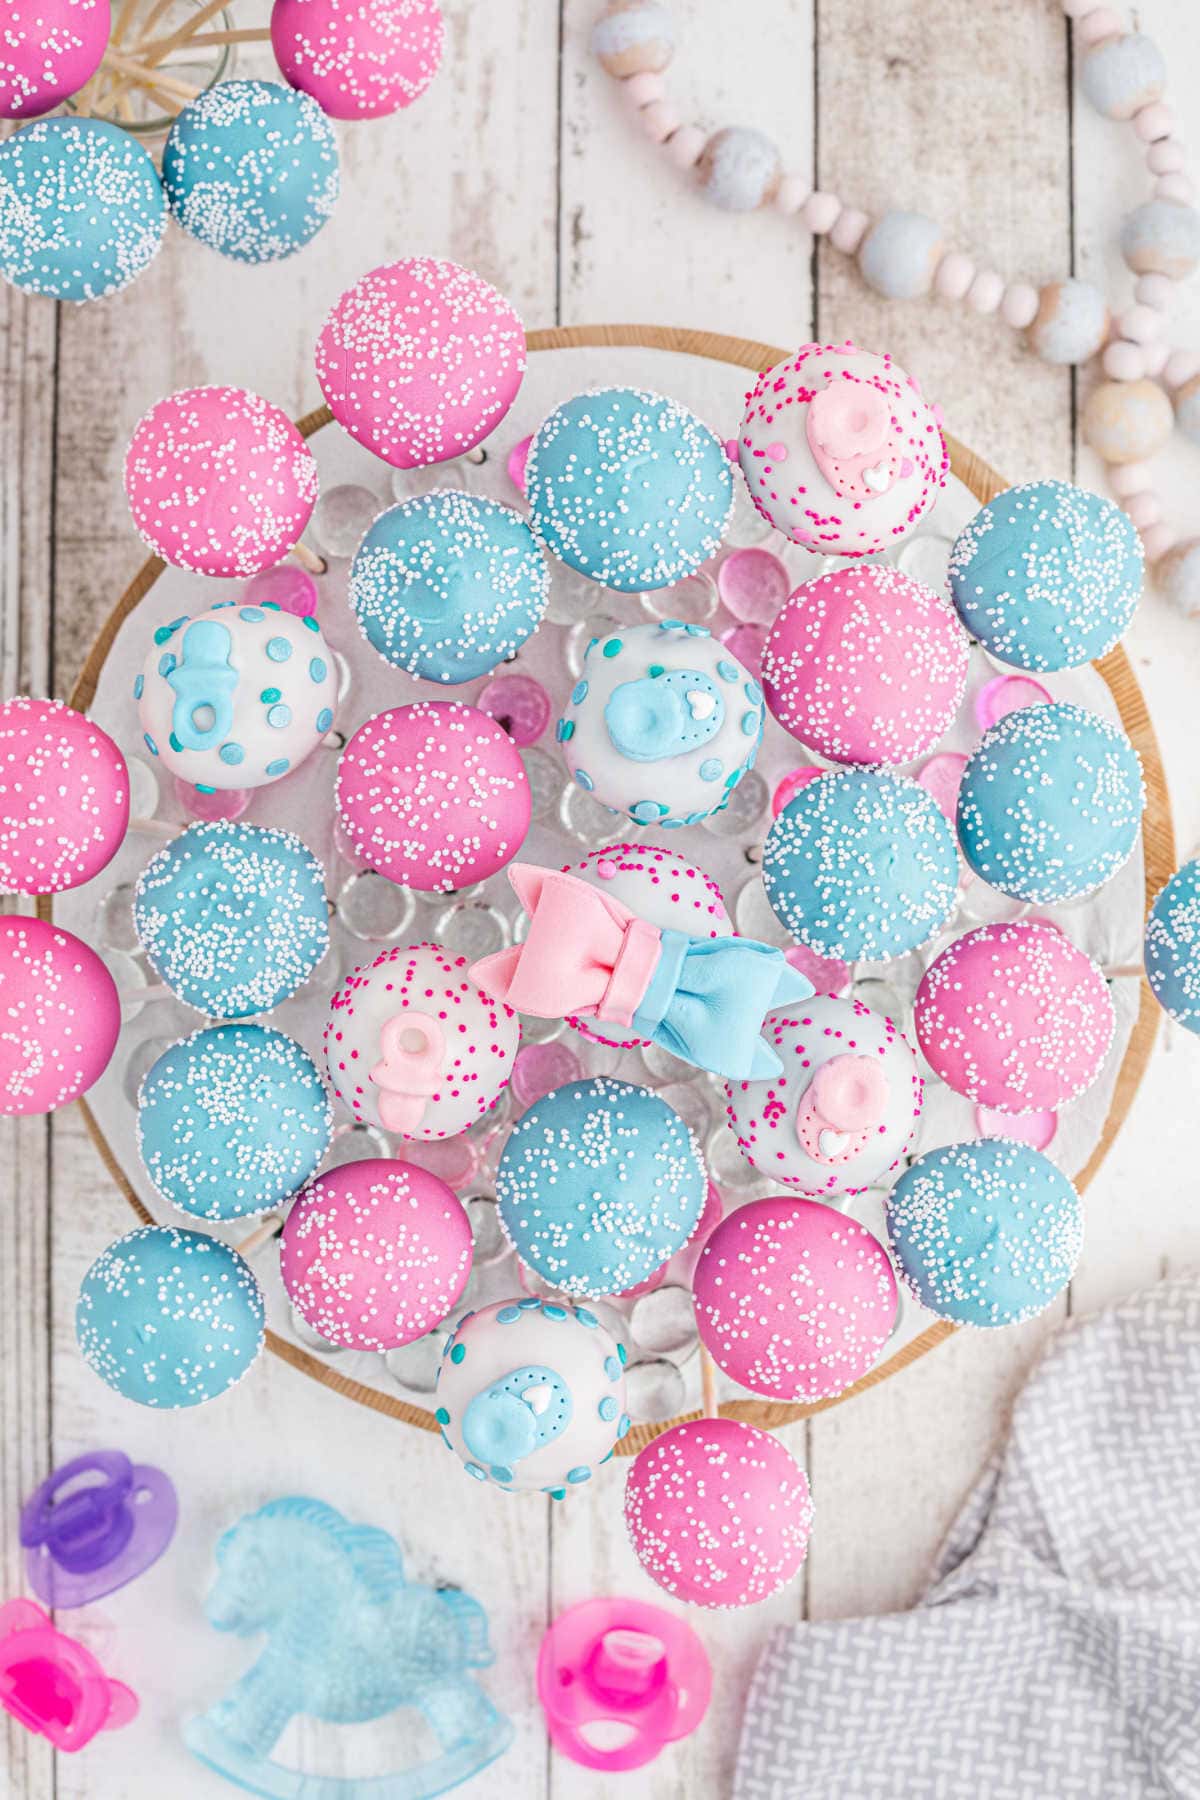
There are stands you can buy from the store, but they’re quite bland and boring. Or, you can make one (like I did), by taking a container of some kind and using flower arrangement foam to fill it—then decorate the top. A cheap styrofoam block or decorated Amazon box also works great!
No, you won’t. However, depending on the thickness of the white (if you add any shortening to the coating) you may see a little color. In that case, double-dip the white. Triple dip if you really need to.
Not really, but there are some exceptions.
Use white cake for a clean, bright gender reveal color. Even a simple yellow cake will mess up the shade—mixed with blue you'll get green, and mixed with pink you'll end up with orange cake batter!
However, if you're aiming for pink cake pops, you could opt for strawberry or pink velvet cake—those'll do the trick. (I've linked my two favorite pink cakes below!)
📚 Related recipes
- Bumble Bee Cake Pops are a cute, springy dessert. They're a buzz-worthy addition to any baby/bridal shower, kid's party, or birthday event!
- This Strawberry Sheet Cake has an amazing, fresh flavor and is the perfect pink—both for announcing a baby girl or simply enjoying as is!
- Pink Velvet Cake has a delicate white chocolate flavor and the perfect texture you love from a "velvet" cake. Plus, it's pretty and so pink!
🍽️ Serve with...
- Leftover Frosting Cookies are another delicious gender reveal party treat and a great way to finish up the container of cake pop frosting!
- Watermelon Basket Fruit Salad is a refreshing party snack. Plus, you could call it a "baby carrier" to stay on theme—just add a binky!
- Disney Princess Lavender Punch is perfect for a baby shower because it's non-alcoholic, sparking, and has a beautiful pinkish-purple hue.
📞 The last word
I don't know how it is where you live but I swear, ever since Pinterest came on the scene people around here have been vying for the cutest party food, the most adorable decor, and on and on and on.
The Koolaid Mom has been replaced by the Pinterest Mom.
So, when I find something that is ABSOLUTELY adorable and so easy even I can do it you know I'm gonna share it.
If you click on the number of servings in the recipe card you can adjust the measurements up or down for the exact number of servings you need.
If you love this recipe please give it 5 stars! ⭐️⭐️⭐️⭐️⭐️
📖 Recipe
Gender Reveal Cake Pops
Print Pin Recipe Save Recipe Rate RecipeIngredients
- 15 ounces white cake mix
- 3 eggs
- ½ cup vegetable oil
- 1 cup water
- blue or pink food coloring
- 4 tablespoons vanilla frosting
- 1 cup pink Candy Melts
- 1 cup blue Candy Melts
- 1 cup white Candy Melts
- Sprinkles in each color
- Gender Reveal Cake Decor sugar cake topper
- 2 teaspoons vegetable shortening, Use a little if needed to thin the white candy melts coating. Add it a little at a time until you get the right consistency.
Instructions
- Preheat oven to 350°F.
- Add the cake mix, eggs, oil and water to the bowl of your mixer and mix on medium speed for 2 minutes.
- Add the gender color you need (blue or pink) food coloring, about 2 teaspoons is enough. Mix through again.
- Add the colored cake batter to a lightly greased 9x13” baking dish.
- Bake for 30 minutes (or as box instructs). Remove from the oven when a toothpick comes out almost clean. Allow to cool completely. (The color of the cooked cake will look weird, it’s because of the browning that has occurred. You can scrape the top layer of the cake off with a spoon, the real color underneath will be perfect.)
- Crumble the cooled cake into the mixing bowl along with the frosting.
- Mix on low speed for about 1 minute, until combined evenly.
- Take 2 Tablespoons of the cake mixture and roll into a ball with your hands, making sure there are not cracks. Line up on a baking sheet lined with wax paper.
- Add each cup of candy melts to a microwave. Cook in 30 second increments, stirring until a desired dipping consistency has been achieved.
- Dip a treat stick 1” into the white candy melts then push half way into one of the cake pops. Repeat with 5 more cake pops. Do the same with the blue and with the pink candy melts.
- Place the baking sheet with the cake pops into the freezer for 10 minutes.
- Give each bowl of the candy melts another 30 second blast in the microwave, then get ready to dip the cake pops. Make sure you’re ready with the sprinkles, they will need to be sprinkled on while the coating is still drying. Once the candy melts have hardened sprinkles will not stick.
- For the large ‘cake topper’ sugar sprinkles - those will also need to be added while the coating is still wet. I add the cake toppers to the white cake pops.
Notes
-
- For the best cake pops, make sure the balls are smooth before you dip them. If you're struggling (or have a hot kitchen) pop the cake/frosting in the fridge for a bit—it's easier to work with chilled dough.
- If you want to flavor the cake, stir a few teaspoons of extract into the batter before baking. Try lemon, coconut, banana, or almond.
-
- The top of the cake will look brown when it comes out of the oven. Gently cut or scrape it off to reveal the bright blue or pink shade inside.
-
- Don't add extra frosting or the cake pops will taste soggy. It won't look like much frosting compared to the amount of cake, but that's okay!
-
- Use a small cookie scoop to evenly portion out the cake ball dough.
-
- Wrap cake pops in individual treat bags to give away as fun party favors!
Nutrition Facts
Nutrition information is estimated as a courtesy. If using for medical purposes, please verify information using your own nutritional calculator. Percent Daily Values are based on a 2000 calorie diet.
This recipe has been tested several times. If you choose to use other ingredients, or change the technique in some way, the results may not be the same.




Comments
No Comments