Craving sweet, gooey pie but short on time and patience? This Cream Cheese Cherry Bubble Up is the perfect no-fuss dessert. With buttery, tangy flavor and juicy cherries in each bite, it's delicious any time of year but makes an extra special holiday treat—and a sweet brunch idea for Christmas morning, too!
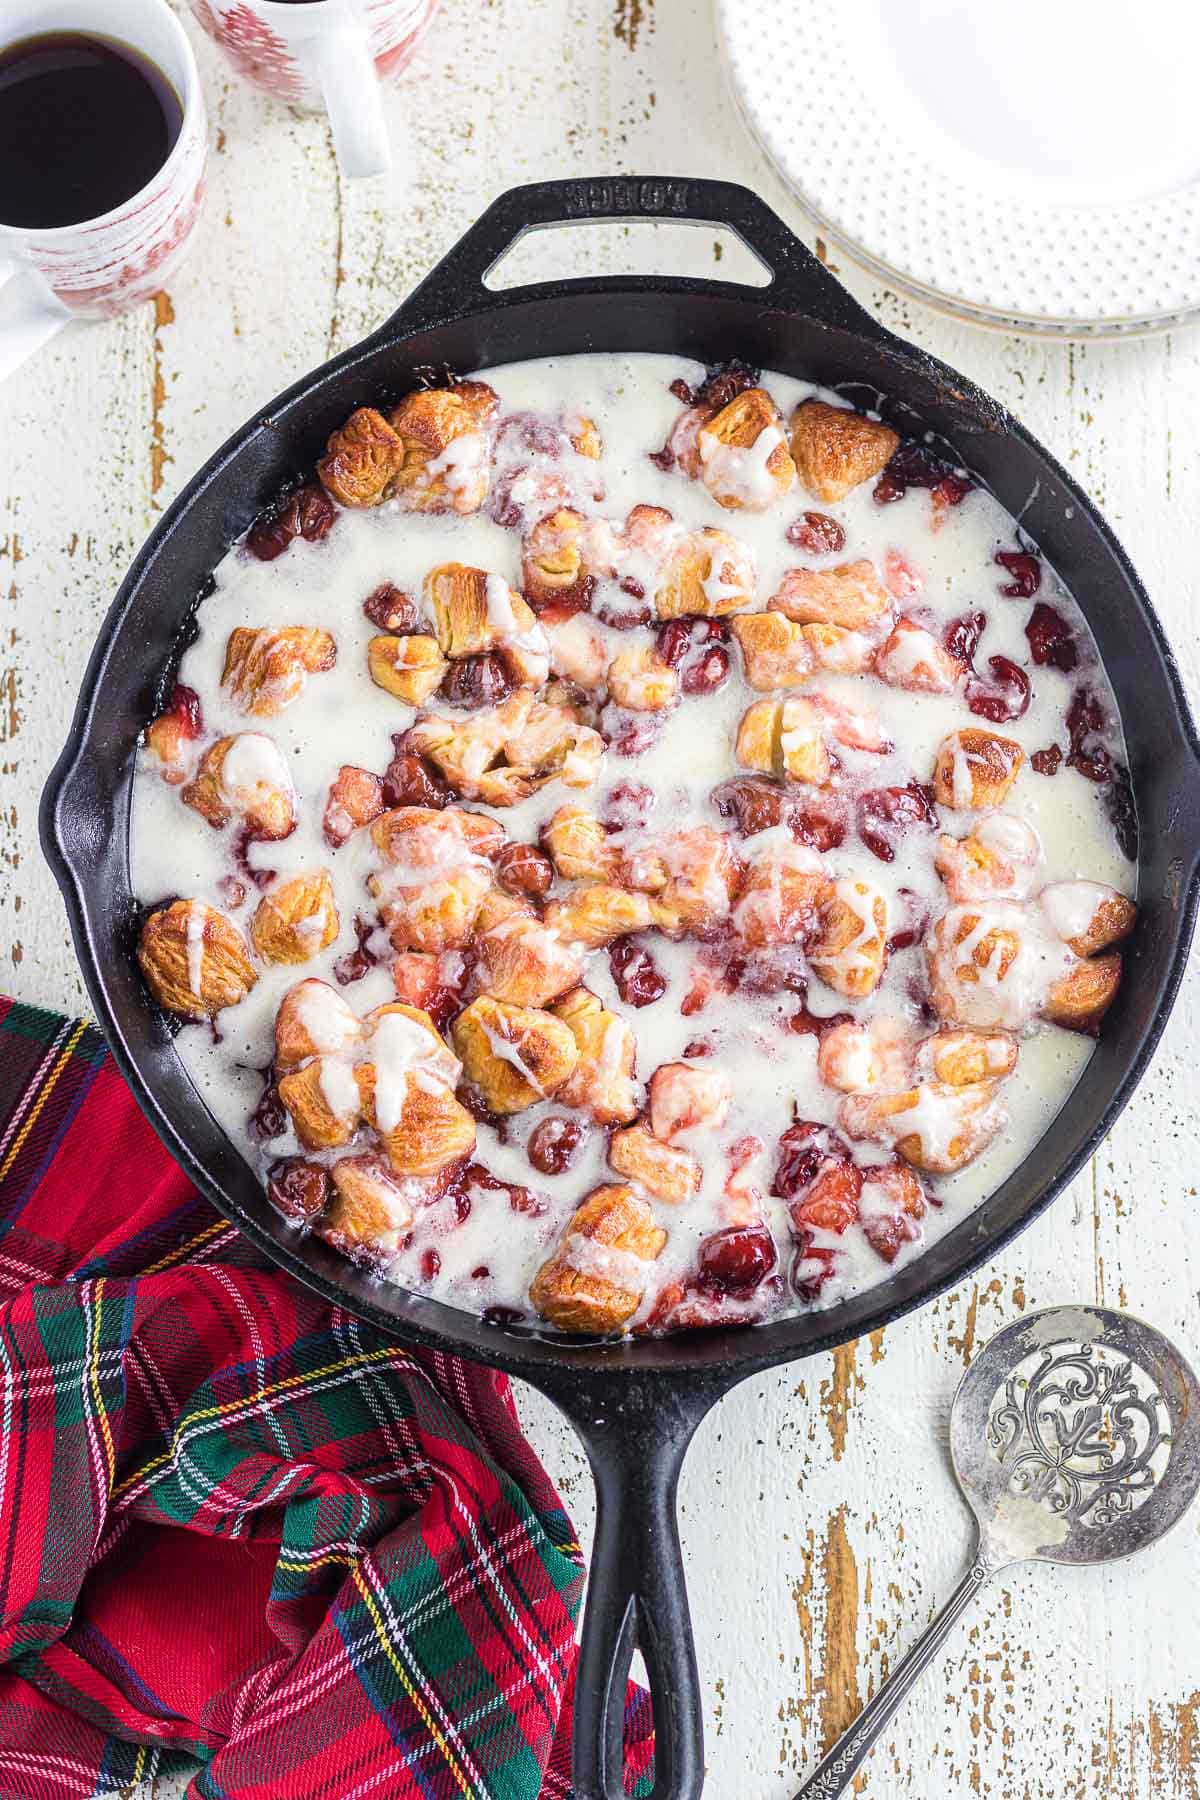
Table of Contents
- 🗝️ Key takeaways: why this recipe is your new favorite
- 🧾 Gather your ingredients: what you'll need
- 📖 Make it your own: yummy variations
- 🔪 Step-by-step guide: instructions for success
- 💭 Insider tips: things to know
- 🎥 Watch and cook: step-by-step video tutorial
- 🥫 Leftover love: how to store and reheat cream cheese & cherry bubble - up
- 👩🍳 Let's answer those questions: FAQs
- 📚 More Southern comfort: related recipes you'll love
- 🍽️ No waste: creative ways to repurpose cherry bubble up
- 📞 Wrapping it up: the last word
- 📖 Recipe
- 💬 Comments
Save this recipe by clicking on the ❤️ heart on the right-hand side of the screen or in the recipe card.
🗝️ Key takeaways: why this recipe is your new favorite
- With just 10 minutes of prep, this one-pan recipe takes the hassle out of cherry pie with the same delicious flavor you know and love.
- I love this for the holidays but it's yummy anytime. Since it's so easy, it's particularly good for potlucks!
- Thoroughly but gently coating the biscuit pieces with the pie filling mixture is key to making the best bubble up.
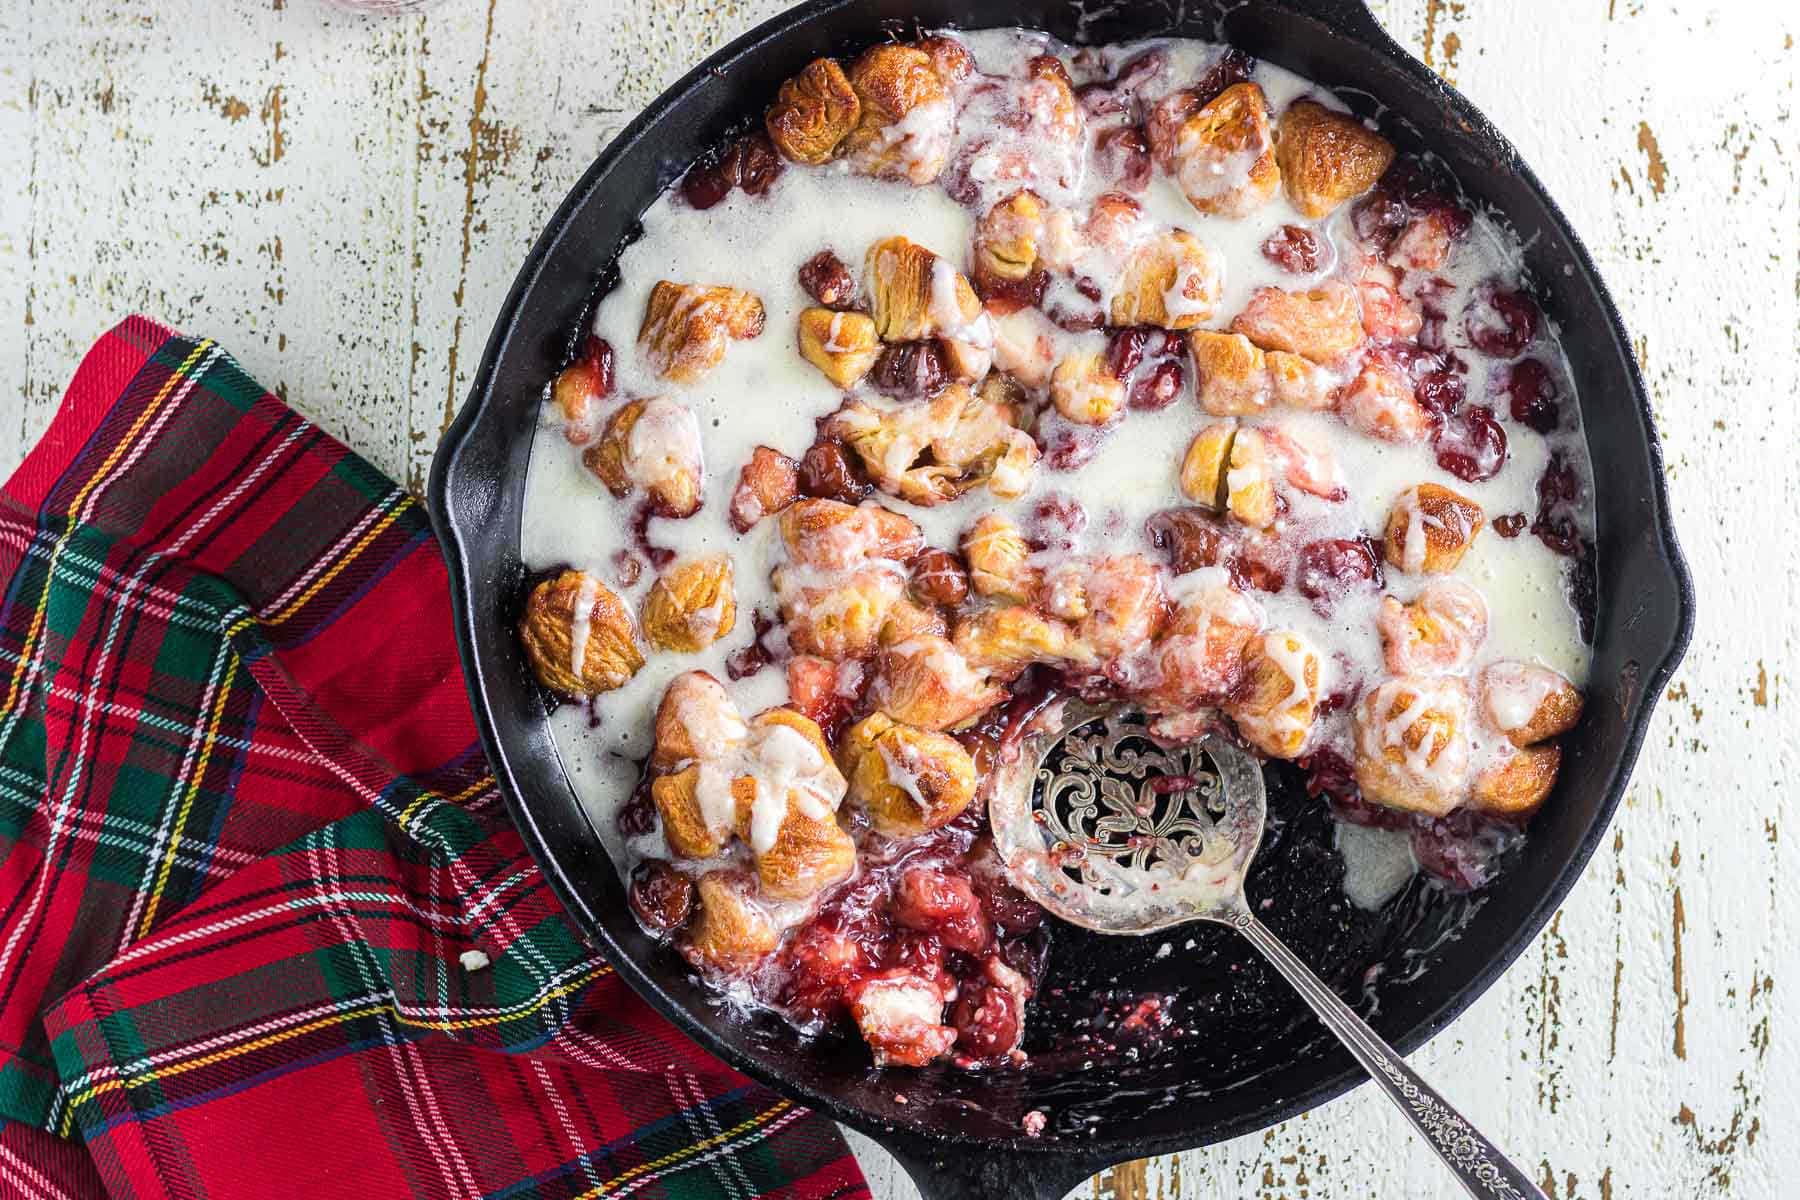
Picture this: soft, fluffy biscuits nestled around a gooey cherry pie filling with pockets of melted, tangy cream cheese underneath a sweet, buttery glaze.
Every bite of my cherry cream cheese bubble up is an irresistible treat guaranteed to make the whole family smile!
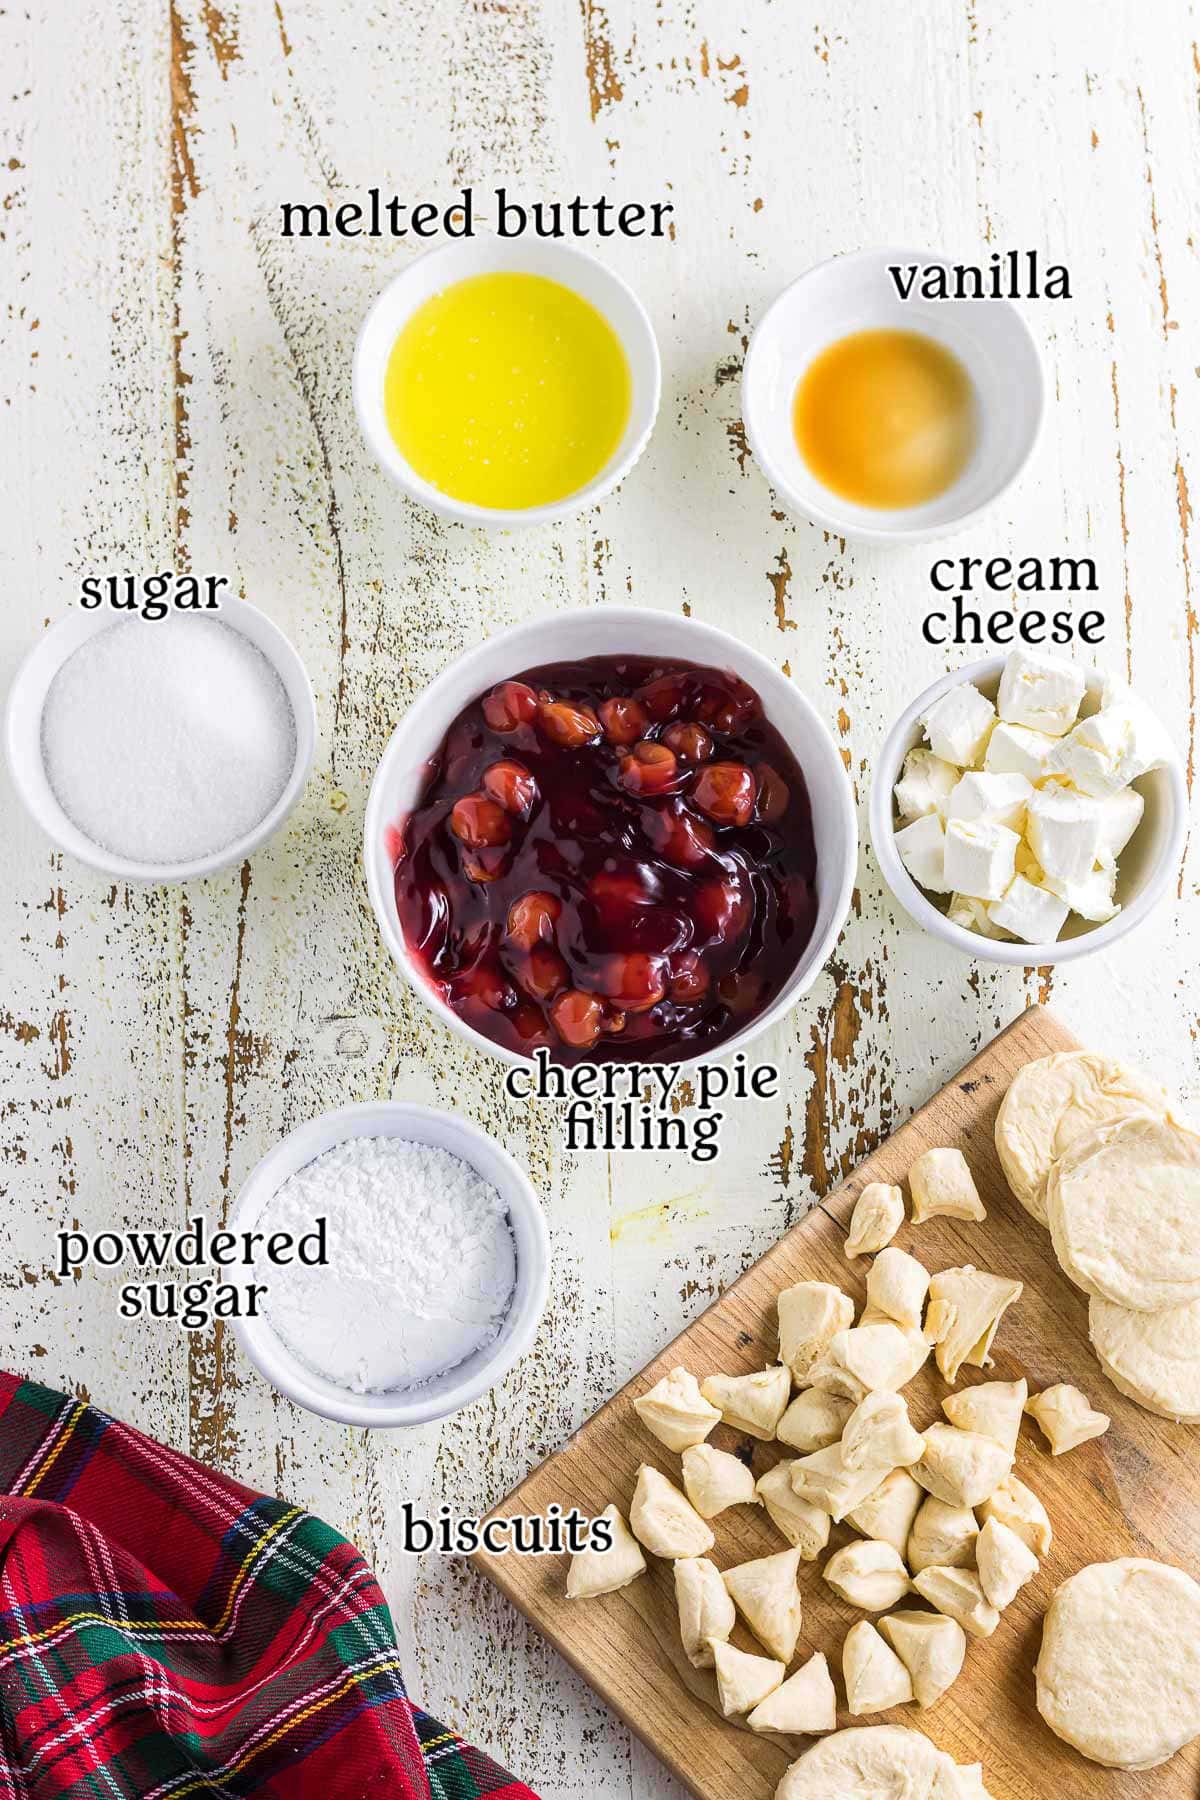
🧾 Gather your ingredients: what you'll need
This is an overview of the ingredients. You'll find the full measurements and instructions in the green recipe card (printable) at the bottom of the page.
📖 Make it your own: yummy variations
- You can make the biscuit dough from scratch for a homemade touch. My Easy Buttermilk Biscuit recipe is fool-proof! Or try to drop biscuit recipe to make it even easier.
- In the mood for a different pie filling? Canned blueberry or apple pie filling would be tasty, too.
- Add a half teaspoon of cinnamon for a little spice that warms you from the inside out.
- Sub almond extract for vanilla—the nutty flavor pairs perfectly with cherries!
- You can also stir in white chocolate chips for another melty, gooey element.
🔪 Step-by-step guide: instructions for success
This is an overview of the instructions. Full instructions are in the green recipe card at the bottom of the page. Click on the image to see it full size.
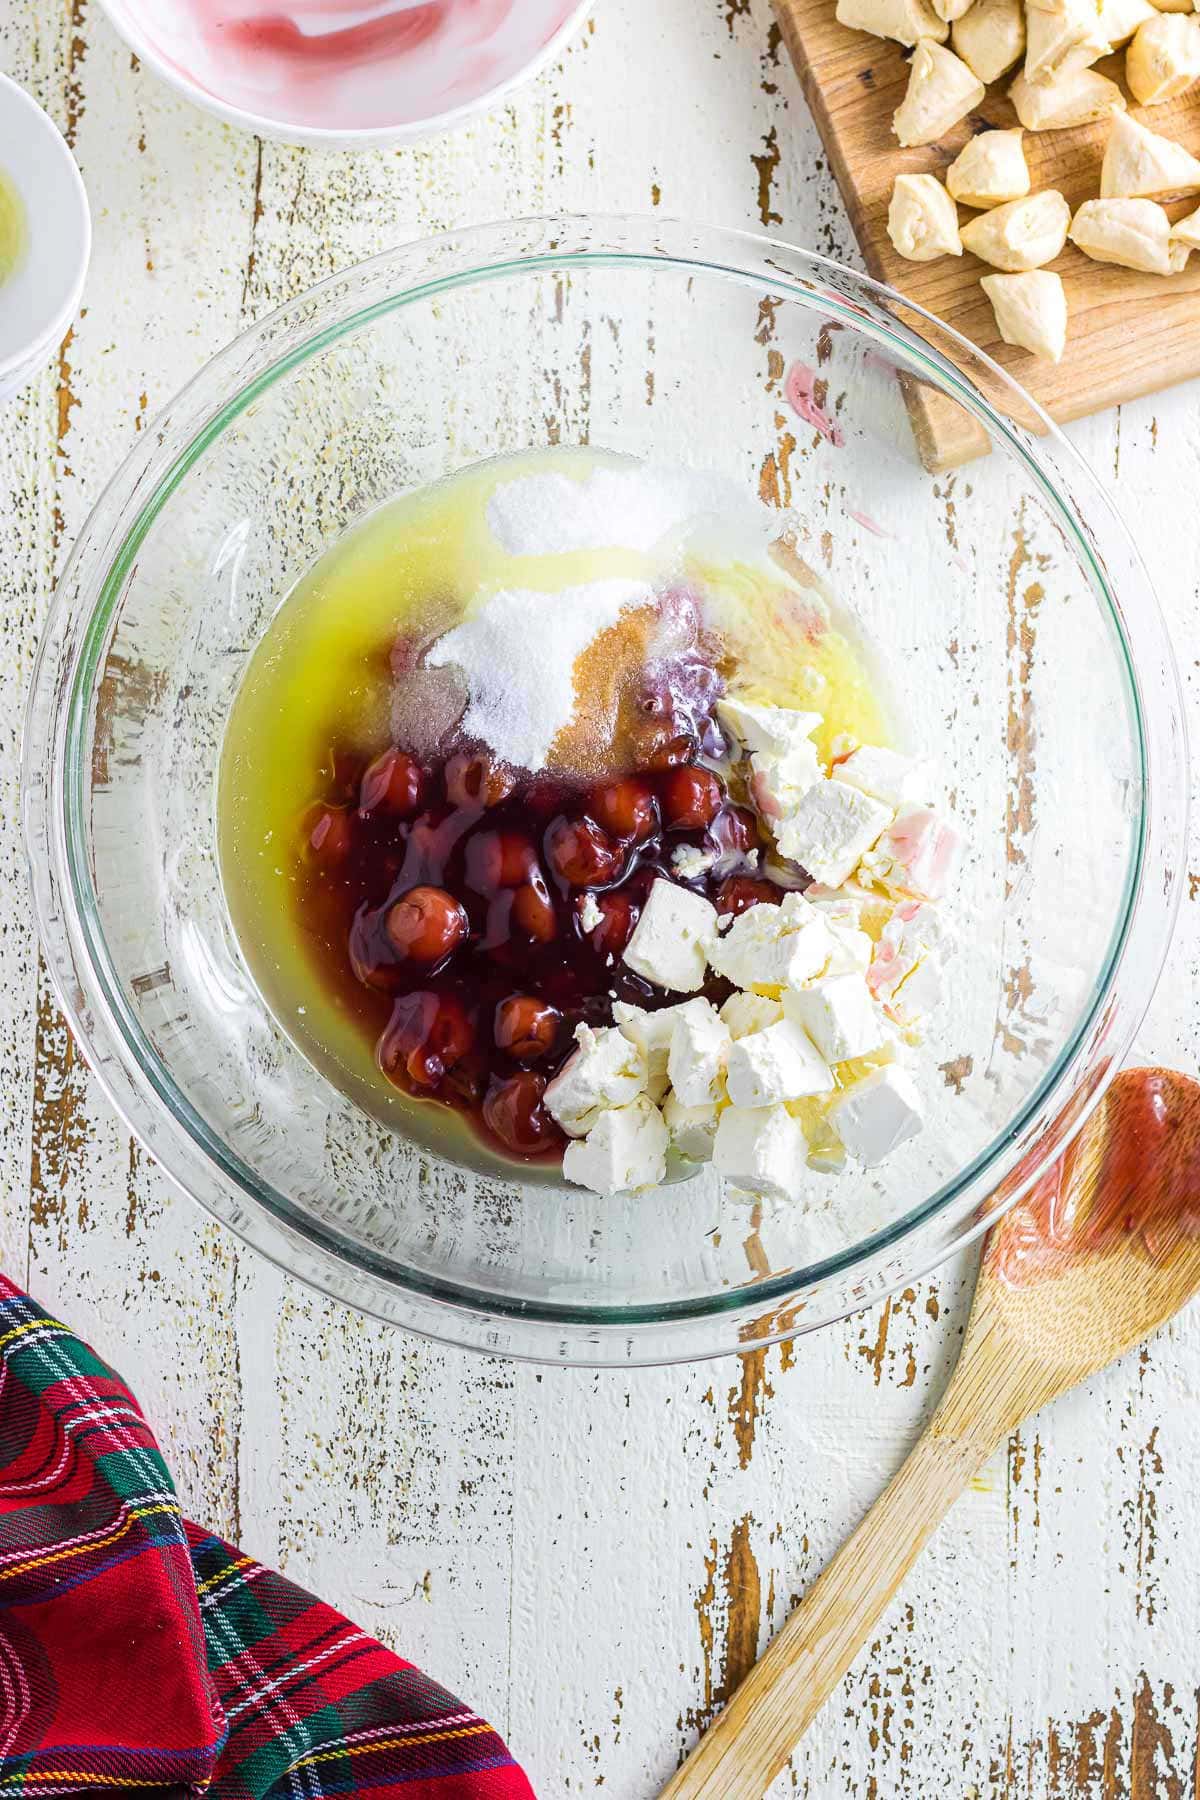
Combine cherry pie filling, butter, biscuits, cream cheese, sugar, and vanilla.
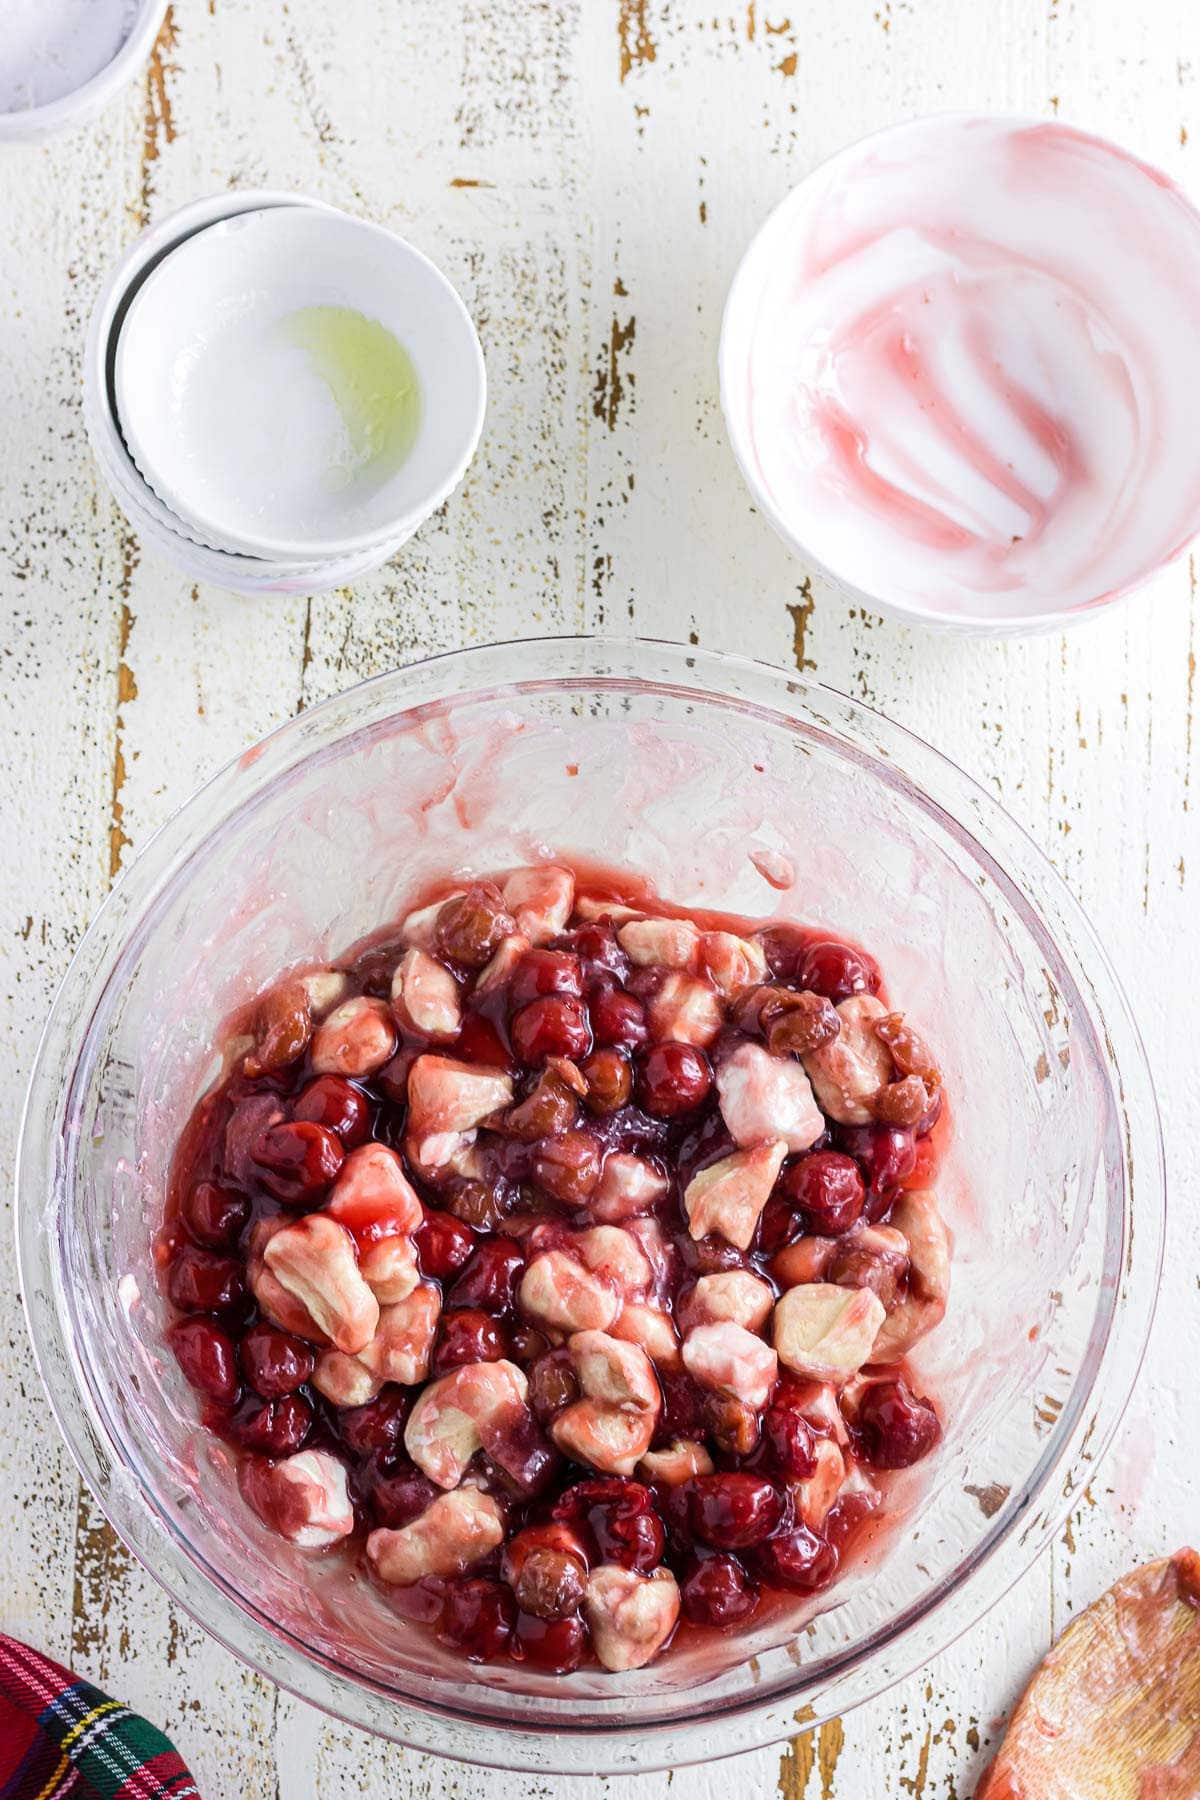
Stir well to fully coat the biscuit pieces with the cherry sauce.
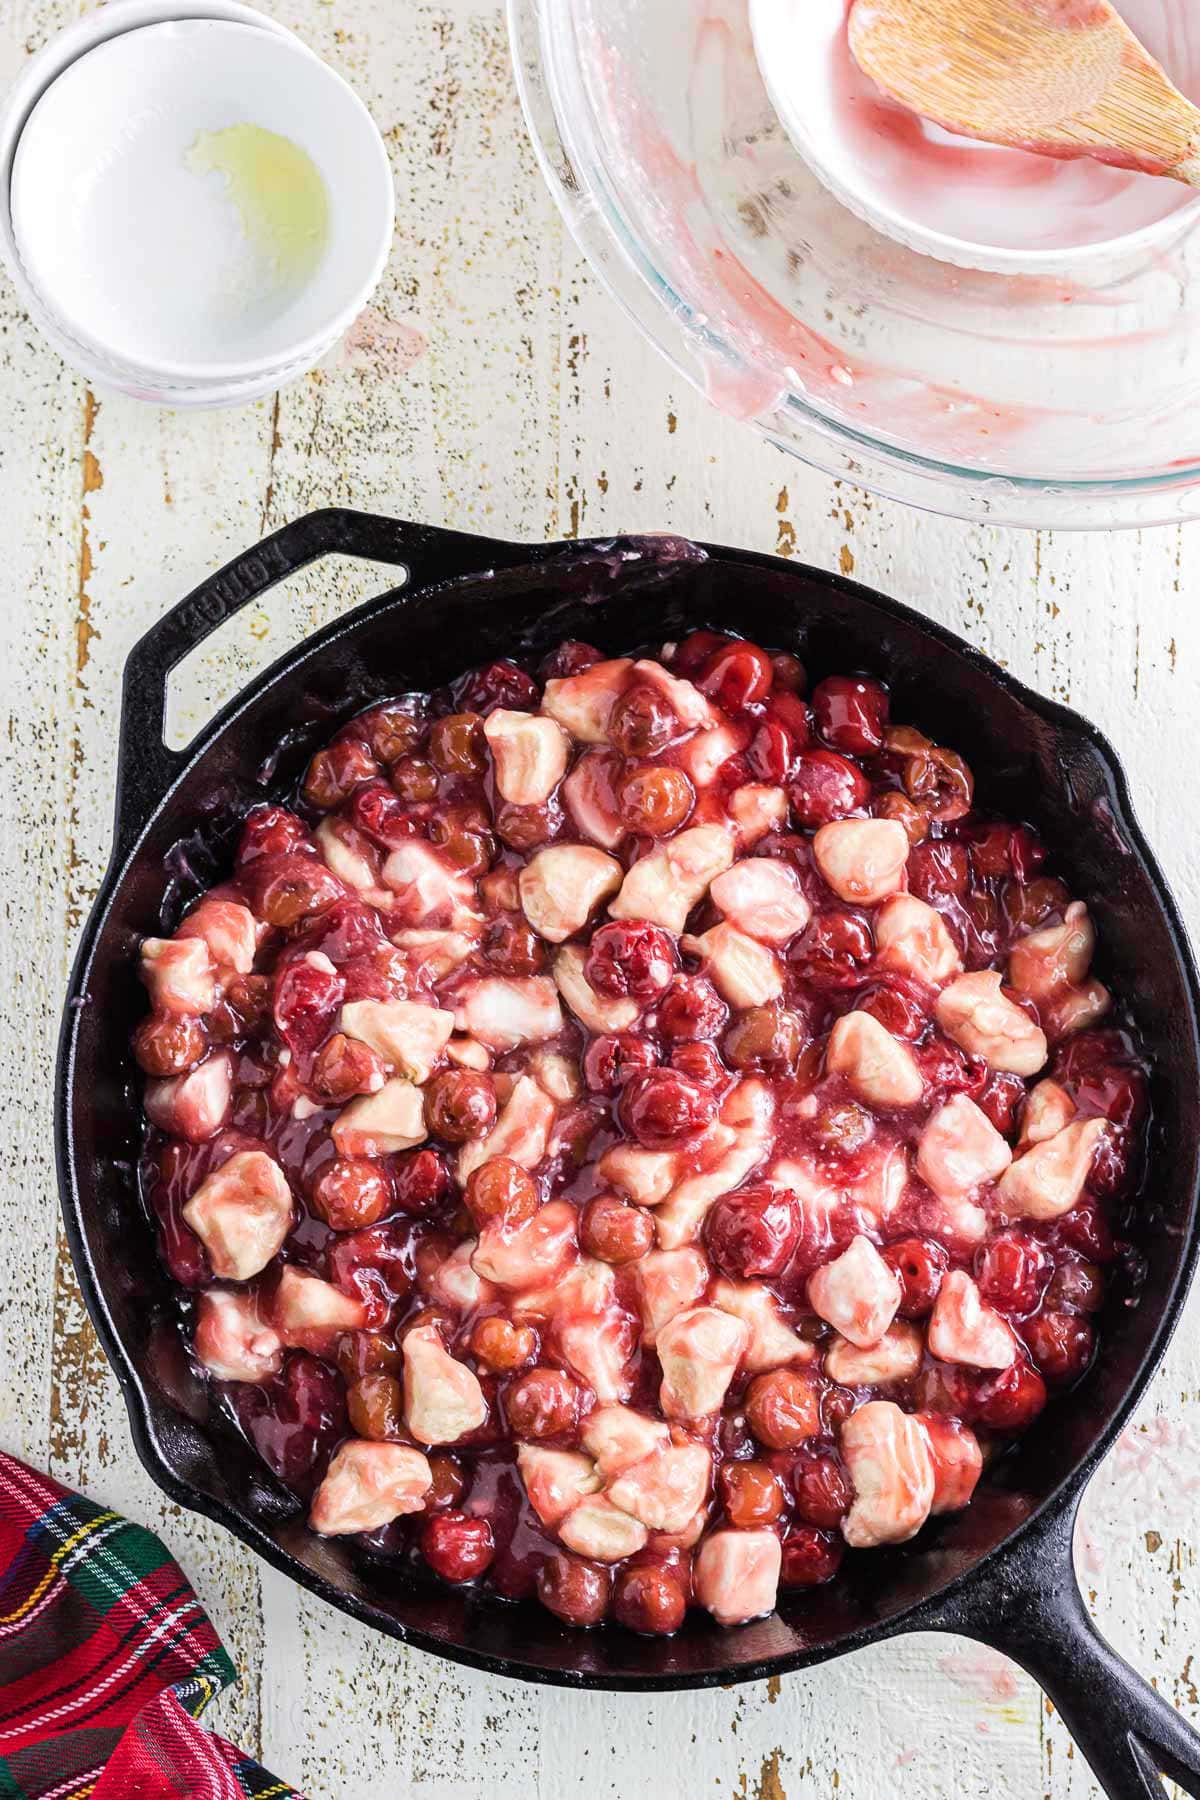
Pour into a greased iron skillet or baking dish. Bake at 375 degrees F.
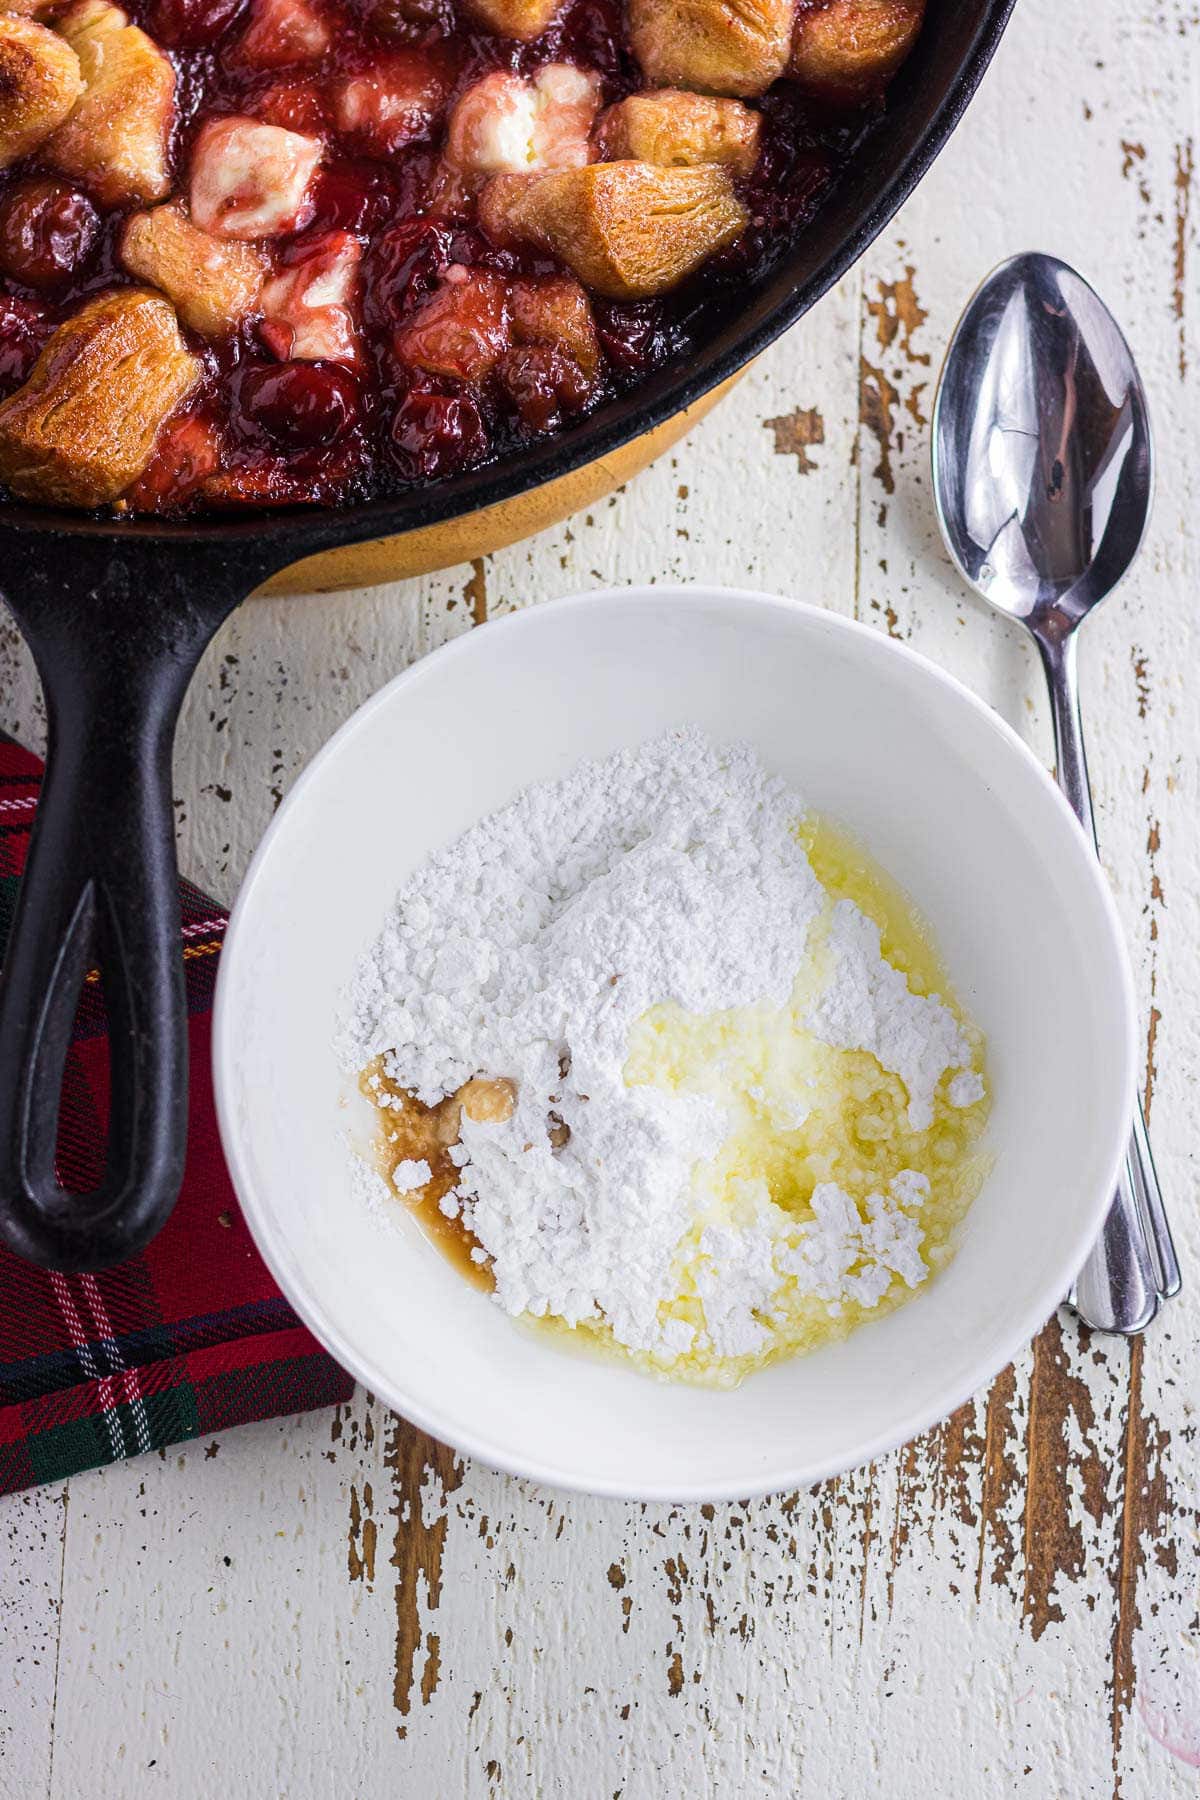
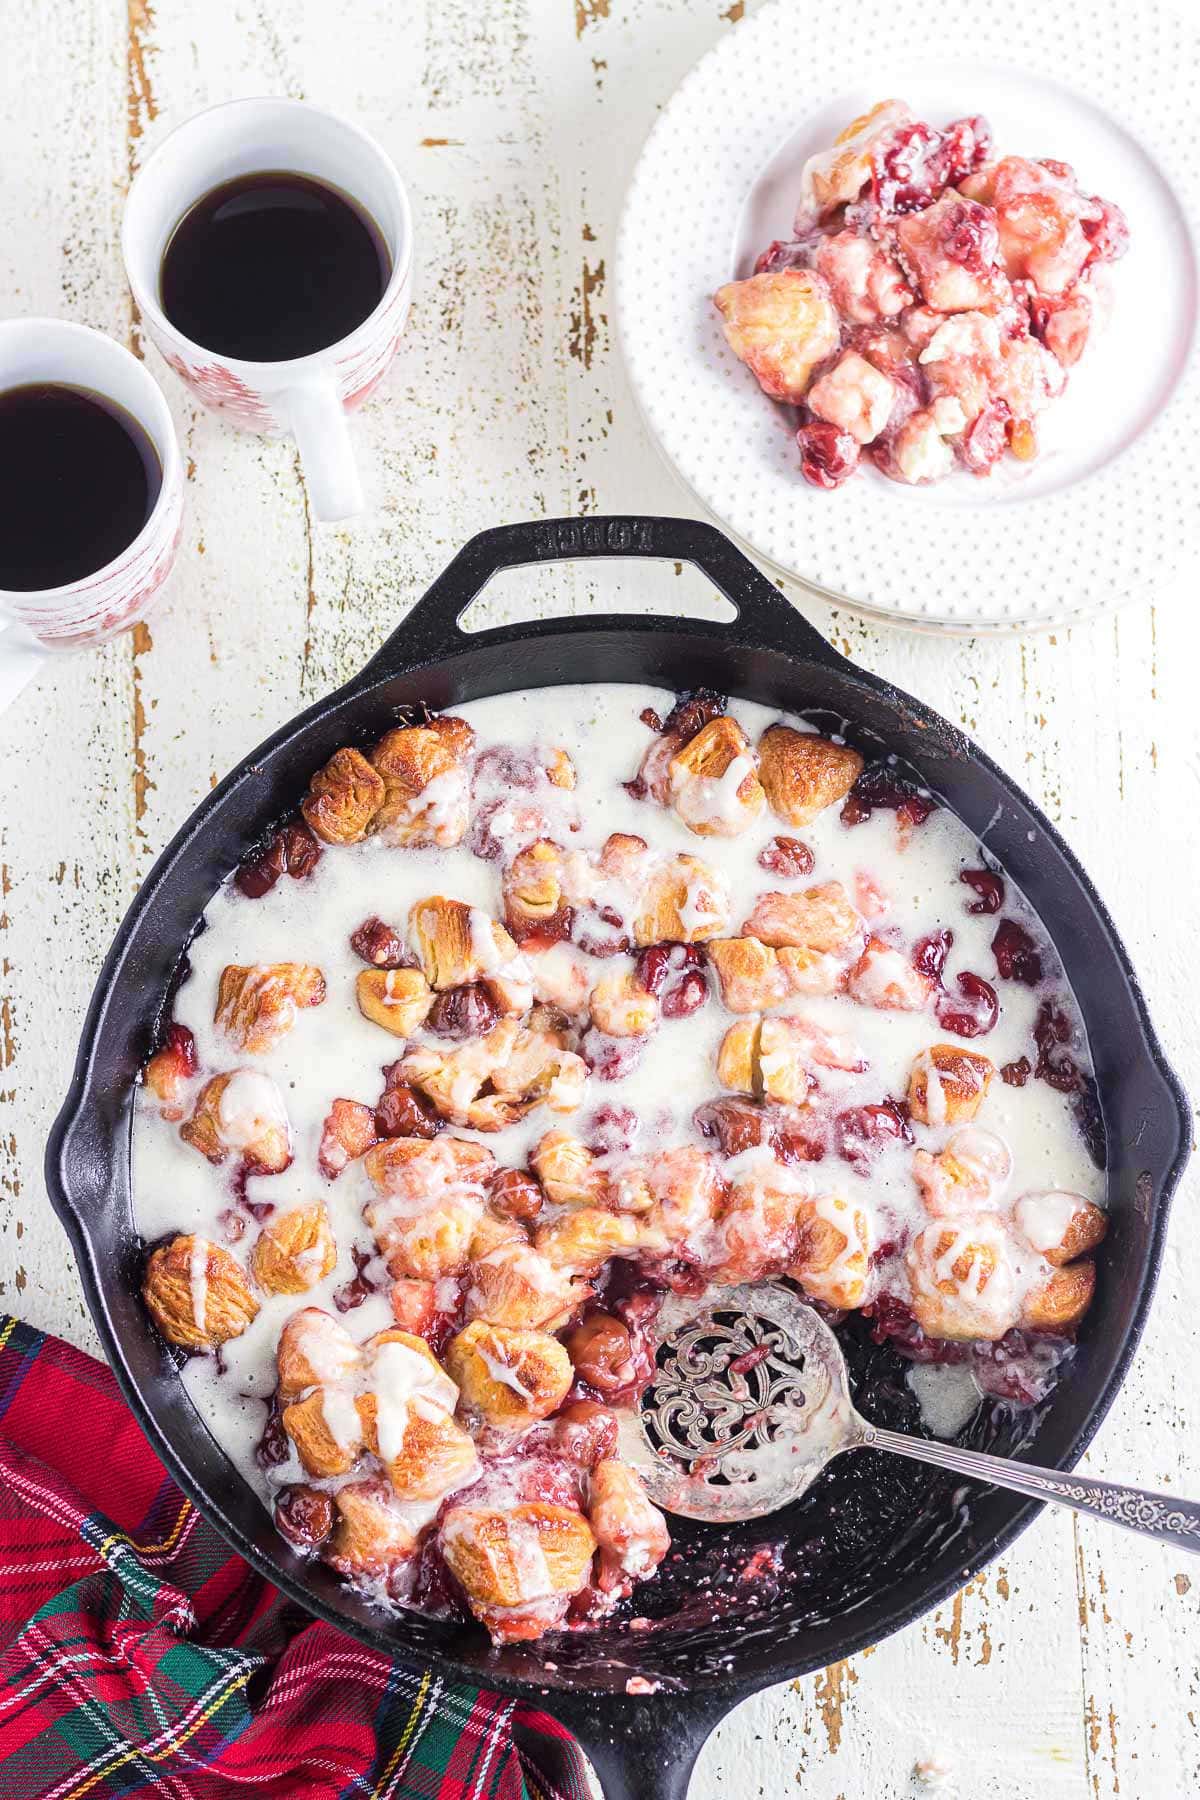
Whisk glaze ingredients and drizzle over the slightly cooled bubble up.
💭 Insider tips: things to know
- Use real butter, not margarine. Salted butter helps balance out the sweetness of this dessert.
- Cut the biscuits and cream cheese into small pieces to get several chunks in every decadent bite!
- Stick with a block of whole-fat cream cheese. The whipped or reduced-fat stuff isn’t creamy (or delicious) enough!
- It's easier to cut cream cheese when it's chilled. Many recipes have you soften cream cheese, but you can use it cold in this one!
- Be sure to stir the ingredients well so each piece of biscuit is fully coated in the sweet, tangy juices.
Marye's Tip o' the day
Although it’s tempting to dig into the cherry bubble up fresh out of the oven, let it cool for 5-10 minutes before adding the glaze. However, don't let it cool fully— this tastes best warm!
🎥 Watch and cook: step-by-step video tutorial
Hey y'all! Don't forget to check out my latest video where I guide you through each step of this delicious recipe. It's always great to have a visual guide, right? And as always, my cooking show, Restless Chipotle Kitchen, has got your back. If you're looking for more yummy ideas, dive into our full recipe collection on YouTube. You're gonna love it!
🥫 Leftover love: how to store and reheat cream cheese & cherry bubble - up
Store cooled leftover bubble up in an airtight container or a dish tightly covered with plastic wrap or foil.
Refrigerate leftovers for two or three days. Any longer than that, the biscuit pieces will get too soggy.
You can freeze cherry cream cheese bubble up in a freezer-safe bag or container for 2-3 months. When ready to eat, thaw it in the fridge overnight before reheating.
Place the bubble up (covered with foil) in a 350-degree F oven for 10-15 minutes until warmed. If you’re in a hurry, you can microwave individual servings for 30-45 seconds.
🤫 Marye's secret for zhuzhing it up
Most people just use one can of cherry pie filling but I find that using 2 cans gives it more gooey cherry goodness. Sometimes I sprinkle sliced almonds on top.
zhuzh: verb. To make something more interesting or attractive
👩🍳 Let's answer those questions: FAQs
Have other questions? Ask me in the comments!
This dessert is called a bubble up because the syrupy, creamy cherry filling bubbles up around and underneath the tender biscuit pieces. Like a delicious cherry pie jacuzzi!
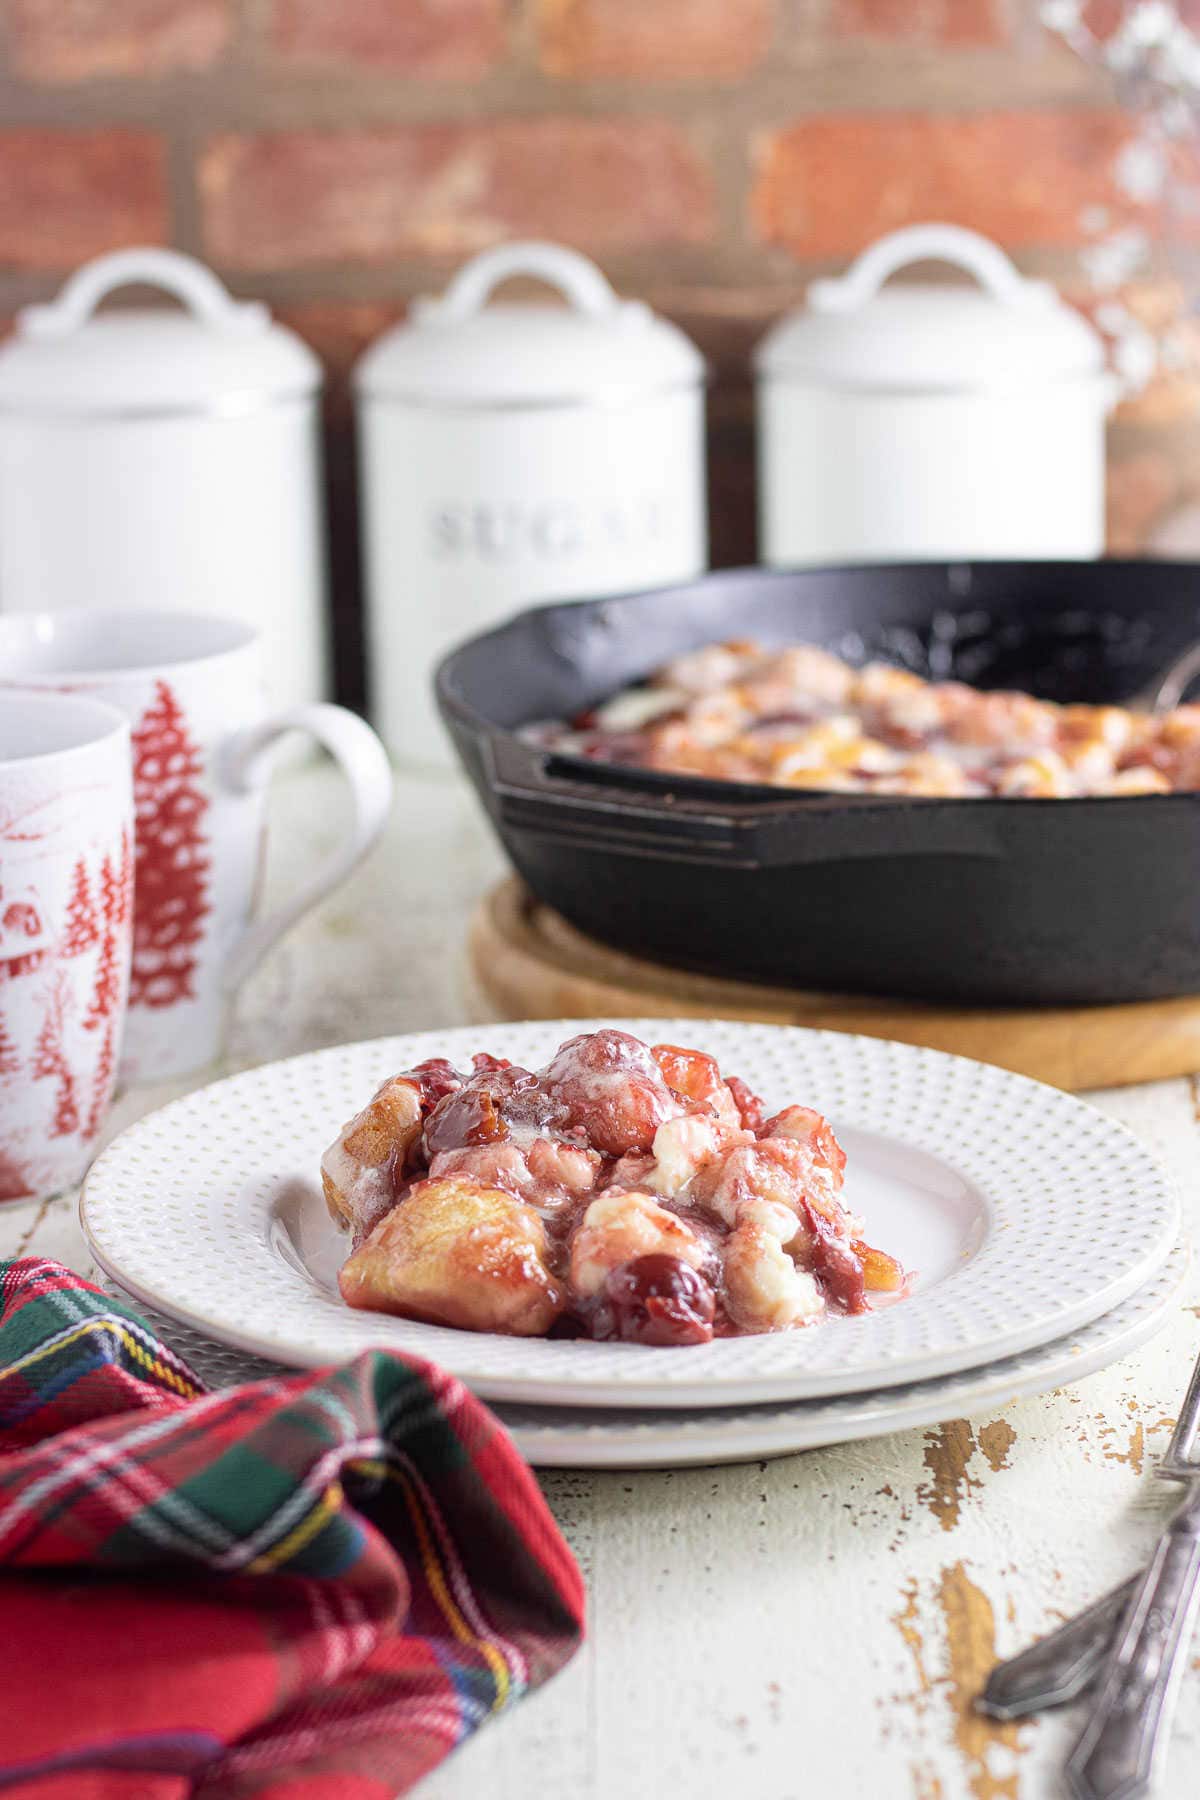
Drizzle some chocolate syrup over the glaze, top your serving with whipped cream, or spoon over vanilla ice cream! It’s also perfect with a steamy mug of coffee, tea, or hot cocoa.
⏲️ Marye's time saving hacks -
Make the cherry cream cheese mixture ahead of time and store it in the fridge for quicker prep after dinner. You can also use a larger baking dish, like a 9x13 pan, instead of a 12-inch skillet to cook it faster.
If your holiday guests are hungrily waiting for dessert, you can skip the glaze and serve the bubble up immediately!
📚 More Southern comfort: related recipes you'll love
🍽️ No waste: creative ways to repurpose cherry bubble up
Cream cheese cherry bubble up is one of those desserts the family will likely finish in one sitting. However, you can serve it again tomorrow morning for breakfast!
After reheating, add some fresh berries and your favorite granola overtop. Drizzle just a bit of syrup over everything and enjoy it alongside scrambled eggs and bacon!
📞 Wrapping it up: the last word
I know that a sweet bubble up is mostly considered a dessert but y'all, when has that ever stopped me before? Keep in mind the cherry salad and the cherry junkyard salad that I've posted!
I like it best as a brunch bread, served warm with steaming cups of black coffee to cut through the sweet. It's seems so special but it's just so darn easy to make.
If you click on the number of servings in the recipe card you can adjust the measurements up or down for the exact number of servings you need.
If you love this recipe please comment below and give it 5 stars! ⭐️⭐️⭐️⭐️⭐️
📖 Recipe
Cream Cheese Cherry Bubble Up
Print Pin Recipe Save Recipe Rate RecipeIngredients
Bubble Up
- 12 ounces unbaked biscuits, 2 6-ounce cans or 10 biscuits
- 42 ounces cherry pie filling, You can use just can if you want - I like lots of cherries
- 8 ounces cream cheese
- ⅓ cup granulated sugar
- ¼ cup melted butter
- ½ teaspoon vanilla
Glaze
- ½ cup powdered sugar
- ¼ cup melted butter
- ½ teaspoon vanilla
- milk or cream, as needed to thin the glaze
Instructions
- Preheat oven to 375F.
- Spray a 12-inch cast iron skillet or a 13x9-inch pan with non-stick cooking spray.
Bubble Up
- Cut each biscuit into 8 pieces.
- Cut the cream cheese into small cubes cubes.
- Stir together the cherry pie filling, cream cheese, sugar, melted butter, and vanilla in a large mixing bowl.
- Gently stir in the pieces of biscuit until everything is coated with the cherry. mixture.
- Pour into the prepared baking dish and even out the top.
- Bake 45-50 minutes in the preheated oven, or until an instant read thermometer poked into the center biscuits reads 200F.
- Remove from oven and allow to stand 10 minutes before drizzling on the glaze.
Glaze
- Whisk together the powdered sugar, butter, and vanilla.
- Add enough milk or cream to create a thick but runny glaze.
- Drizzle the glaze over the top of the Cherry Bubble Up while it's warm.
Notes
- Let cool 10 minutes before adding the glaze and serving.
- Use real butter.
- Use whole fat cream cheese - reduced fat or whipped won't work.
Nutrition Facts
Nutrition information is estimated as a courtesy. If using for medical purposes, please verify information using your own nutritional calculator. Percent Daily Values are based on a 2000 calorie diet.
This recipe has been tested several times. If you choose to use other ingredients, or change the technique in some way, the results may not be the same.





Comments
No Comments