Fun, festive, and totally delicious, these adorable Polar Bear Cookies are a perfect treat for the upcoming holiday season and a great edible craft to keep your kids busy. They're simple to make with candy, mini marshmallows, Reese's cups, and a decadent peanut butter cookie dough—though you can easily use another flavor if you need!
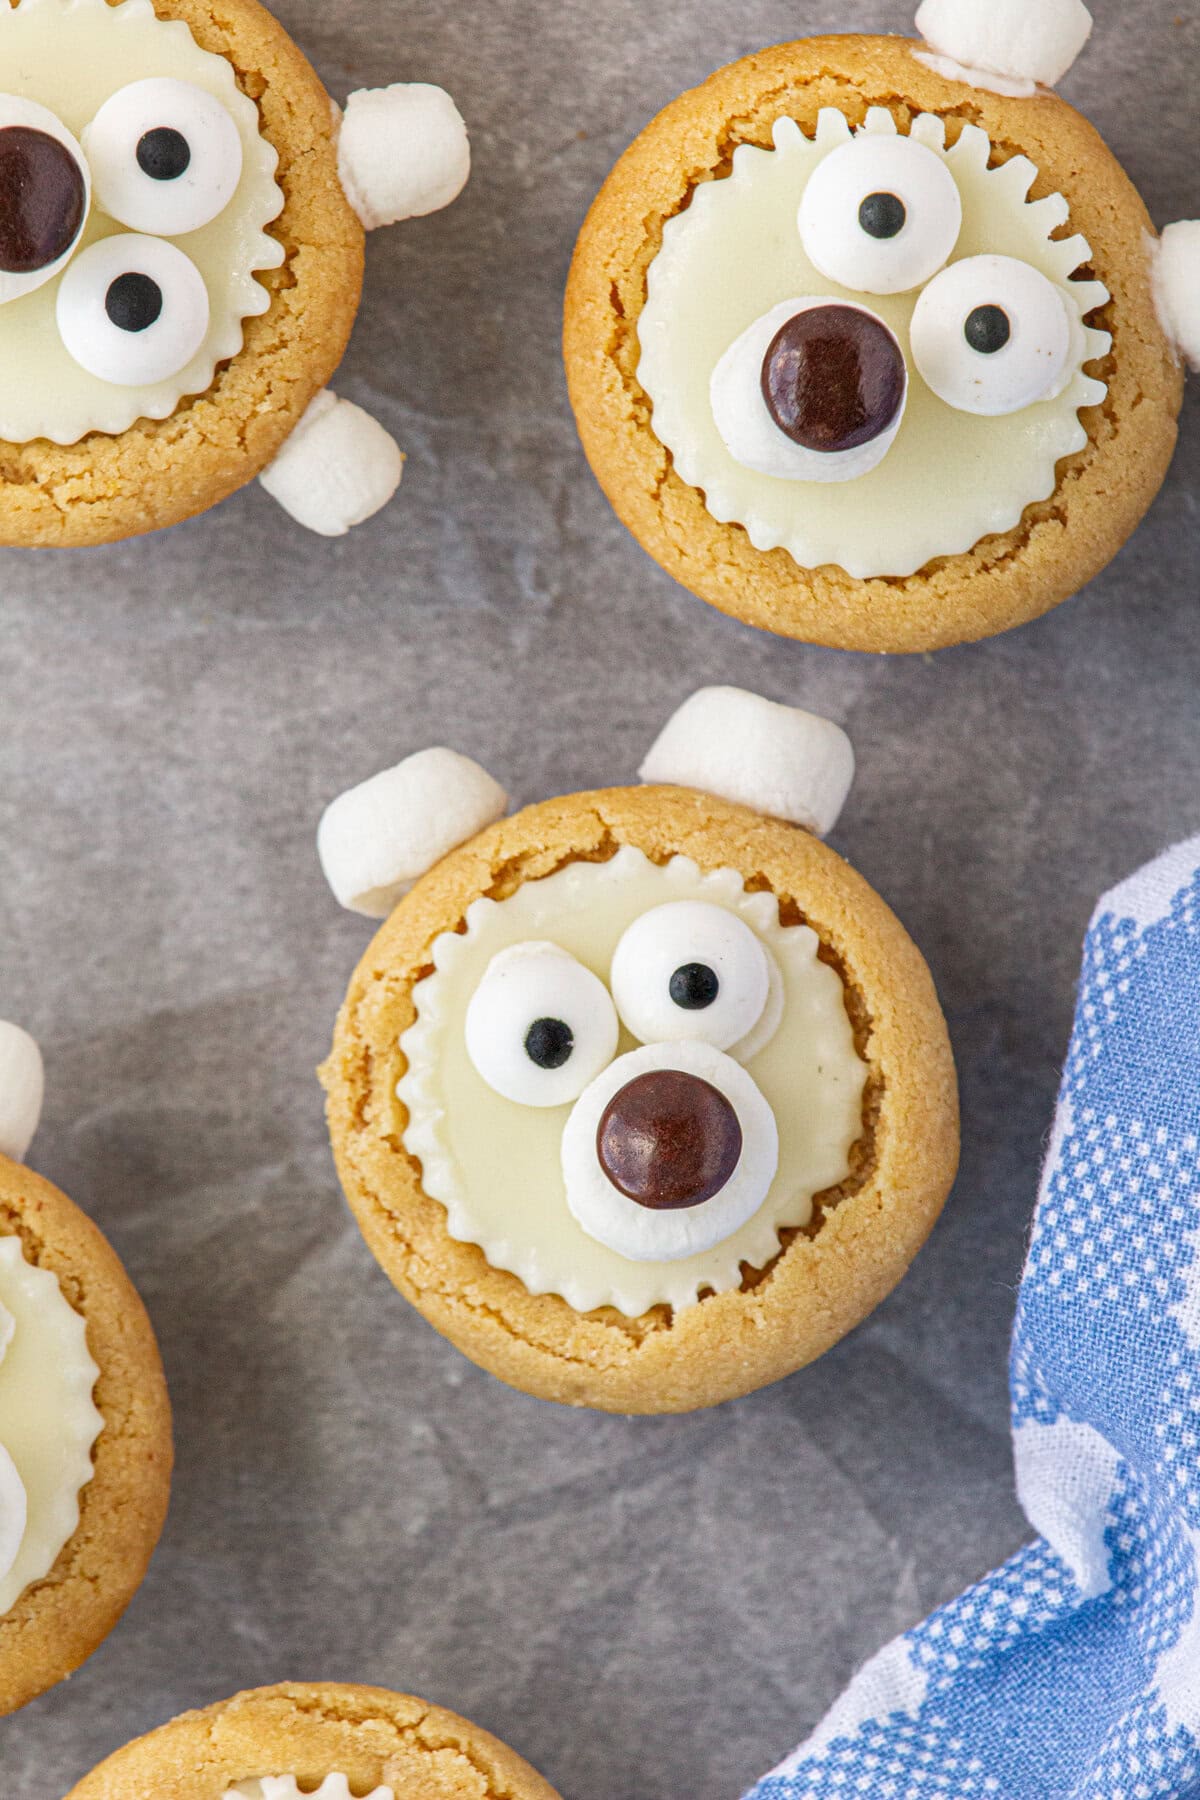
Table of Contents
- 🗝️ Key takeaways: why this recipe is your new favorite
- 🧾 Gather your ingredients: what you'll need
- 📖 Make it your own: yummy variations
- 🔪 Step-by-step guide: instructions for success
- 🍴Must have tools: essential equipment
- 🥫 Leftover love: how to store polar bear cookies
- Marye's Tip o' the day
- 💭 Insider tips: things to know
- 👩🍳 Let's answer those questions: FAQs
- 📚 More Southern comfort: related recipes you'll love
- 🍽️ Perfect pairings for holiday cookie trays
- 🍽️ No waste: creative ways to repurpose
- 📞 Wrapping it up: the last word
- 📖 Recipe
- Polar Bear Cookies
- 💬 Comments
Save this recipe by clicking on the ❤️ heart on the right-hand side of the screen or in the recipe card.
🗝️ Key takeaways: why this recipe is your new favorite
- These are the yummiest and cutest Christmas cookies—the peanut butter cup inside is a decadent, chocolaty surprise!
- Impress the crowd at cookie exchanges and Christmas bake-offs, or send 'em off as a delightful holiday gift.
- Ditch the baking sheet and cookie cutter. Bake these polar bear cookies in a mini muffin tin so that they're perfectly shaped.
This polar bear cookies recipe is as cute as it is tasty, which is the perfect Christmas party combination!
So, gather the kids, fire up your favorite holiday movie, and get ready for a bear-y good time!
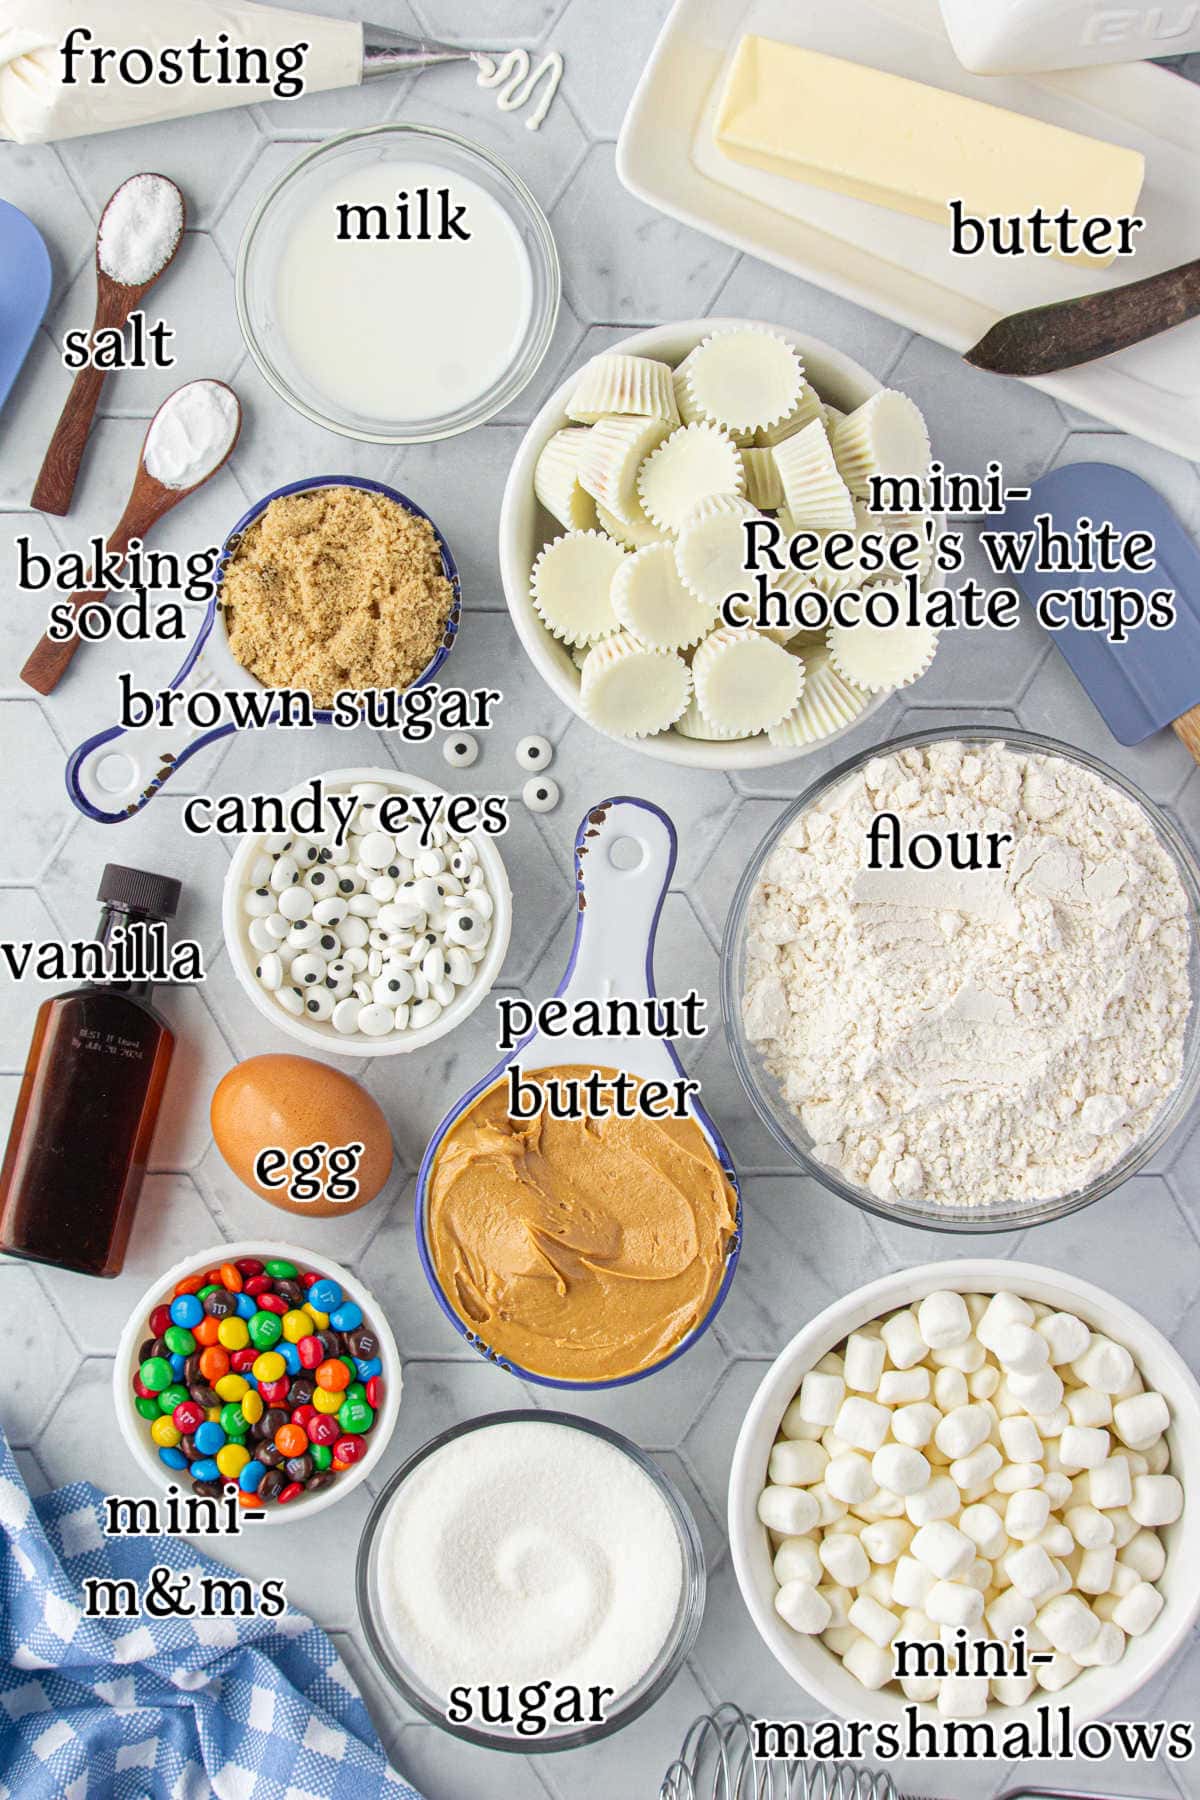
🧾 Gather your ingredients: what you'll need
This is an overview of the ingredients. You'll find the full measurements and instructions in the green recipe card (printable) at the bottom of the page.
📖 Make it your own: yummy variations
- Peanut-free polar bear cookies are easy to make—use your favorite sugar cookies and white buttercream instead of the peanut butter cup.
- Swap the white chocolate peanut butter cup with a peppermint patty or a regular chocolate Reese's cup to make brown bears.
- Create a whole zoo: panda or black bear cookies are easy to make with chocolate cookie dough and regular Reese's cups.
- If you'd like, use some black royal icing, chocolate icing, or melted chocolate to add smiles to each of the little guys.
🔪 Step-by-step guide: instructions for success
This is an overview of the instructions. Full instructions are in the green recipe card at the bottom of the page. Click on the image to see it full size.
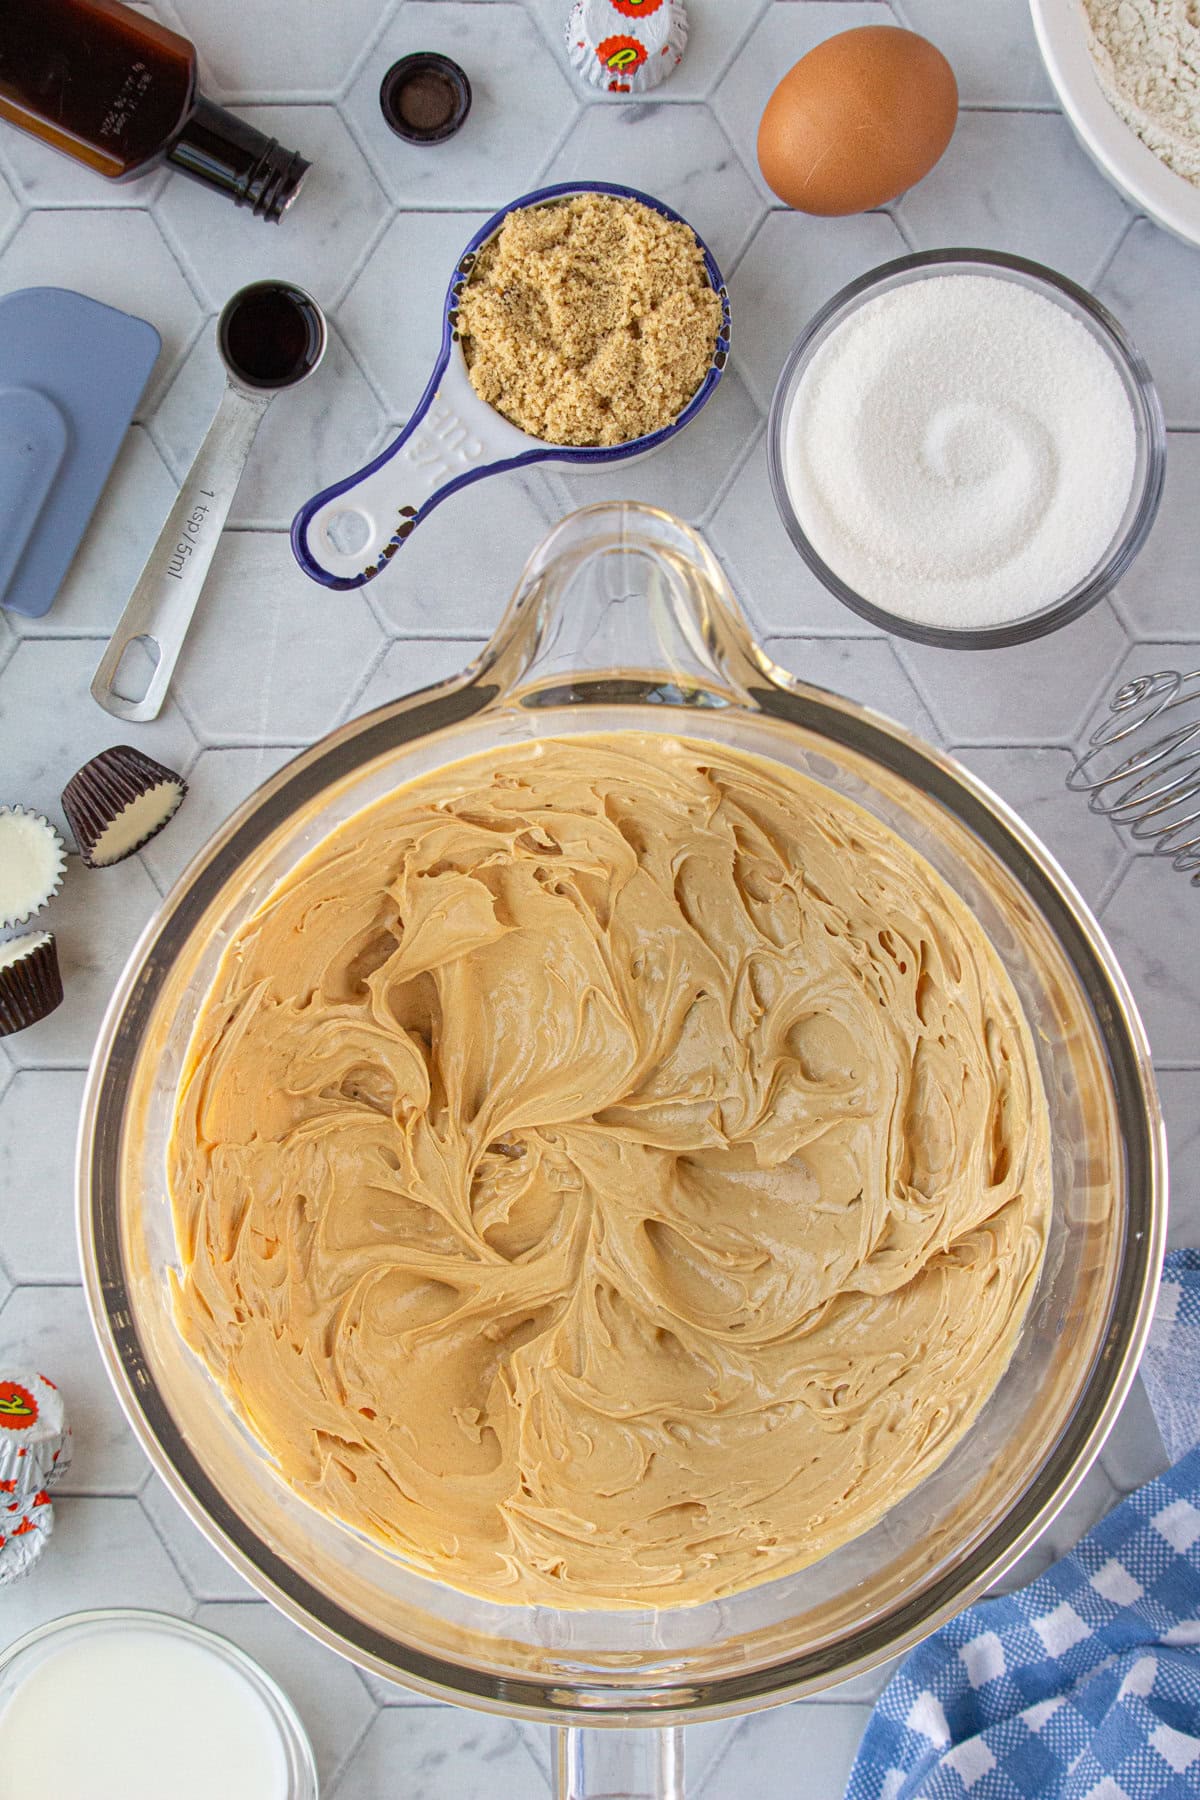
In a large bowl, beat the peanut butter and butter.
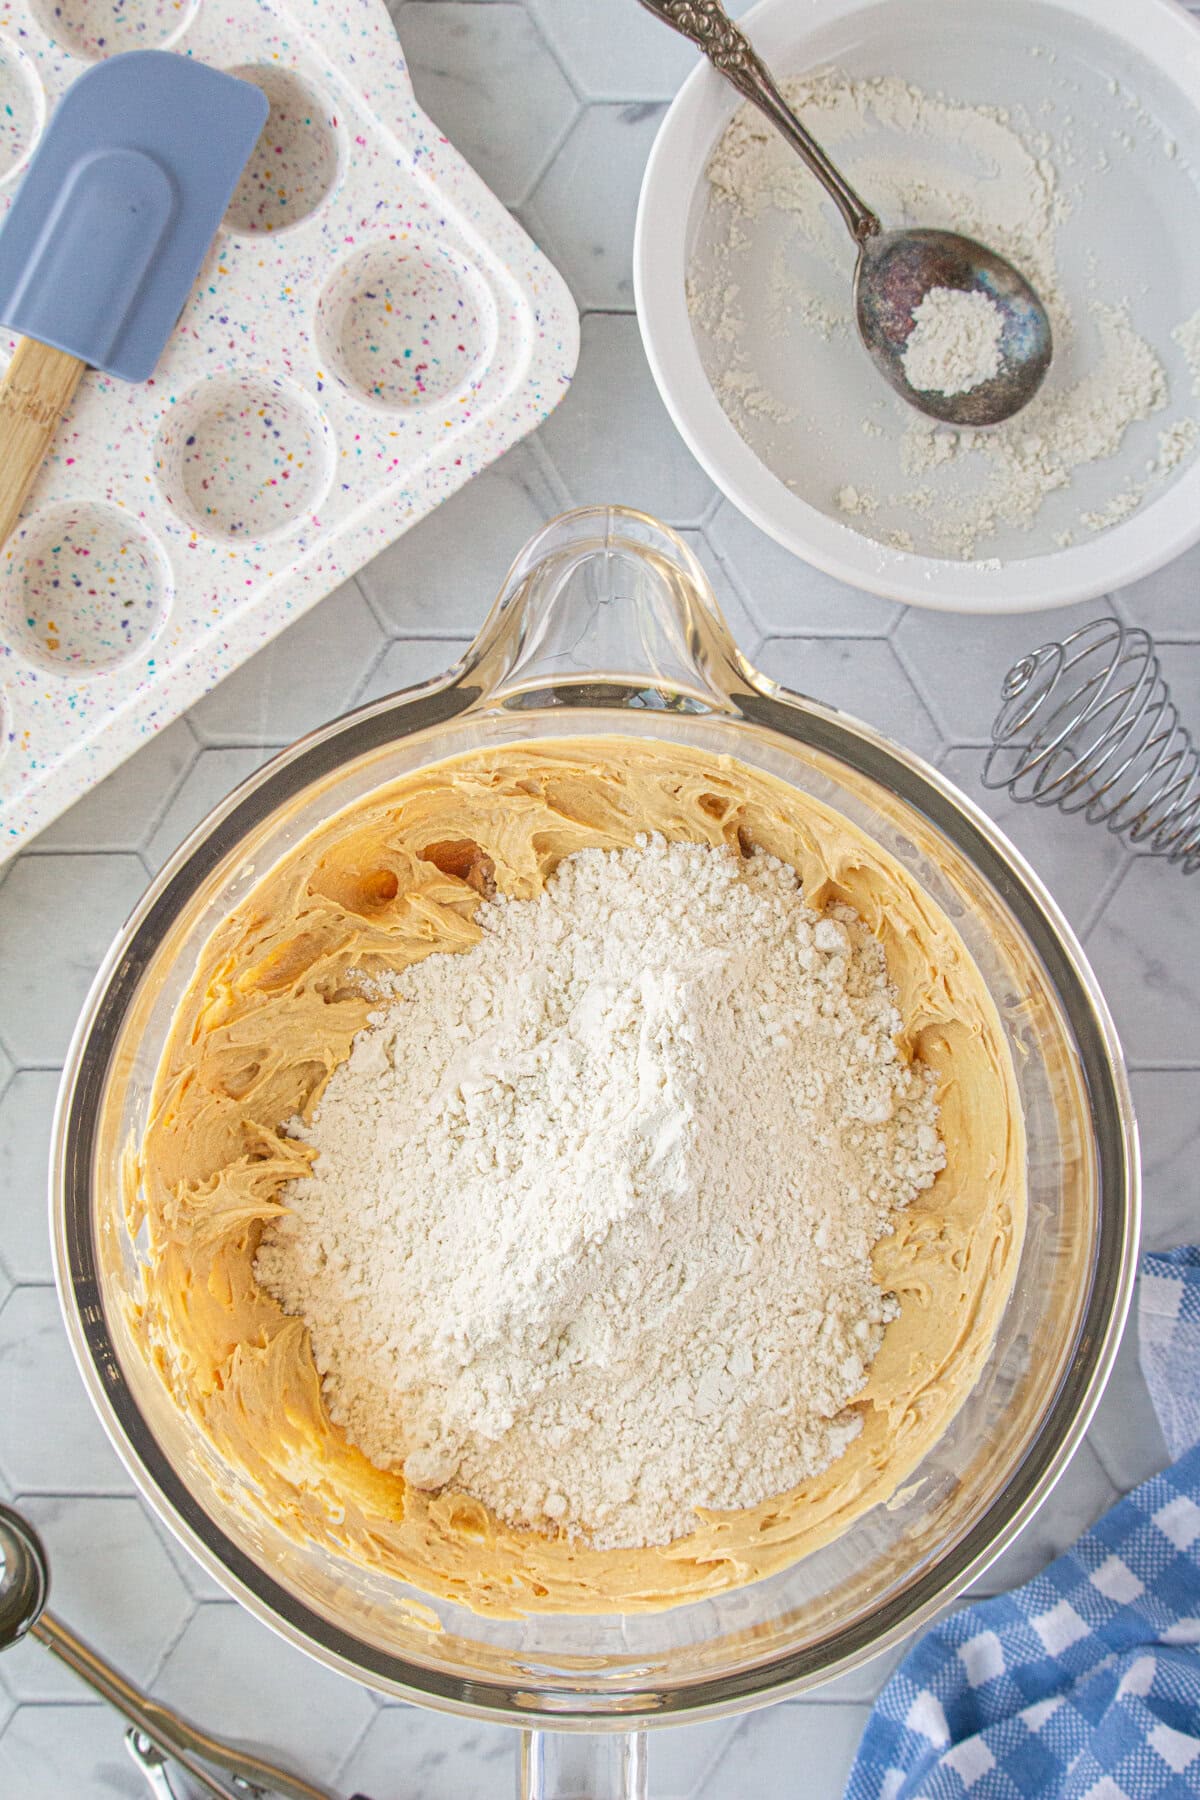
Add the sugars, egg, milk, vanilla, and flour mixture.
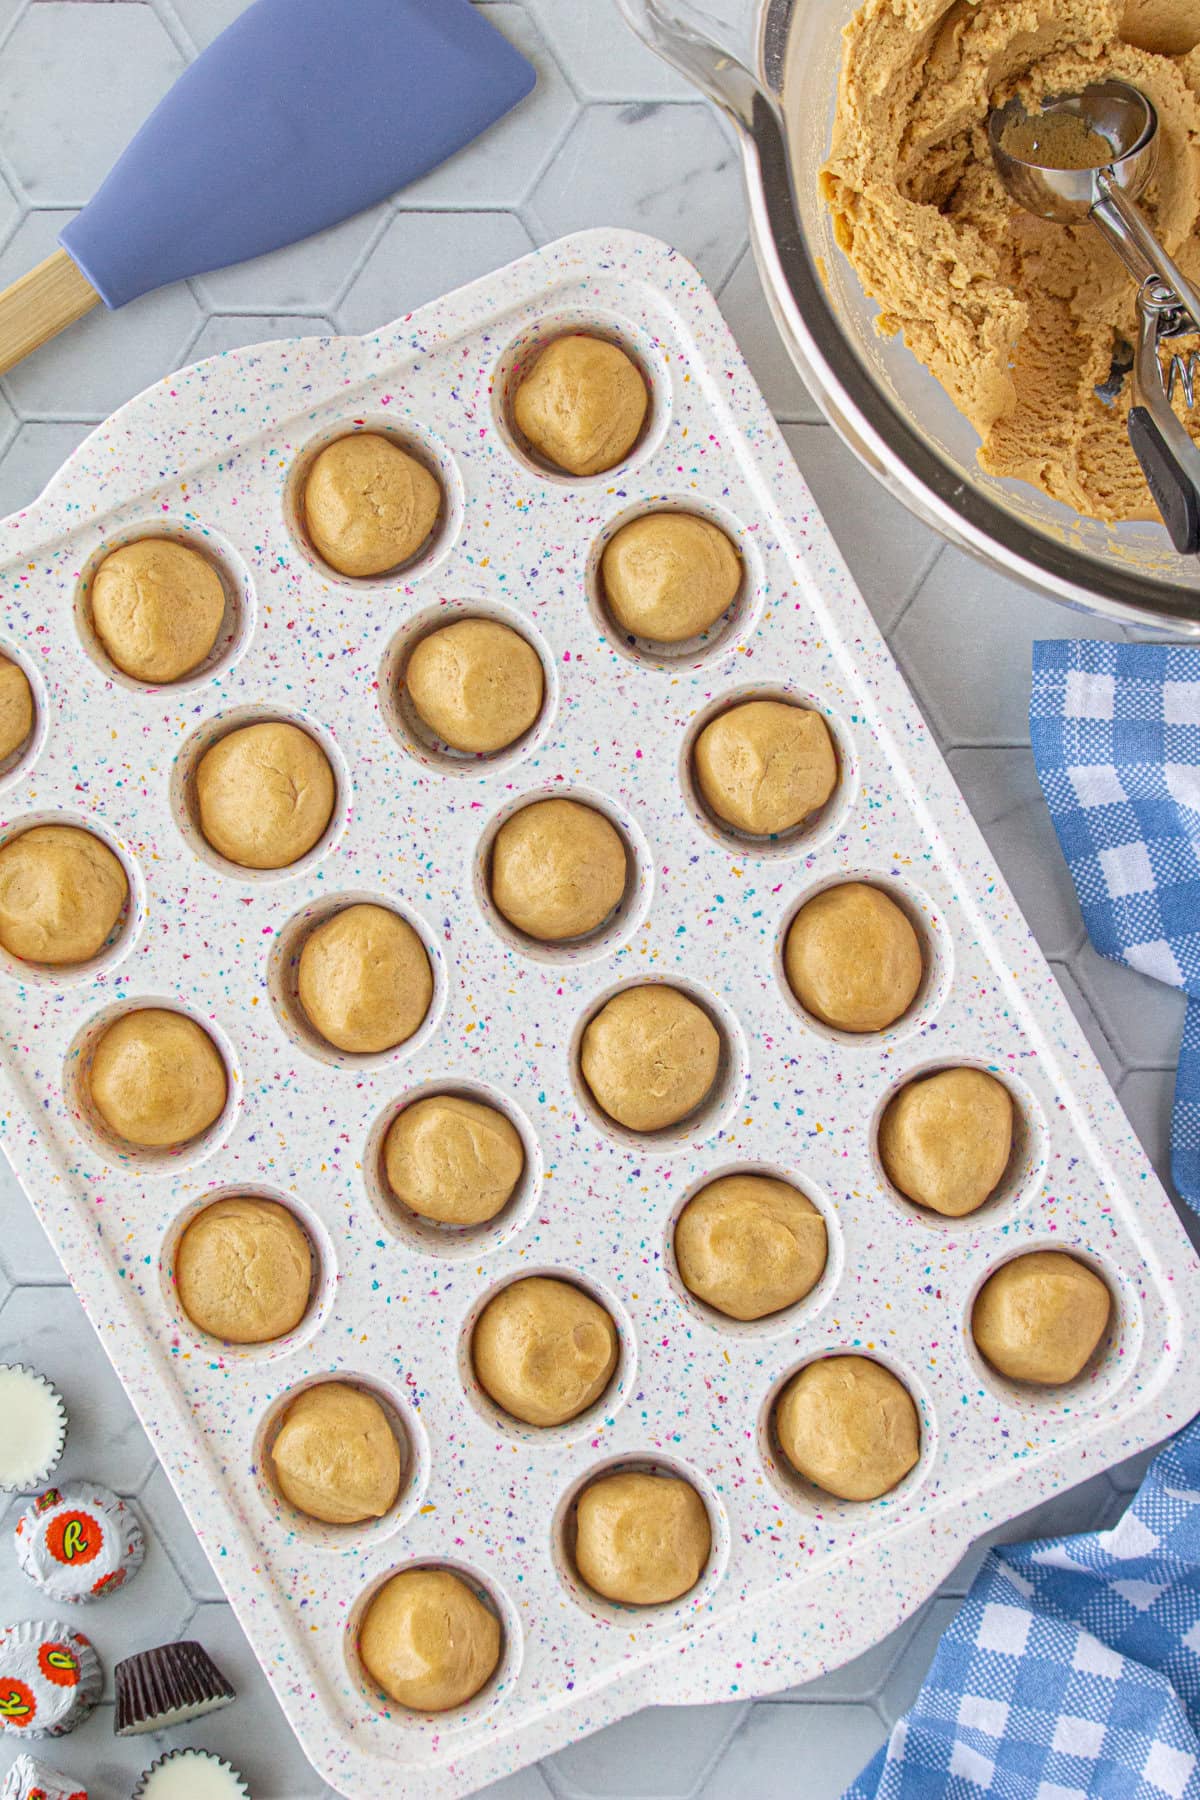
Shape dough. Place in mini muffin tin. Bake.
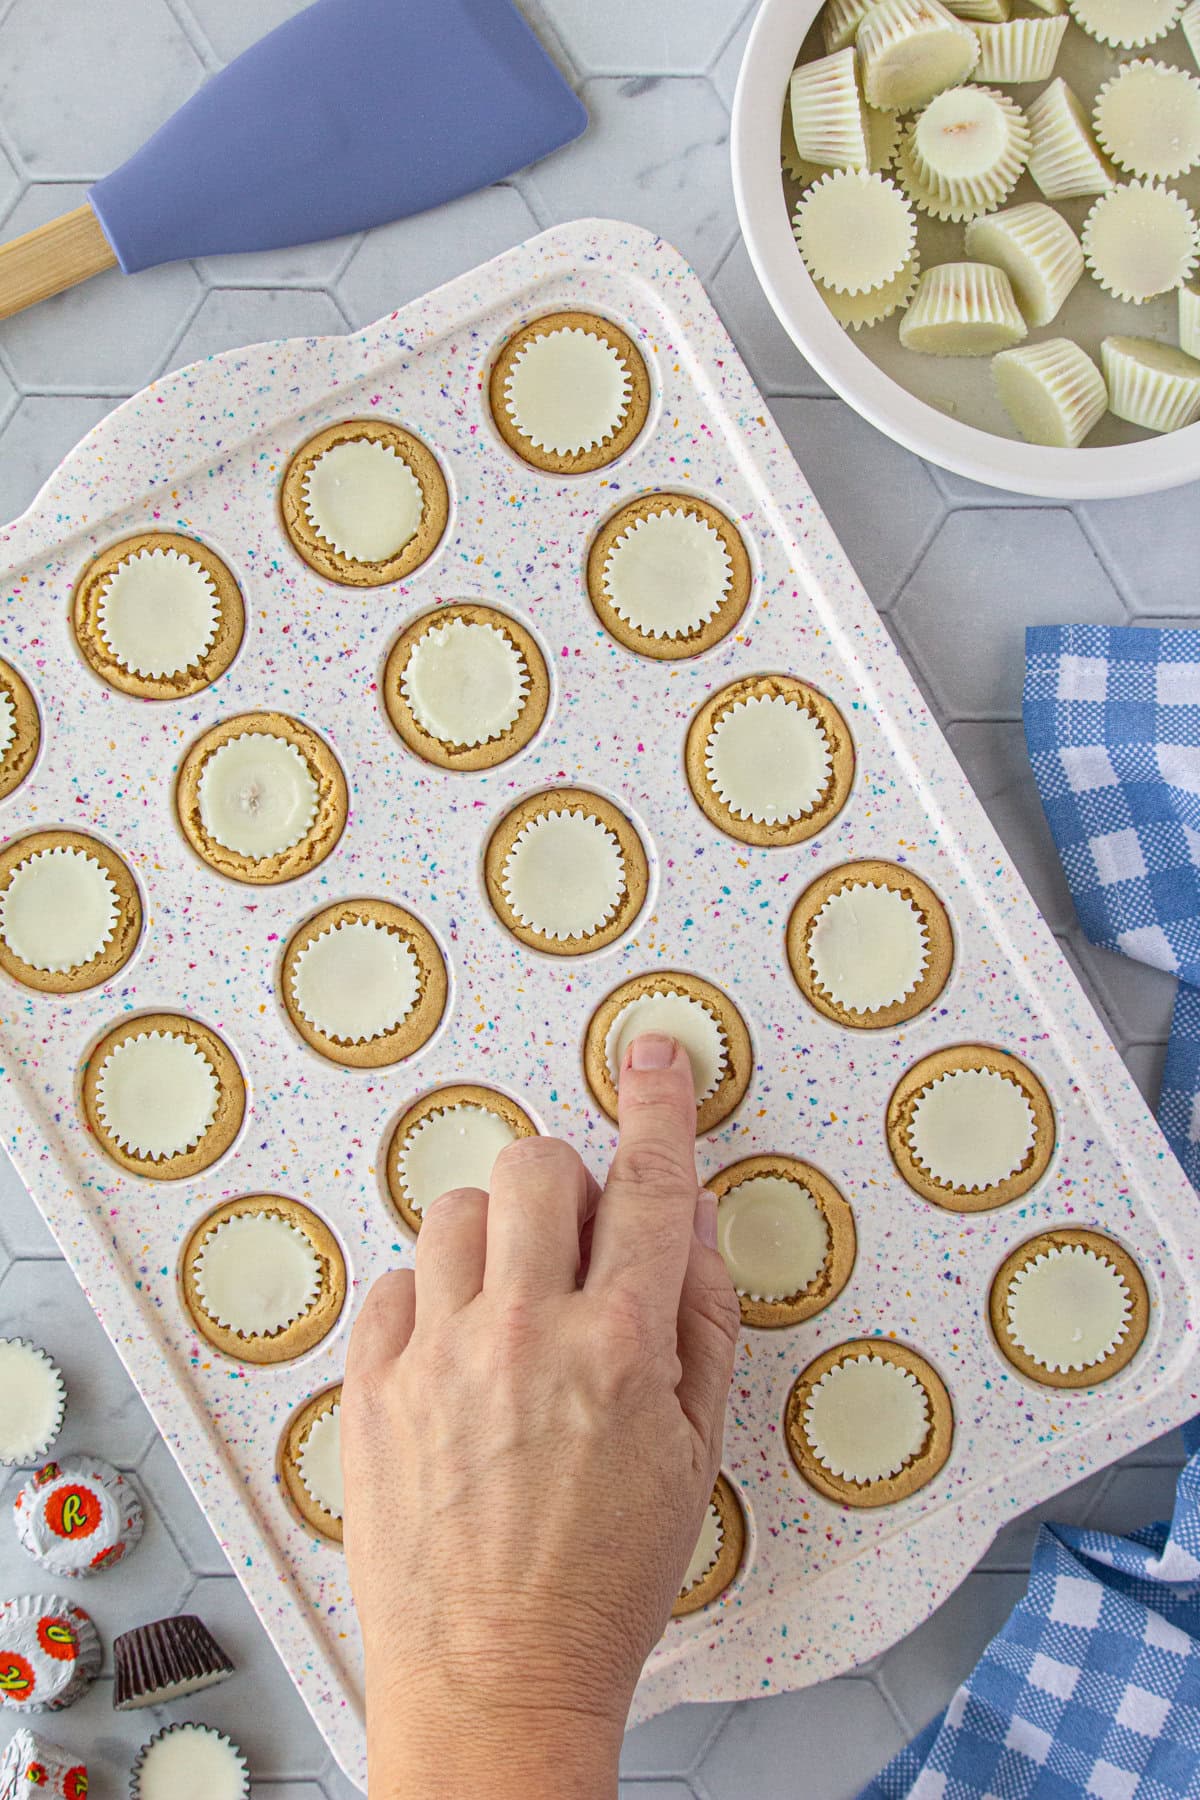
Press frozen Reese's cup into hot cookies.
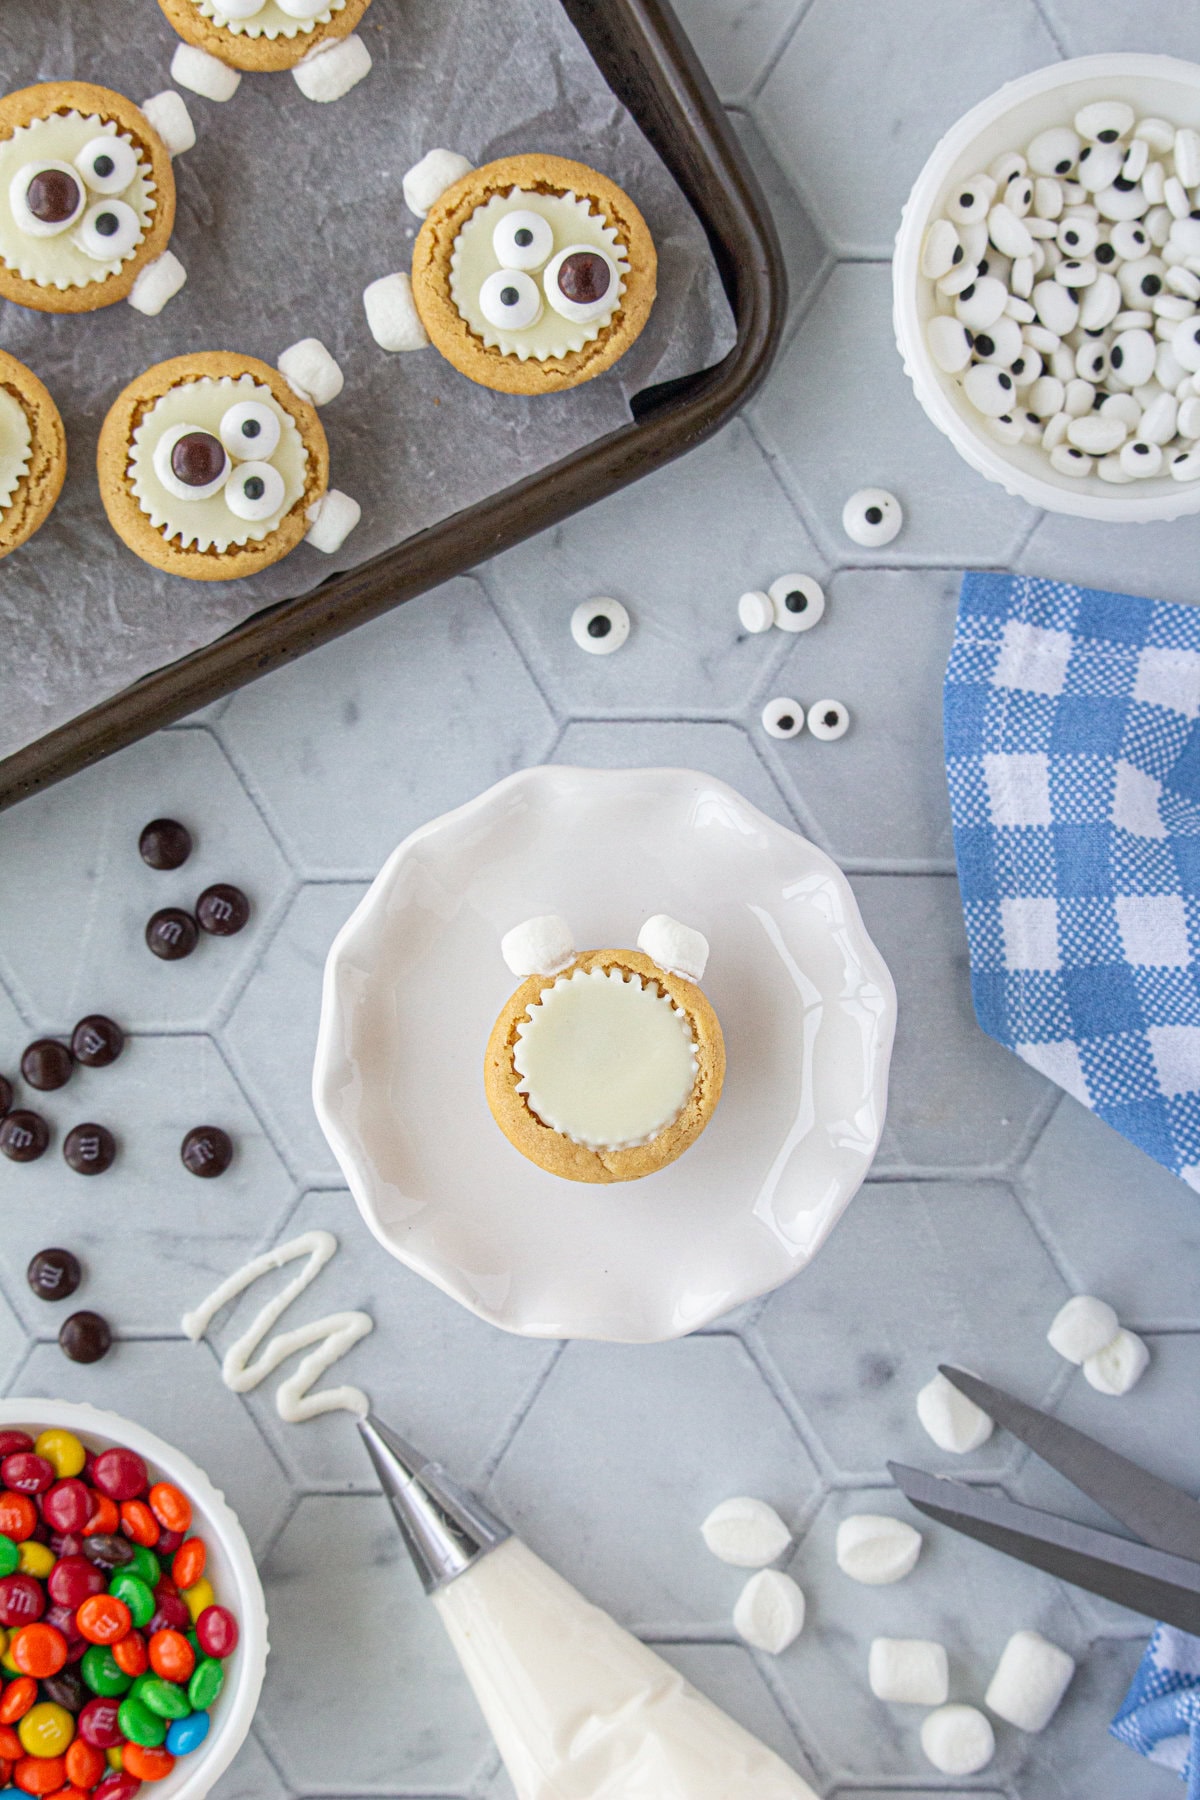
Attach polar bear ears (halved marshmallows) with icing.
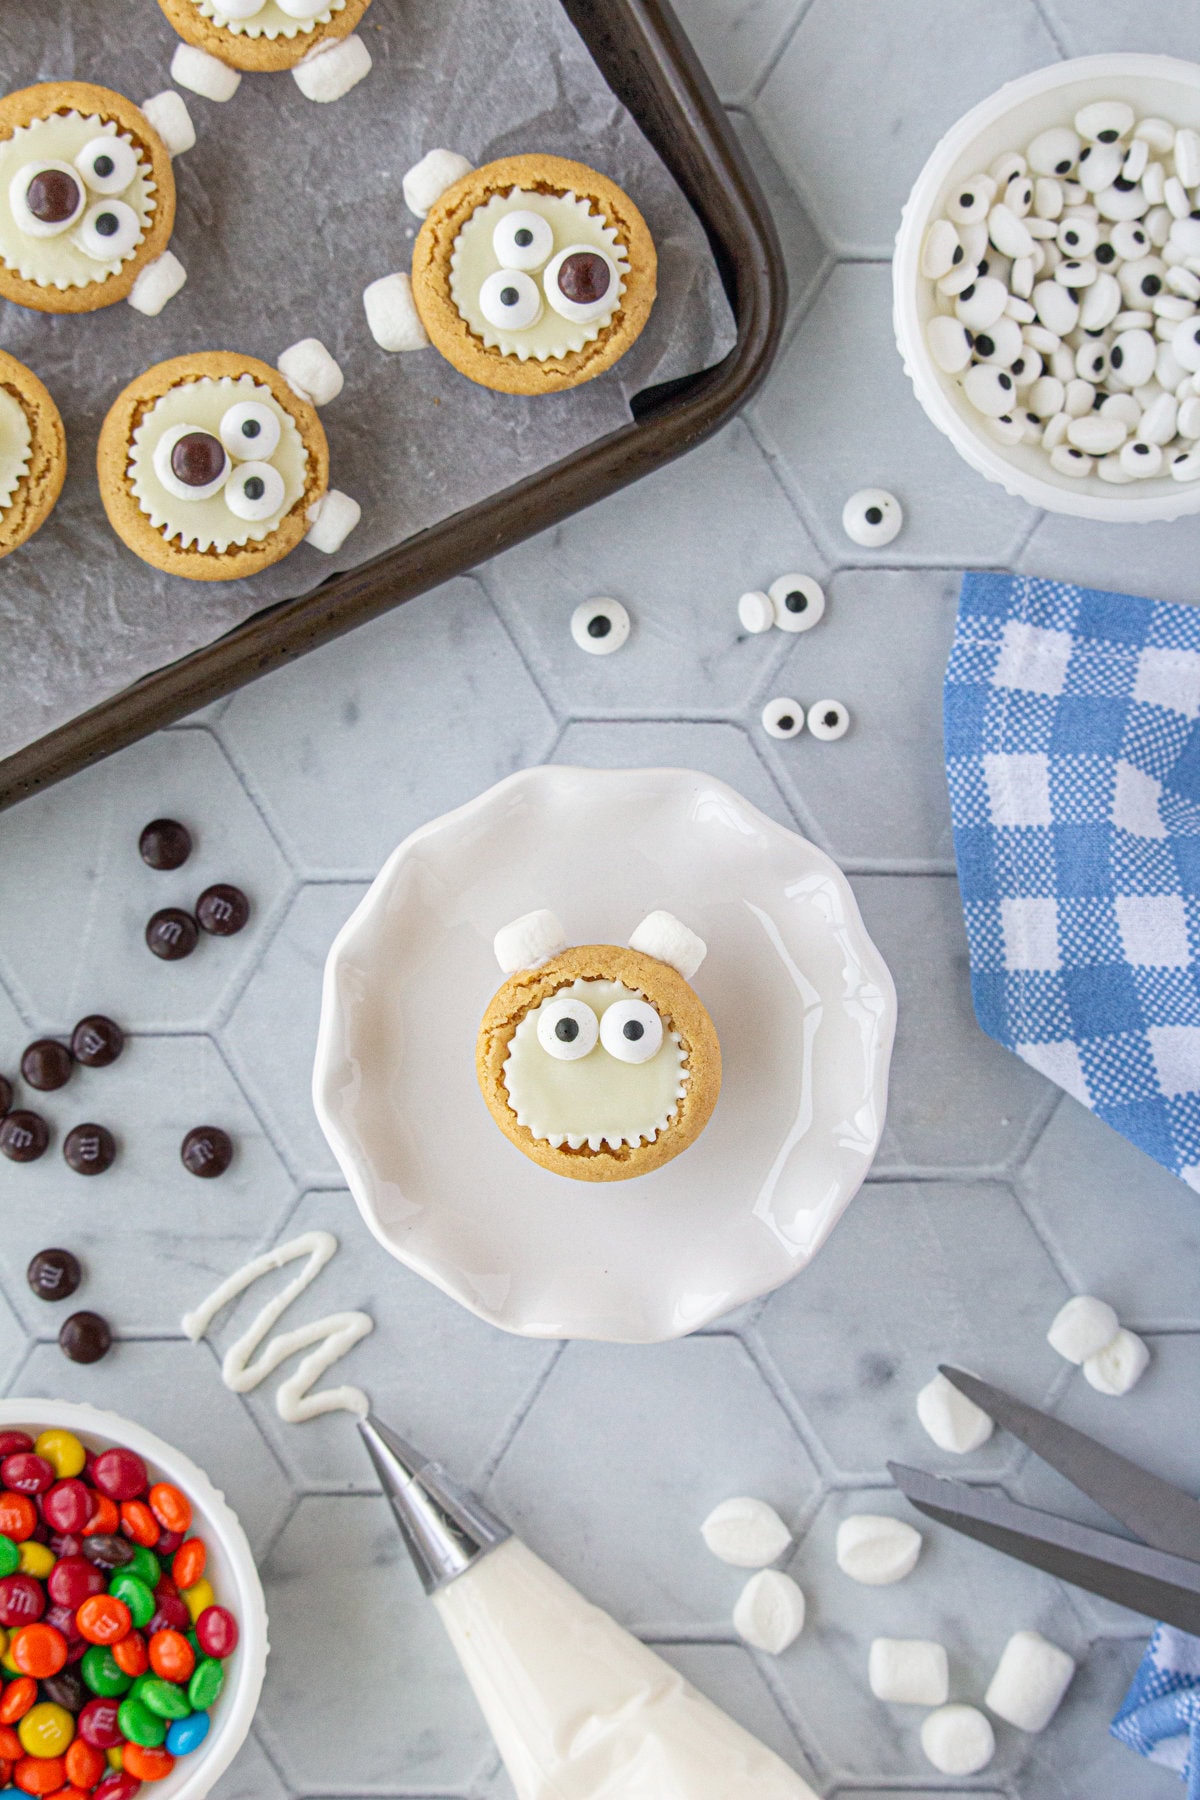
Secure the candy eyes with icing on each polar bear.
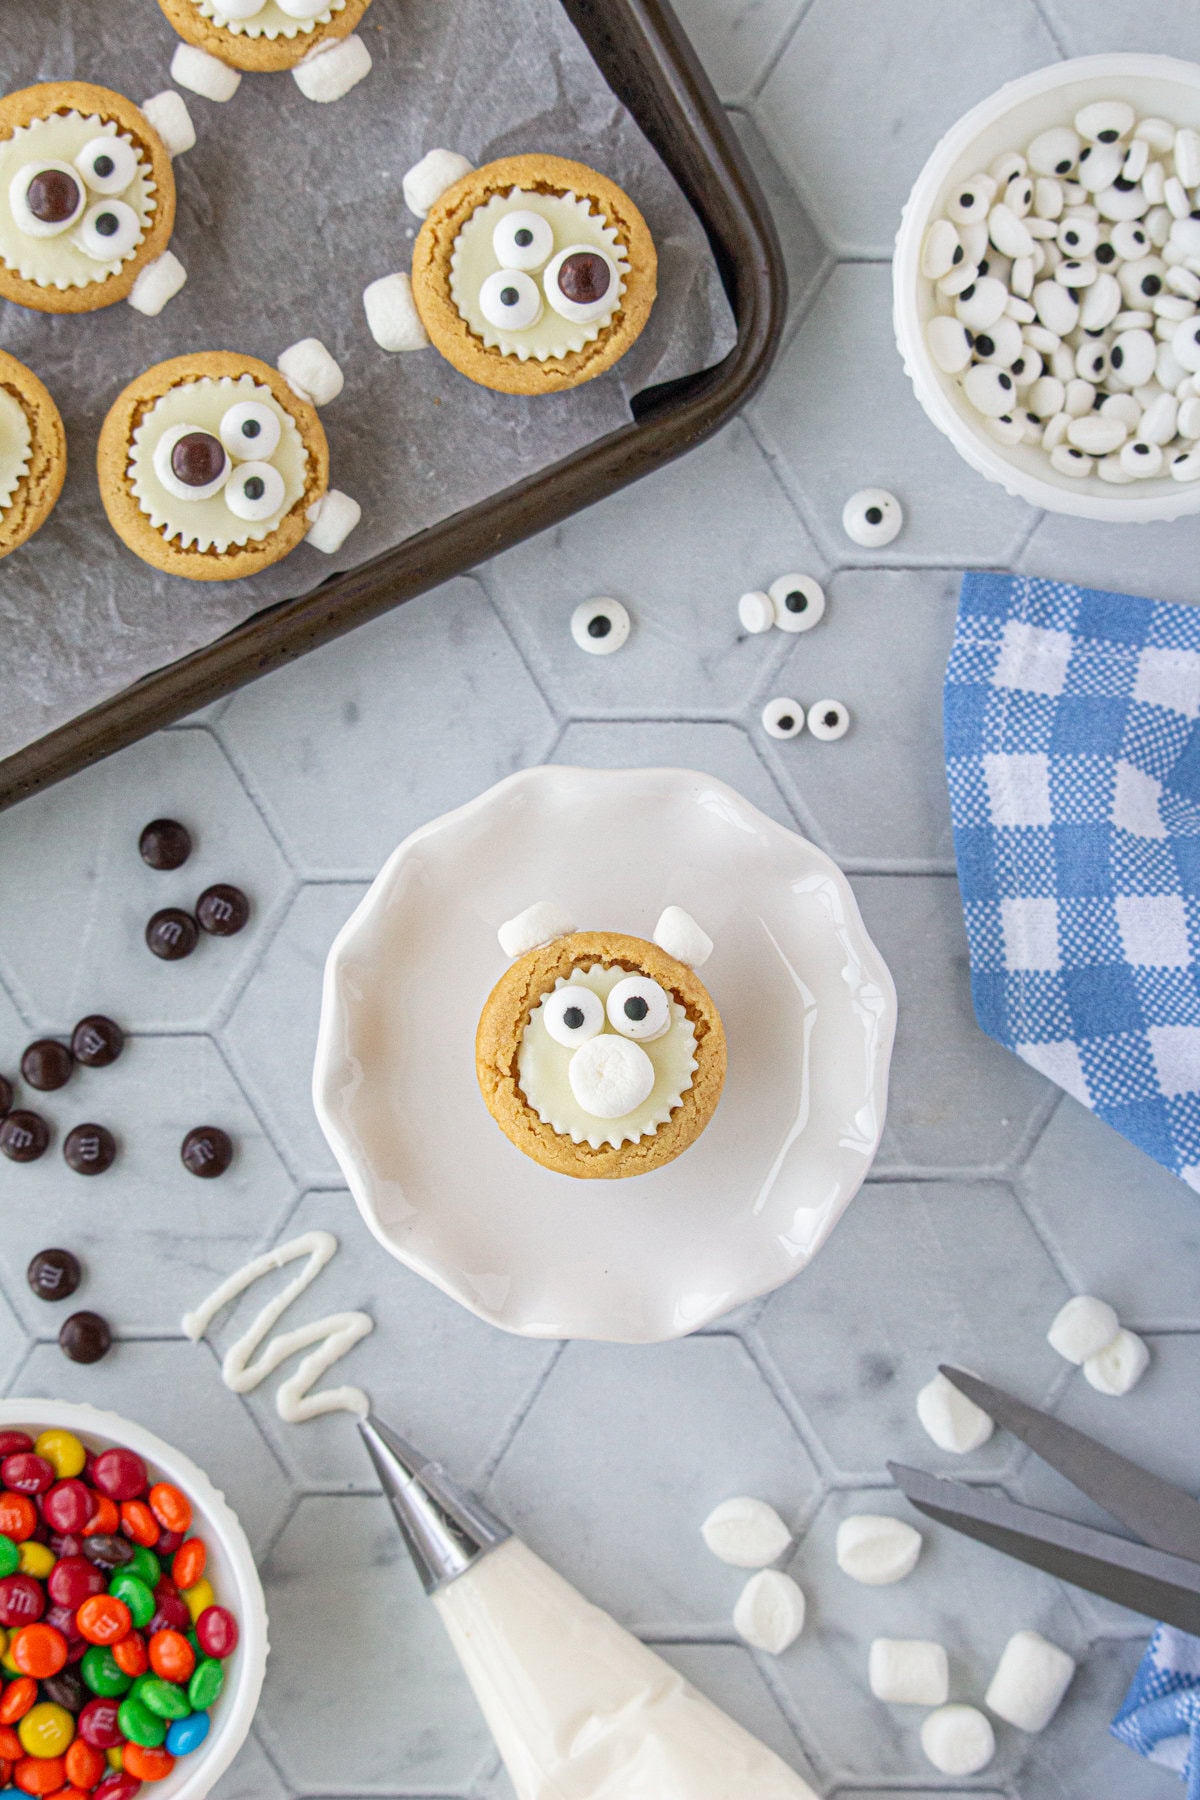
Using icing to add a whole marshmallow under the eyes...
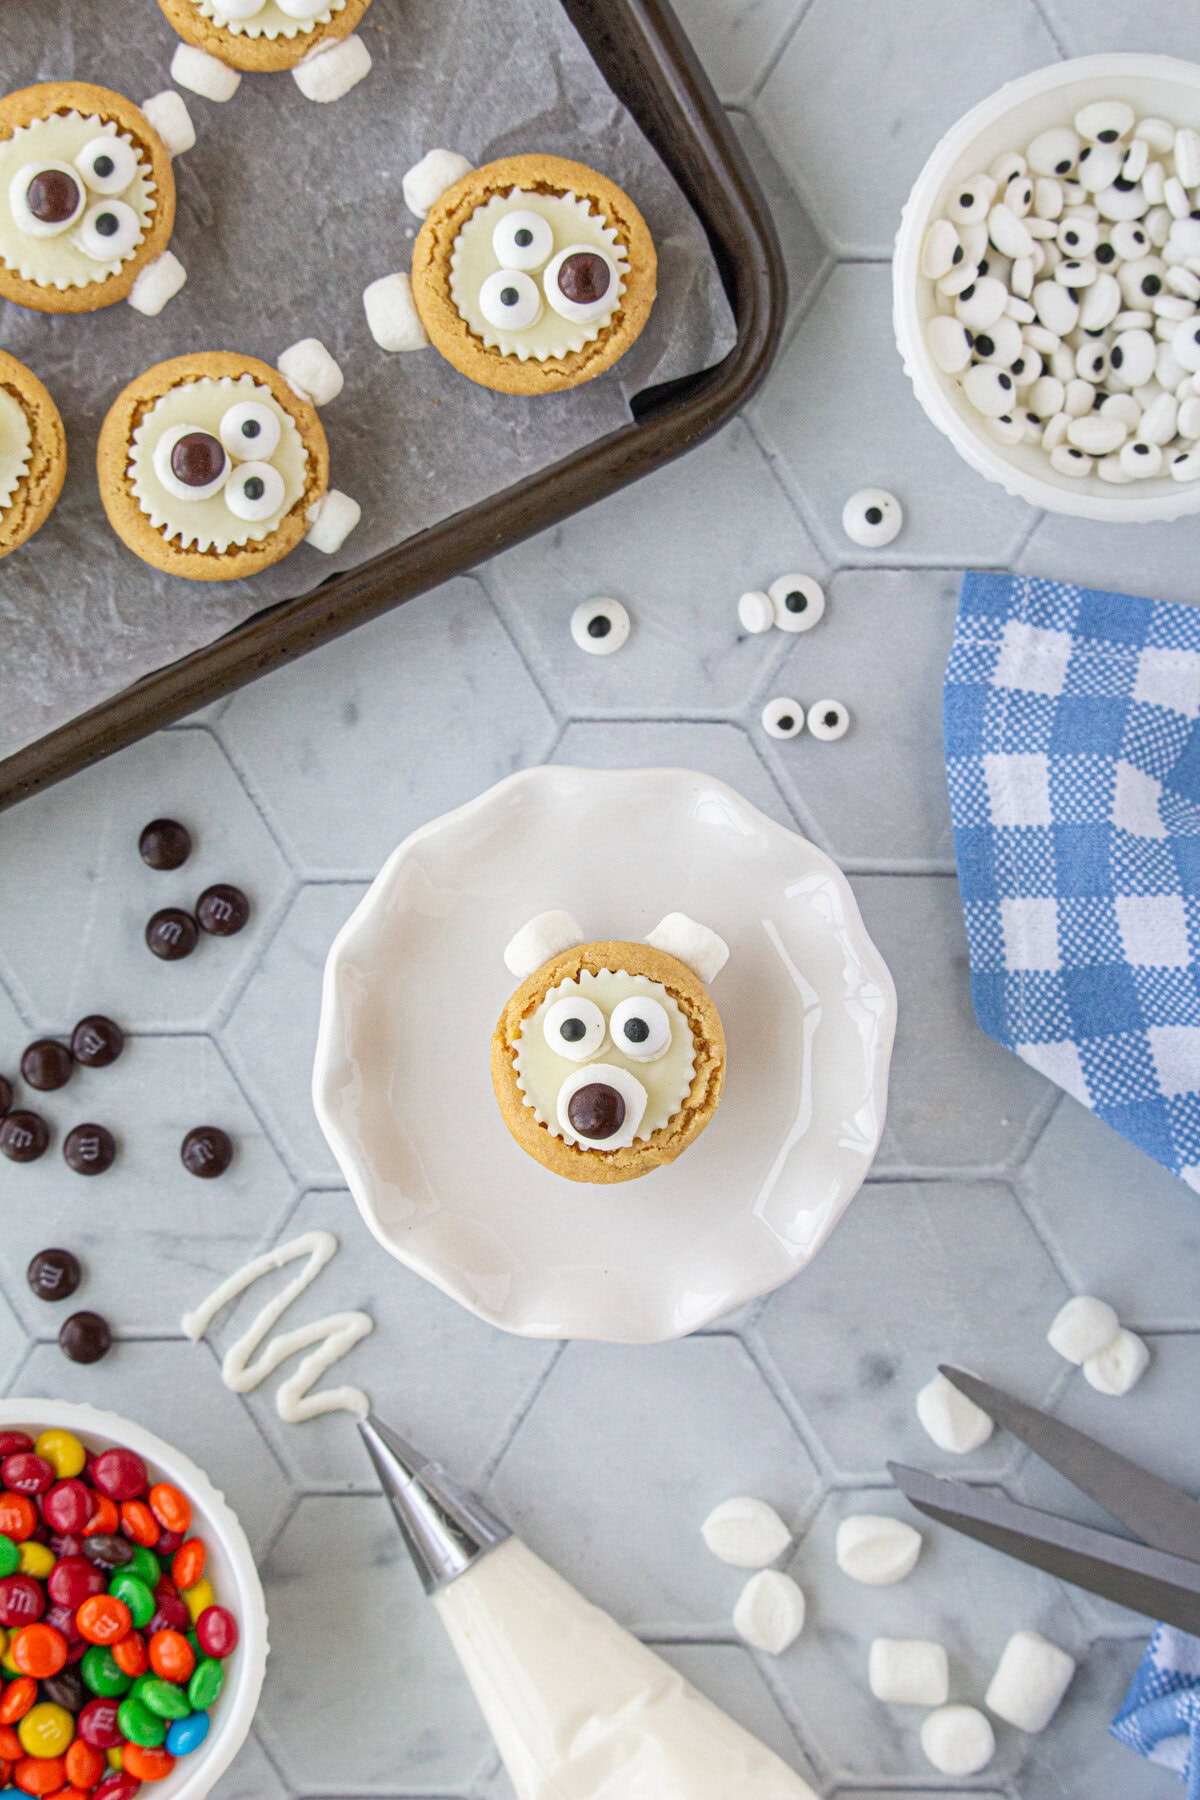
...and a brown piece of candy to act as the bear's snout.
🤫 Marye's secret for zhuzhing it up -
To keep these polar bear face cookies looking as cute as can be, freeze the Reese's cups. This way, when you add them to the hot cookies, they'll hold their shape rather than melting into a chocolaty mess!
zhuzh: verb. To make something more interesting or attractive
🍴Must have tools: essential equipment
- Mini muffin pans
- Medium
mixing bowl - Electric mixer (stand or hand)
- Small cookie scoop
- Scissors
- Piping bag
🥫 Leftover love: how to store polar bear cookies
Polar bear cookies are great for holiday bake sales and gift-giving because they keep really well. Simply store the baked cookies in an airtight container at room temperature for up to a week.
You can also store unbaked cookie dough in an airtight, freezer-safe bag or container for up to three months. This gets some prep out of the way if you just want to focus on decorating later.
Marye's Tip o' the day
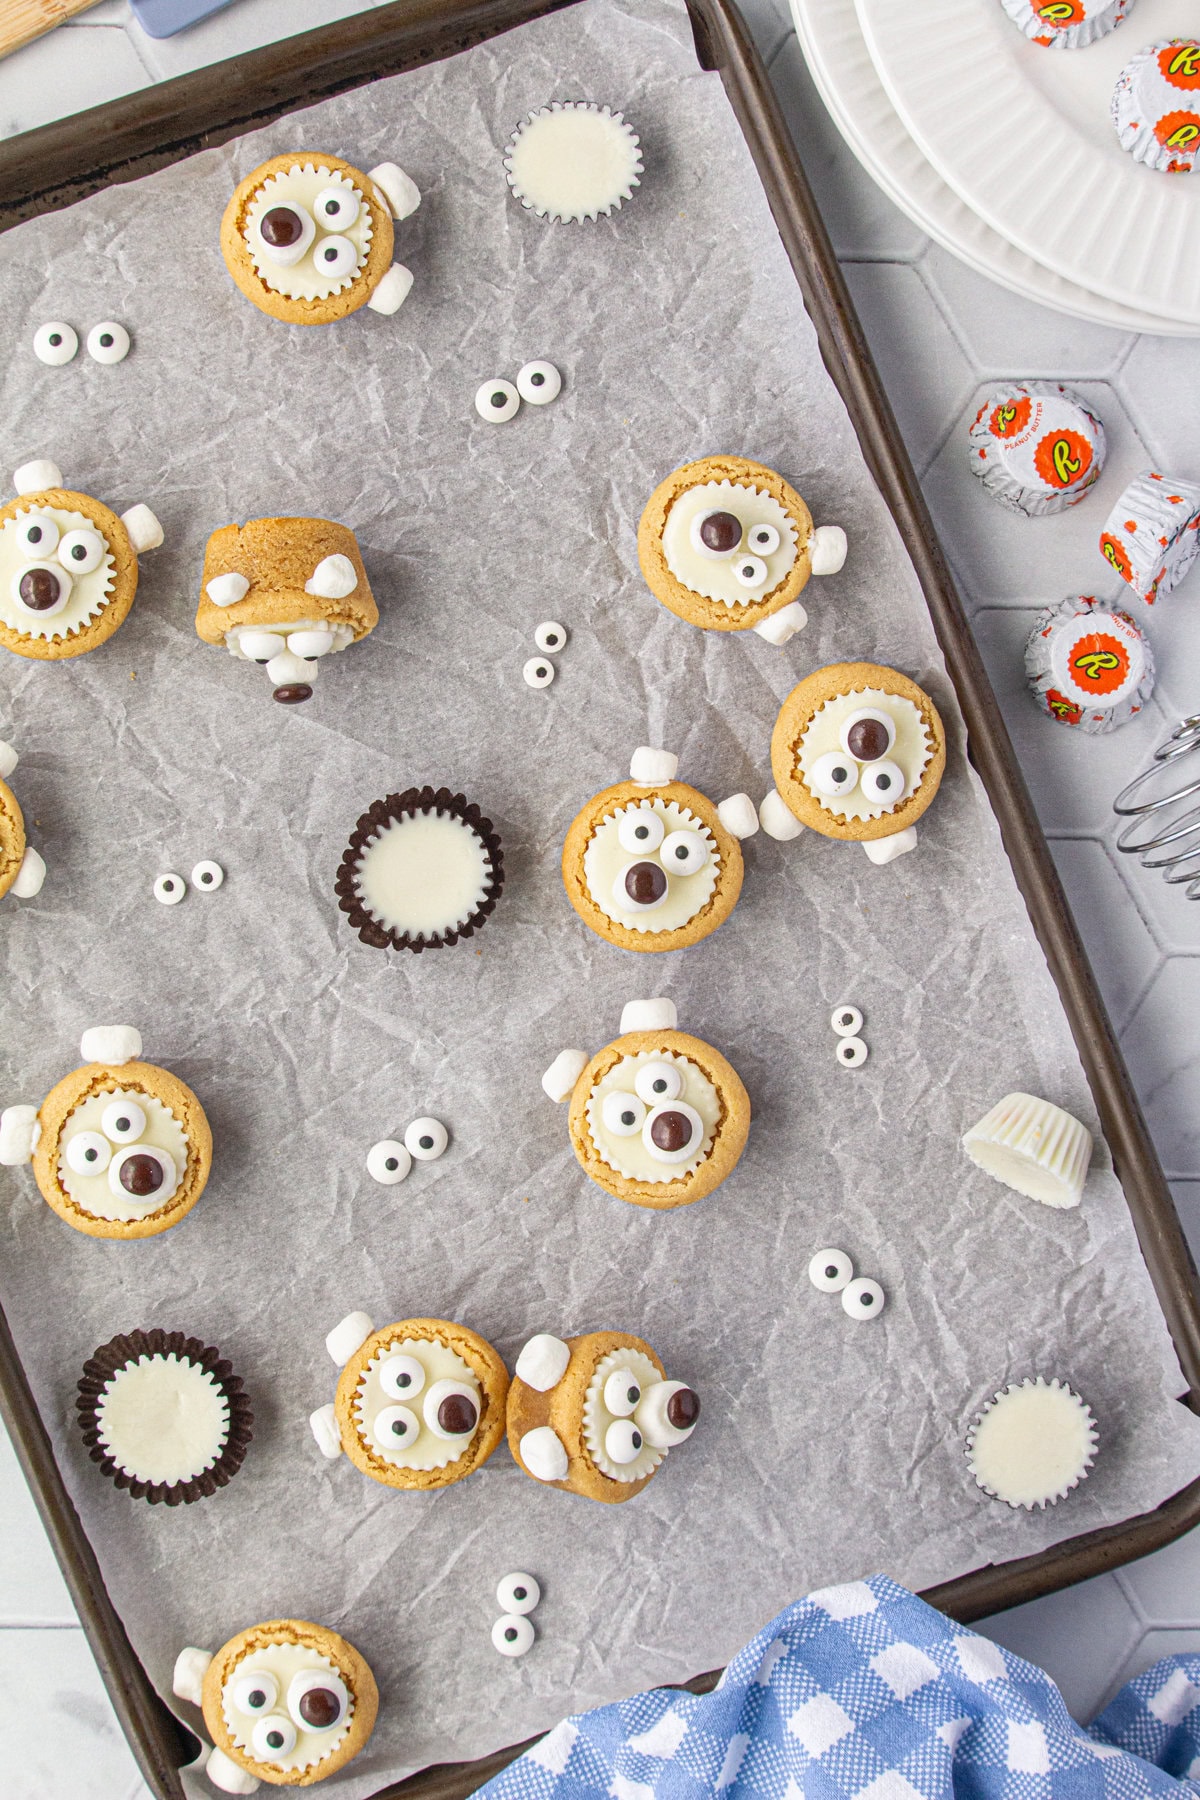
It won't take a long time for the cookies to cool and get too firm to press the peanut butter cups into, so work quickly! It helps to have the Reese's unwrapped before putting 'em in the freezer.
💭 Insider tips: things to know
- When mixing cookie dough, be sure to scrape the side of the bowl with a rubber spatula a few times to incorporate all the ingredients evenly.
- If your dough is getting too sticky to form into balls, your kitchen is likely a little too warm. Simply chill the dough in the fridge for 20-30 minutes.
- I like to use kitchen shears instead of a sharp knife when cutting the mini marshmallows since they're so tiny.
- Cover your countertop with parchment paper or fondant mats to make clean-up easy, especially if little hands are helping with the icing!
👩🍳 Let's answer those questions: FAQs
Have other questions? Ask me in the comments!
Sure thing. However, the finished product will look more like a brown bear than a polar bear.
If you want to get extra creative, try this idea: pipe a ring of white frosting around the edge on top of the cookie. Sprinkle it with some white sanding sugar. Shake off the excess and enjoy!
If you forgot to pick up some icing or don't want to make any homemade, candy melts are a good option. Melting wafers harden as they cool, acting as a great edible adhesive.
Your local grocery store might not carry 'em. If not, check a craft store or specialty baking store. They're also easy to find online.
I recommend a mini muffin tin for best results. You can use a standard-sized tin, but the recipe quantity and timing will be off.
You'll have to make slightly larger balls of dough, so they'll have to bake longer and will result in fewer cookies. The Reese's cups will also look a little too small surrounded by more cookie, so you might want to try and find larger white chocolate Reese's cups.
⏲️ Marye's time saving hacks -
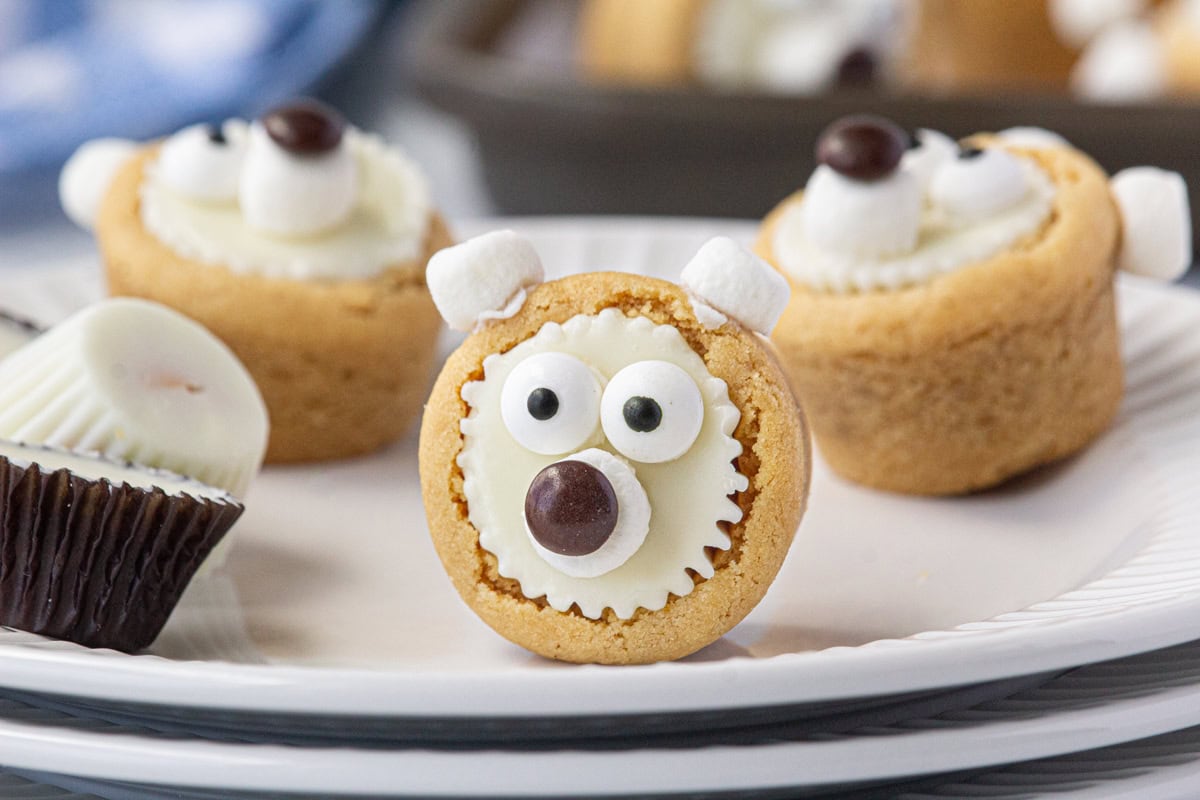
Simplify your process and use pre-made, refrigerated cookie dough instead of homemade. Feel free to choose whatever flavor you like—peanut butter, snickerdoodle, or even plain sugar cookie dough.
📚 More Southern comfort: related recipes you'll love
- Sugar Cone Christmas Trees are a cute and delicious edible craft that looks great next to a gingerbread house or on a holiday dessert table!
- You can't have a Christmas cookie tray without Rolled Sugar Cookies—these are the very best, stay super tender, and are easy to decorate.
- Throw the most fun (for kids and parents!) Gingerbread House Party with these tips, candy checklists, snack ideas, decor, and more.
🍽️ Perfect pairings for holiday cookie trays
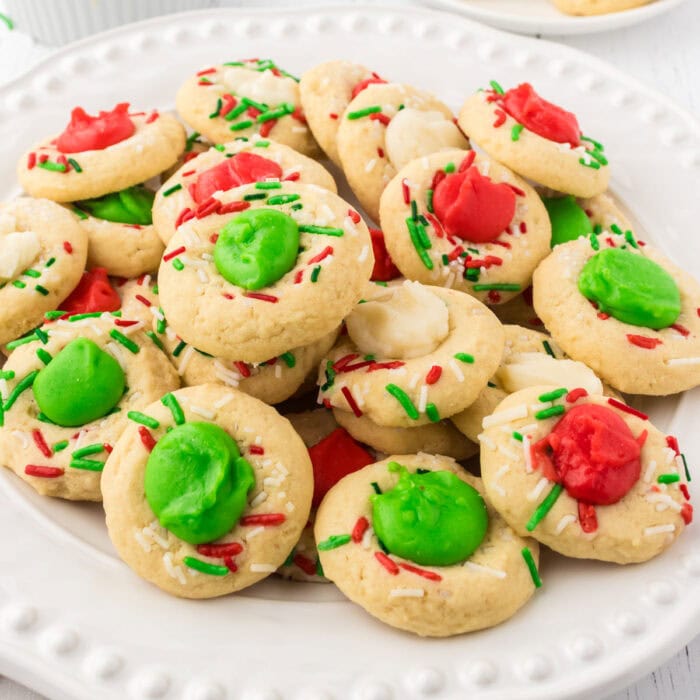
Christmas Thumbprint Cookies are soft and packed with buttery, sweet flavor. The festive white chocolate centers hold up great for shipping or traveling.
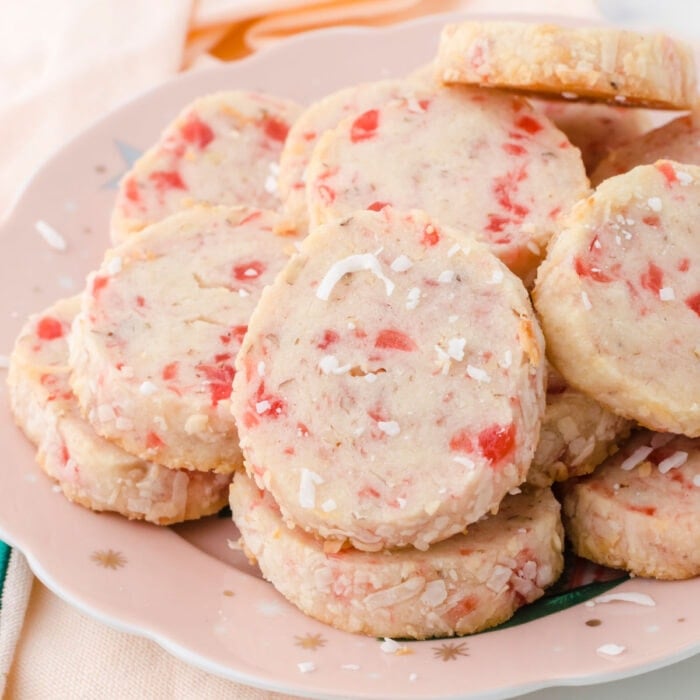
Flavored with candied cherries, coconut, and almond, Santa's Whiskers Cookies are easy to make but tough to resist. Plus, you can make the dough ahead of time for effortless holiday party prep!
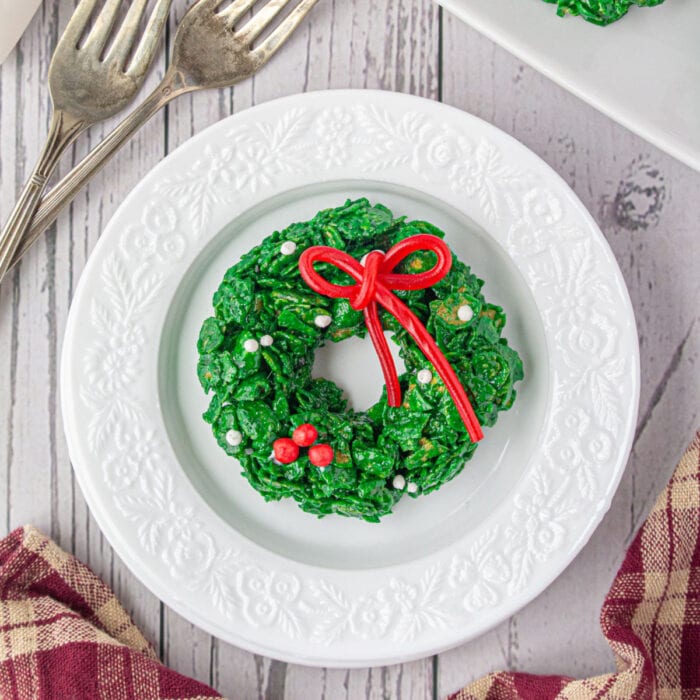
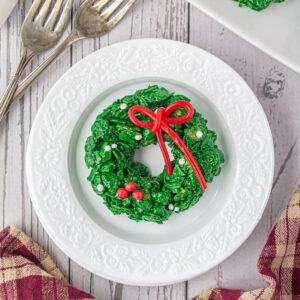
Christmas Cornflake Wreath Cookies are festive and yummy. Better yet, this no-bake holiday dessert recipe is easy enough to get your kids involved!
🍽️ No waste: creative ways to repurpose
Have a couple of polar bear cookies left over? Use them to decorate your gingerbread house scenes this year! They'd look cute peeking out from behind a forest of sugar cone Christmas trees—linked above.
Also, crushed-up peanut butter cookies taste great crumbled over ice cream sundaes, yogurt parfaits, pudding, and trifles. Candy lasts for a while, so toss extra into a pretty bowl and snack on it for weeks.
📞 Wrapping it up: the last word
I love giving family and friends gorgeous cookie trays during the holidays - and these super-cute polar bears really cause people to smile.
If you click on the number of servings in the recipe card you can adjust the measurements up or down for the exact number of servings you need.
If you love this recipe please comment below and give it 5 stars! ⭐️⭐️⭐️⭐️⭐️
📖 Recipe
Polar Bear Cookies
Print Pin Recipe Save Recipe Rate RecipeIngredients
- 1 ½ cup all-purpose flour
- ½ teaspoon baking soda
- ½ teaspoon salt
- 1 cup creamy peanut butter
- ½ cup butter, room temperature
- ½ cup granulated sugar
- ⅓ cup brown sugar
- 1 large egg
- 3 teaspoons milk
- 1 teaspoon vanilla
- 36 mini white chocolate Reese’s cups, unwrapped and frozen
- 72 mini marshmallows
- Premade icing, as adhesive for candy eyes and M&M’s
- 72 candy eye sprinkles
- 36 M&M’s mini
Instructions
- Preheat oven to 350-degrees F, and spray mini muffin pan with non-stick cooking spray.
- Place the unwrapped Reese’s cups into the freezer until it’s time to decorate.
- In a medium mixing bowl, whisk together the flour, baking soda, and salt. Set aside.
- Add peanut butter and room temperature butter to the bowl of an electric mixer. Beat at medium speed for 2-3 minutes until light and fluffy.
- Mix in the granulated and brown sugars.
- Add the egg, milk, and vanilla, and mix well.
- Add the dry ingredients to the wet ingredients, and beat well, scraping down the sides as needed.
- Place a small amount of dough into your hand using a cookie scoop. Shape the dough into a ball (about 1 inch in diameter), and place it into a well of mini muffin pan. Repeat until the mini muffin pan is filled.
- Bake in a 350-degree F oven for 10-12 minutes. The cookies will be soft to the touch.
- Remove from oven, and working quickly, place an unwrapped, frozen Reese’s cup into the center of each cookie.
- Place the entire muffin pan in the refrigerator for 15-20 minutes so that the Reese’s chocolates are completely set and no longer warm.
- When the cookies are completely cooled, remove them from the mini muffin pan. Now, it’s time to decorate!
- Use scissors to cut 36 mini marshmallows in half- these will be the polar bear’s ears. Dab a small amount of premade icing to the cut marshmallow, and attach each ear.
- Stick the candy eyes to the Reese’s cup using the premade icing.
- Use icing to stick a whole mini marshmallow just below the eyes. This will serve as the bear’s snout.
- Finally, place the “nose” by attaching a mini-M&M with icing to the top of the “snout” marshmallow.
- Allow the icing several minutes to set before serving.
Notes
- Store baked cookies in an airtight container at room temperature for up to one week. Freeze undecorated for up to 3 months.
- Store unbaked cookie dough in an airtight, freezer-safe bag or container and freeze for up to three months.
-
- Don't freeze after the cookies are decorated. The black in the candy eyes will run and look terrible!
- If your dough is getting too sticky to form into balls, your kitchen is likely a little too warm. Simply chill the dough in the fridge for 20-30 minutes.
- I like to use kitchen shears instead of a sharp knife when cutting the mini marshmallows since they're so tiny.
- Cover your countertop with parchment paper or fondant mats to make clean-up easy, especially if little hands are helping with the icing!
Nutrition Facts
Nutrition information is estimated as a courtesy. If using for medical purposes, please verify information using your own nutritional calculator. Percent Daily Values are based on a 2000 calorie diet.
This recipe has been tested several times. If you choose to use other ingredients, or change the technique in some way, the results may not be the same.





Comments
No Comments