Gather up your ingredients, tie on your apron, and get ready to create a buzzin' sensation at your next shindig. These little treats are sure to bring a smile to everyone's face and have 'em singin' your praises!
Don't want to scroll through the page to get to the recipe? Use the table of contents to click on the section you want to go to.
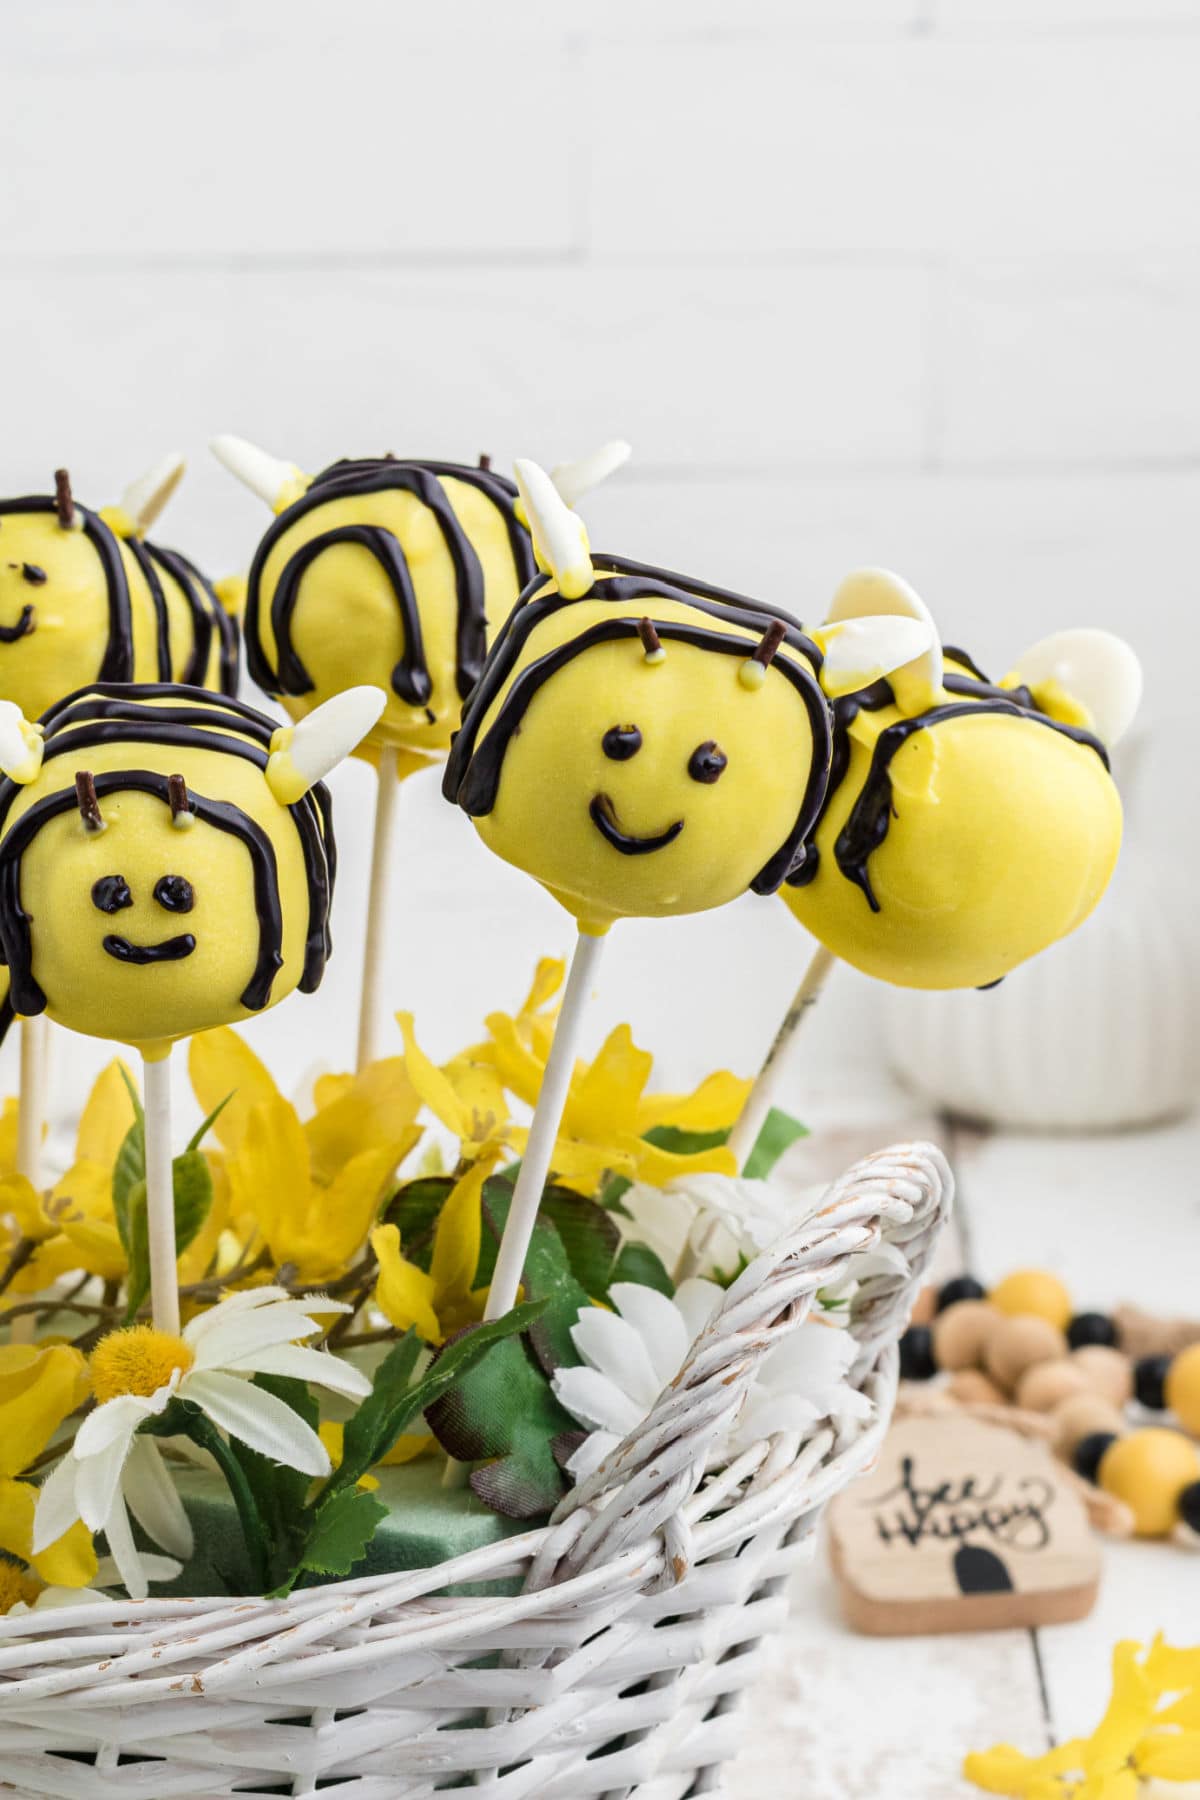
Table of Contents
❤️ Why you'll love it
- Simple method (starts with a cake mix) so kids can help
- No fancy equipment is needed, not even a piping bag
- Bumble bee theme is great for baby showers, tea parties, as gifts for teachers, and just to create a "buzz" for friends on social media
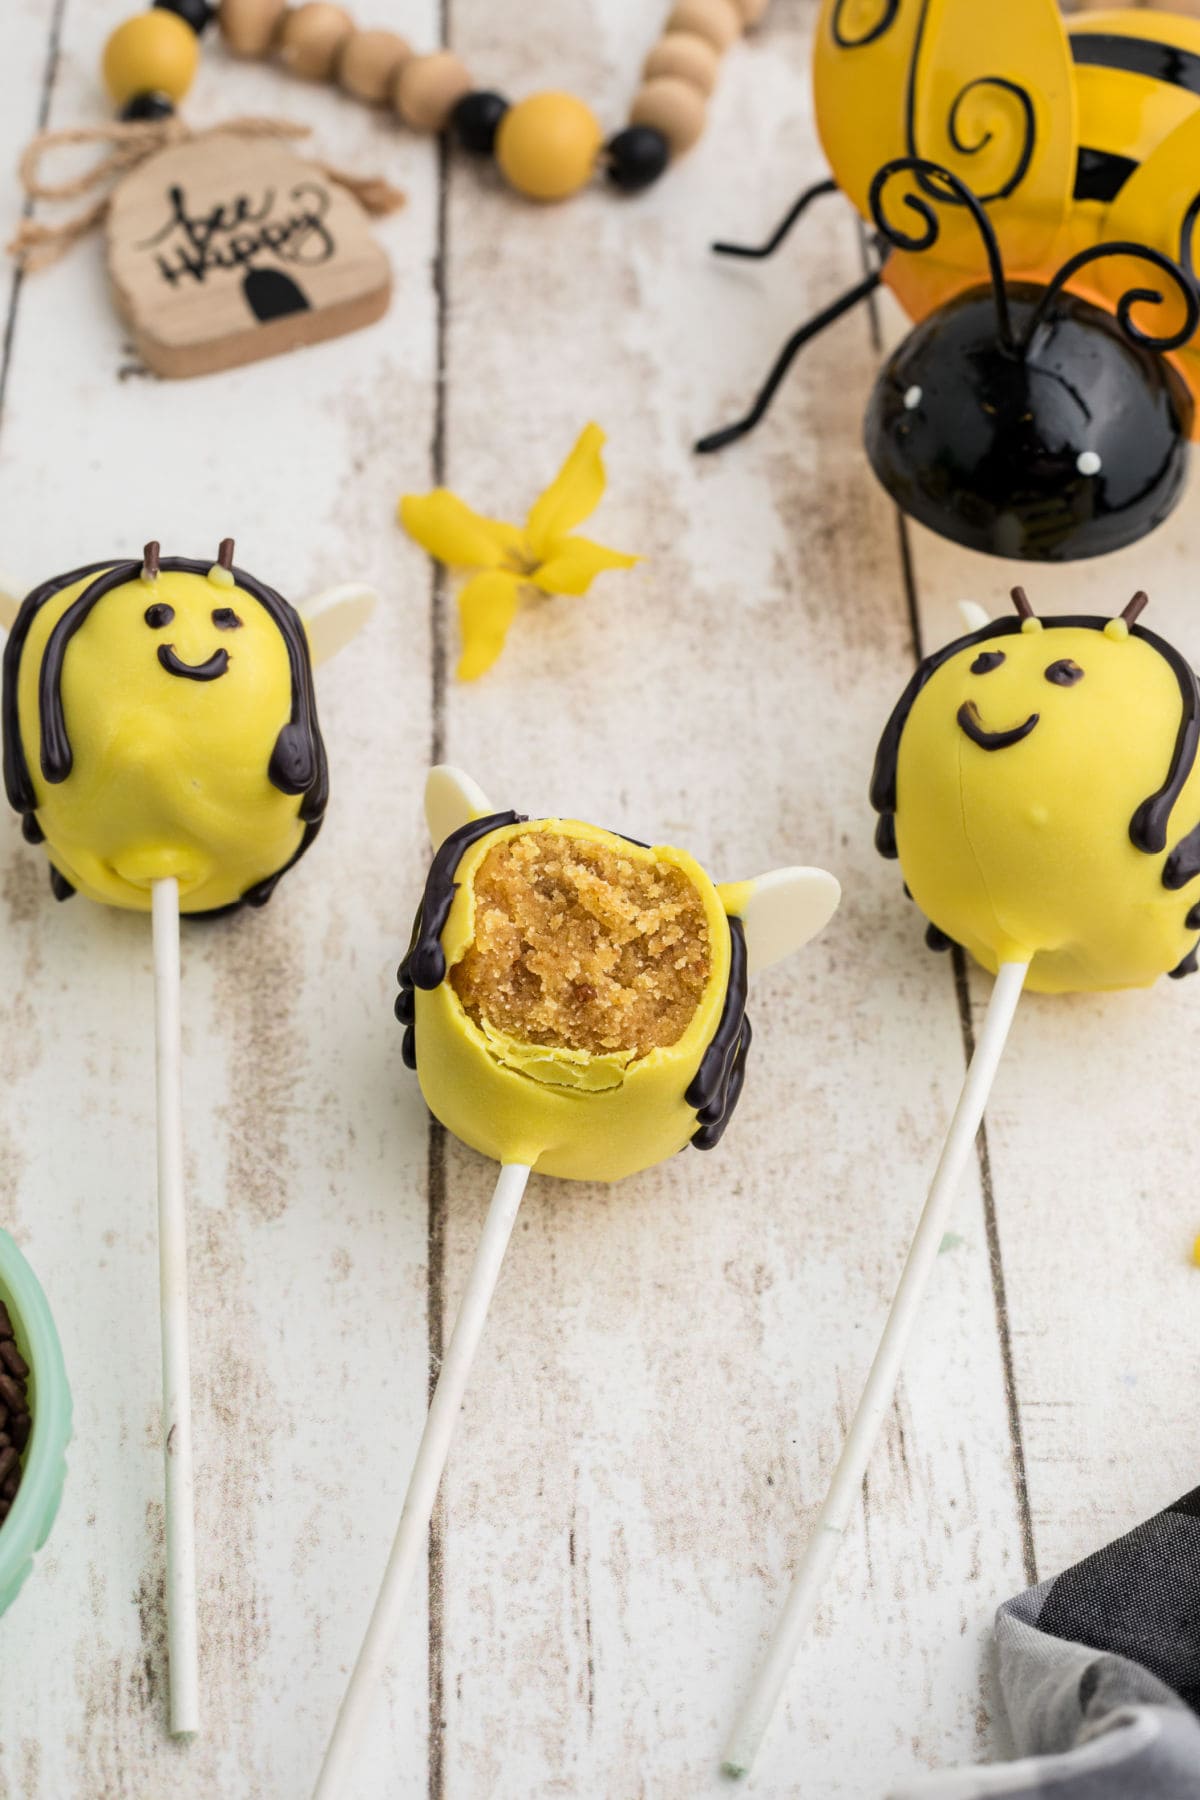
Bumble bee cake pops are completely adorable and really delicious, too—what more could you ask for in a dessert?
Plus, cake pops are simply just cake balls on a stick, so they're very easy to make... you just have to bee-lieve in yourself!
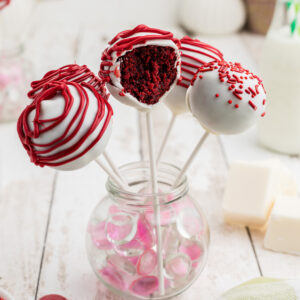
These cake pops are a little fancier than the simple red velvet cake pops but they're so cute! Totally worth the tiny bit of extra effort.
🧾 Ingredients
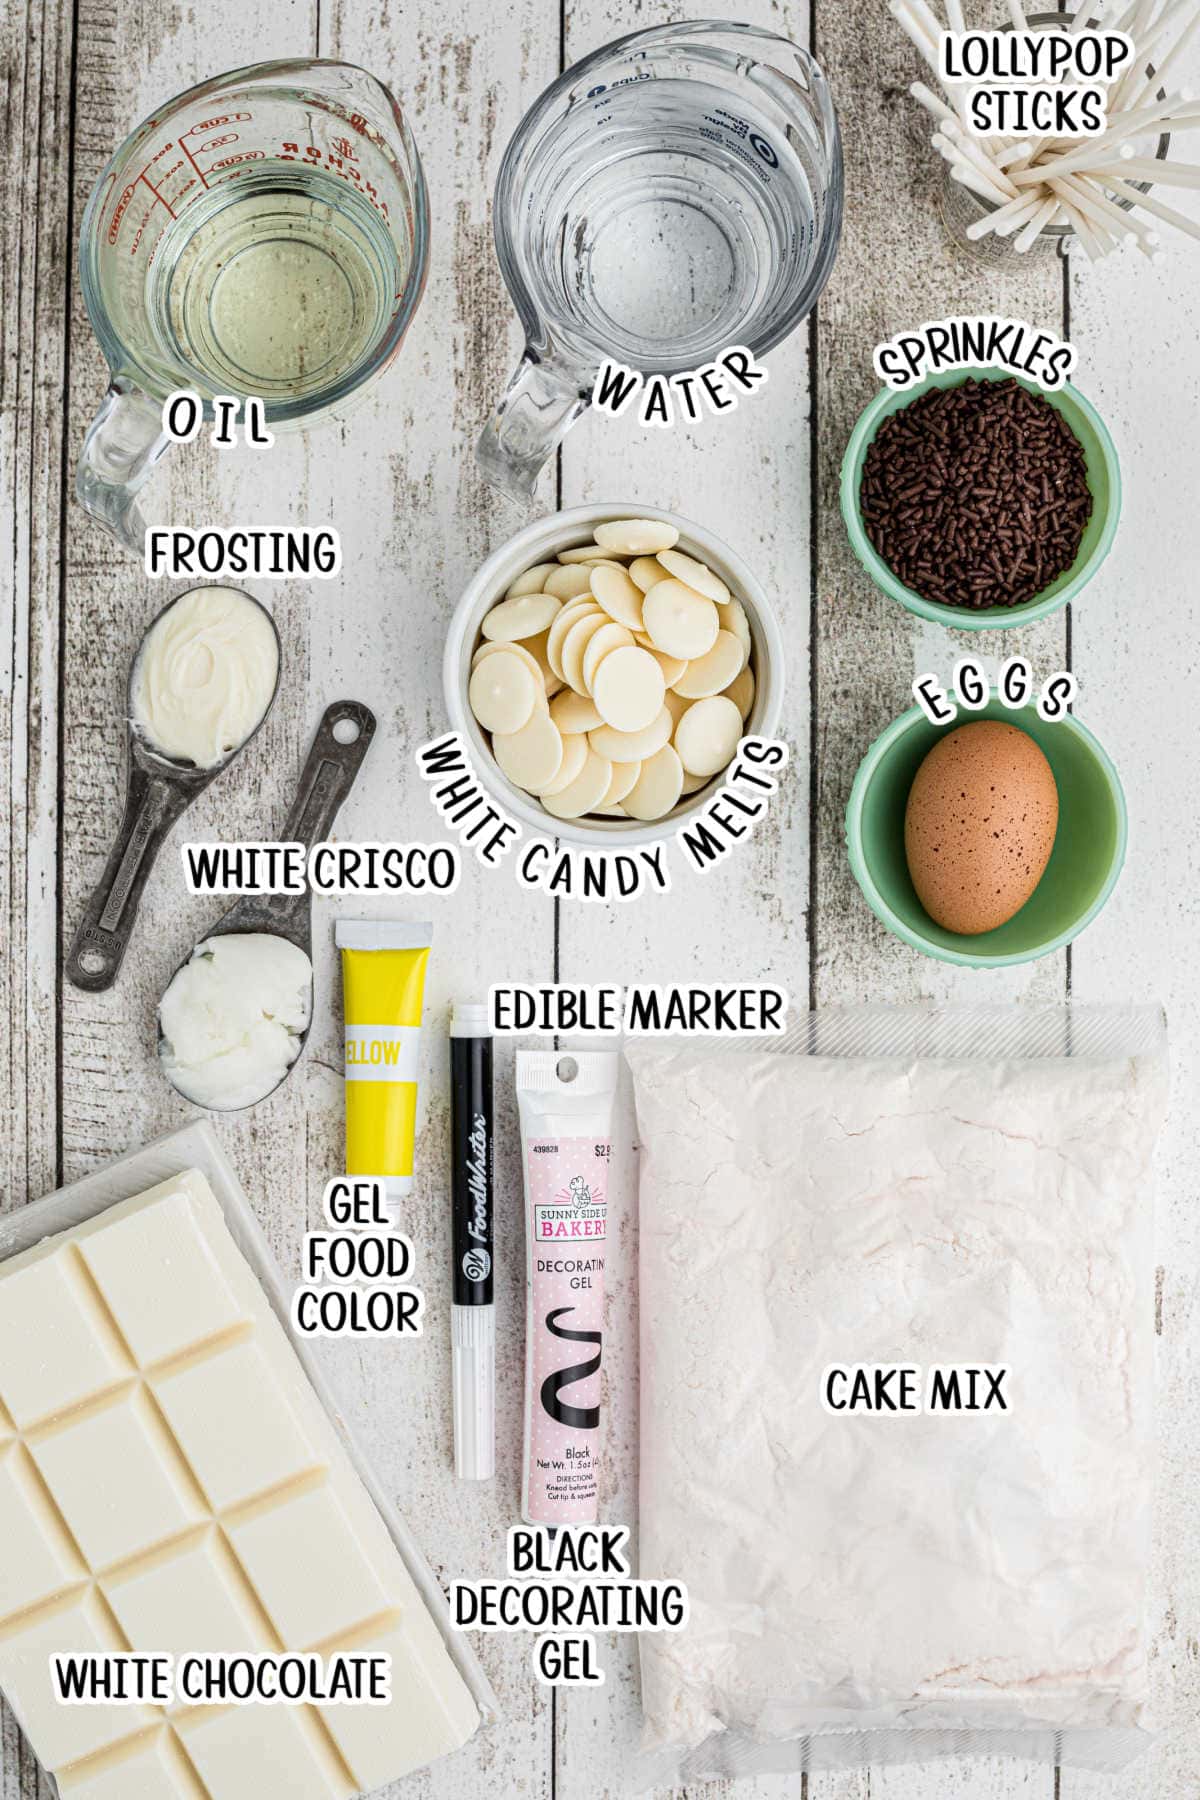
This is an overview of the ingredients. You'll find the full measurements and instructions in the green recipe card (printable) at the bottom of the page.
🔪 Instructions
This is an overview of the instructions. Full instructions are in the green recipe card at the bottom of the page.
Step 1: Prepare the cake mix according to instructions on the box
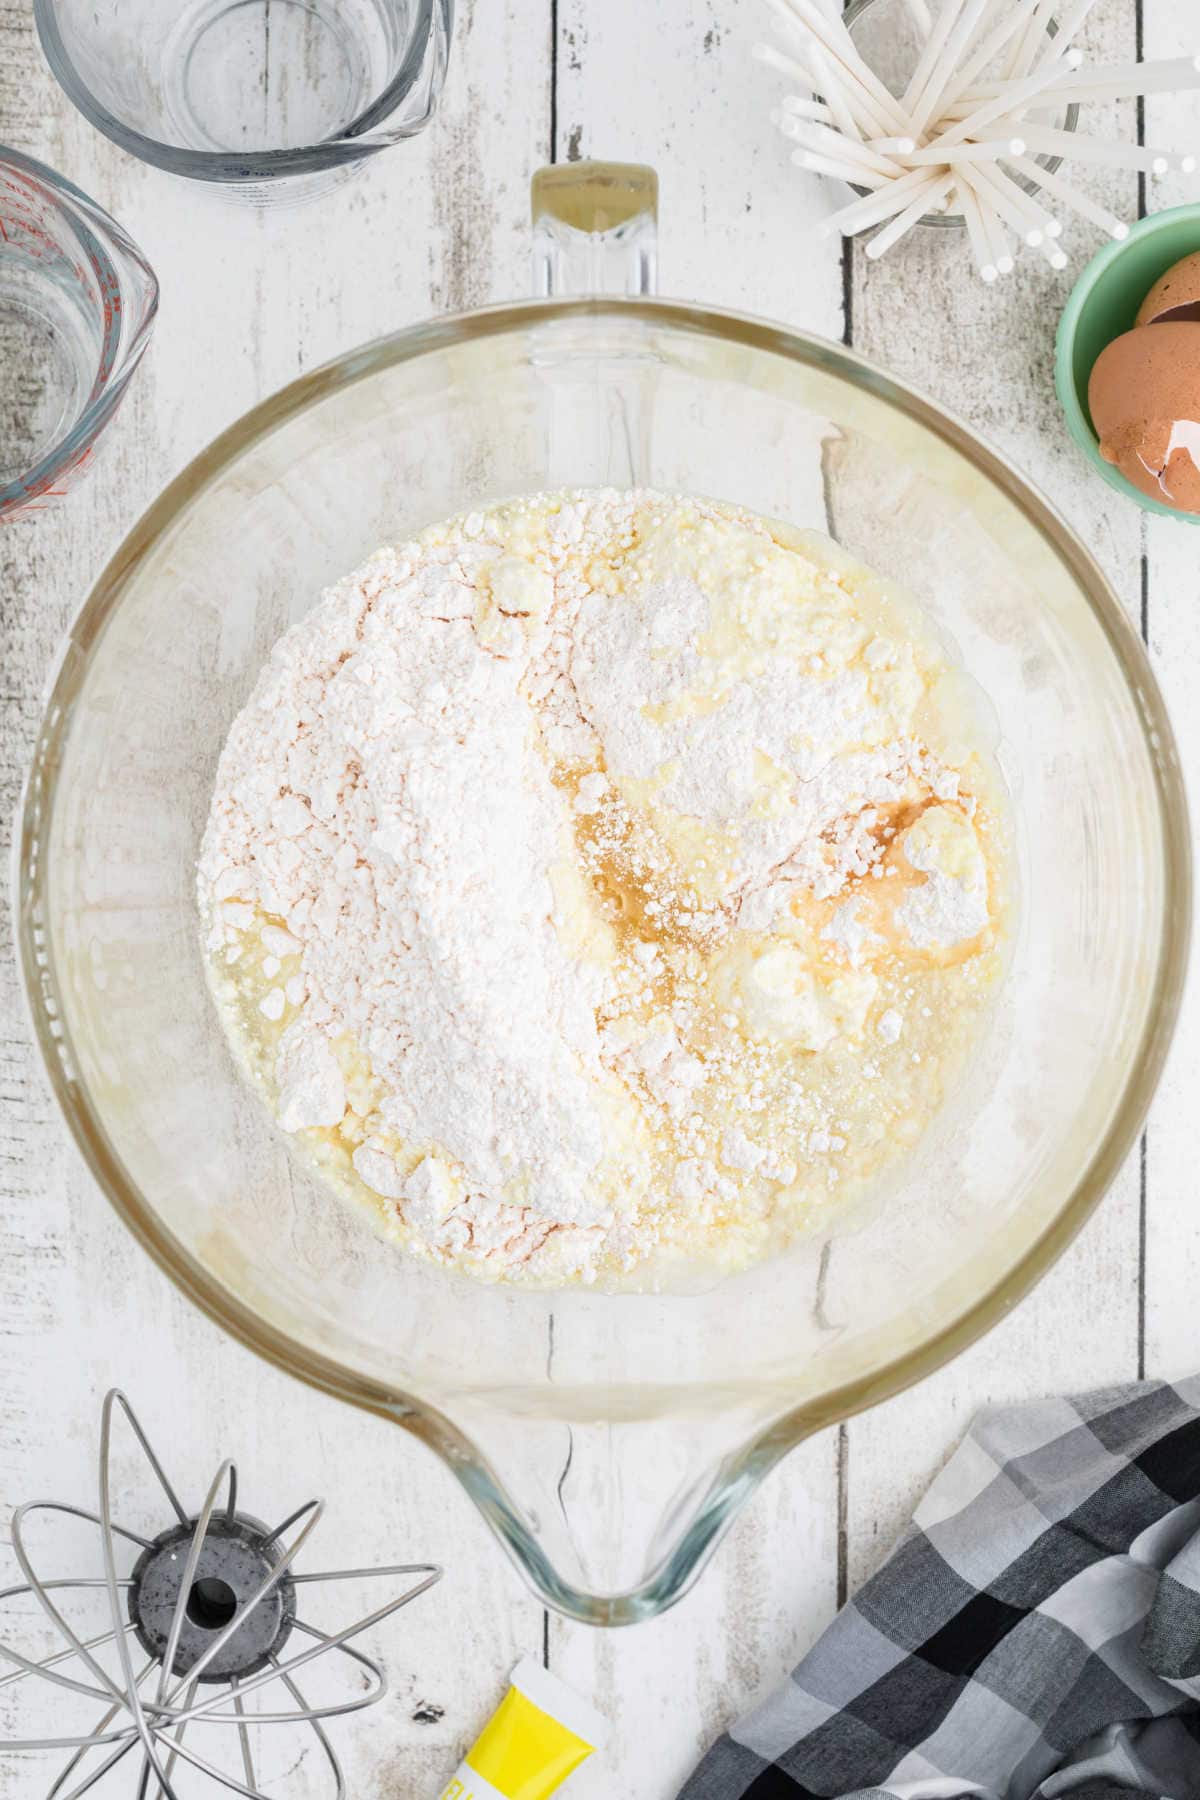
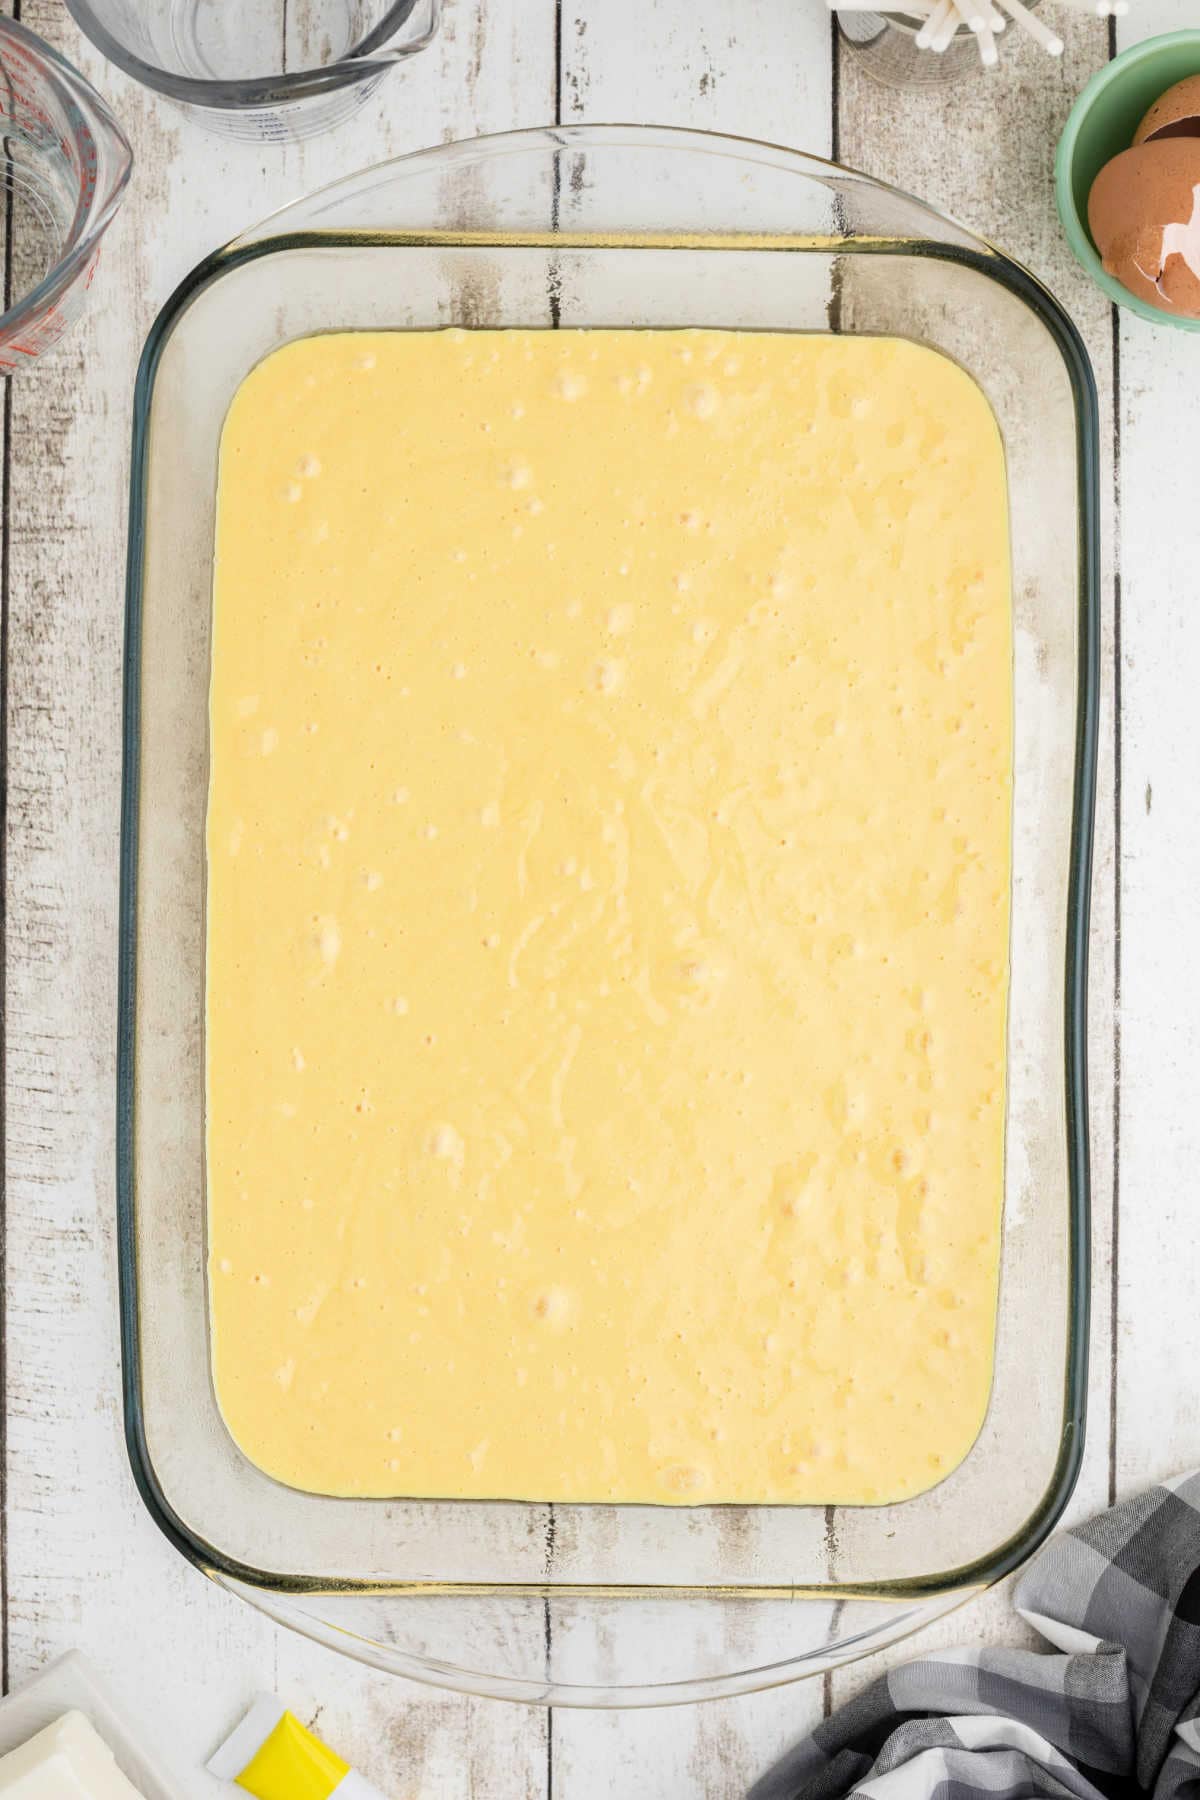
Step 2: Bake the cake in a 13x9-inch pan
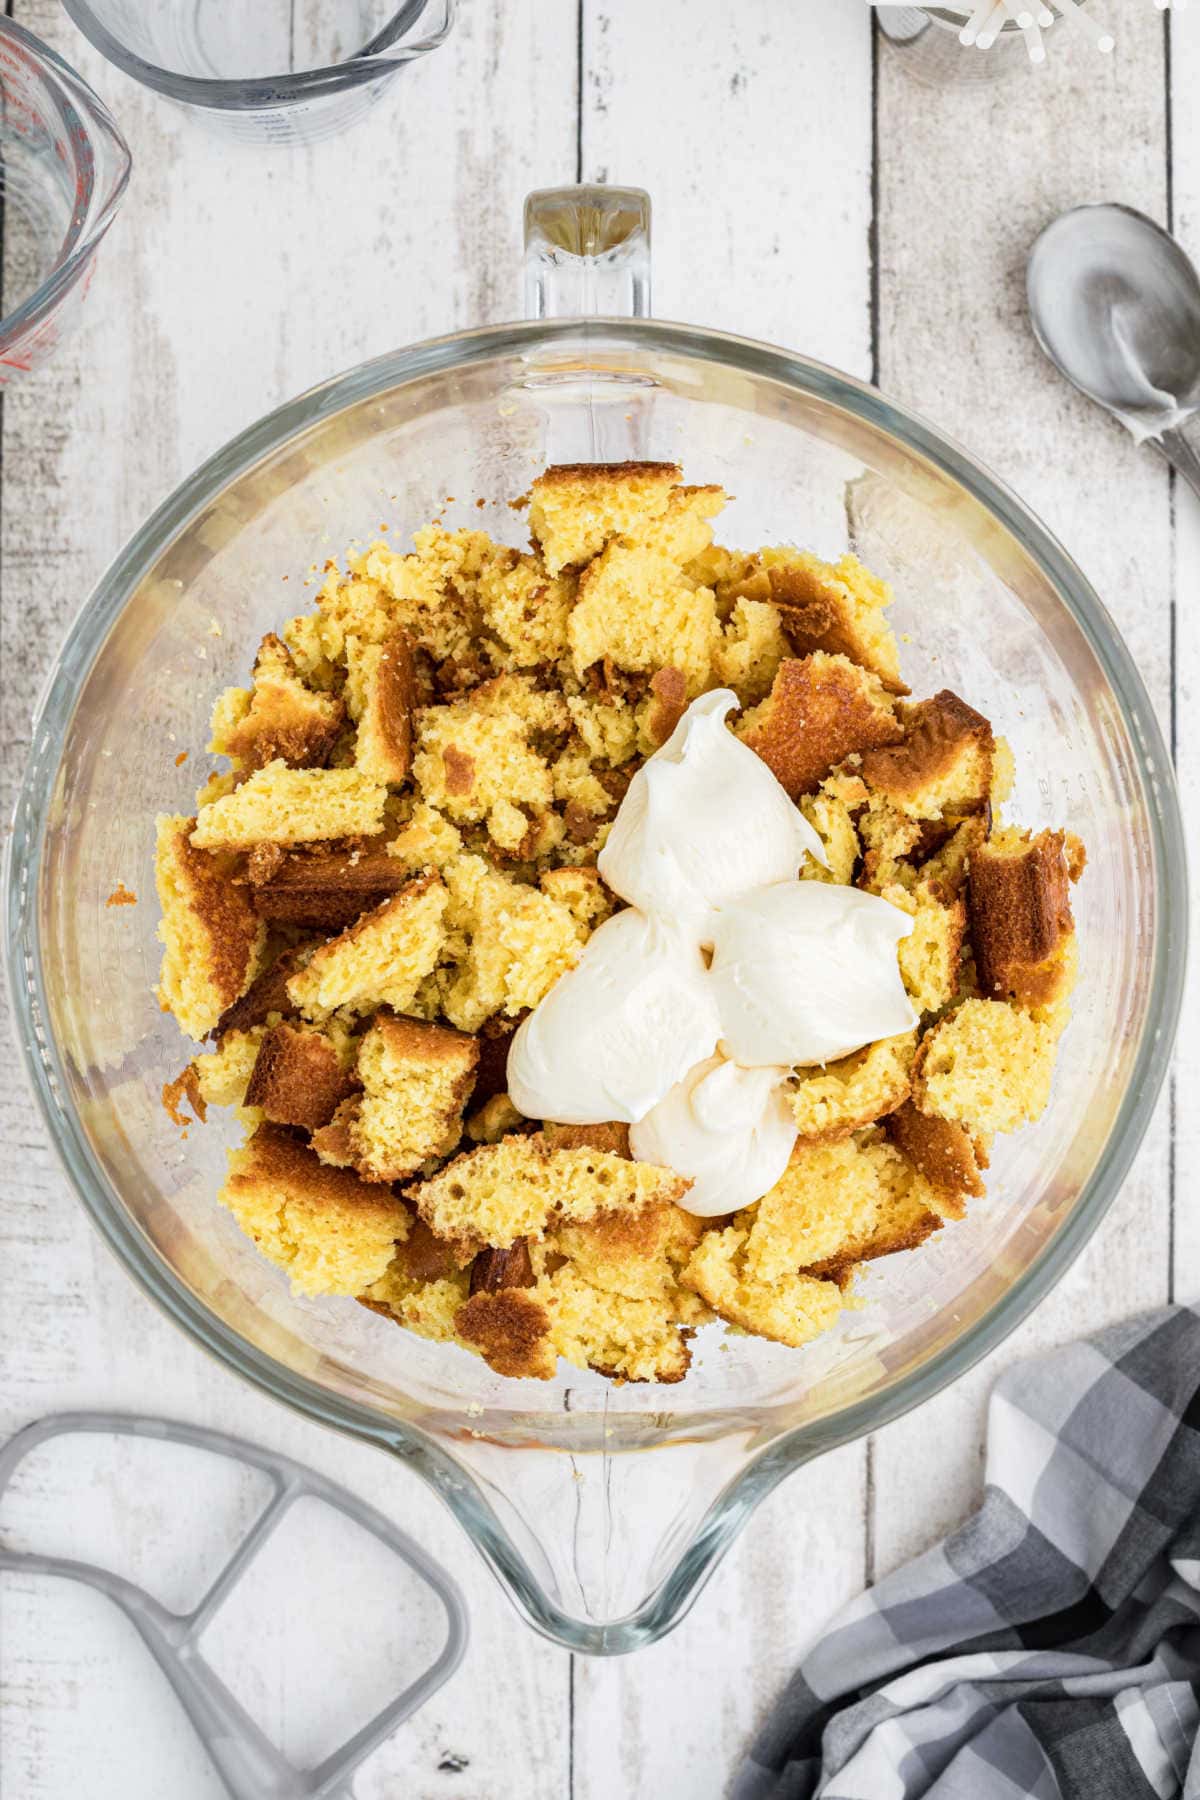
Step 3: Let cake cool and then mix in frosting
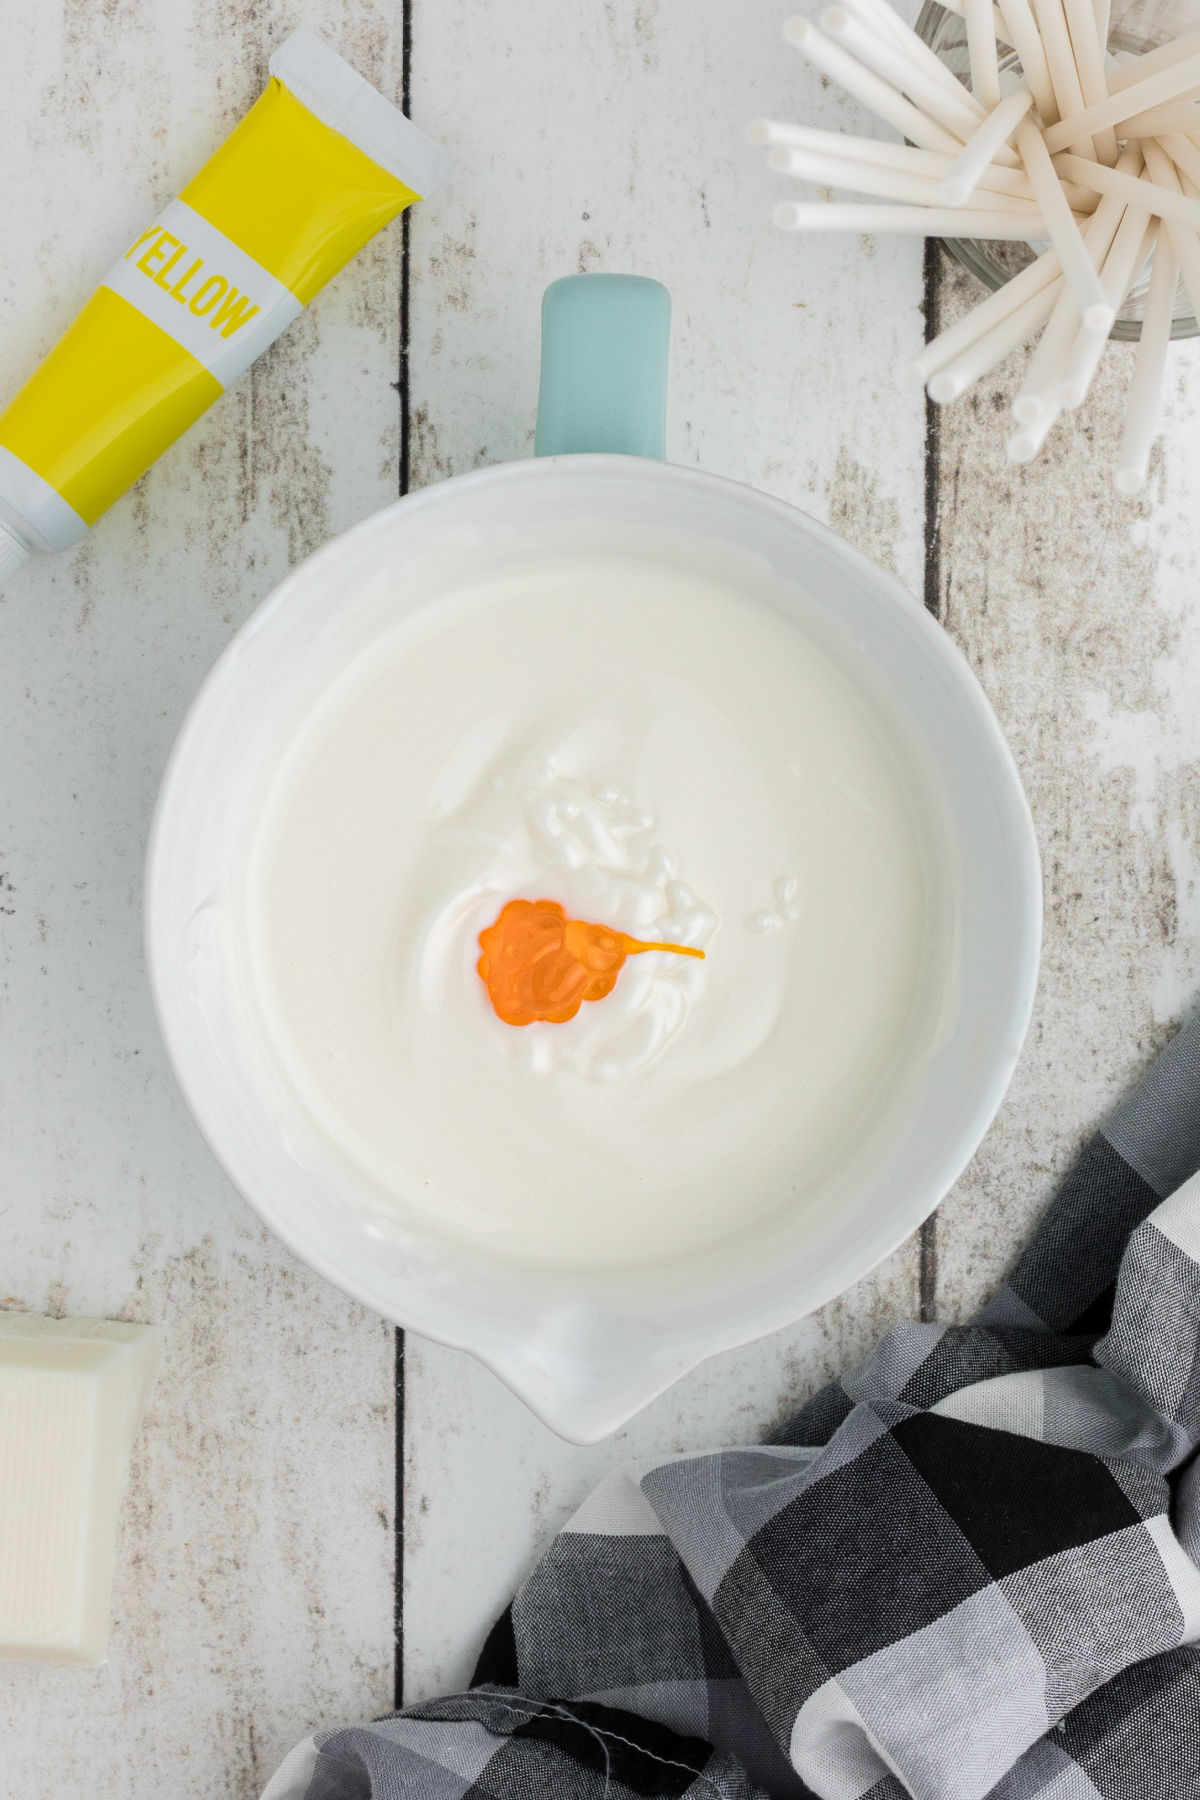
Step 4: Melt the candy discs and stir in gel or paste food coloring. Reserve several discs for the wings.
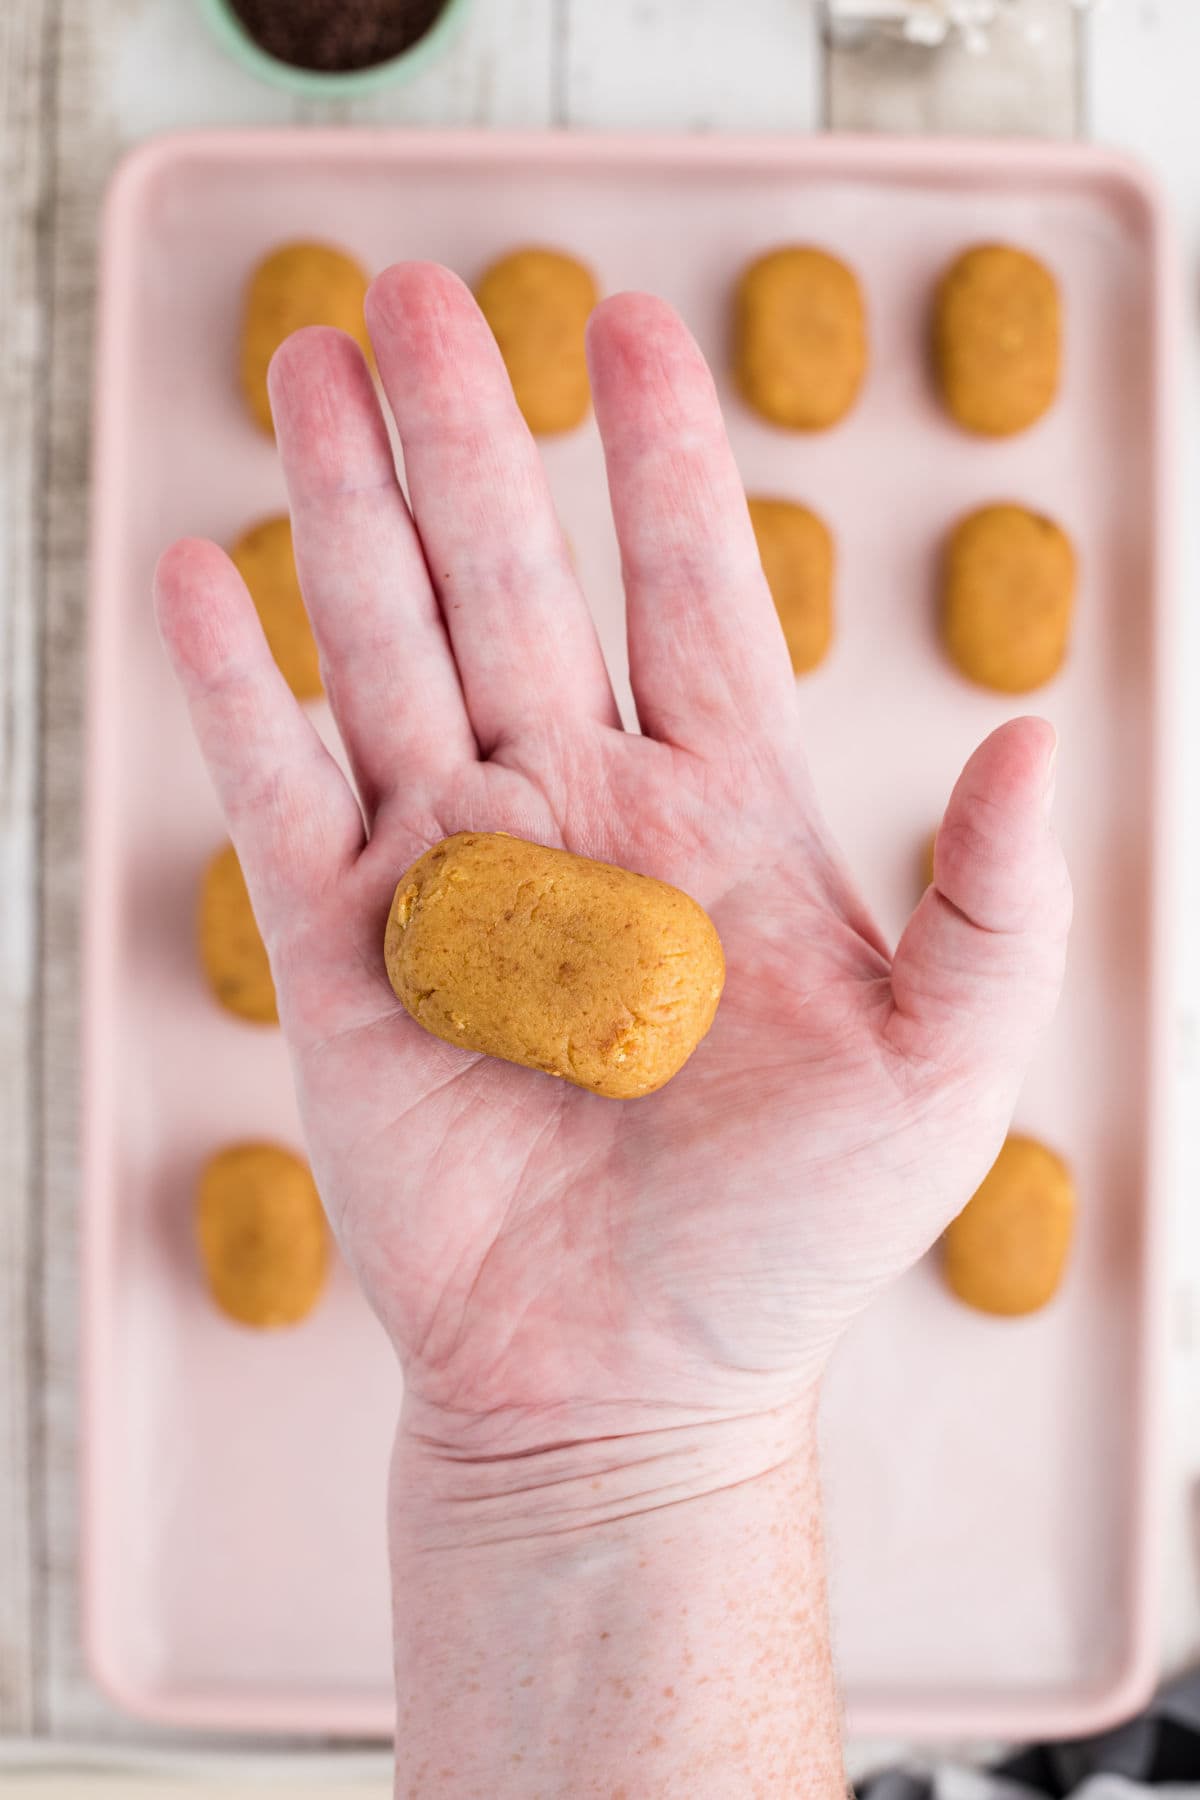
Step 5: Form the cake balls
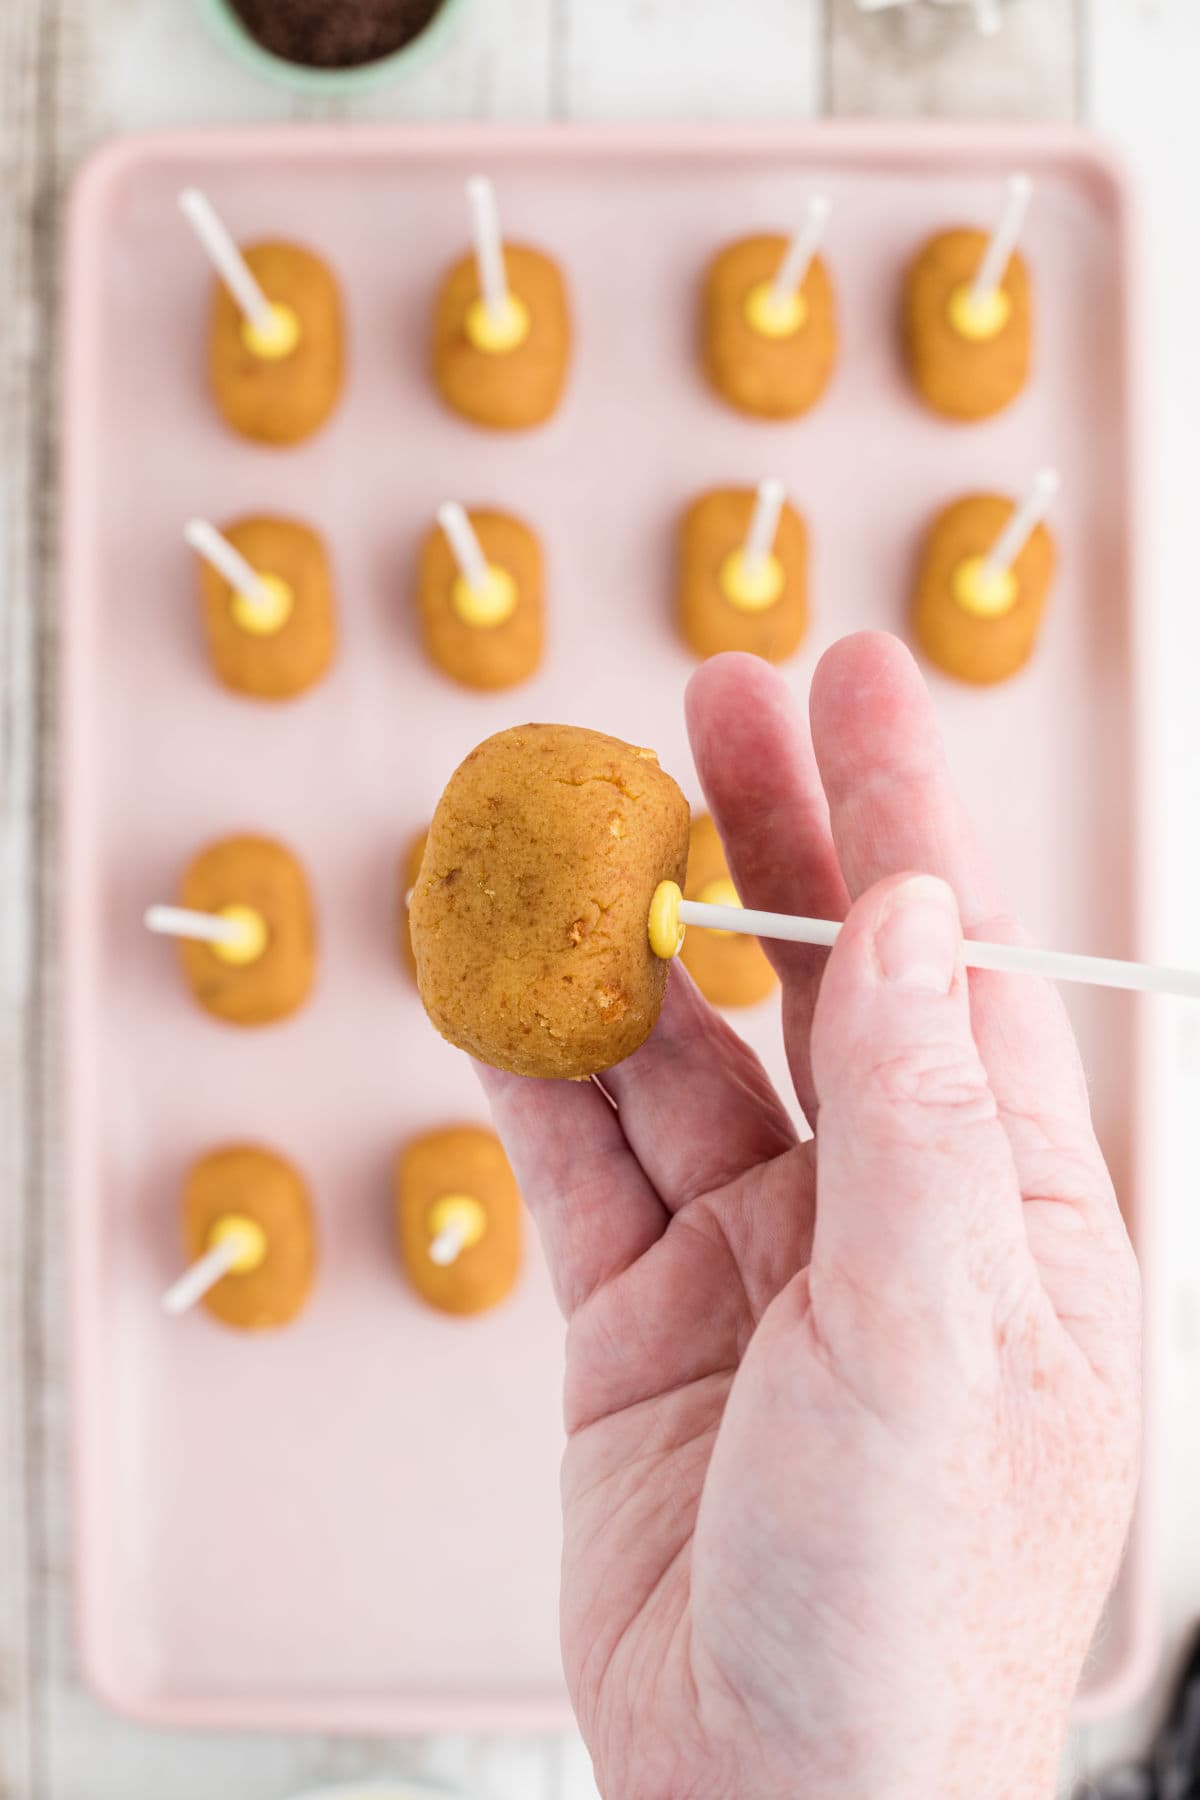
Step 6: Add the sticks and secure with a bit of melted coating
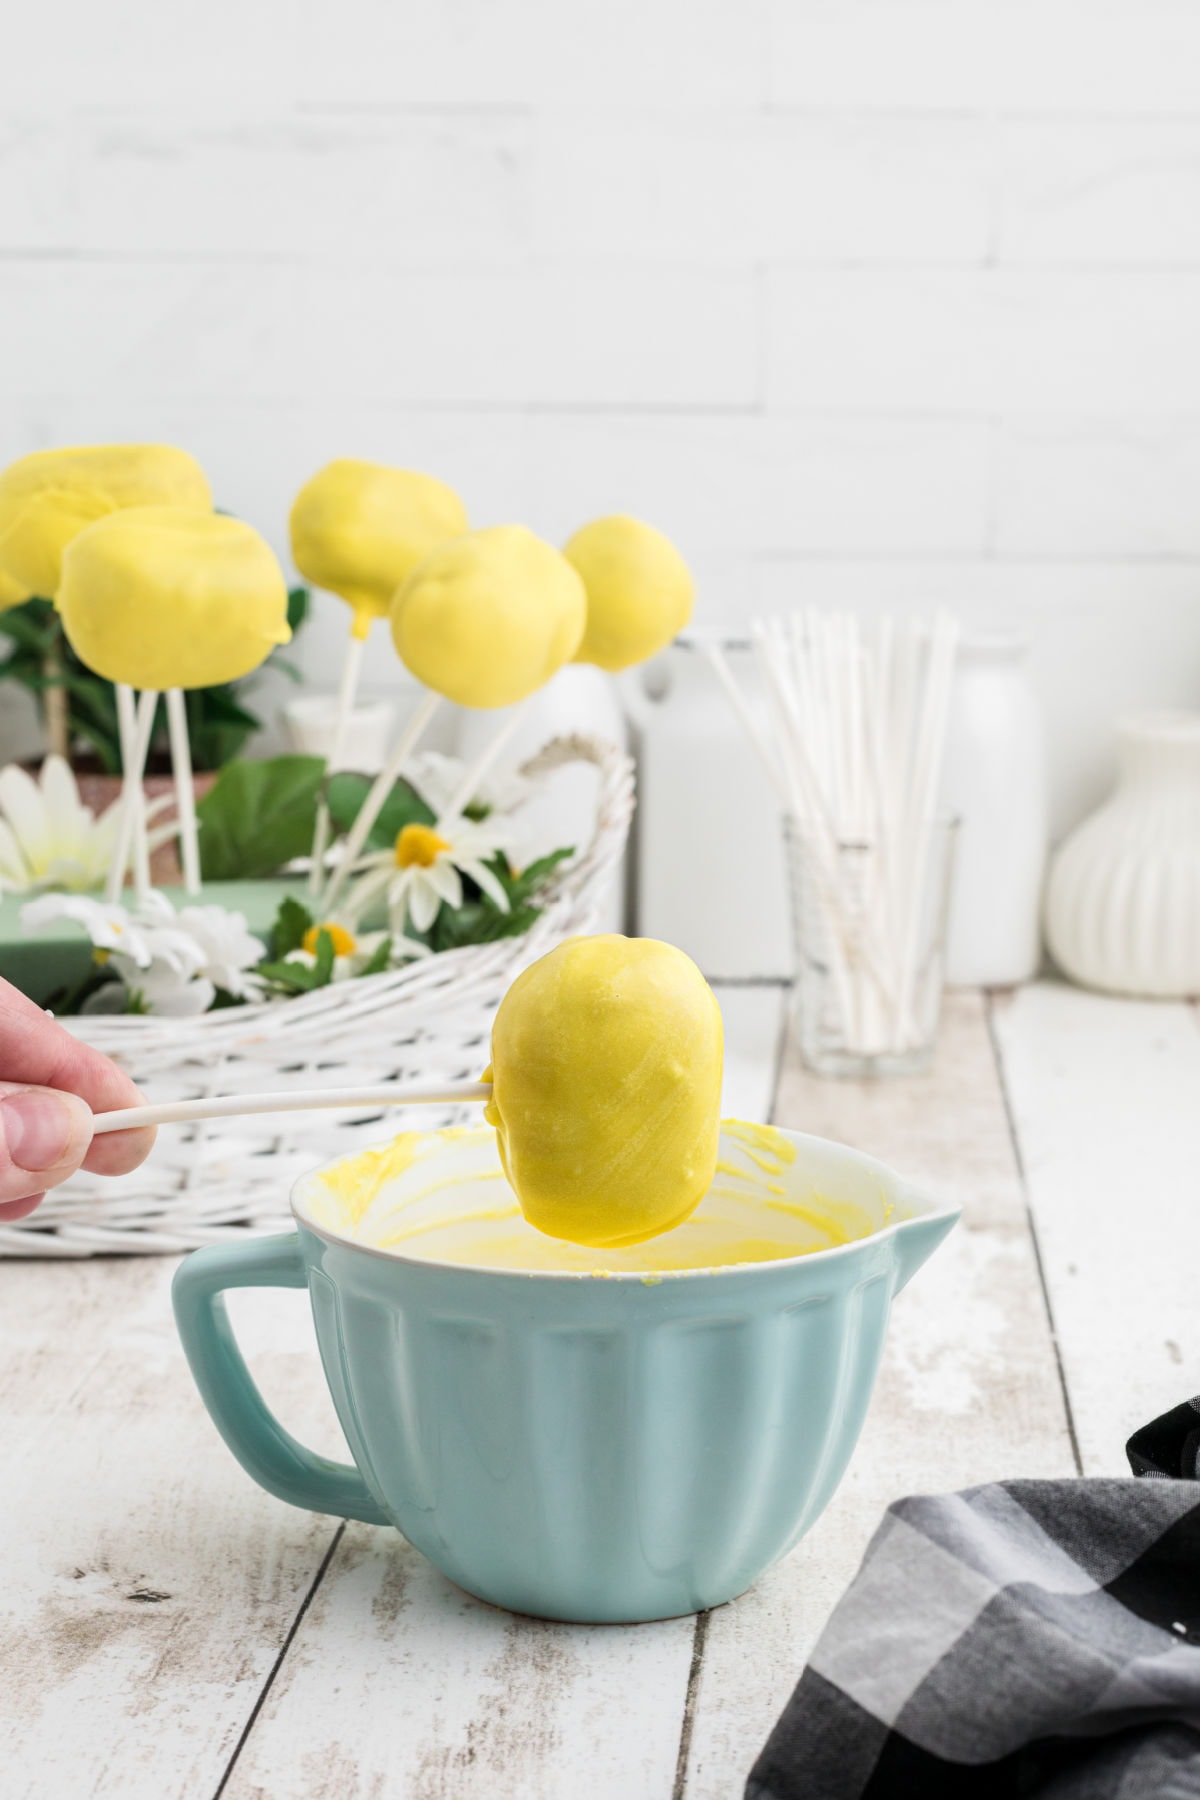
Step 7: Dip the cake balls into the melted coating
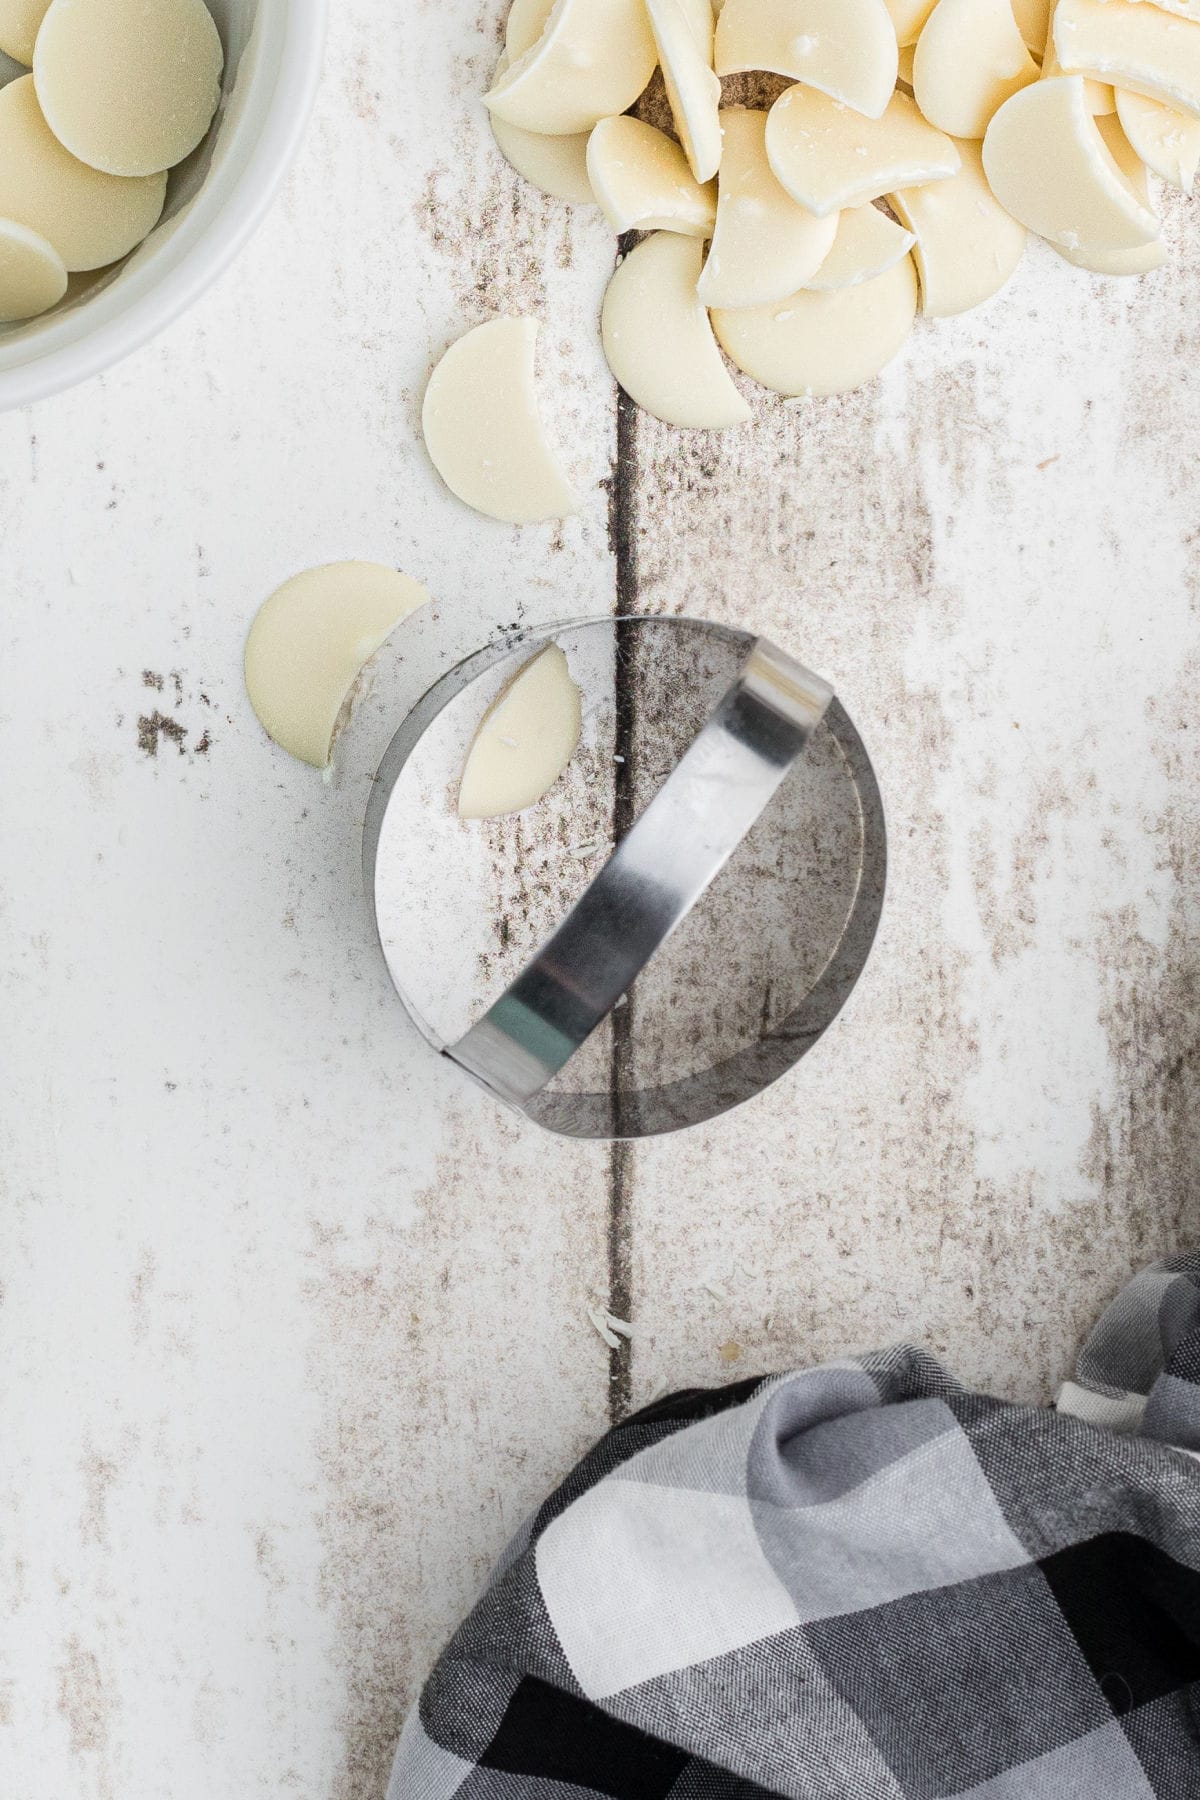
Step 8: Form the wings
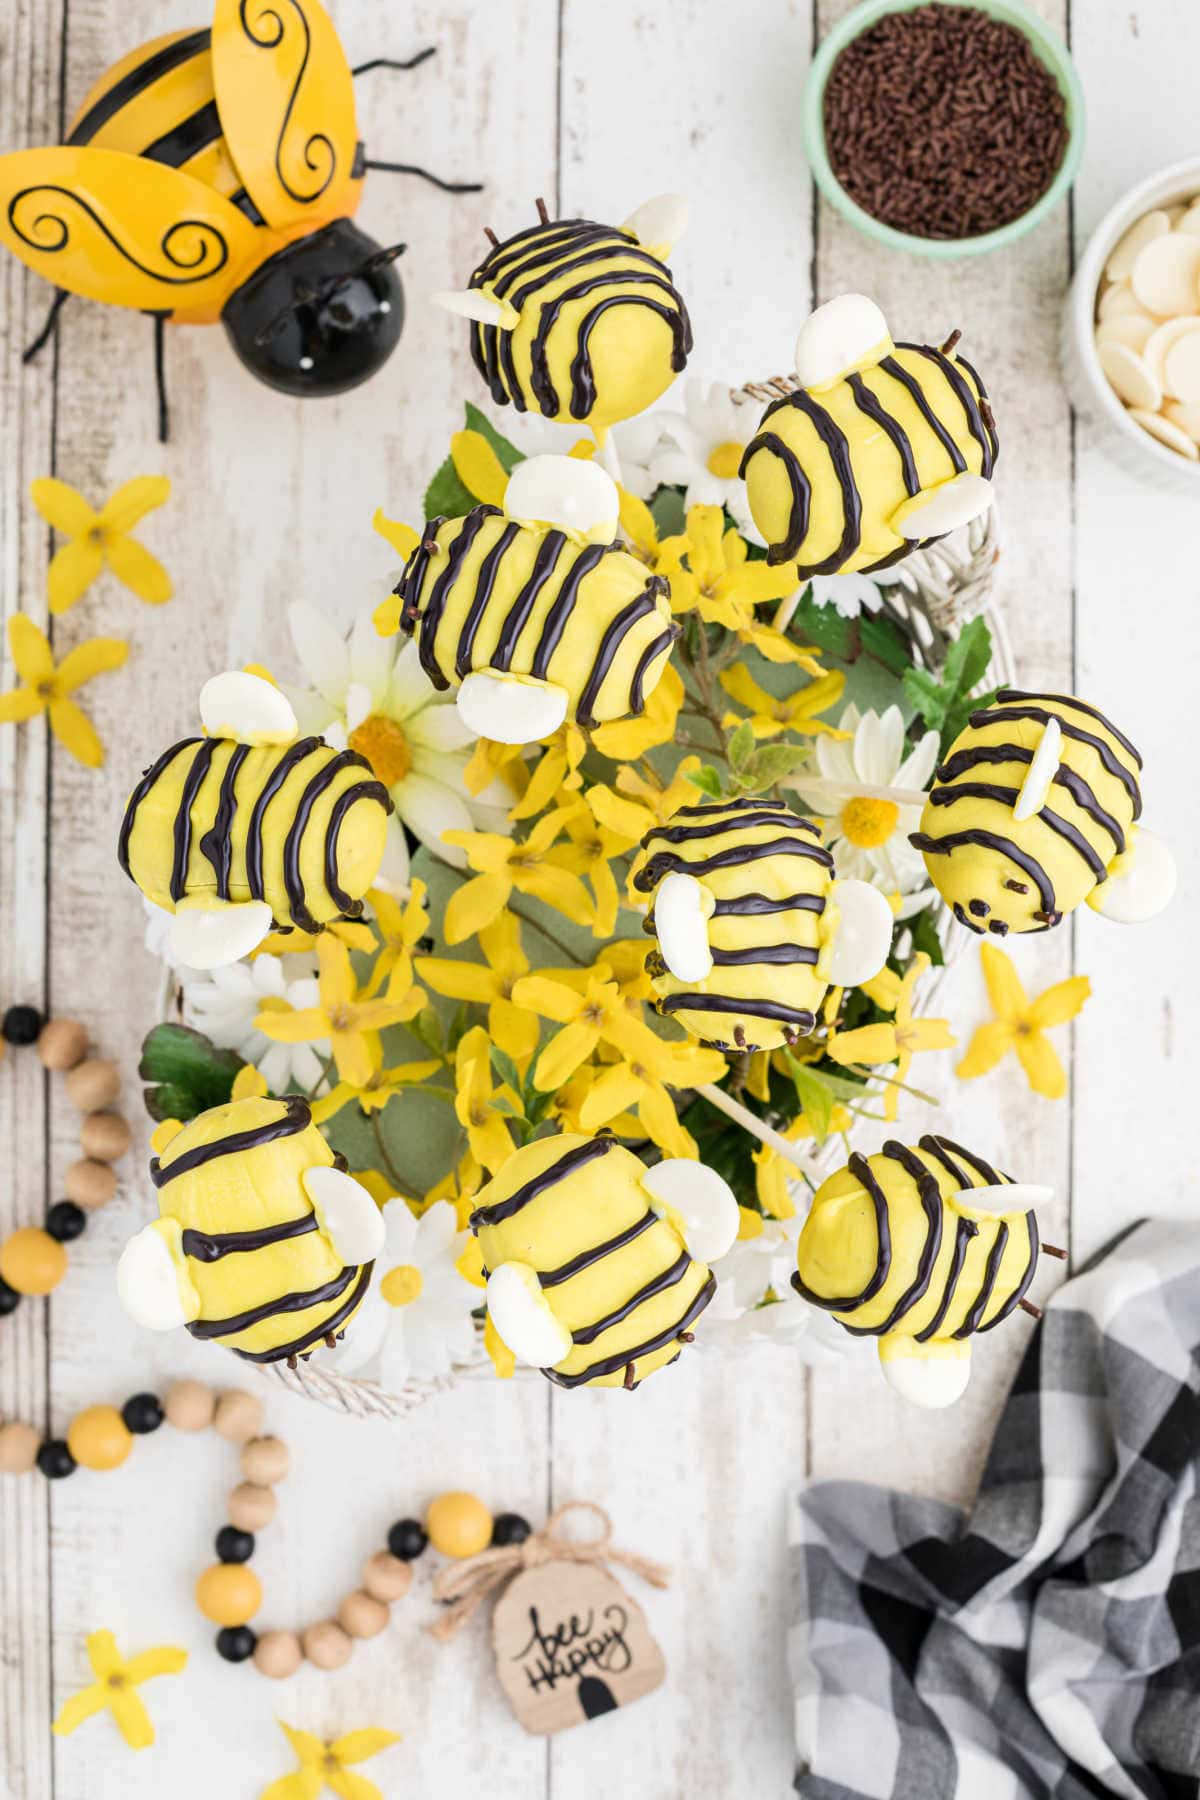
Step 9: Secure the wings to the body with a bit of melted candy coating.
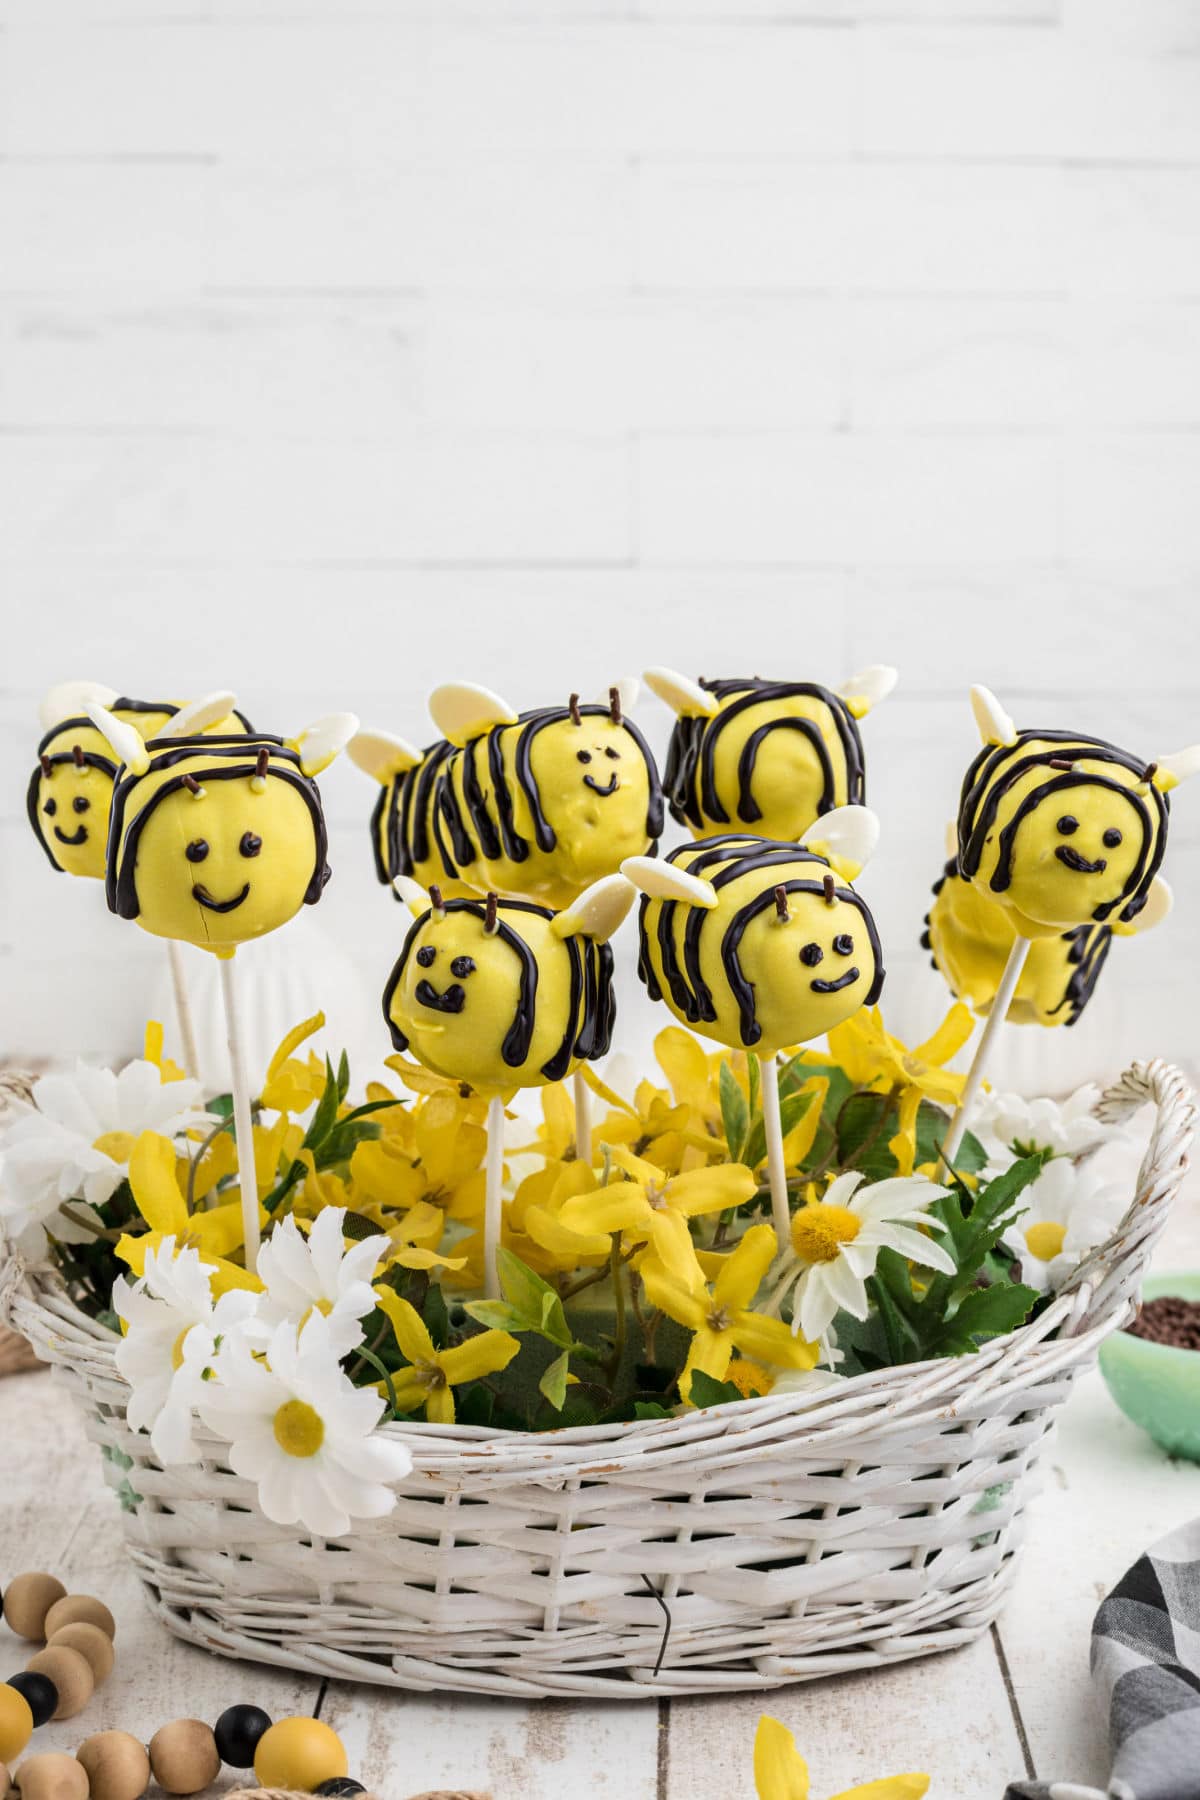
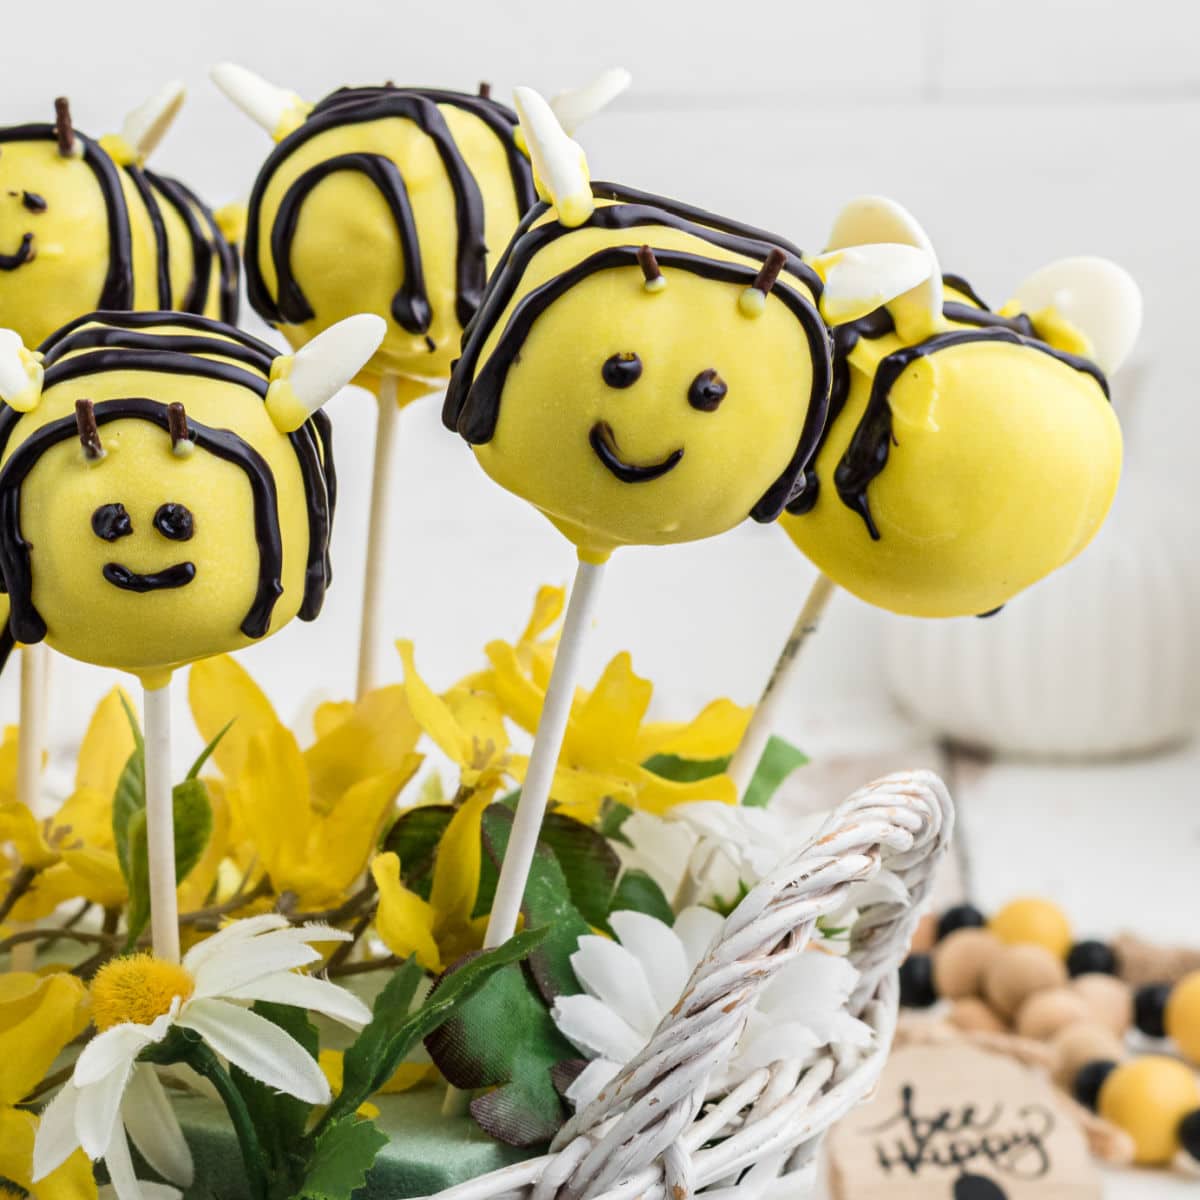
Step 10: Place styrofoam in a basket and gently push the cake pops on sticks into the styrofoam
🥫 Storage
Bumble bee cake pops are so cute, they'll make anyone smile. At room temperature, the pops last for one week. I don't recommend storing them in the fridge—bees don't like the cold!
Carefully place the cake pops into an airtight container, like Tupperware. For prettier storage (especially if you're gifting the cake pops) purchase some plastic cake pop wrappers when you buy the cake pop sticks.
Feel free to freeze the bumblebee cake pops to make them last longer. Like most cake recipes, pops will be fine for a month or so in the freezer. I've kept them for 3 months with no problem.
Just be sure to seal the bees really well before freezing them so that they aren't ruined by freezer burn. Heavy-duty plastic bags work well for the job!
📖 Variations
- Feel free to use any type of cake recipe you like—that includes homemade or store-bought mixes.
- Switch up the flavor! Experiment with chocolate cake, strawberry, red velvet, or a traditional vanilla cake. Yum!
- If you can find yellow candy melts, feel free to use those as the yellow coating. I like the consistency and flavor of the almond bark, and it's easier to find, so that's why I opted for it instead.
- You can use very thin pieces of rolled black fondant to make the bee stripes if you don't want to fiddle with icing gel.
- Looking for another alternative to icing gel? Cut the corner of a plastic baggie and drizzle melted dark chocolate chips over each bee.
- If you're feeling extra fancy, spray each bee with a bit of edible sparkly dust (luster dust). You can find it in the baking section of craft stores!
- Once you know how to make basic cake pops, you can get really creative! For example, use red dye instead of yellow and make dots instead of black stripes for ladybug cake pops.
💭 Things to know
Expert Tip: Be careful not to scorch the almond bark when heating it up and don't allow any water to touch it. Both of these factors will cause the chocolate to seize and it's pretty much impossible to fix seized chocolate.
- It doesn't take as much frosting as you'd think to form the cake balls. Add just enough that the cake holds together, but not so much that it's too sticky to handle.
- Crumble the cake with your hands or use a stand mixer and paddle. I prefer not to make extra dishes, and kids love to smush the cake!
- Form the cake balls into the basic shape of a bumble bee, but don't worry too much. It's fine if some are a little smaller or stubbier than others—just like humans, right?
- I prefer to use the half-power, defrost, or melt-chocolate setting on the microwave. This keeps the chocolate/bark perfectly dippable.
- Icing gel doesn't harden. If you want the stripes to set, add black food coloring (the oil kind) to white candy melts or extra almond bark.
- As mentioned, chocolate seizes up when it's mixed with water, so don't use water-based food coloring. Gel/oil-based food coloring is best.
- Avoid large bowls for dipping the bumble bee cake pops—drinking glasses or wide-mouth Mason jars work much better! They're narrow enough to prevent the chocolate from spreading out everywhere so you get a clean, even dip every time.
- Styrofoam blocks work great in a pinch to hold the cake pops. You can generally find them very cheap at craft and dollar stores.
👩🍳 FAQs
Yep, you definitely can freeze these sweet snacks! They'll last in the freezer for about one month. Just be sure to seal them tightly in an airtight, freezer-safe container or bag.
Thin out the candy wafers with a little vegetable shortening—but not too much, or the chocolate won't set. Some people use coconut oil, but I haven't tested it in this recipe to know for sure.
You can splurge for a cake pop stand with a lid, or use a simple styrofoam block from your local craft store. I like to disguise the styrofoam with some decorations, like faux flowers, crinkle paper, or tulle fabric. If opting for the second option, be sure to buy some snack bags or cake pop bags to cover each bee.
They're similar but better! When the coffee giant announced their new drinks and summer menu, a couple people said the bumblebee-face design of the seasonal cake pops looked more like a terrified tiger at first glance.
I prefer making my own cake pops because they're yummier, a fun summer activity, and don't cost an arm and a leg! Plus, these ones are actually cute.
📚 Related recipes
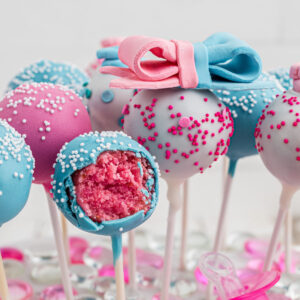
- If you've got a baby shower coming up these simple gender reveal cake pops are adorable!
- Easy and fun, Nutter Butter Chicks make a great Easter treat, but they're also great for showers, parties, and other springy events.
- Save this one for Halloween: Spooky Dirt Cups are both delicious and adorable. Kids love 'em, and you'll have a blast making them!
- Little Debbie Copycat Zebra Cakes take you back to your childhood. They're much better than the boxed version, and not difficult at all!
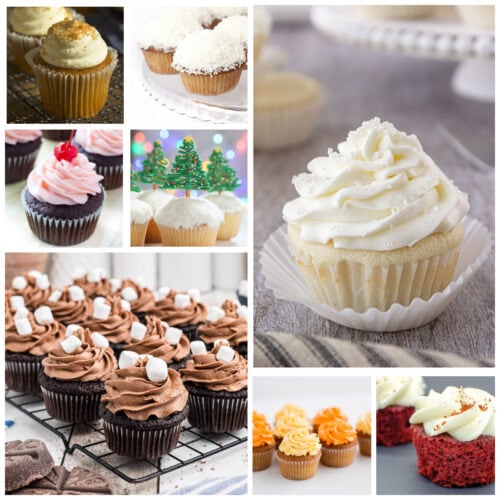
- 🧁91+ Best Cupcake Recipes Updated for 2024
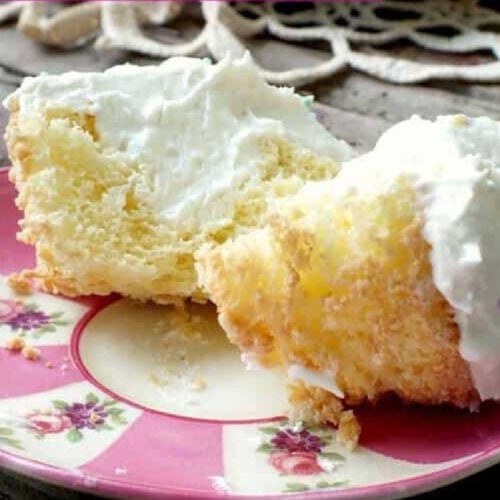
- Copycat Twinkie Cupcakes Recipe
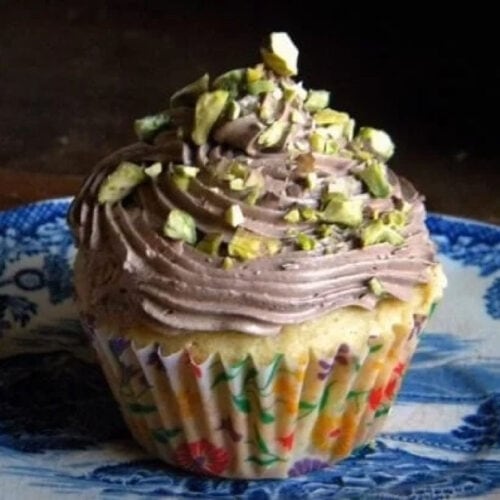
- French Vanilla Cupcakes
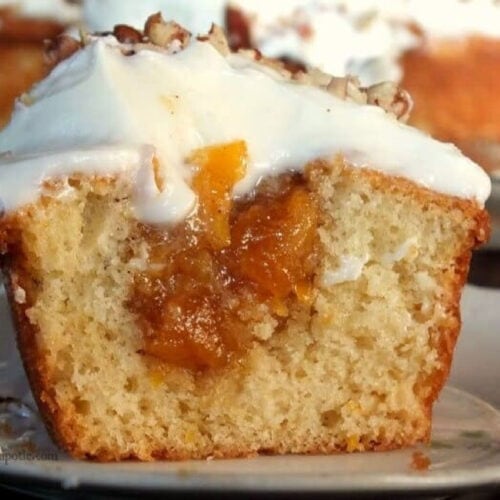
- Peach Cupcakes
🍽️ Serve with...
- If you're throwing a shower, this Watermelon Basket is the perfect way to present a lovely fruit salad—everyone will be impressed.
- Leftover Buttercream Chocolate Chip Cookies are a yummy party snack alternative to bumble bee cake pops and use up the extra frosting!
- This Copycat Salted Caramel Brulee Latte goes great with cake no matter what season it is.
🥄 Restless Chipotle recommends
The following are affiliate links. We are a participant in the Amazon Services LLC Associates Program, an affiliate advertising program designed to provide a means for us to earn fees by linking to Amazon.com and affiliated sites.
You'll need the following items to make this recipe successfully.
- cake pop sticks
- this has both the sticks and wrappers if you plan to transport them or want an easy way to keep them fresh
- cake pop holder
- edible ink black markers
- oil based food coloring
- white candy melts
📞 The last word
These little darlin's are like a taste of summer sunshine. They're the perfect way to add some sweetness to any occasion, whether it's a backyard BBQ or a good ol' family get-together.
Let me tell ya, these bee cake pops are as delightful to look at as they are to eat! They're all dressed up in bright yellow and black stripes, with cute little eyes and antennae that'll make your heart melt faster than a peach ice cream cone in August.
But they're not nearly as sticky.
If you click on the number of servings in the recipe card you can adjust the measurements up or down for the exact number of servings you need. Don't forget that you can click on "add to collection" to save it to your own, private recipe box!
If you love this recipe please give it 5 stars! ⭐️⭐️⭐️⭐️⭐️
📖 Recipe
Bumble Bee Cake Pops
Print Pin Recipe Save Recipe Rate RecipeIngredients
- 15 ounces yellow cake mix
- 3 eggs
- ½ cup vegetable oil
- 1 cup water
- 5 tablespoons vanilla frosting
- 24 ounces white almond bark, or candy melts
- 1 tablespoon vegetable shortening, I used white Crisco
- ¼ teaspoon yellow food color, oil based
- black Icing gel, for stipes
- brown jimmies sprinkles, for antennae
- black edible marker, for eyes
- 18 white candy melt discs, for wings
Instructions
- Preheat oven to 350°F.
- Mix cake mix with the eggs, vegetable oil and water for 2 minutes with a hand mixer.
- Pour cake batter into a greased 9x13” pan and bake for 30-35 minutes, or until done.
- Remove cake from oven and allow to cool.
- Break up the cake into your mixing bowl and add the vanilla frosting.
- Beat until totally incorporated and the cake is sticking together nicely when you squeeze it into a ball.
- Line a baking sheet with wax paper then take 3 tablespoons of the cake mixture and roll into a ball using your hands. Form the ball into an oval shape (like a bee’s body).
- Repeat with all the cake mixture, laying it out on the baking sheet.
- Place in the freezer for 10-15 minutes
- Add the almond bark to a small container (big enough to mix the coating, but small enough to allow some depth to dip the cake pop).
- Add the vegetable shortening, then microwave on high for 1 minute.
- Remove and stir. Microwave again in 15 second bursts until the almond bark has completely melted and you are happy with the dipping consistency.
- Warm the yellow food dye and add it to the almond bark. Stir until totally combined.
- Take the cake pops from the freezer and dip into the coating, don’t move around too much, just straight in and out. Allow the coating to drip off, for 30 seconds, then place into a cake pop holder or a piece of styrofoam.
- Continue until all the bumble bees' bodies are formed.
- Take a medium round cookie cutter and cut the candy melt discs in half, these arches will fit the little bees perfectly.
- Decorate the cake pops with the black icing gel. Make stripes across the bodies and use the edible marker to add eyes and a smiling mouth. Use 2 jimmies to make antennae on the top of the head.
- Dip each wing into the yellow coating to fix onto the bees. You may have to reheat the coating.
- Let the cake pops set for 30 minutes before serving.
Notes
- Be careful not to scorch the almond bark when heating it up and don't allow any water to touch it.
- Add just enough frosting that the cake holds together, but not so much that it's too sticky to handle.
- I prefer to use the half-power, defrost, or melt-chocolate setting on the microwave.
- Icing gel doesn't harden. If you want the stripes to set, add black food coloring (the oil kind) to white candy melts or extra almond bark.
- Chocolate seizes up when it's mixed with water, so don't use water-based food coloring. Gel/oil-based food coloring is best.
- Styrofoam blocks work great in a pinch to hold the cake pops. You can generally find them very cheap at craft and dollar stores.
Nutrition Facts
Nutrition information is estimated as a courtesy. If using for medical purposes, please verify information using your own nutritional calculator. Percent Daily Values are based on a 2000 calorie diet.
This recipe has been tested several times. If you choose to use other ingredients, or change the technique in some way, the results may not be the same.



Comments
No Comments