Narrow your search:
-
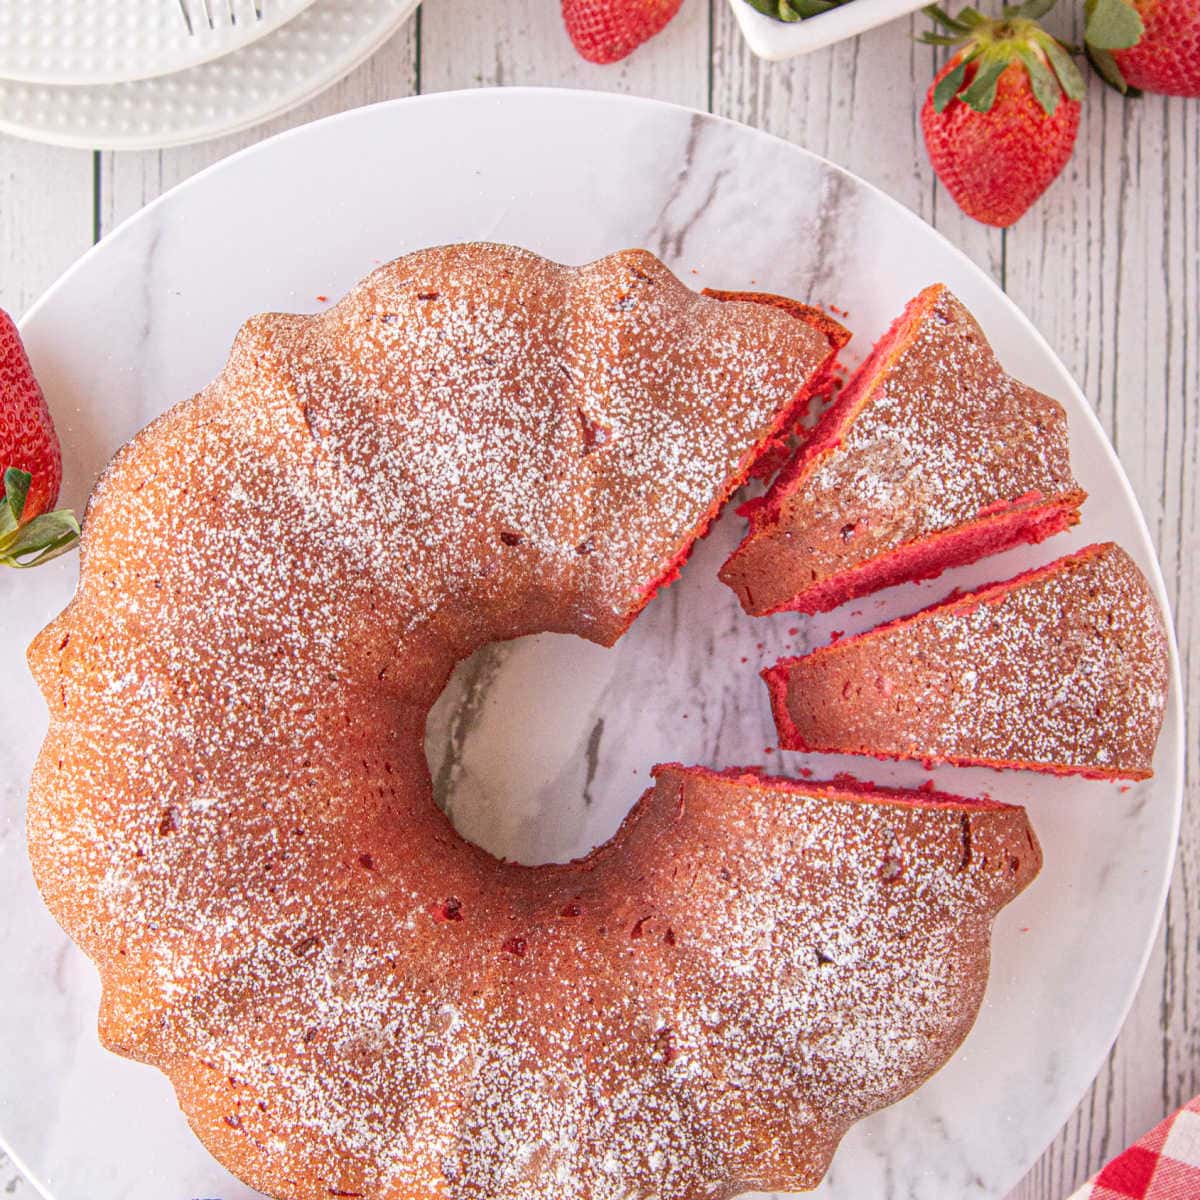
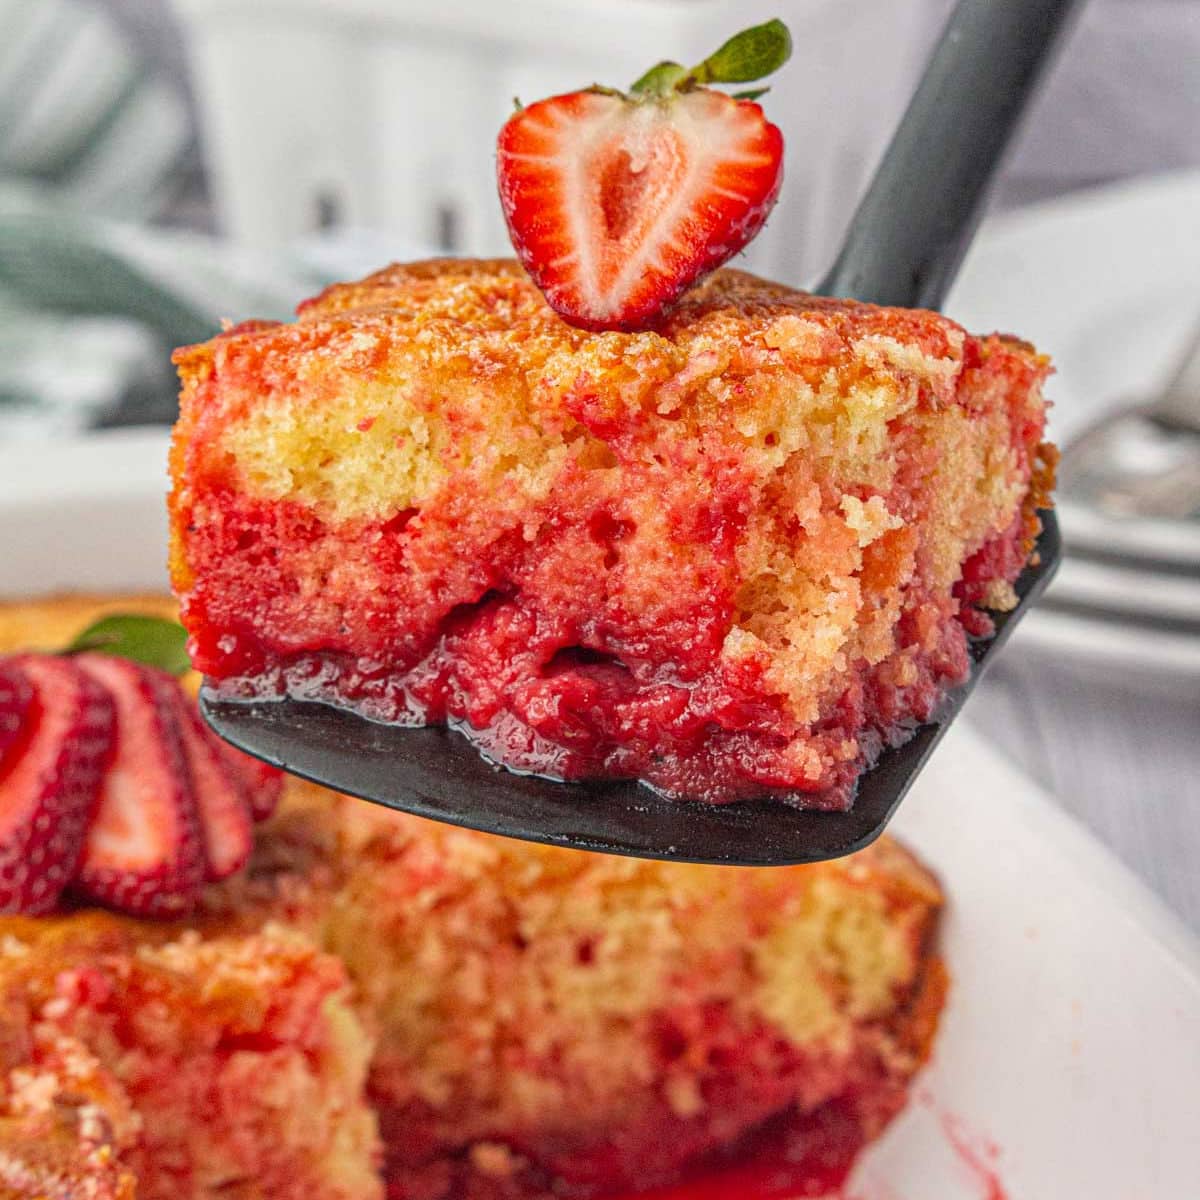
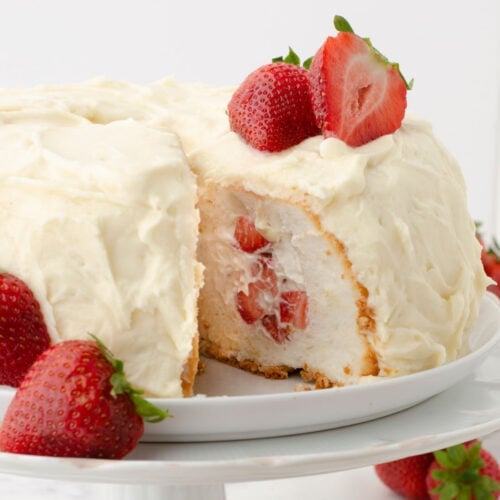
Old-Fashioned Strawberry Pound Cake with Cream Cheese
-
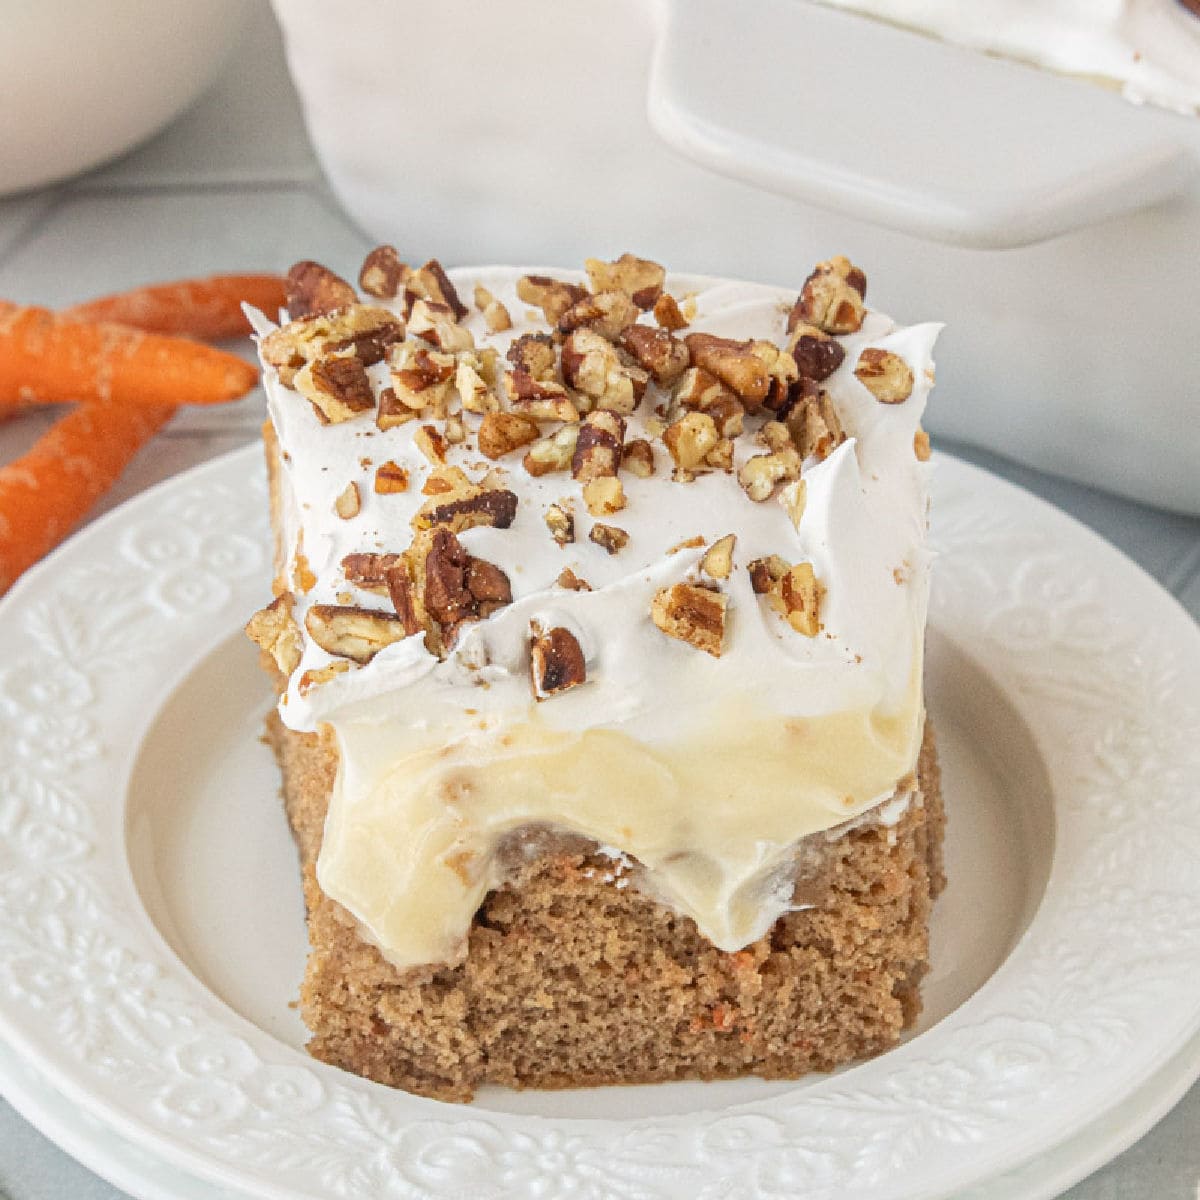
Carrot Cake Poke Cake
-
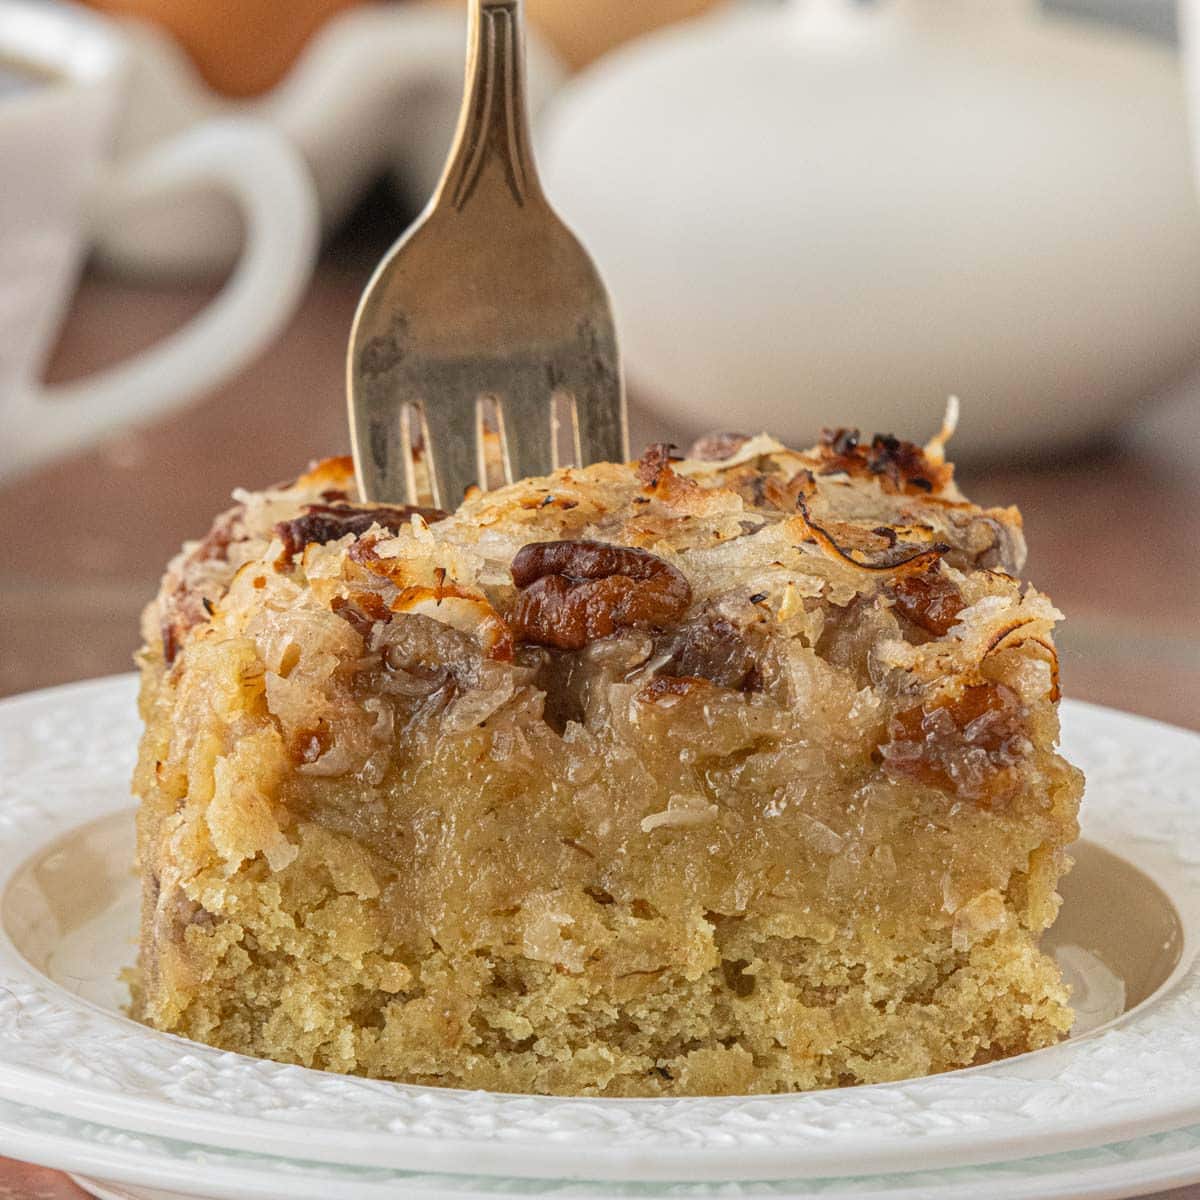
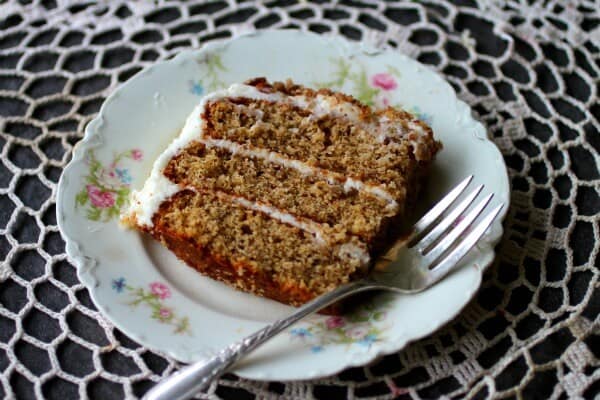
Oatmeal Cake Recipe
-
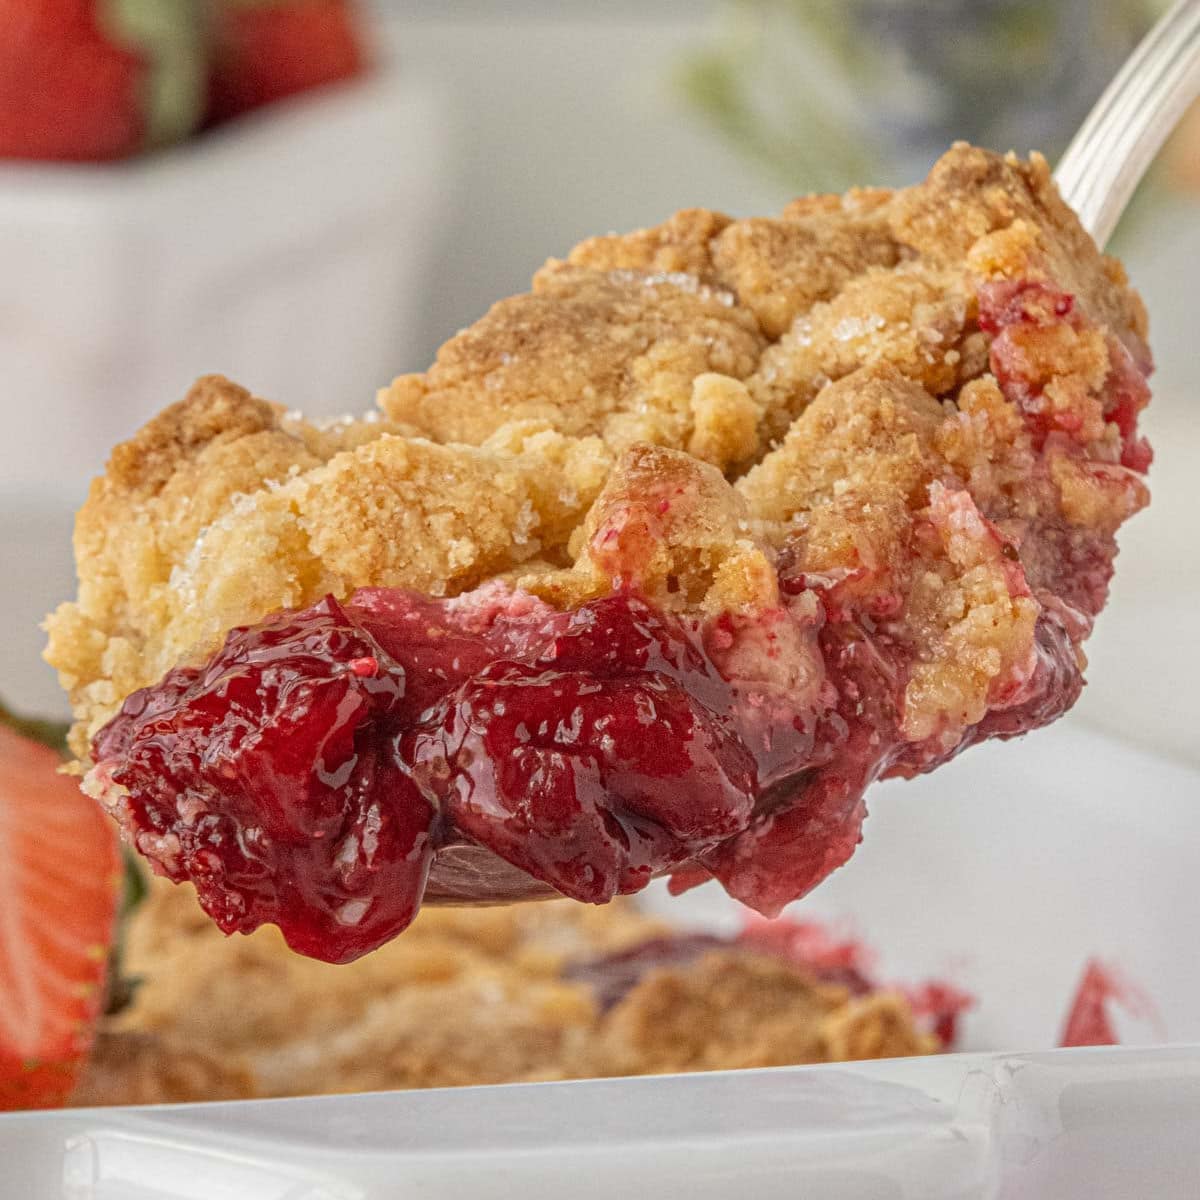
Strawberry Cheesecake Dump Cake
-
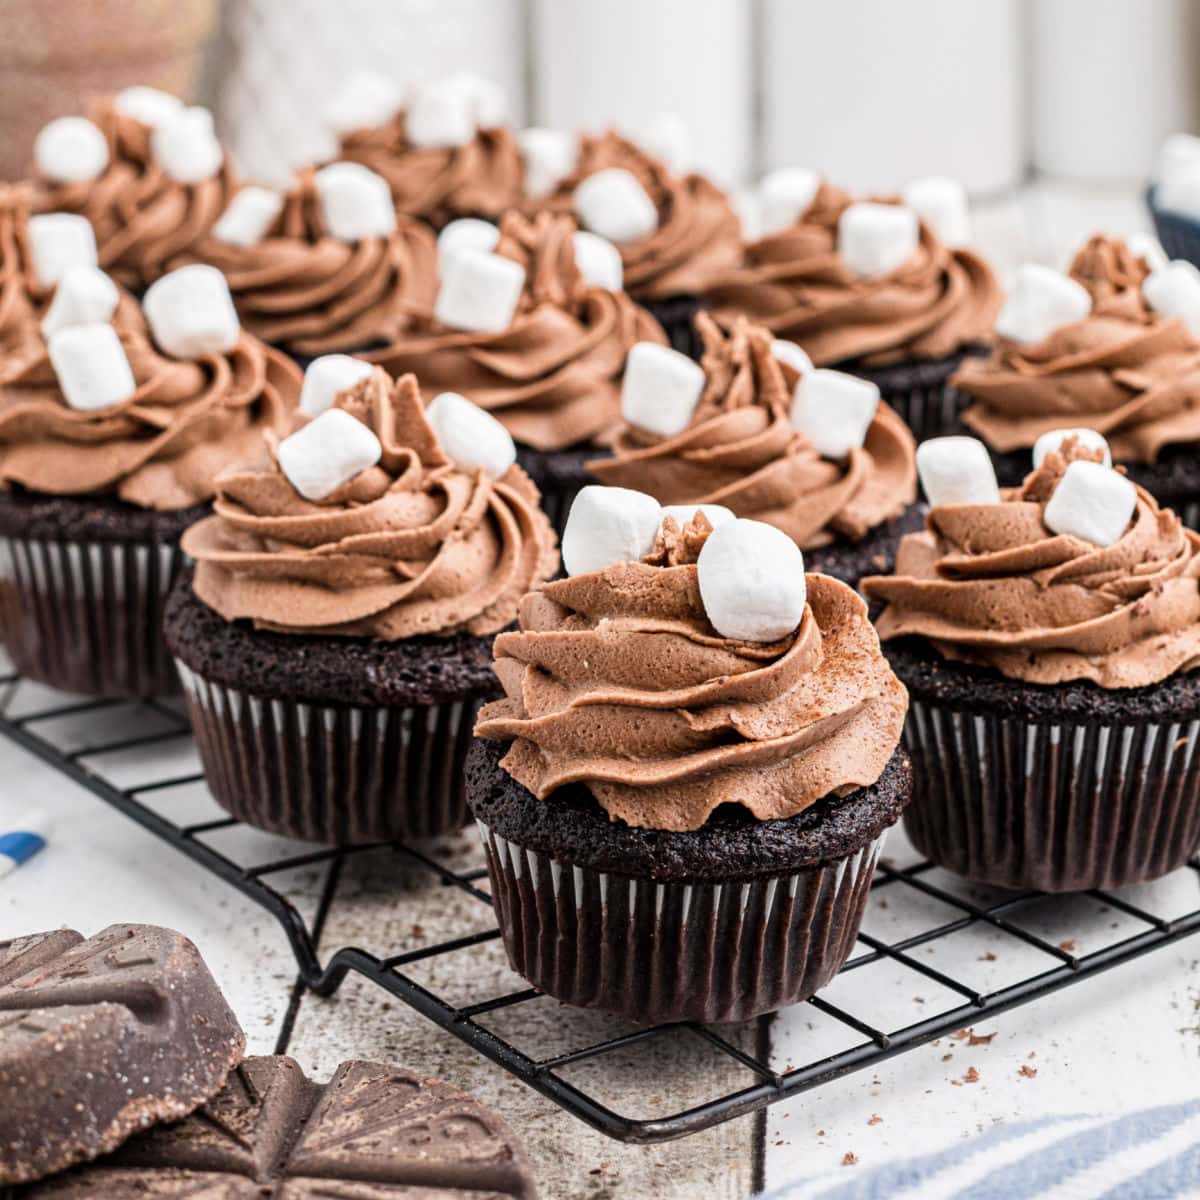
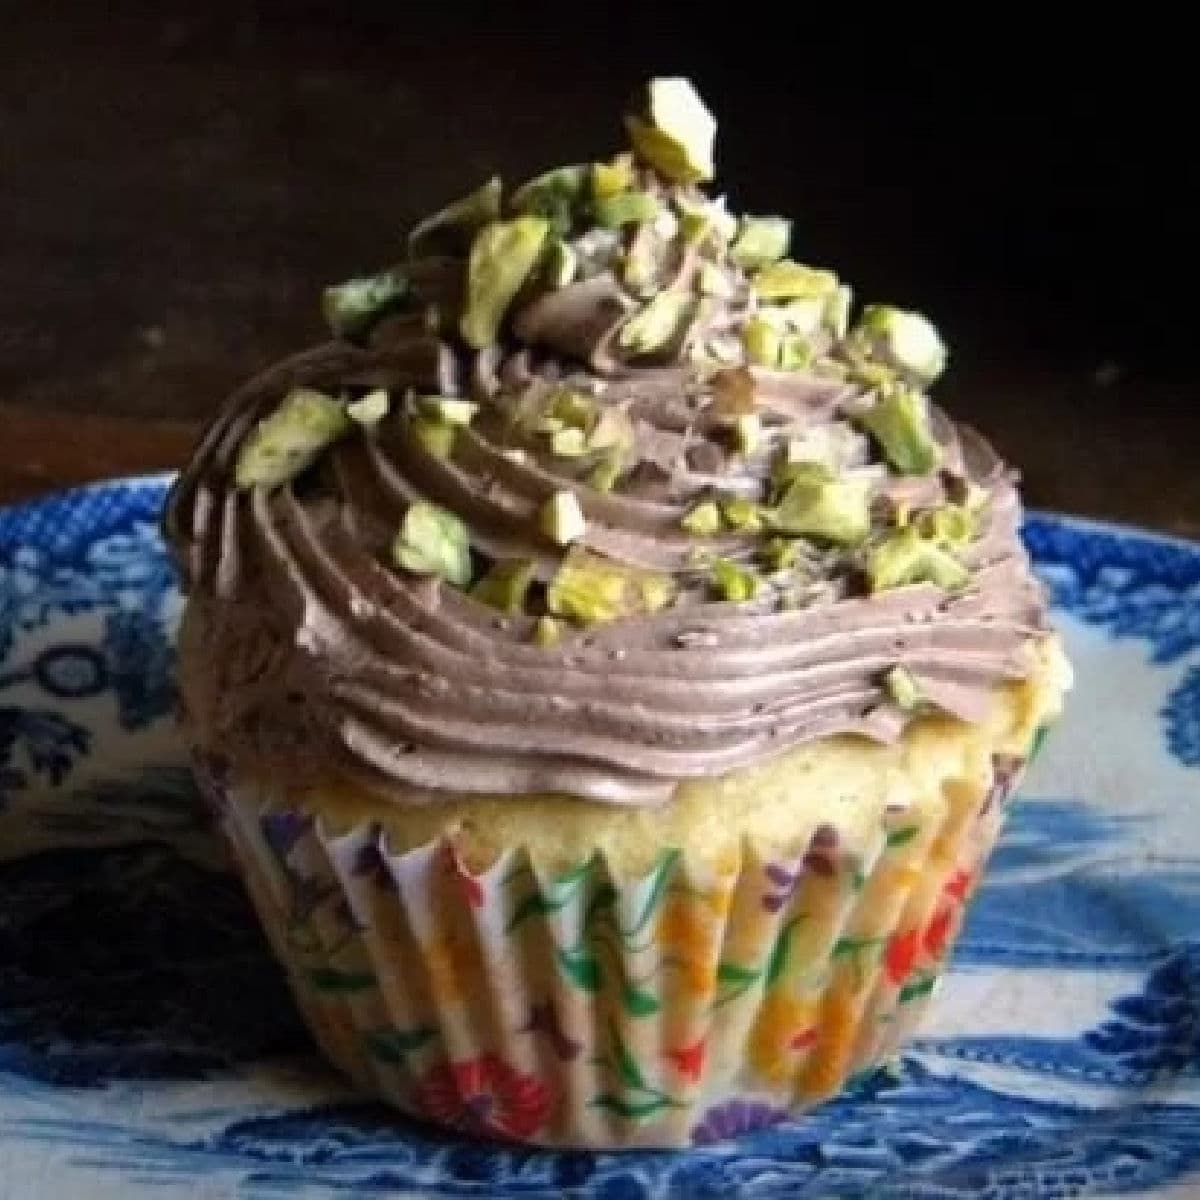
Mexican Hot Chocolate Cupcakes
-
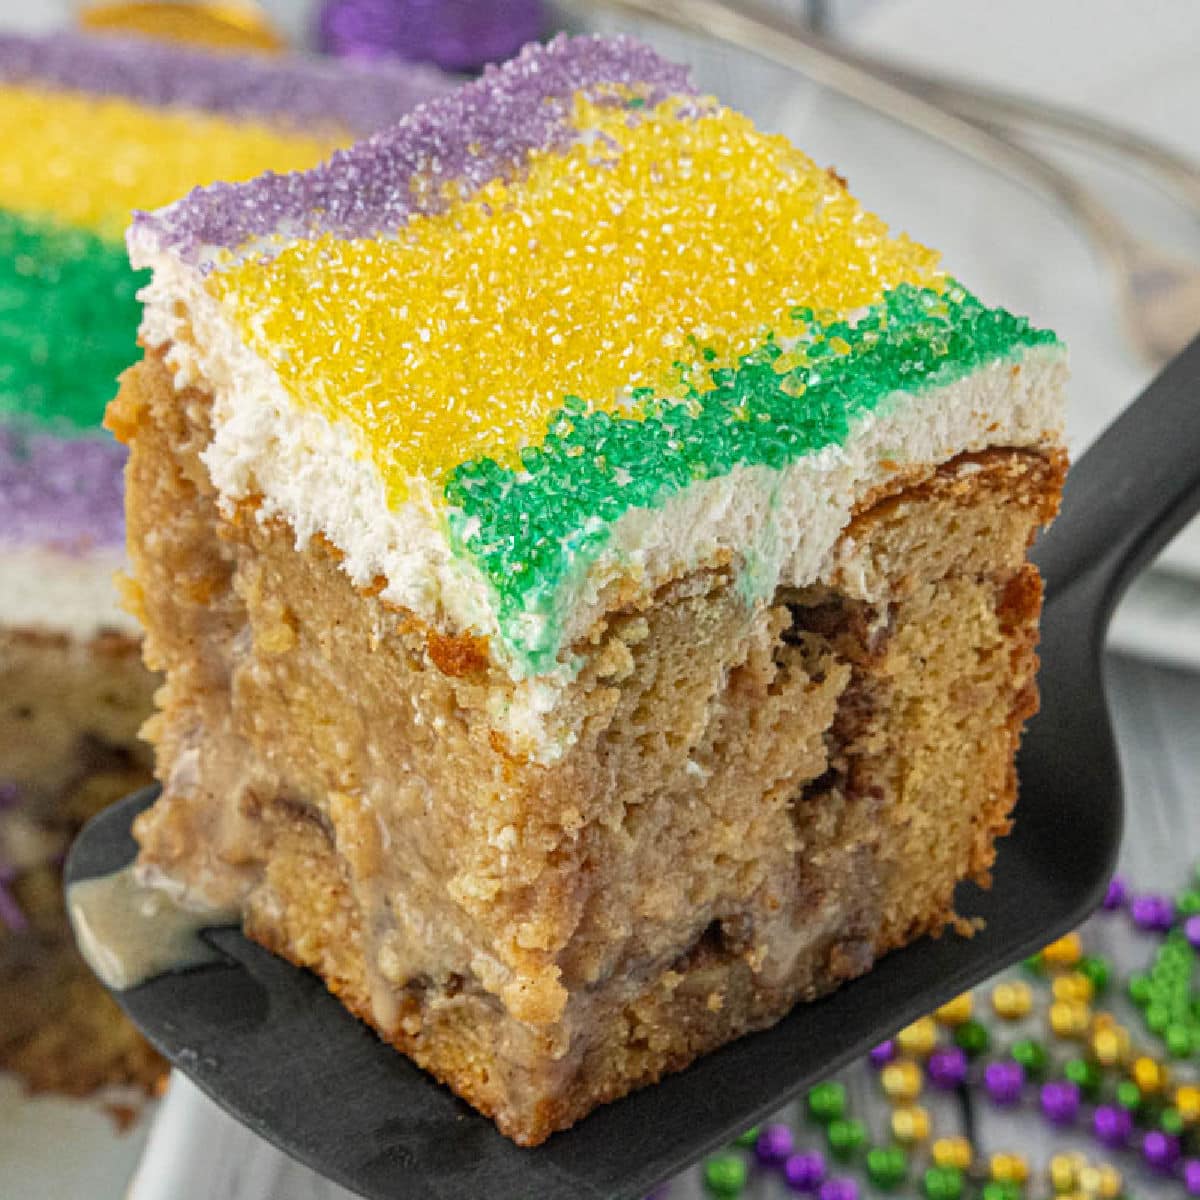
King Cake Poke Cake
-
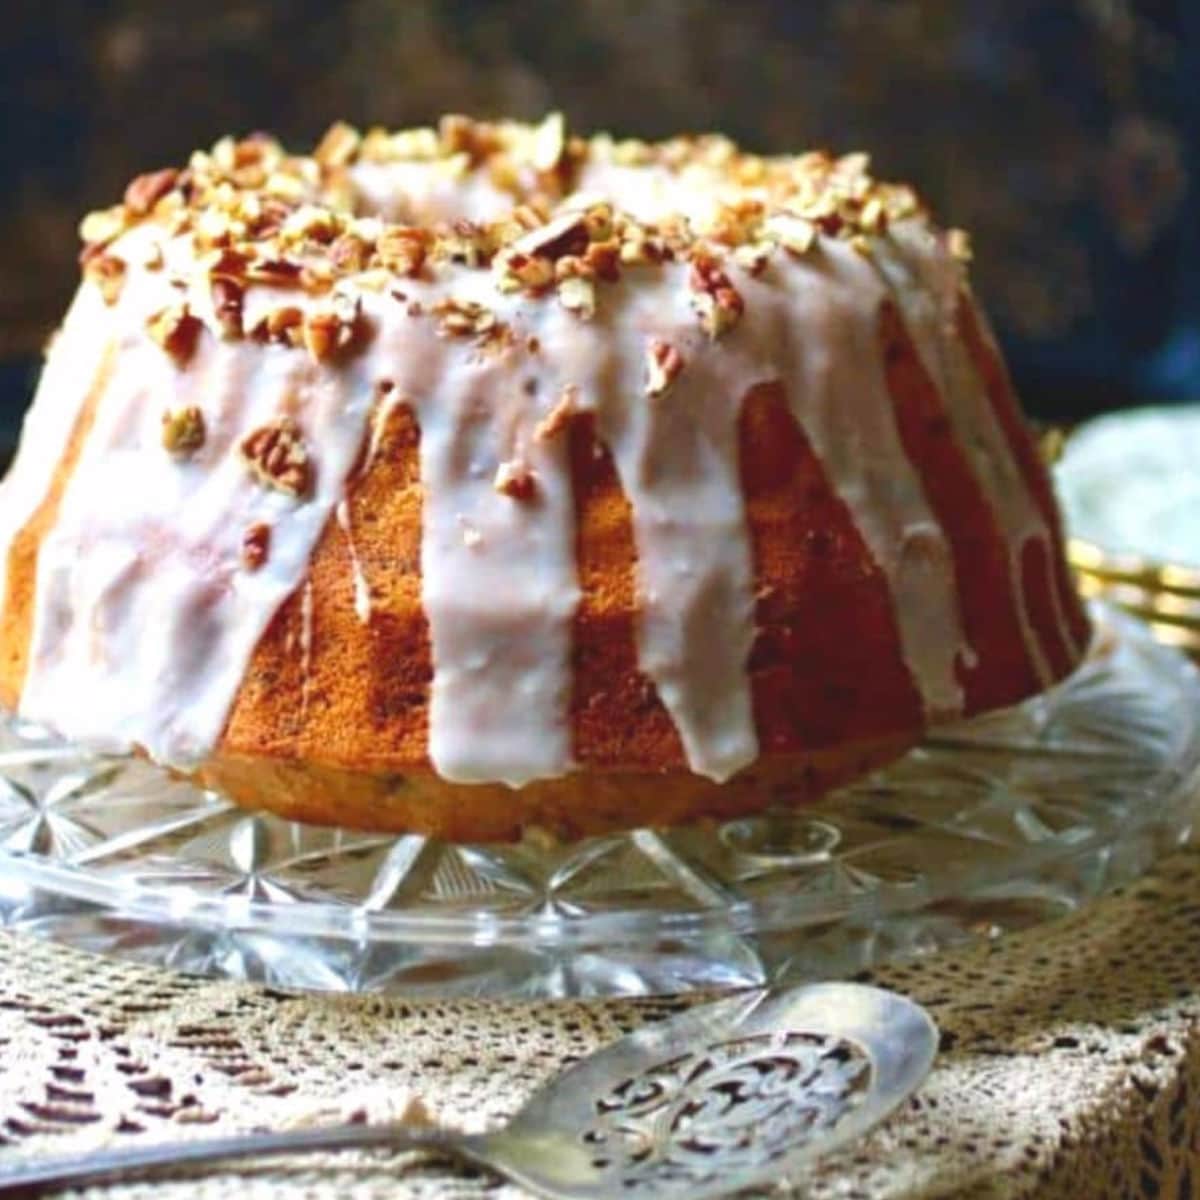
Bourbon Cake Recipe: Authentic Southern Style
-
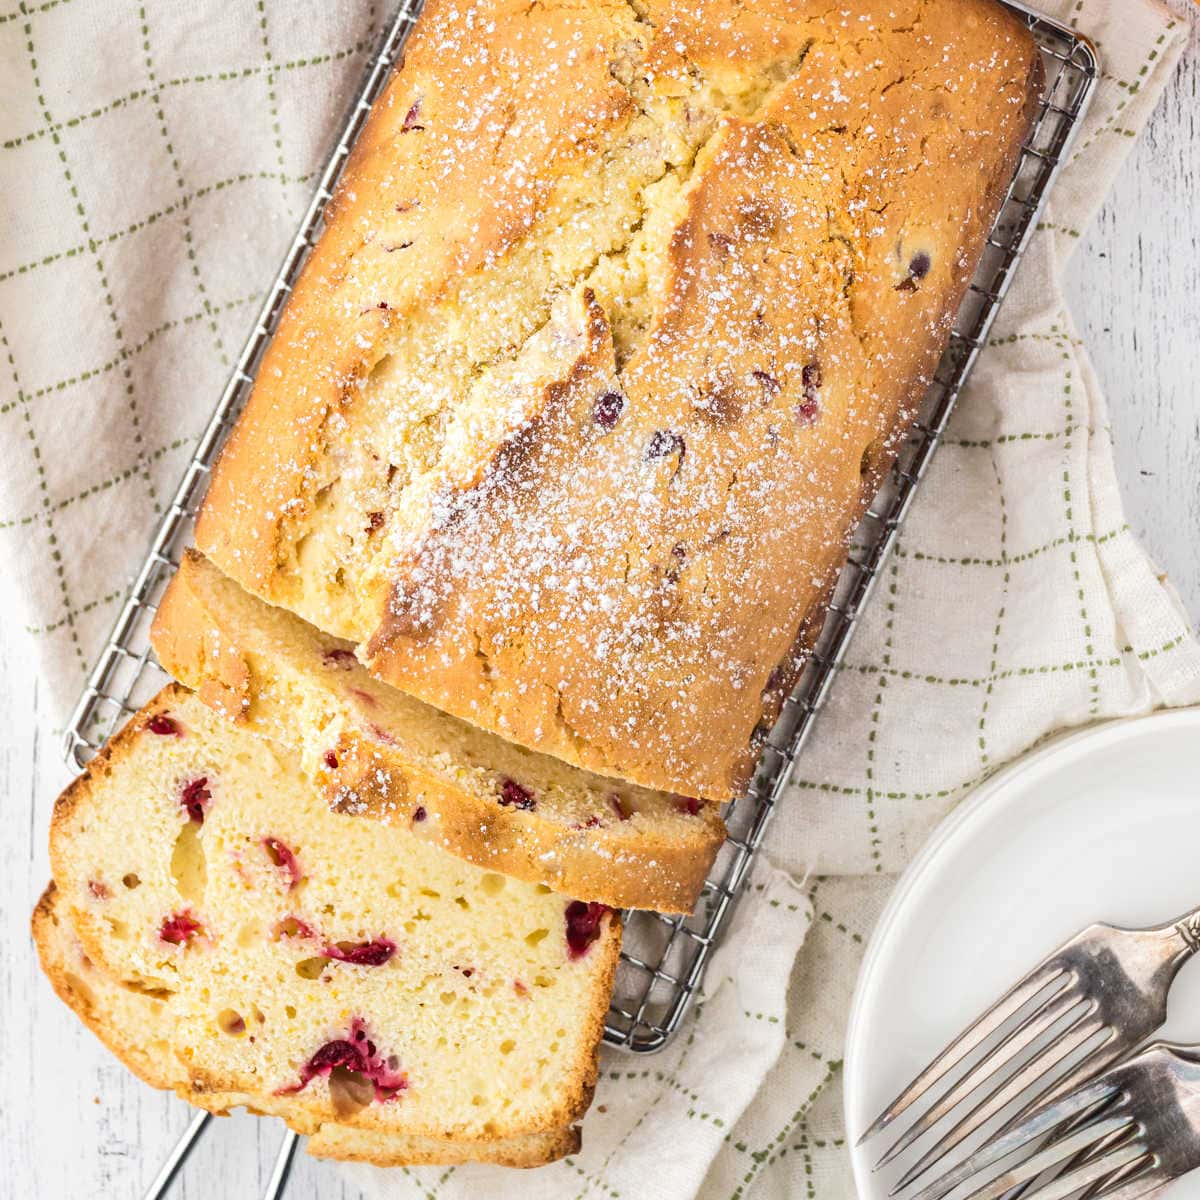
Cranberry Pound Cake
-
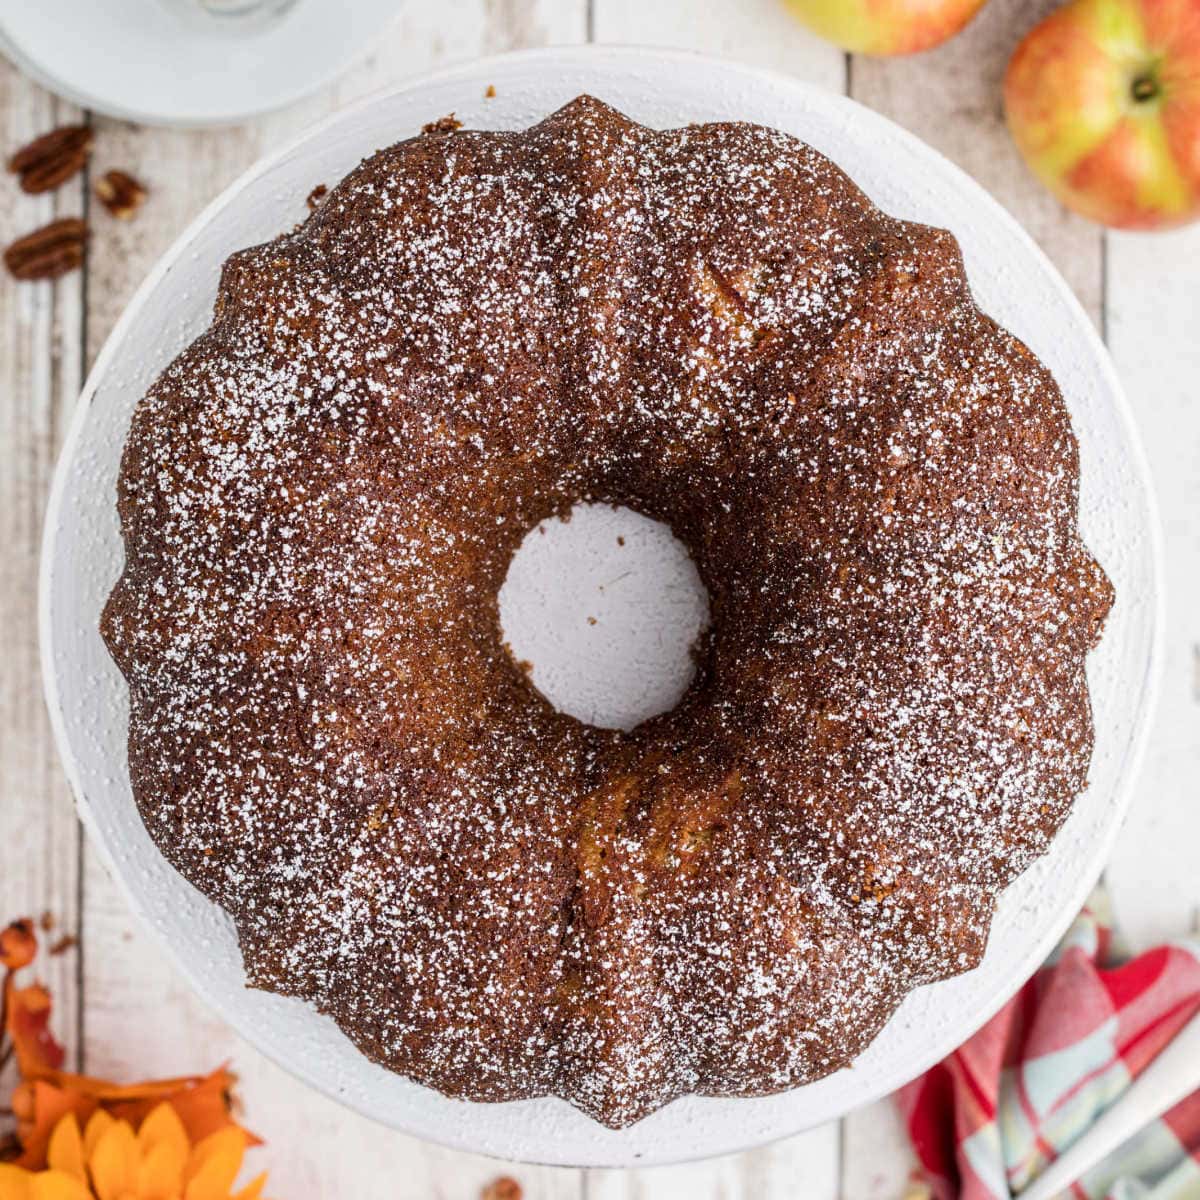
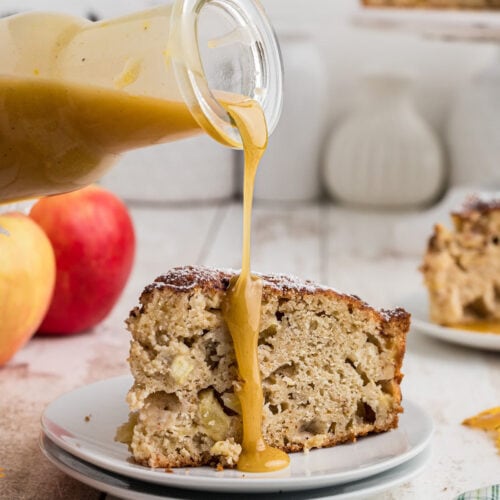
Apple Sour Cream Bundt Cake
-
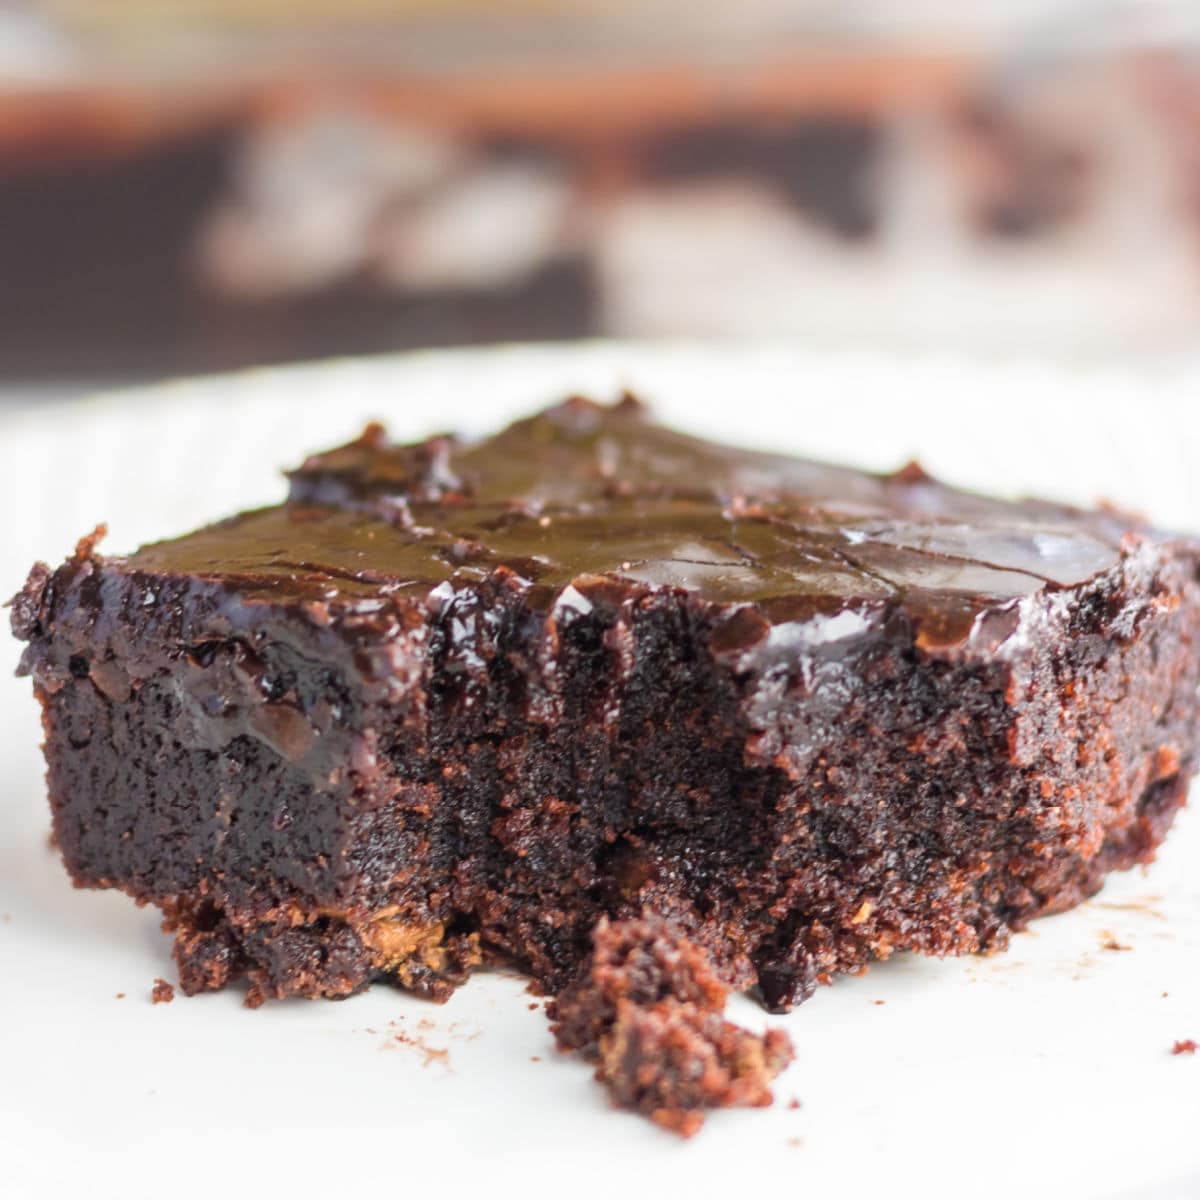
Double Chocolate Fudge Coca Cola Cake
-
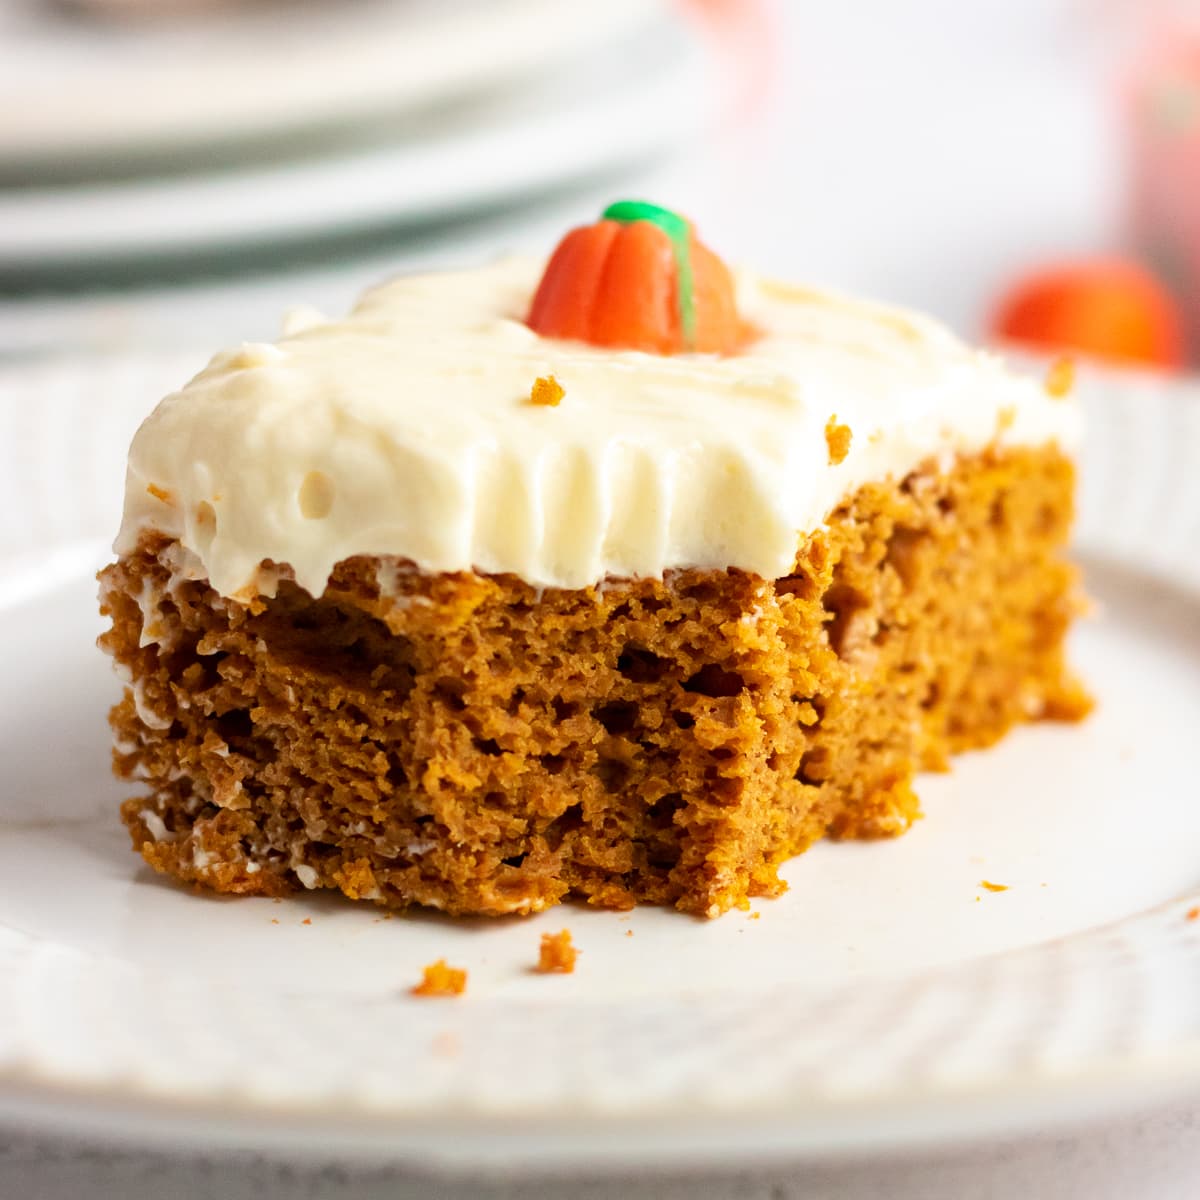
Pumpkin Spice Cake
-
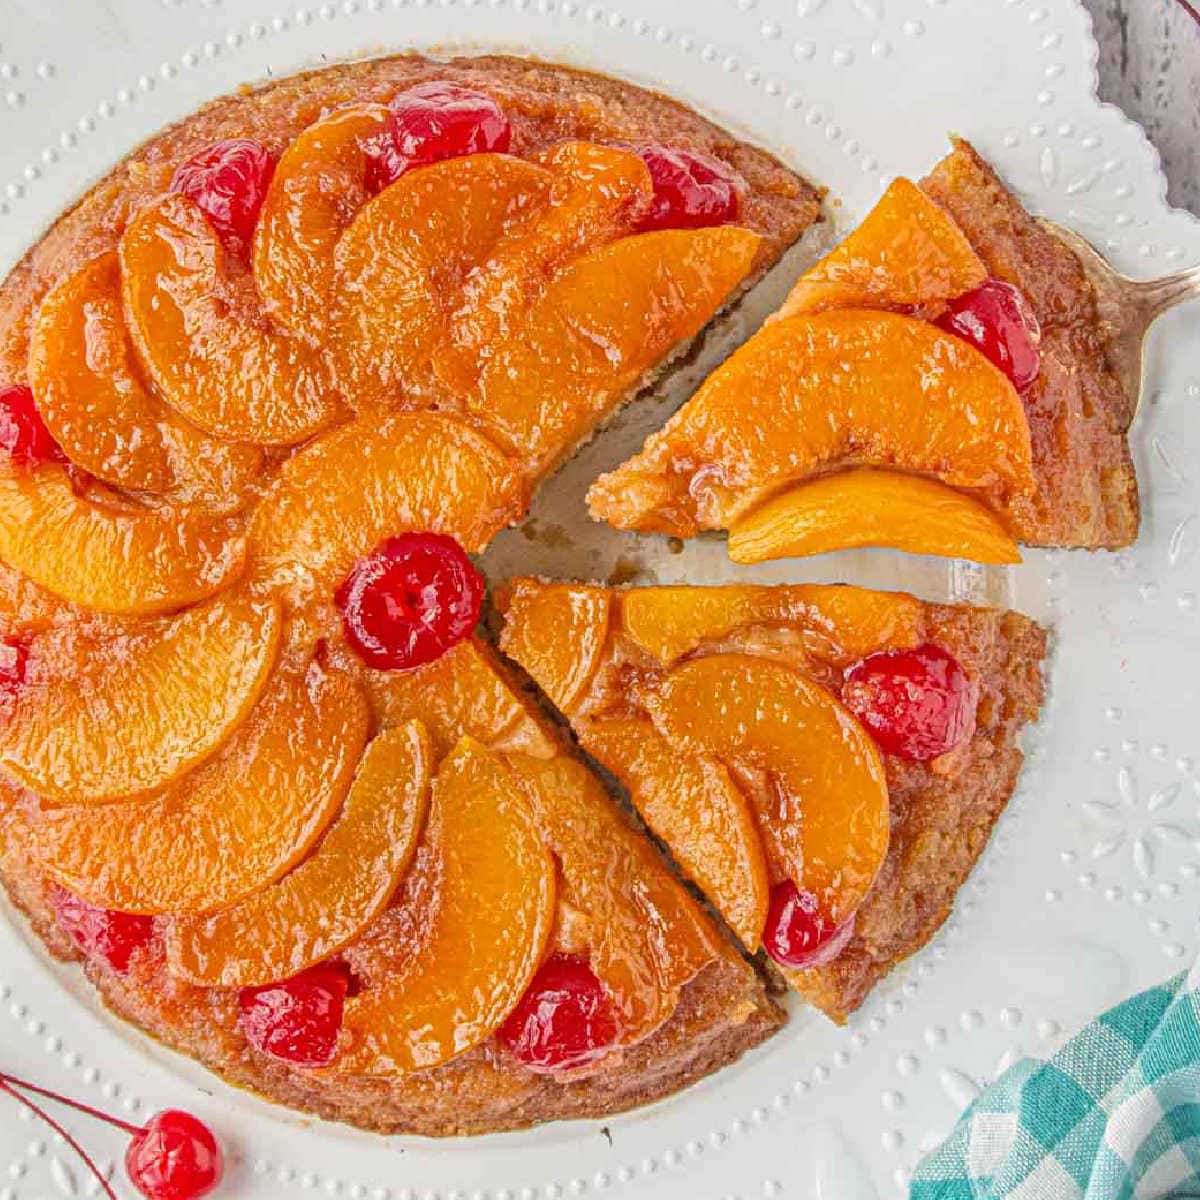
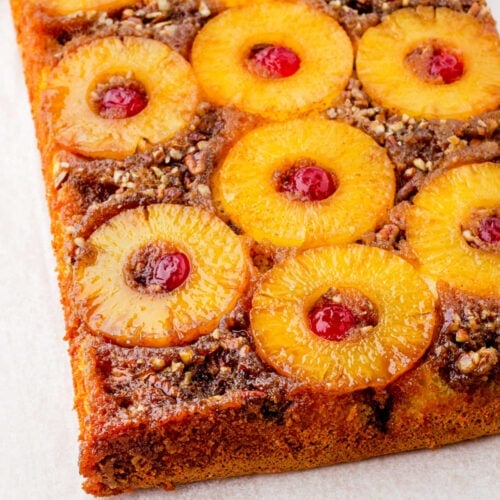
Peach Upside-Down Cake
-
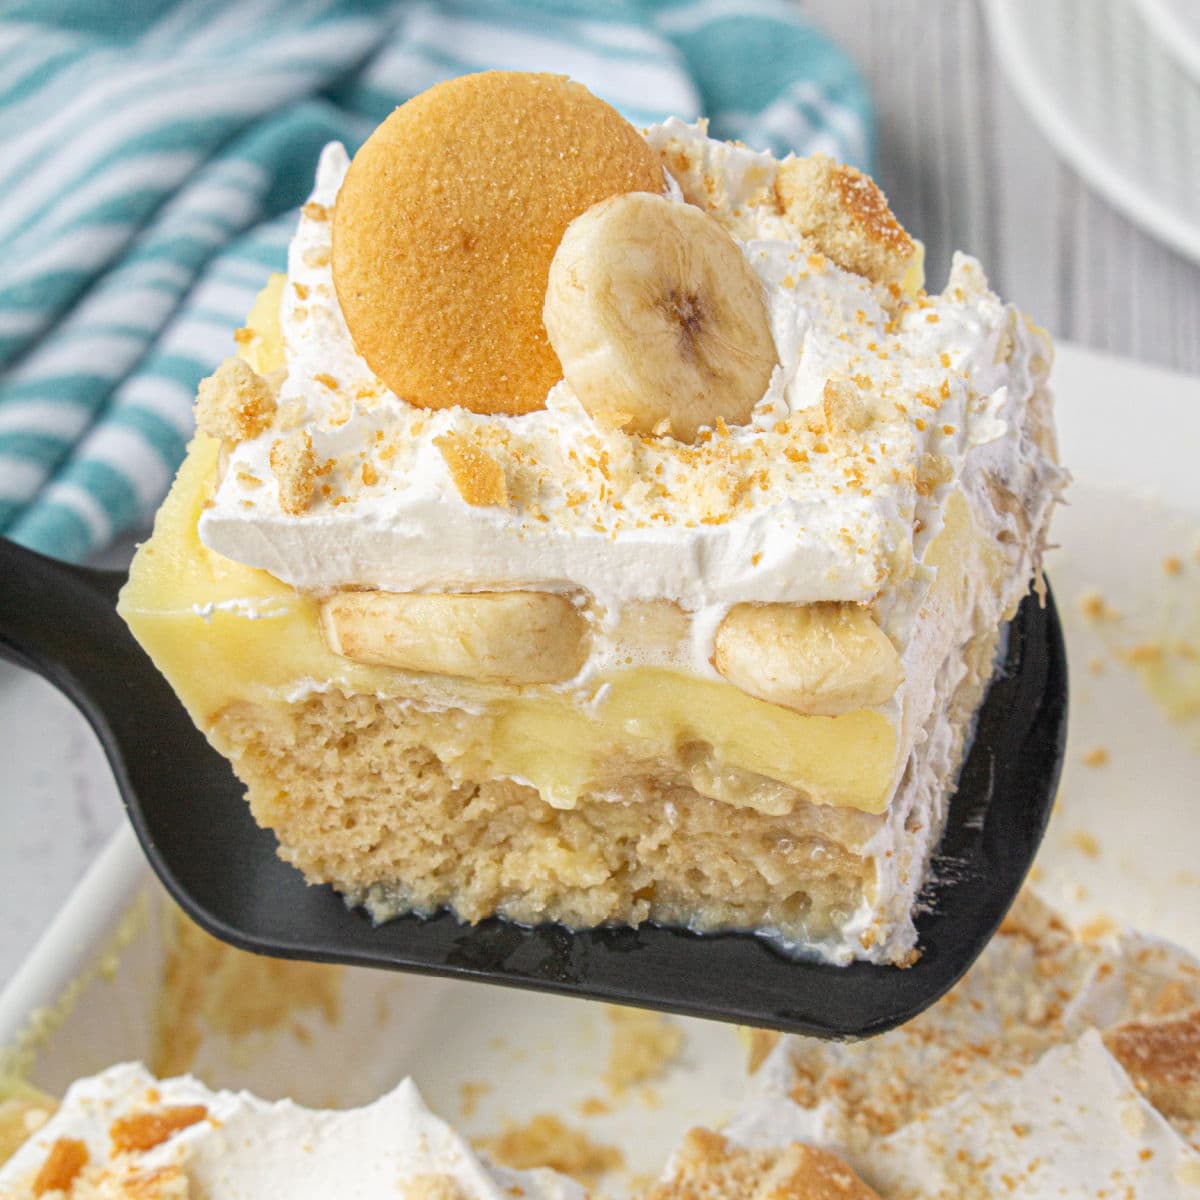
Banana Pudding Poke Cake
-
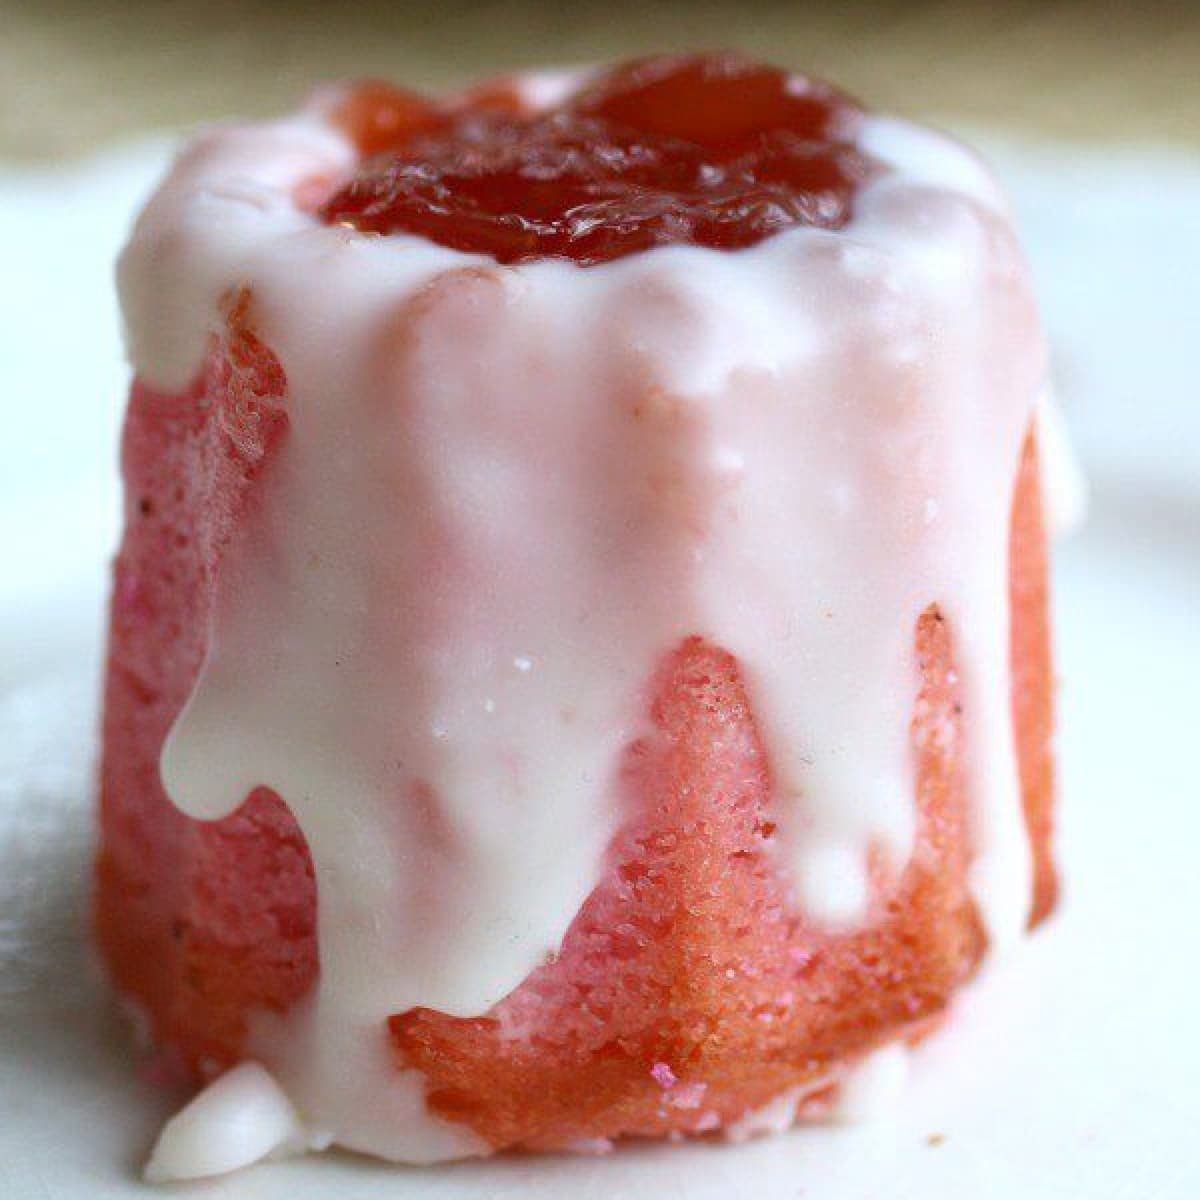
Strawberry Shortcut Cake
-
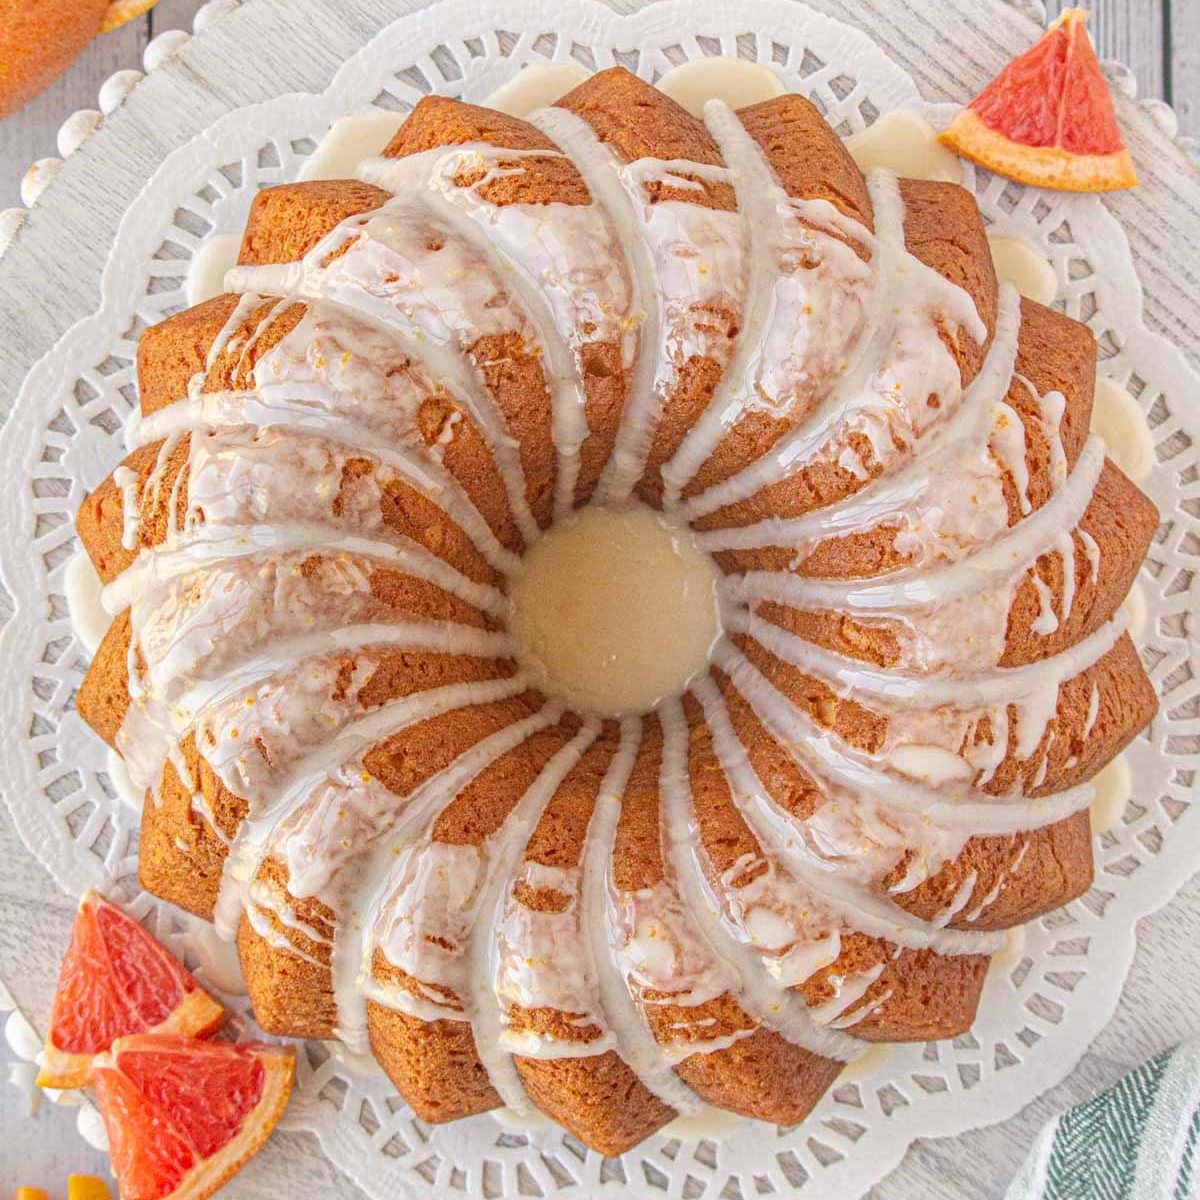
Texas Ruby Red Grapefruit Bundt Cake
-
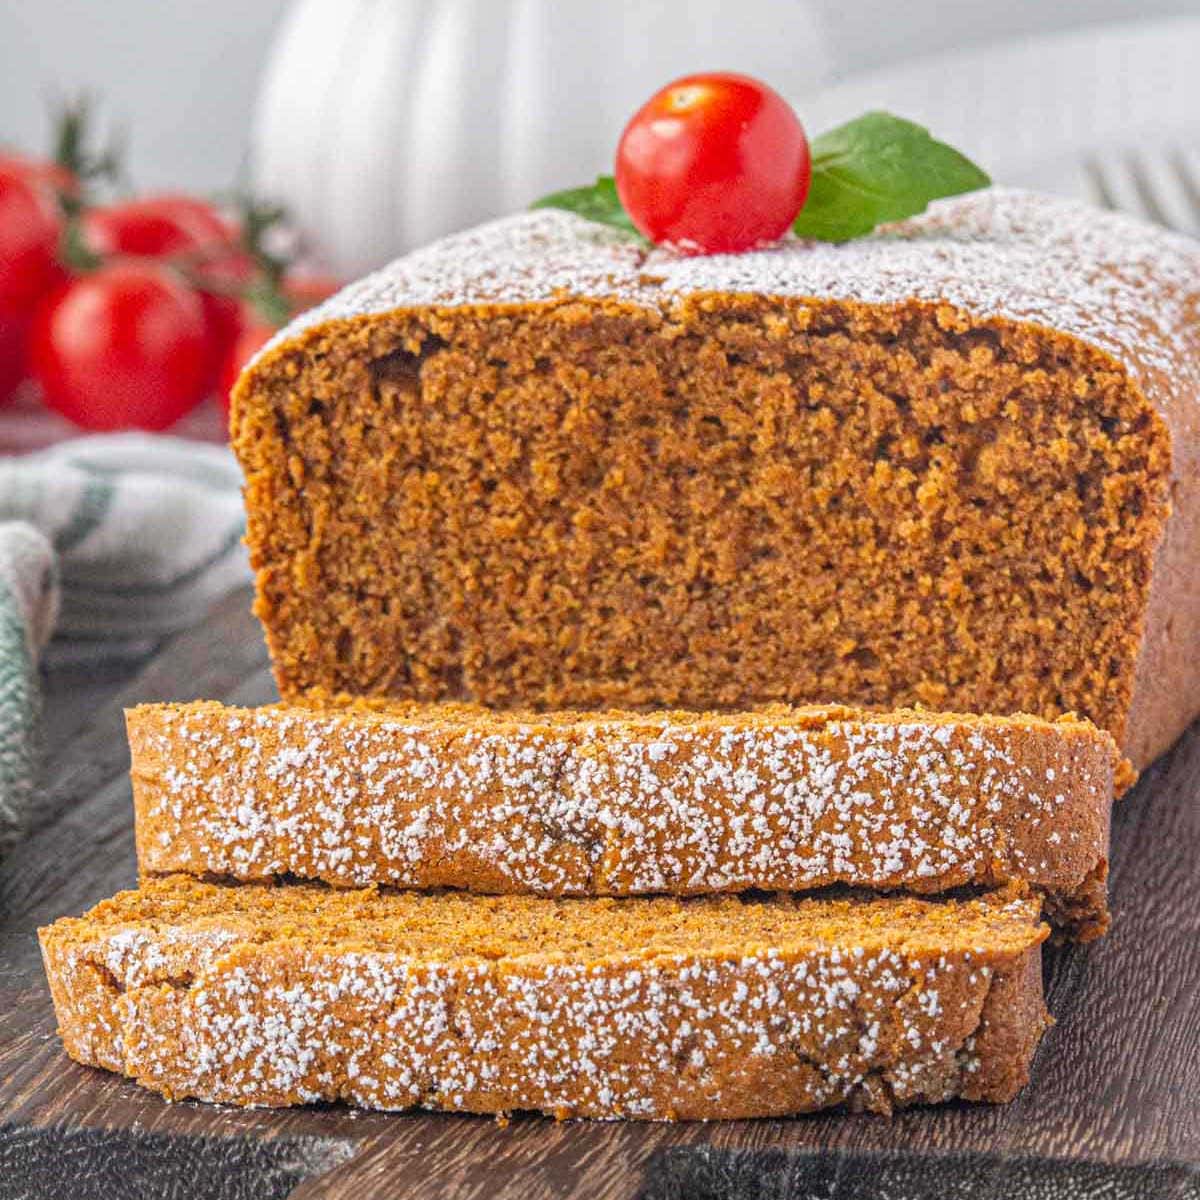
Aunt Lenore's Tomato Cake
-
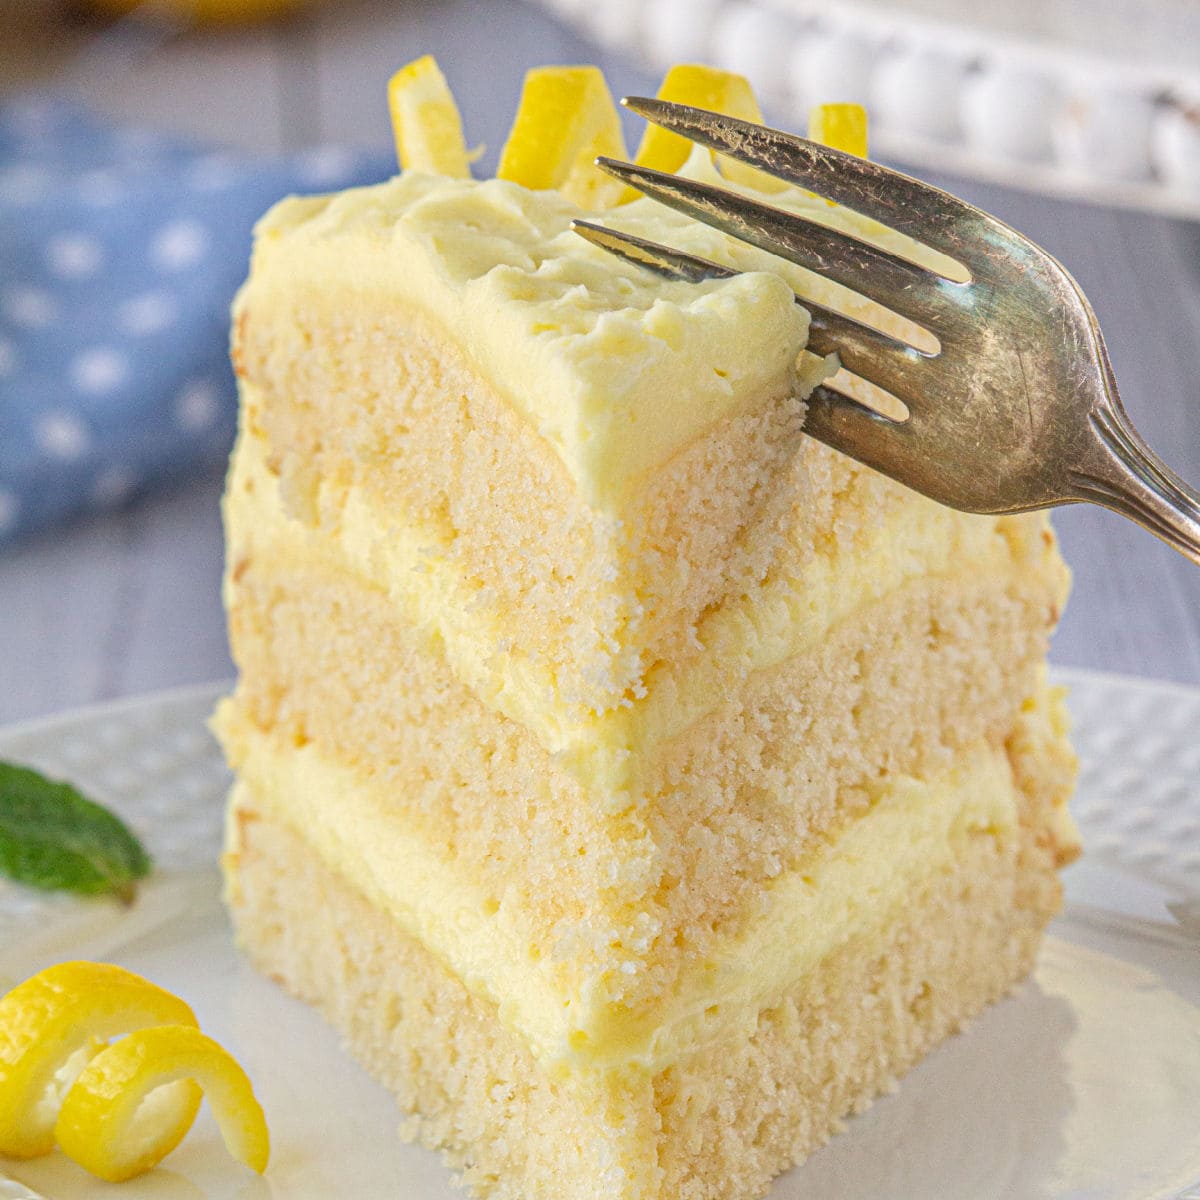
Moist Lemon Layer Cake
-
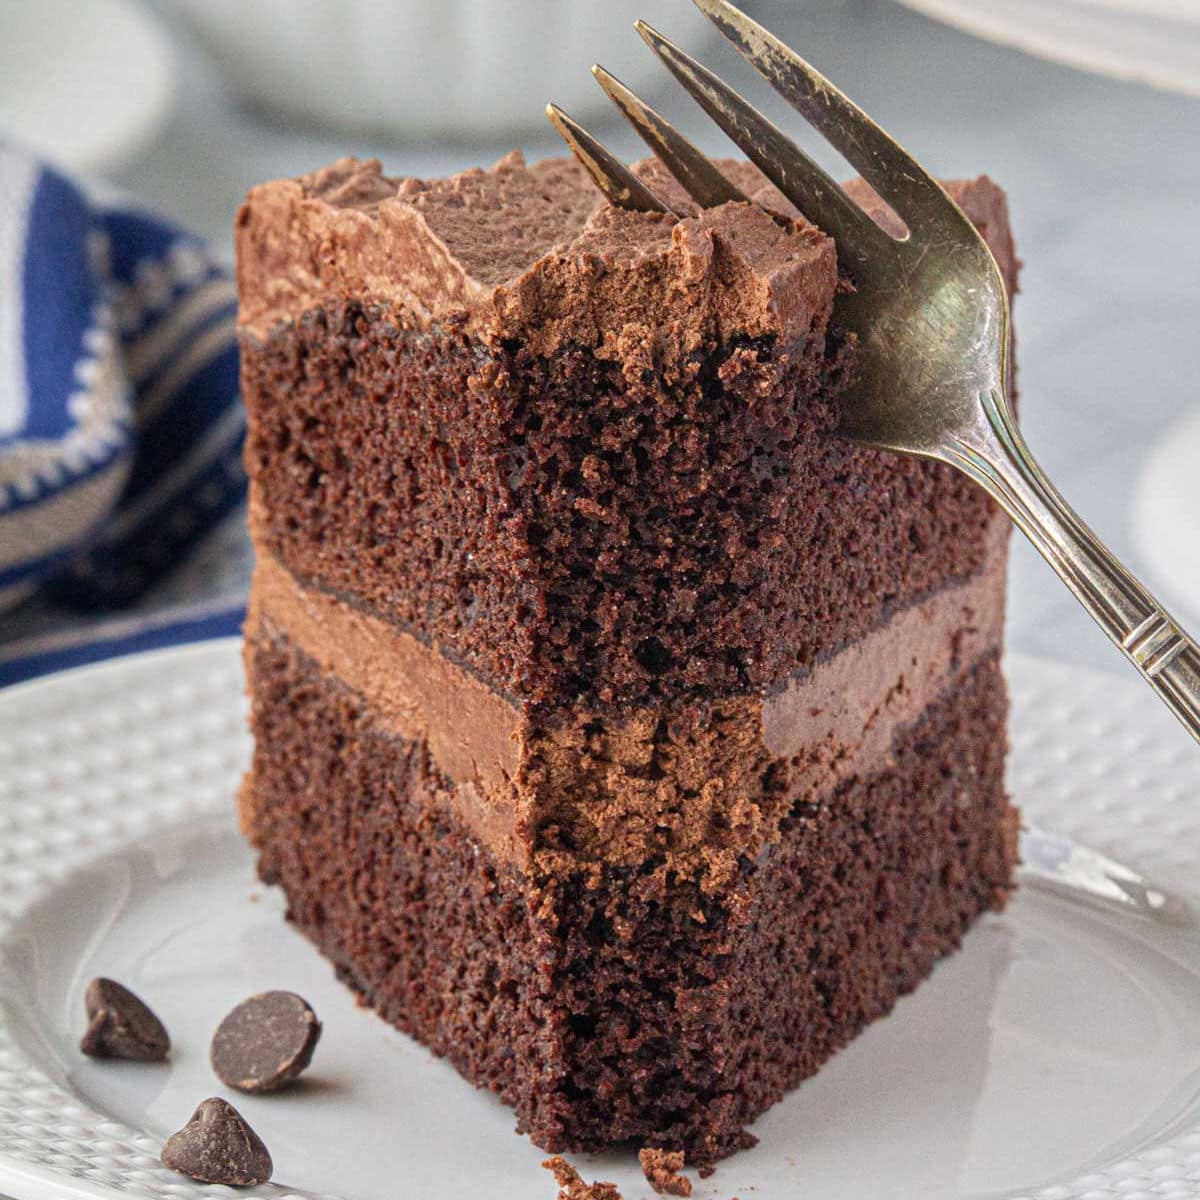
Hershey's Perfect Chocolate Cake
-
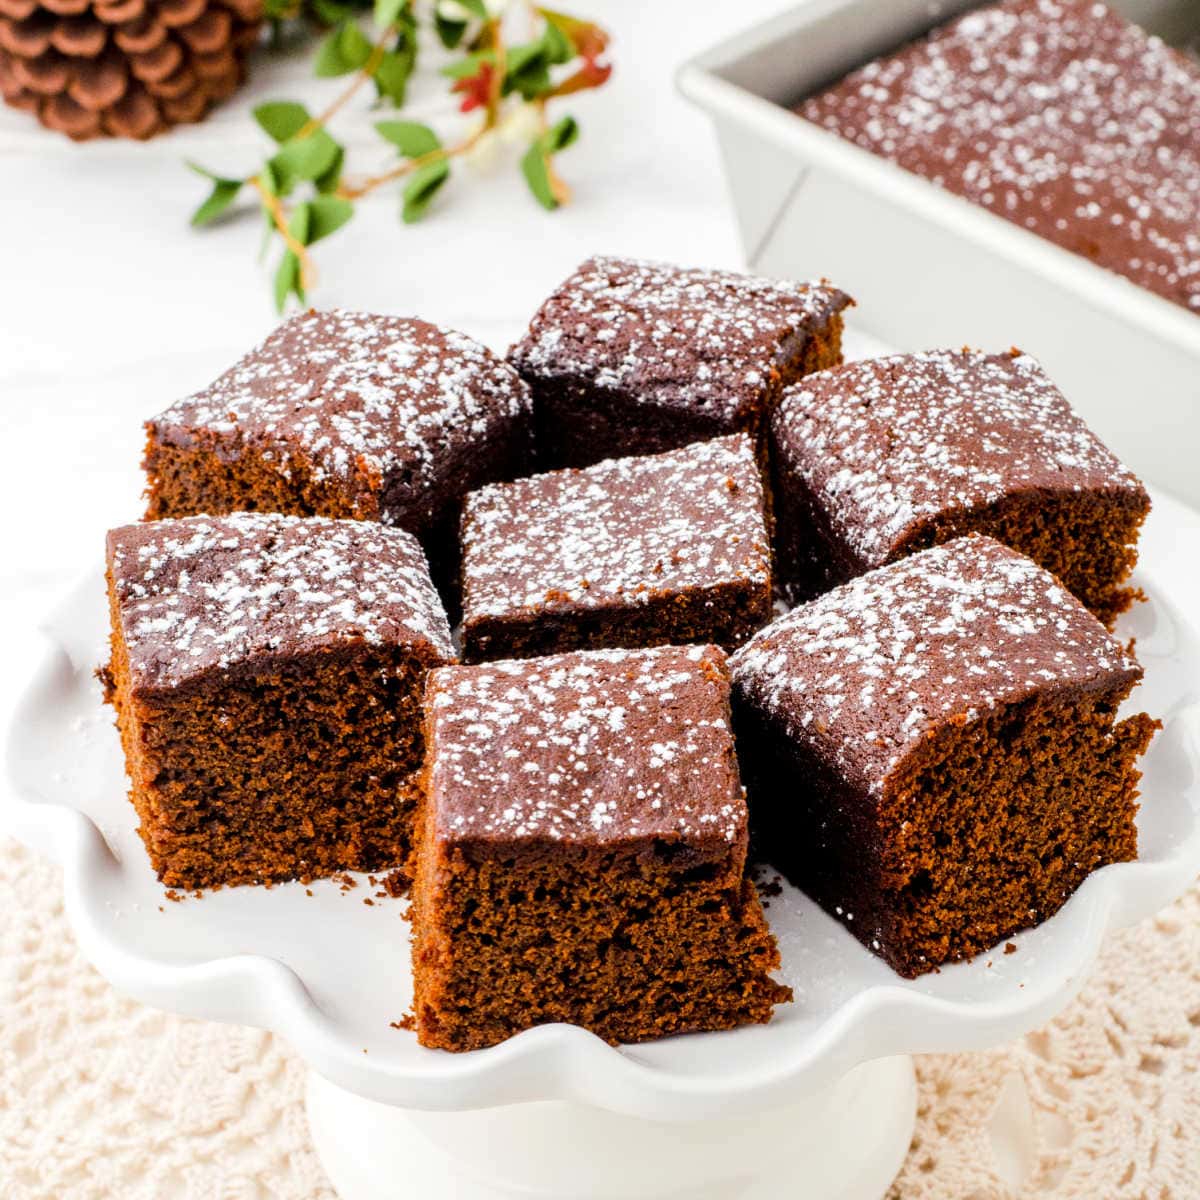
Homemade Gingerbread
-
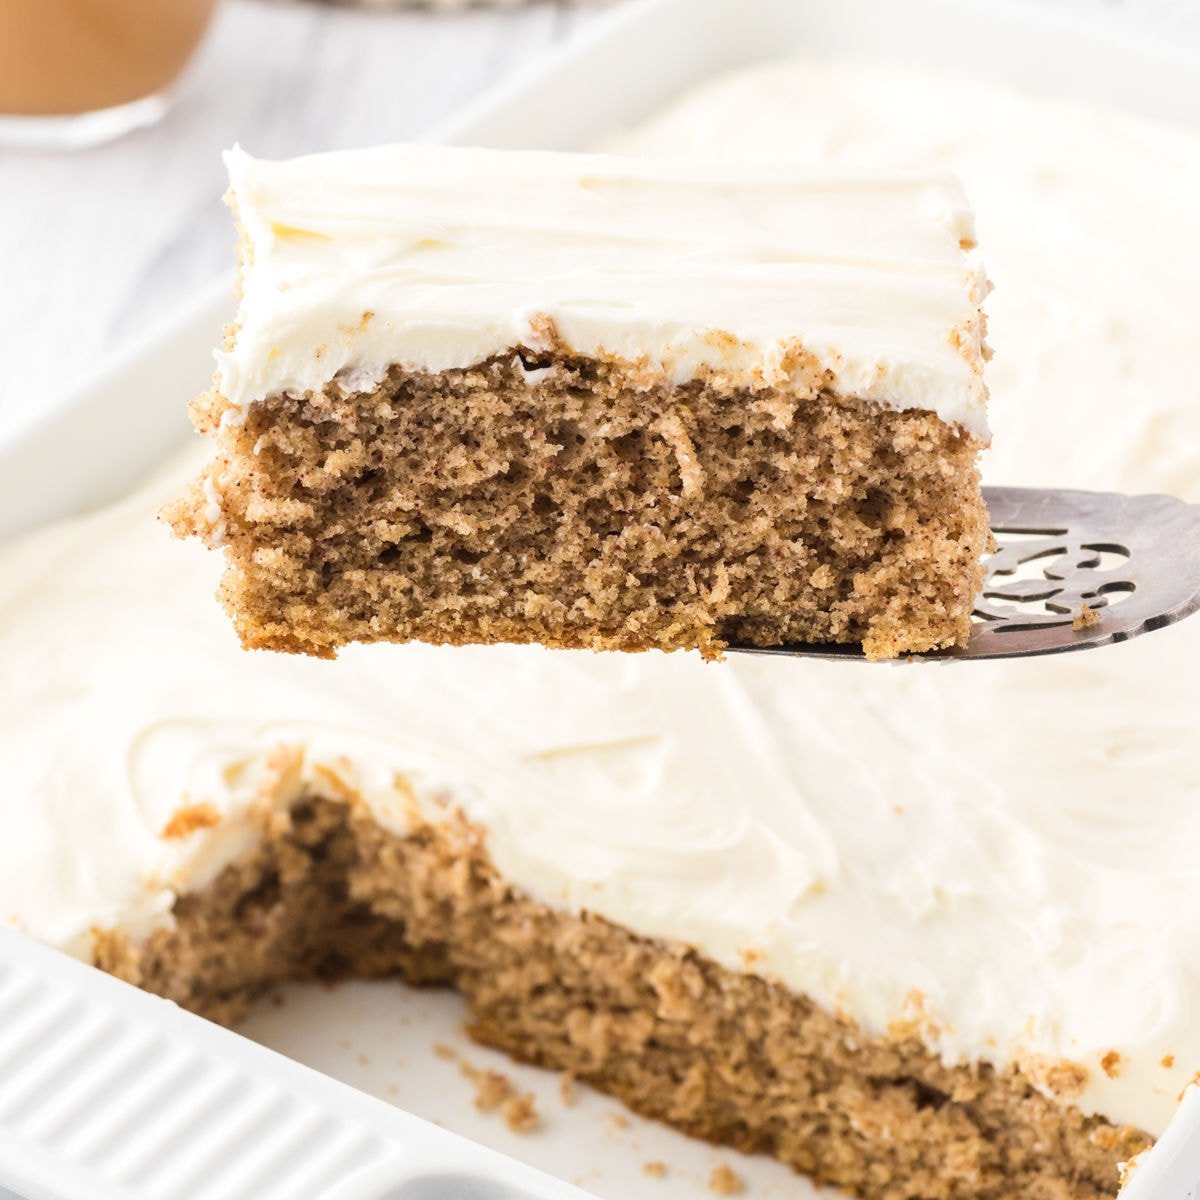
Spice Cake Recipe with Maple Cream Cheese Frosting
-
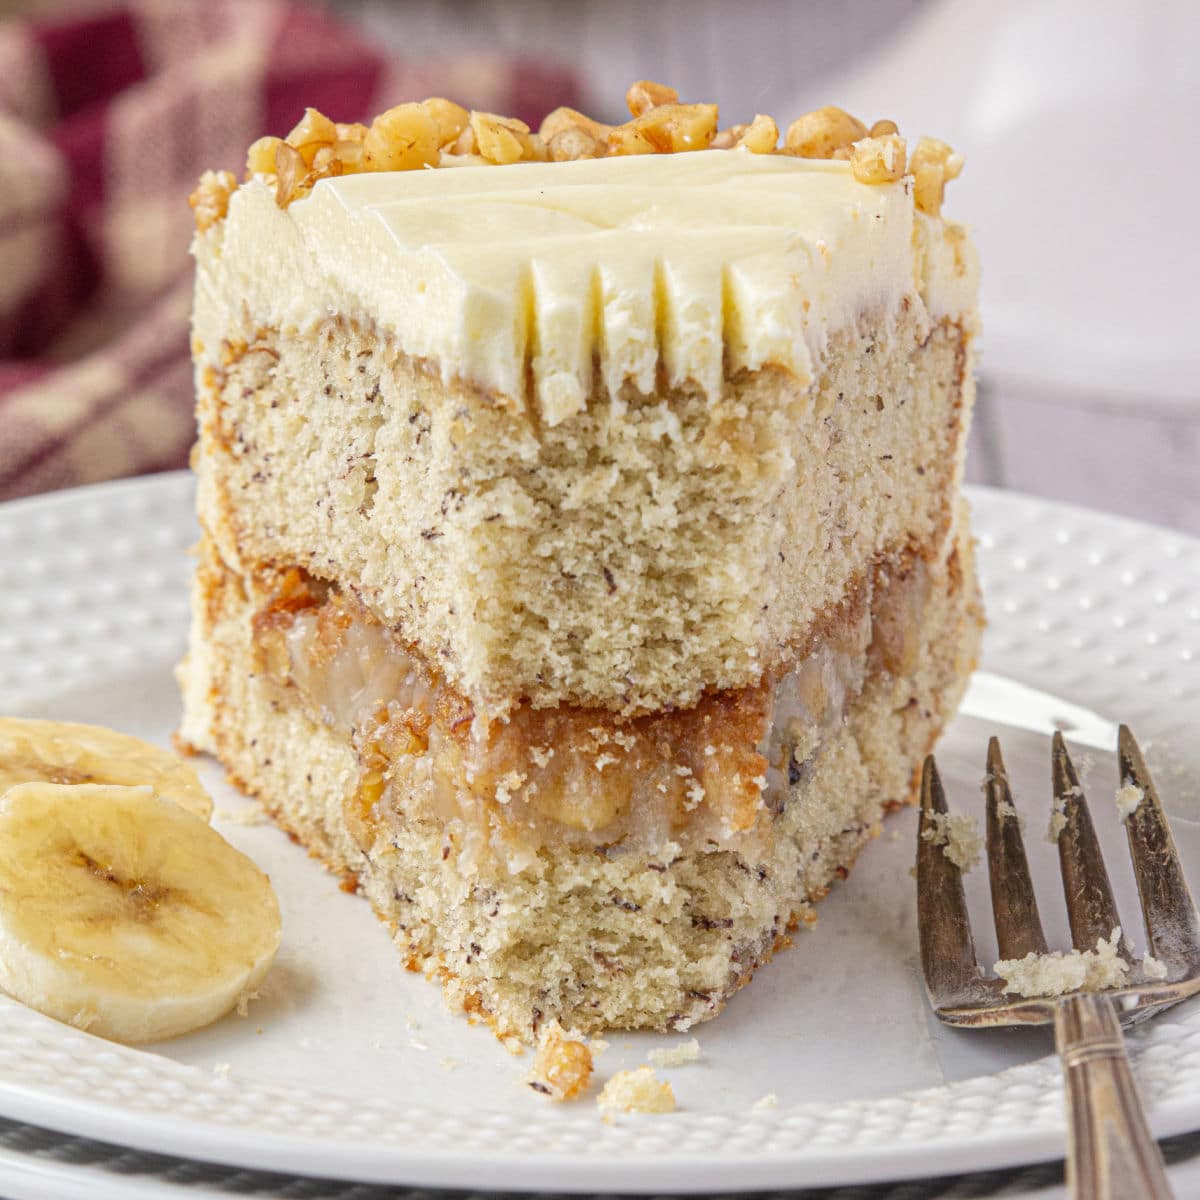
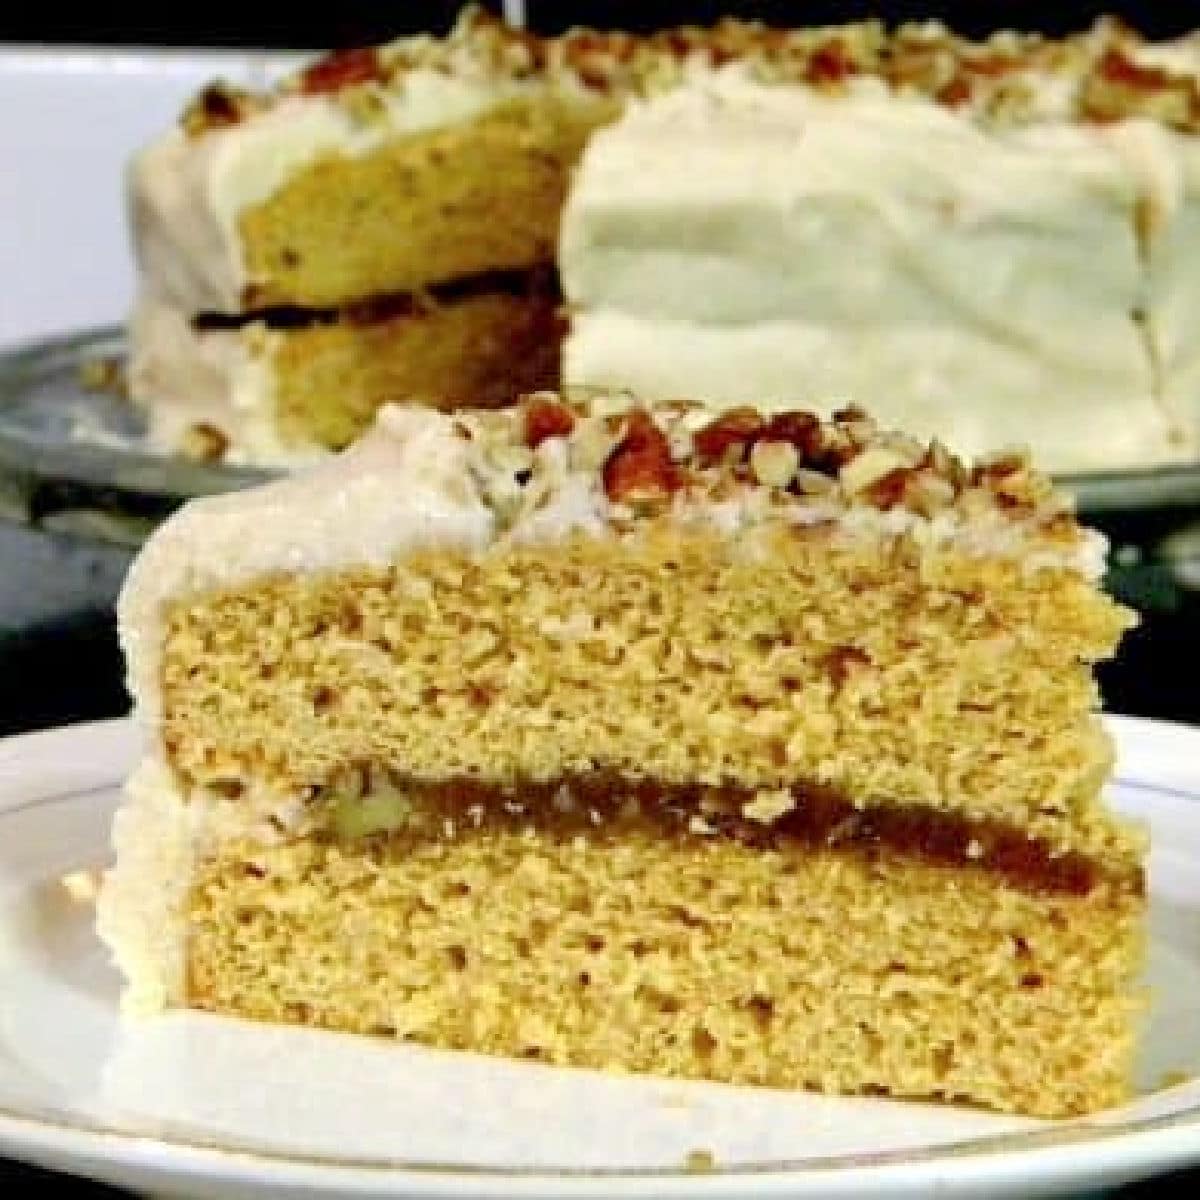
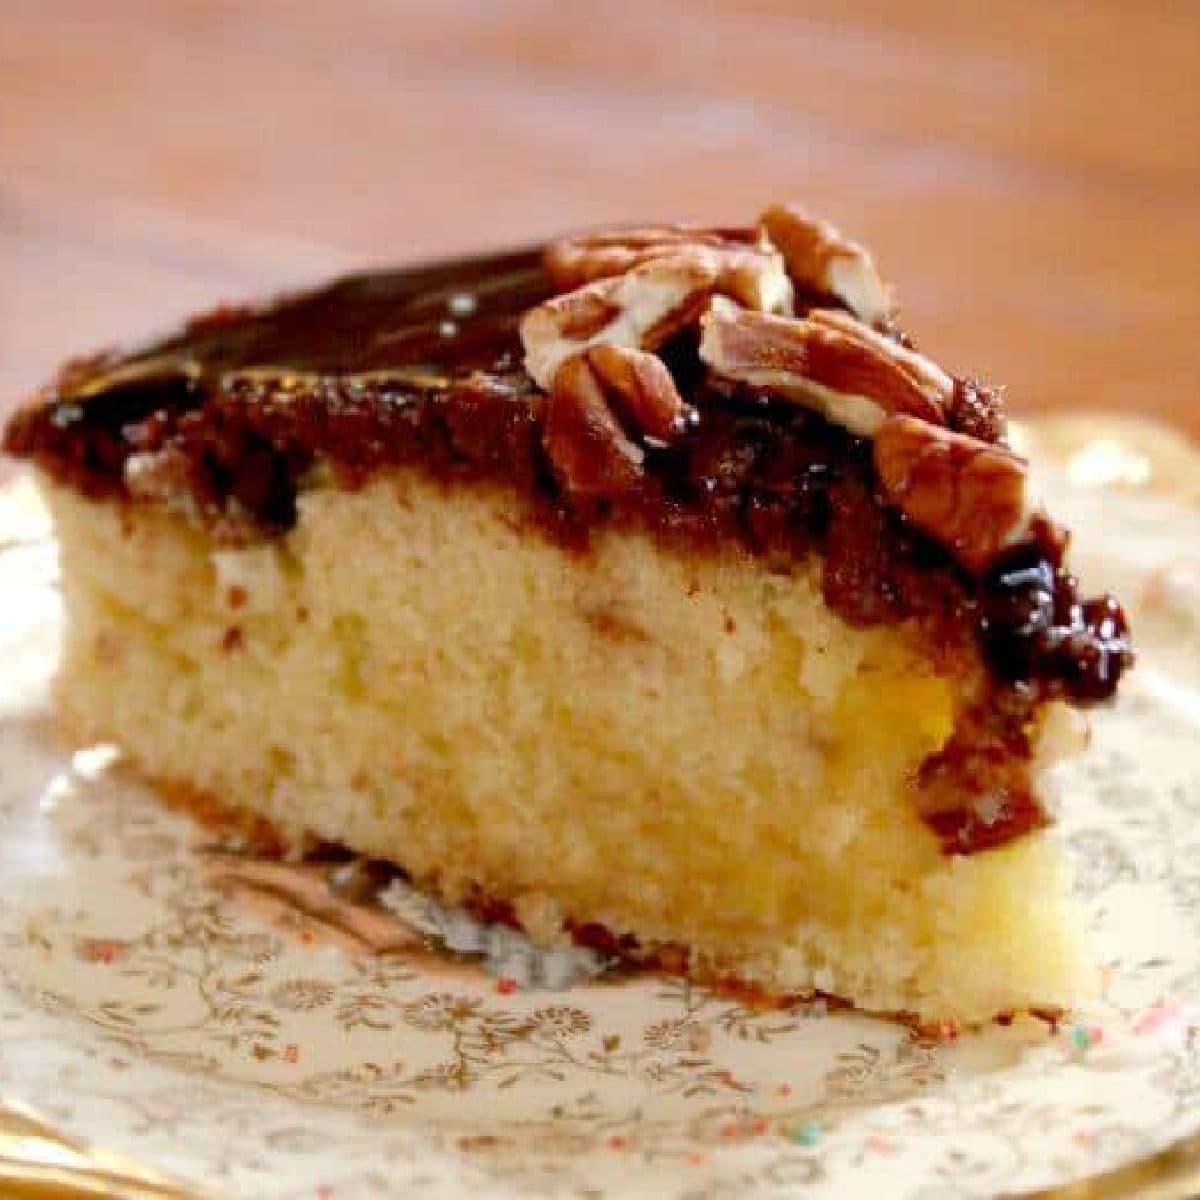
Banana Cake with Gooey Walnut Filling
-
Buttermilk Cake Recipe
-
Old Fashioned Marble Pound Cake Recipe
-
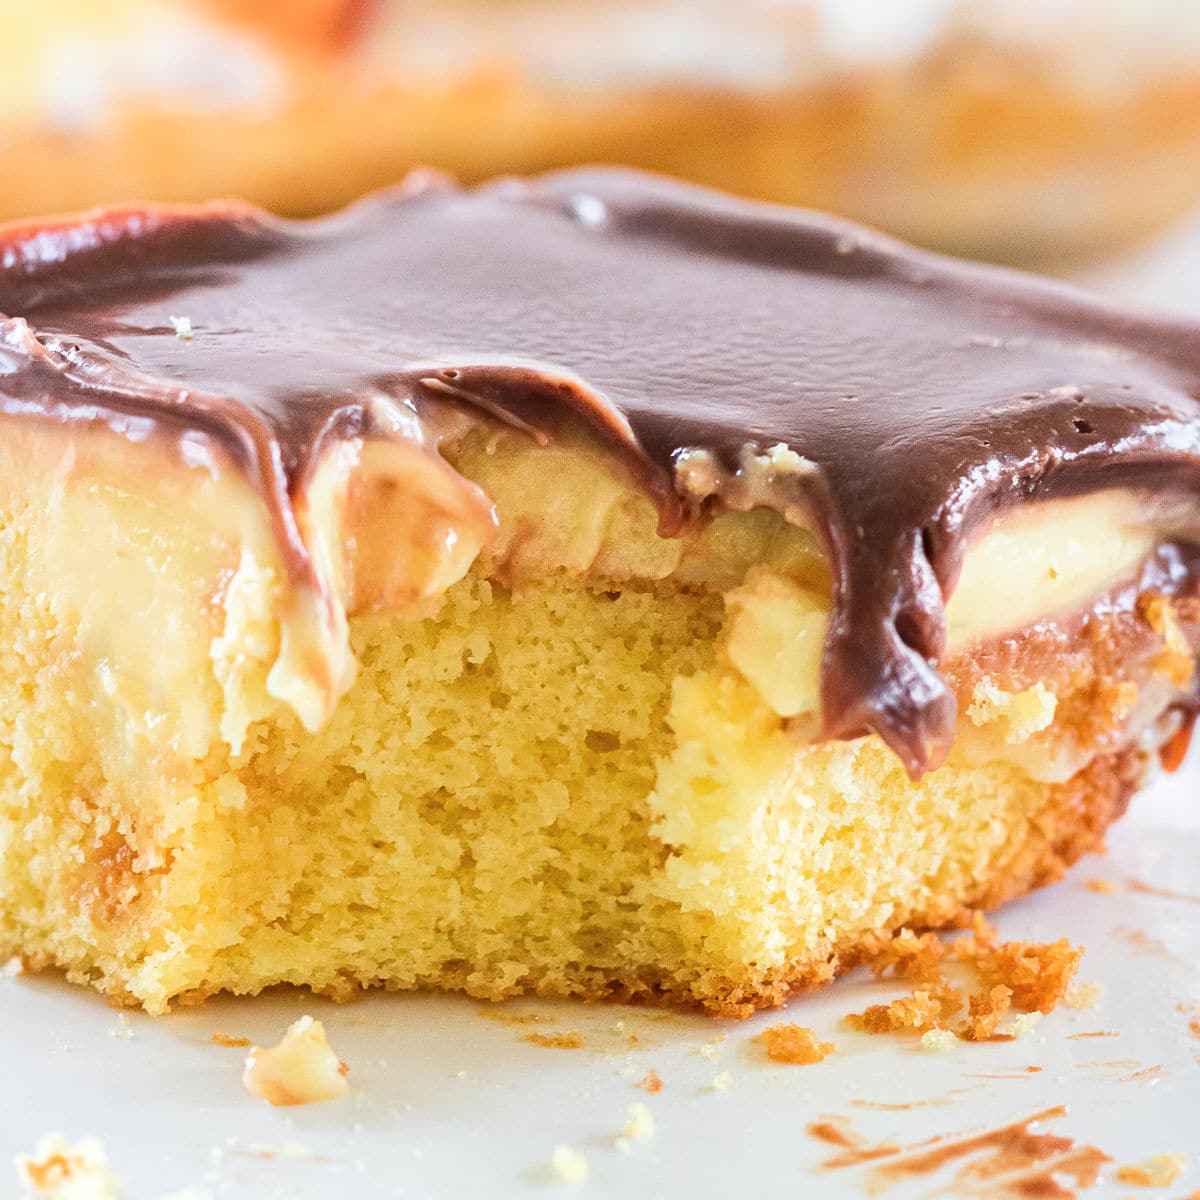
Boston Cream Poke Cake
-
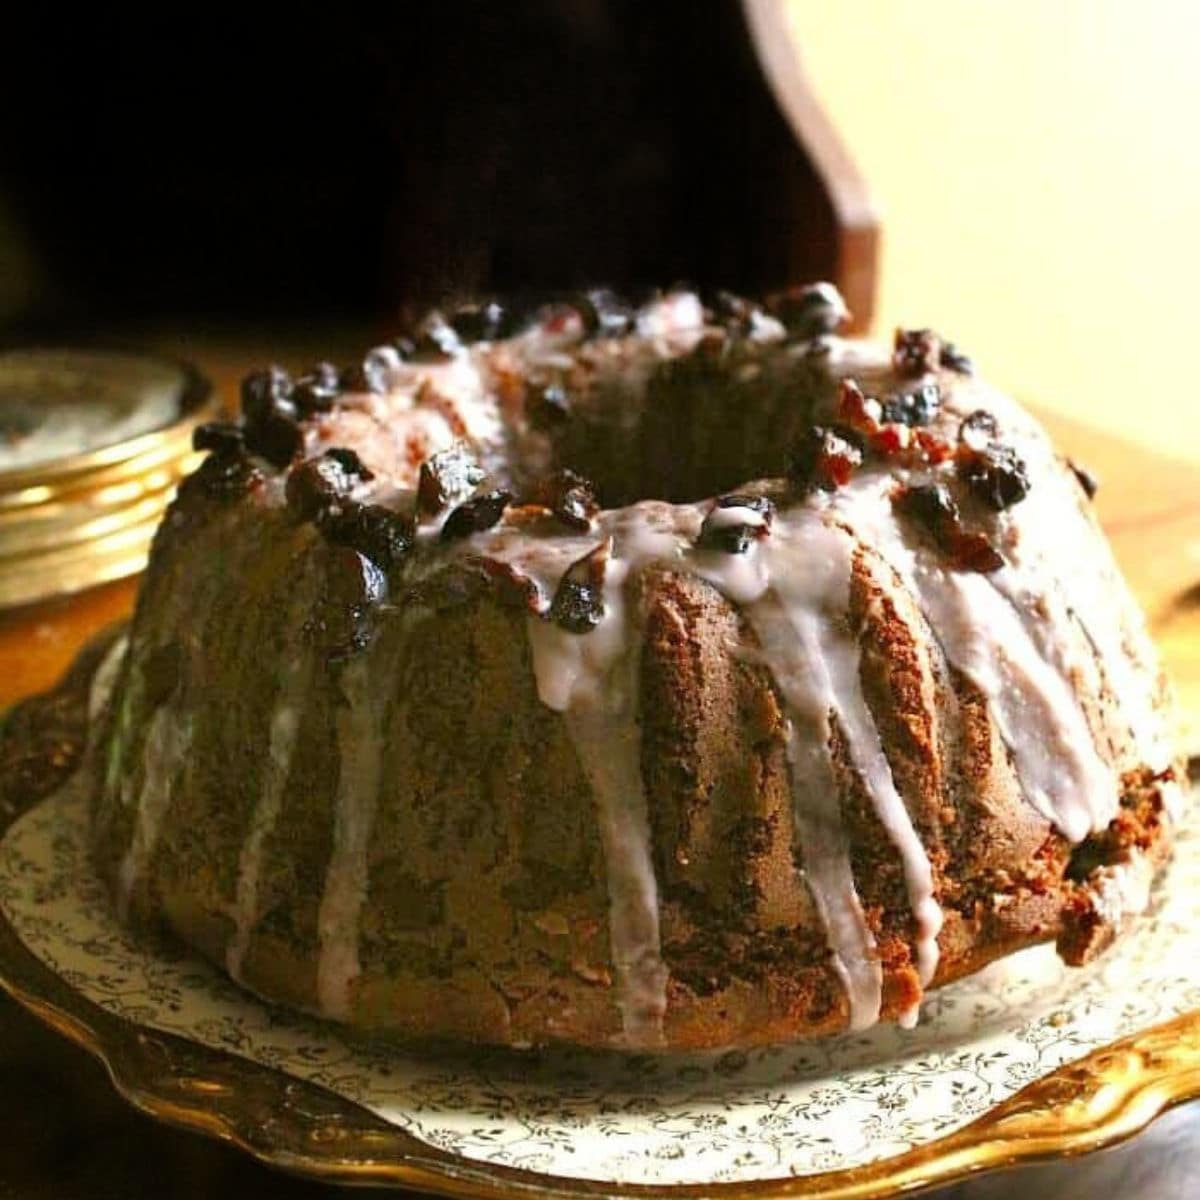
Amish Prune Cake
-
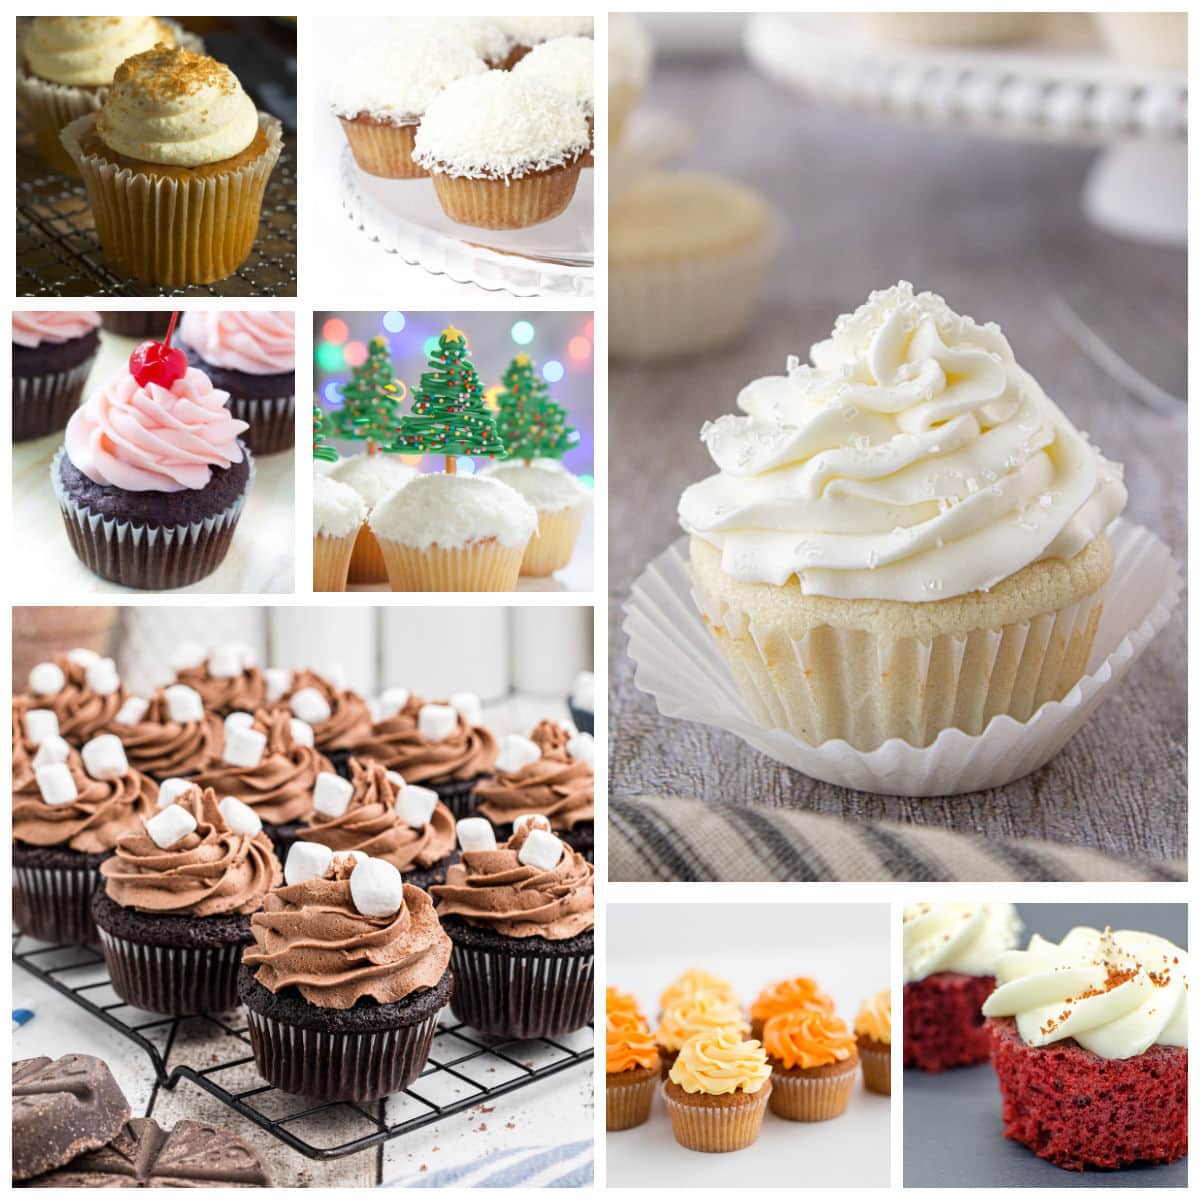
🧁91+ Best Cupcake Recipes Updated for 2024
-
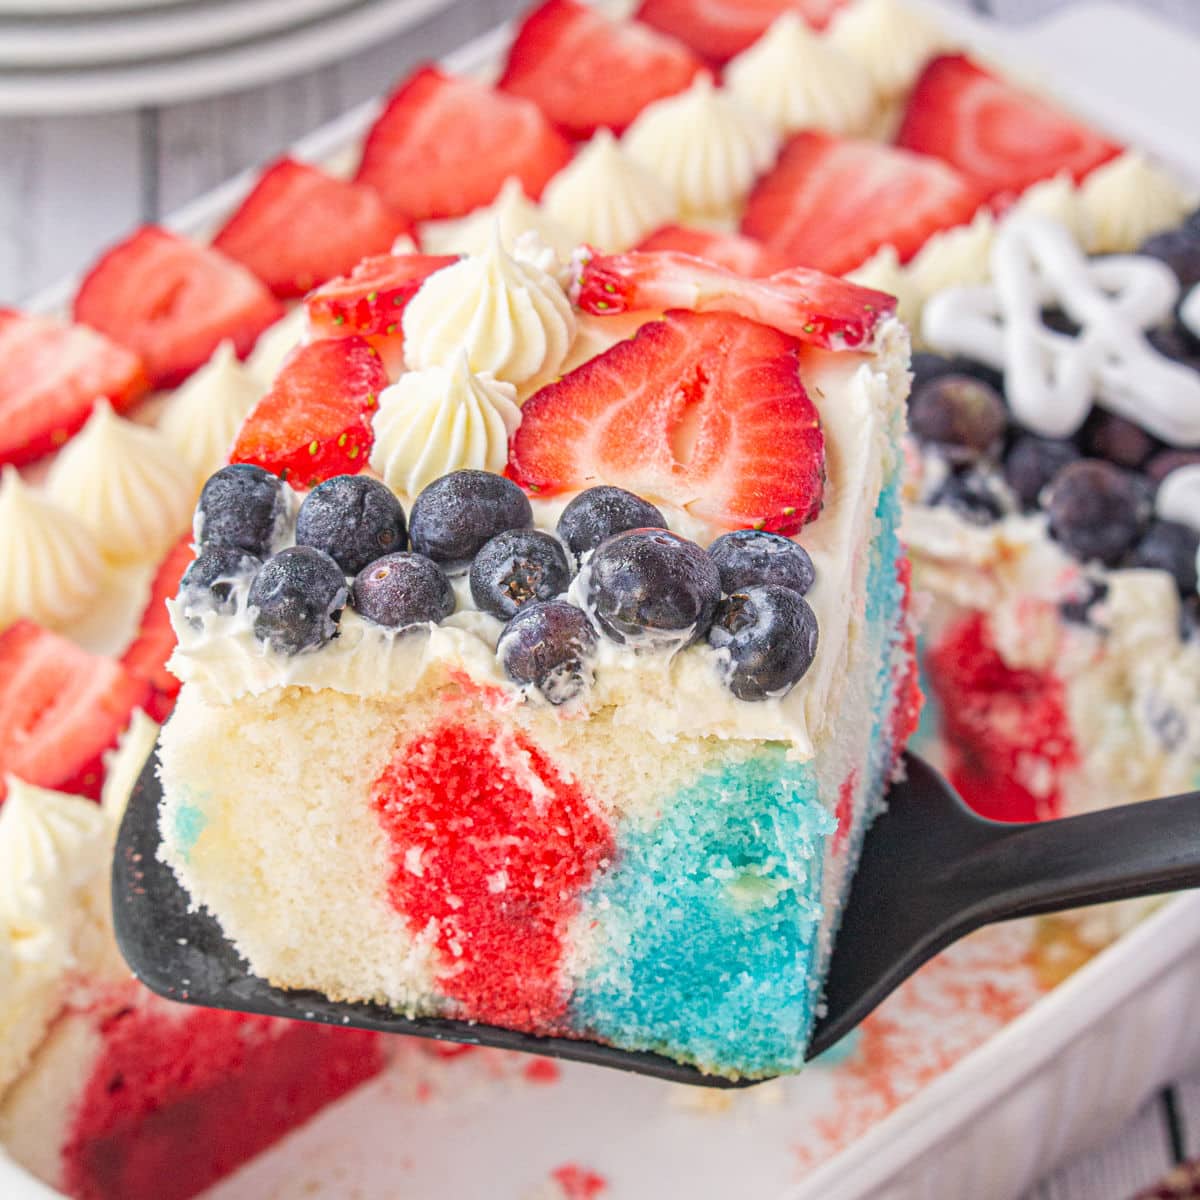
Patriotic Jello Poke Cake with Pudding Frosting
-
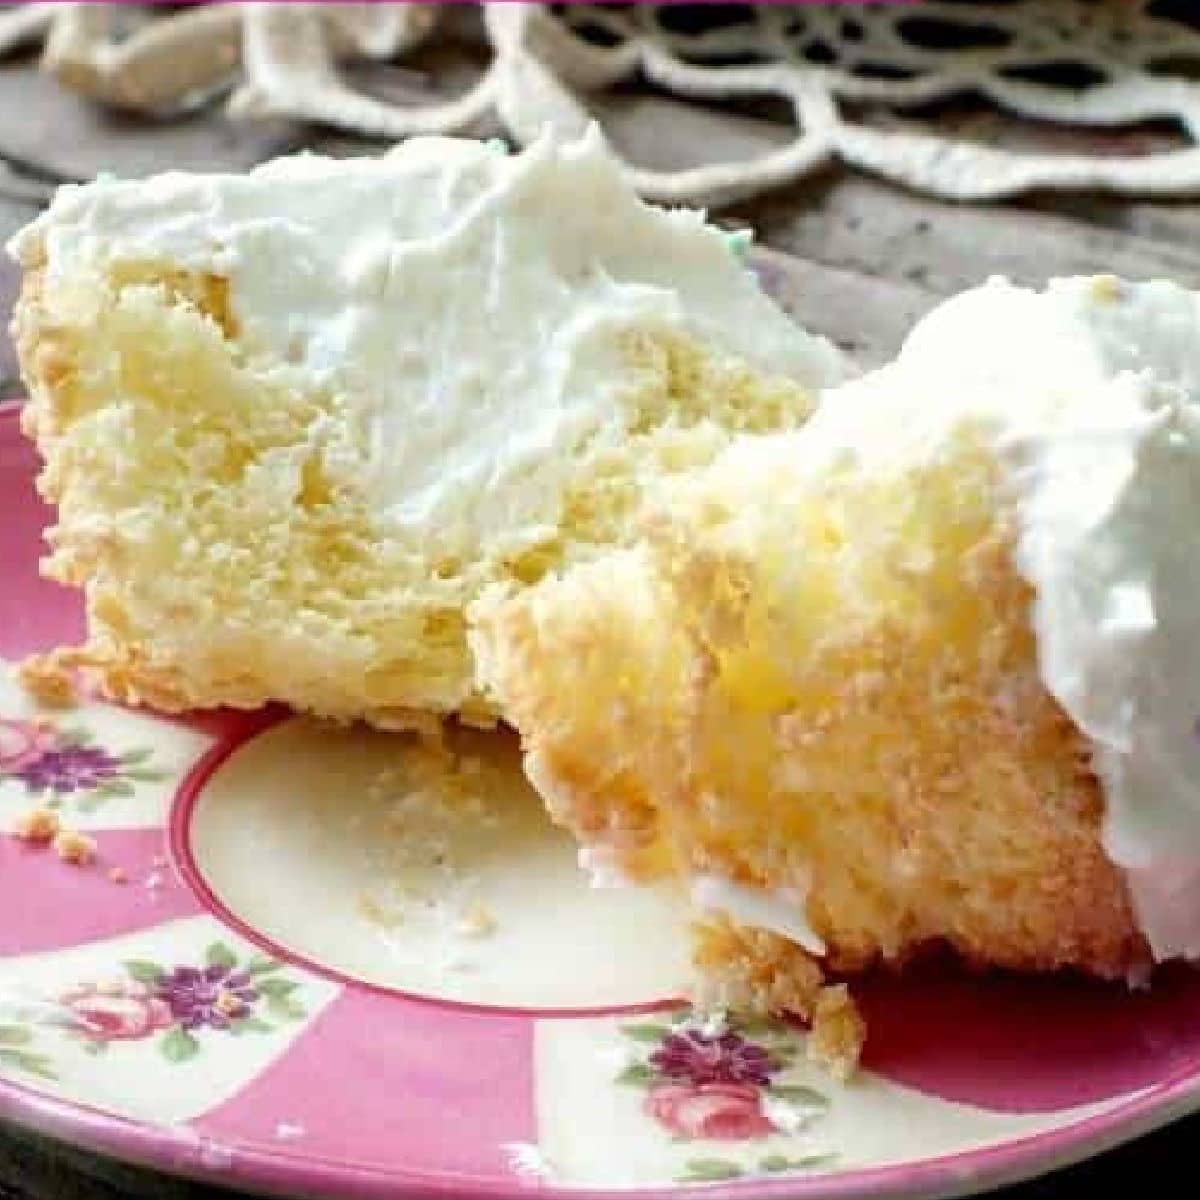
Copycat Twinkie Cupcakes Recipe
-
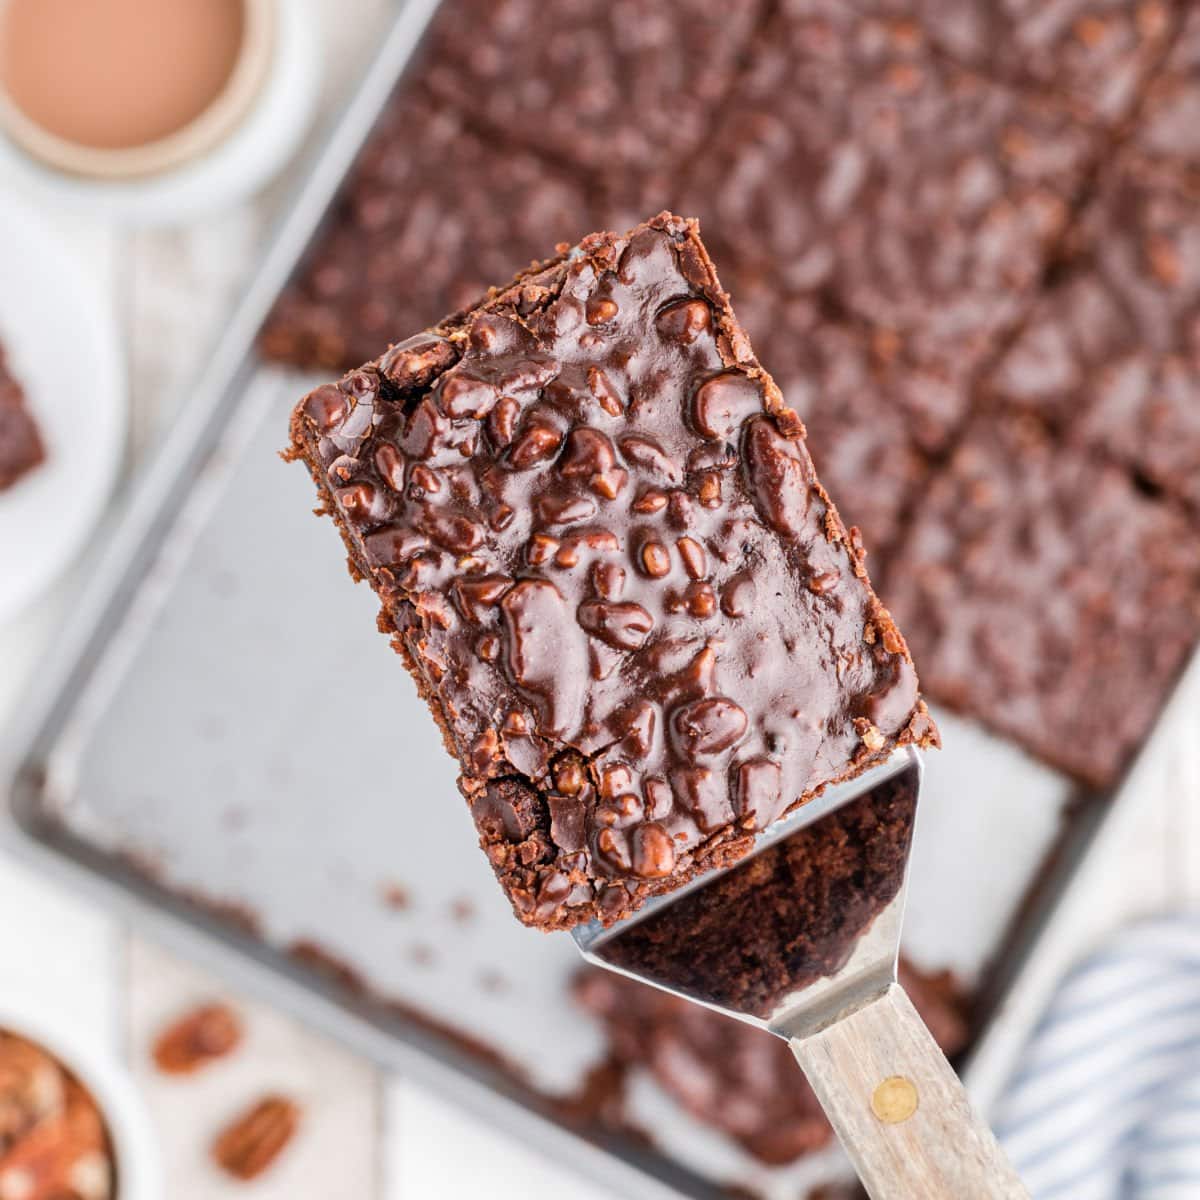
Texas Sheet Cake Recipe
-
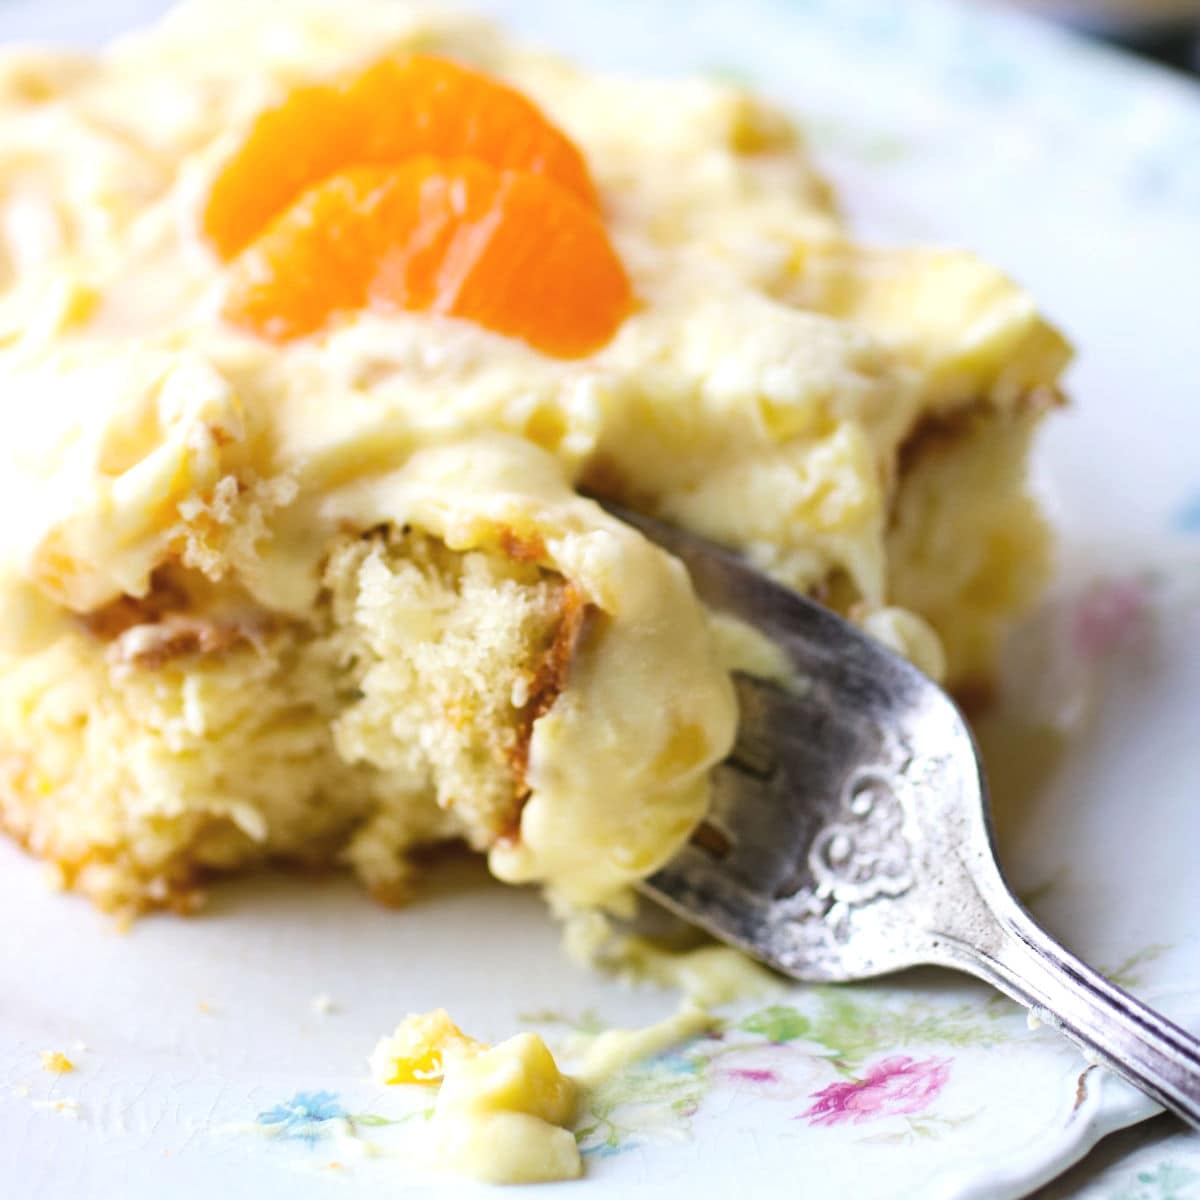
Pig Pickin' Cake
-
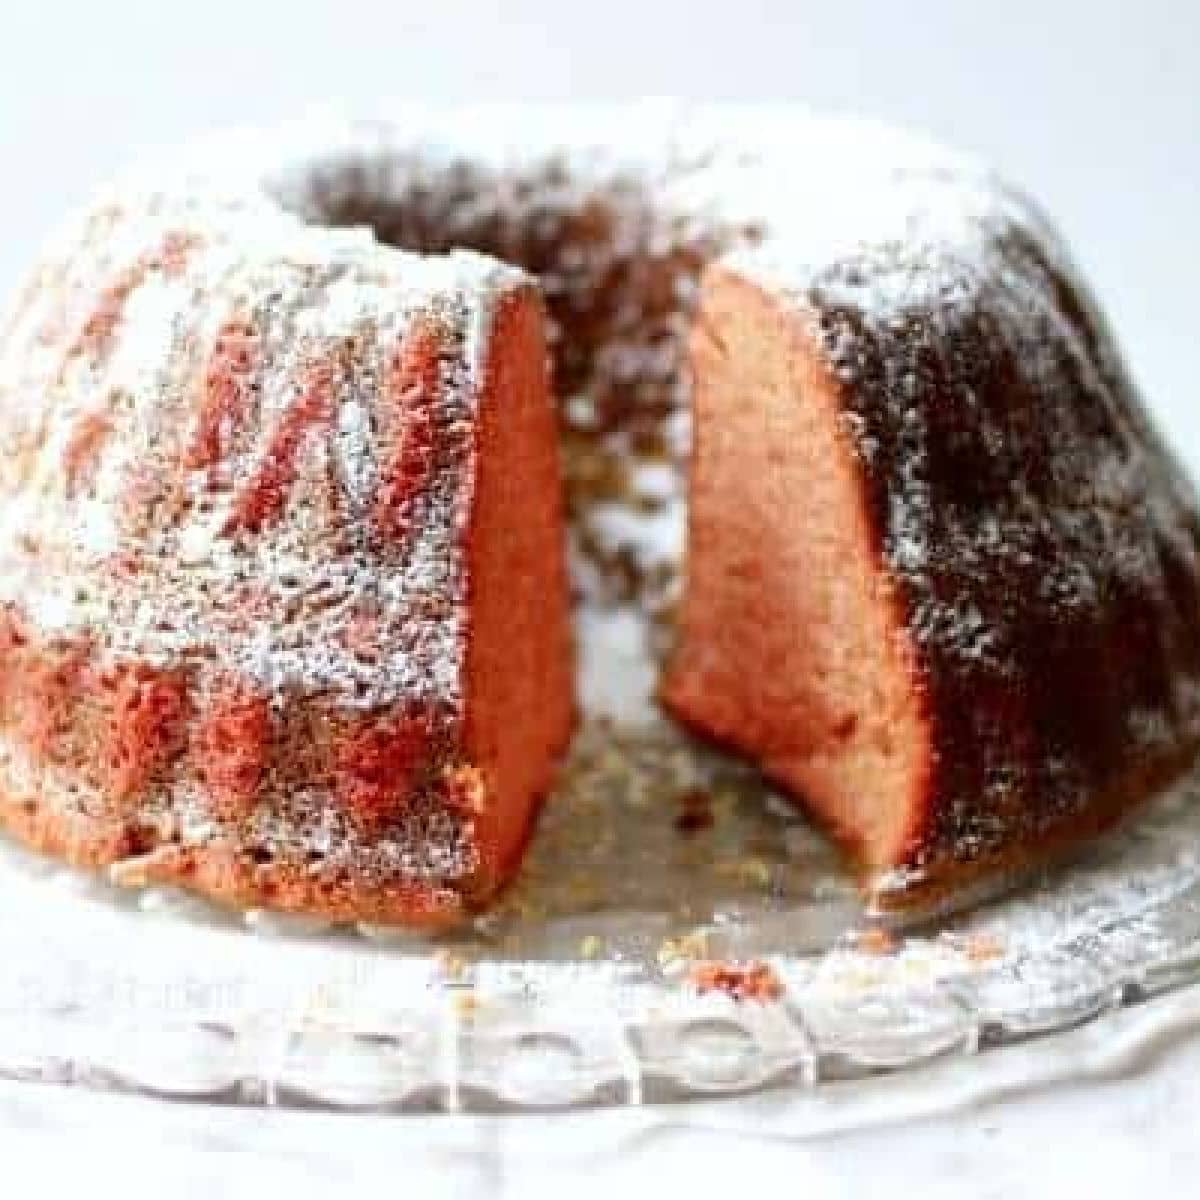
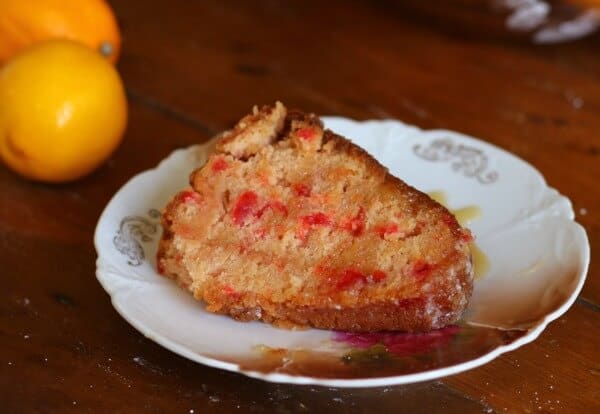
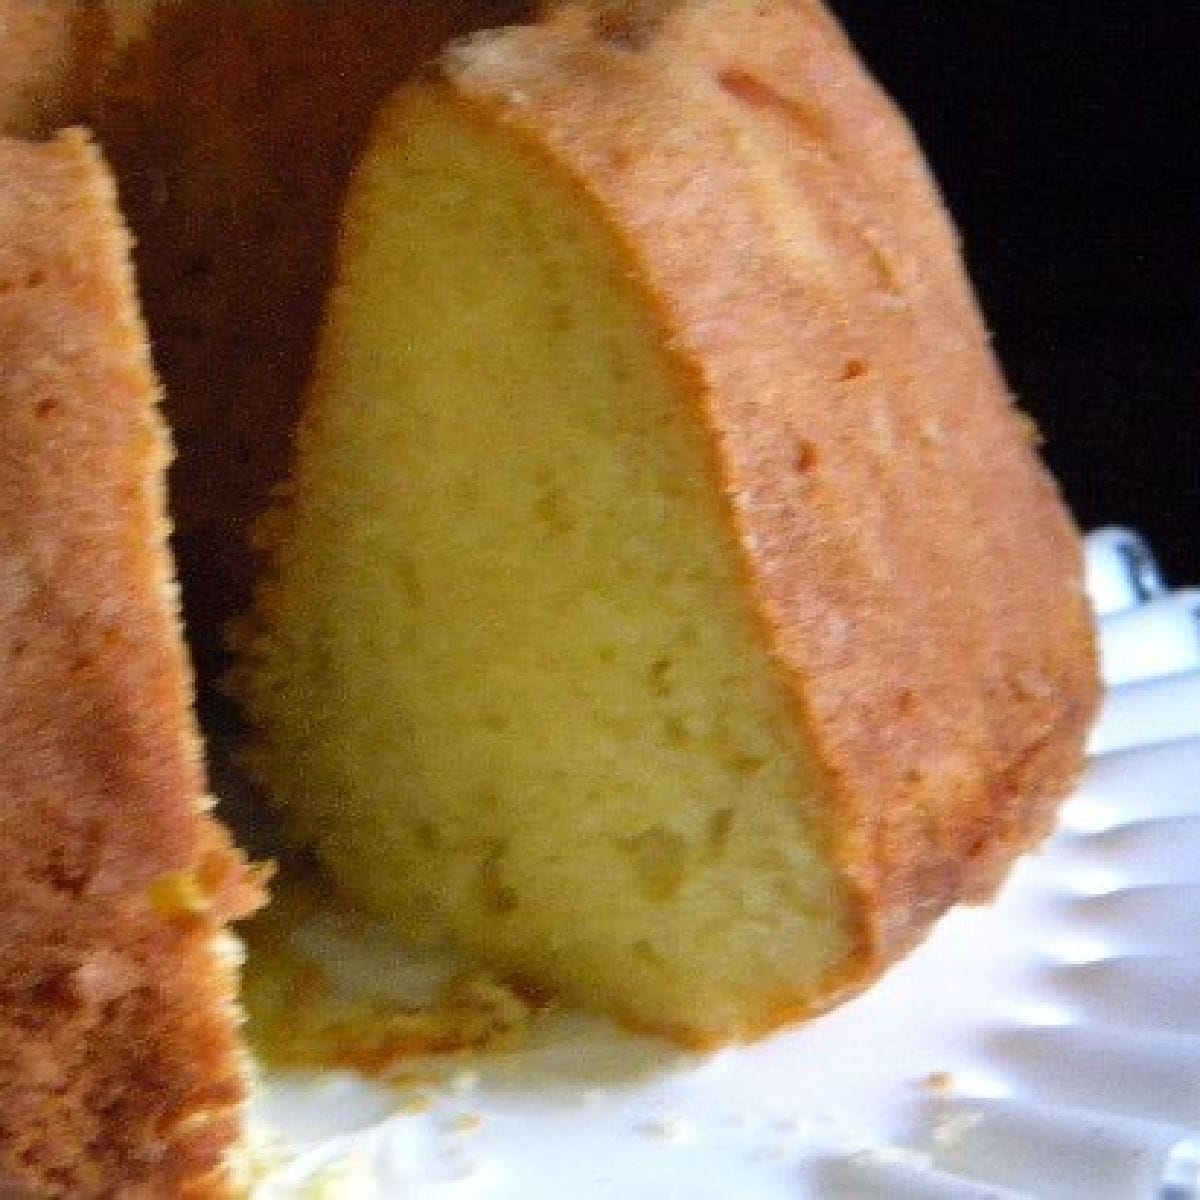
Margarita Pound Cake
-
French Vanilla Cupcakes
-
Texas Tornado Cake
-
Strawberry Sheet Cake with Cream Cheese Frosting
-
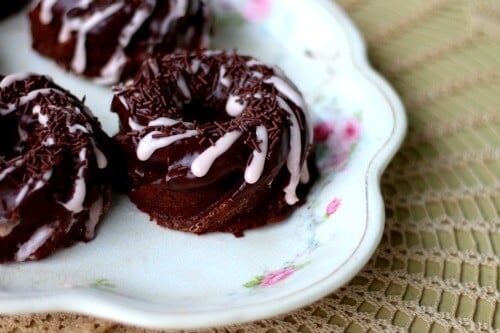
Guinness Fudge Bundt Cake
-
White Chocolate Key Lime Bundt Cake
-
Whipped Cream Cheese Frosting
-
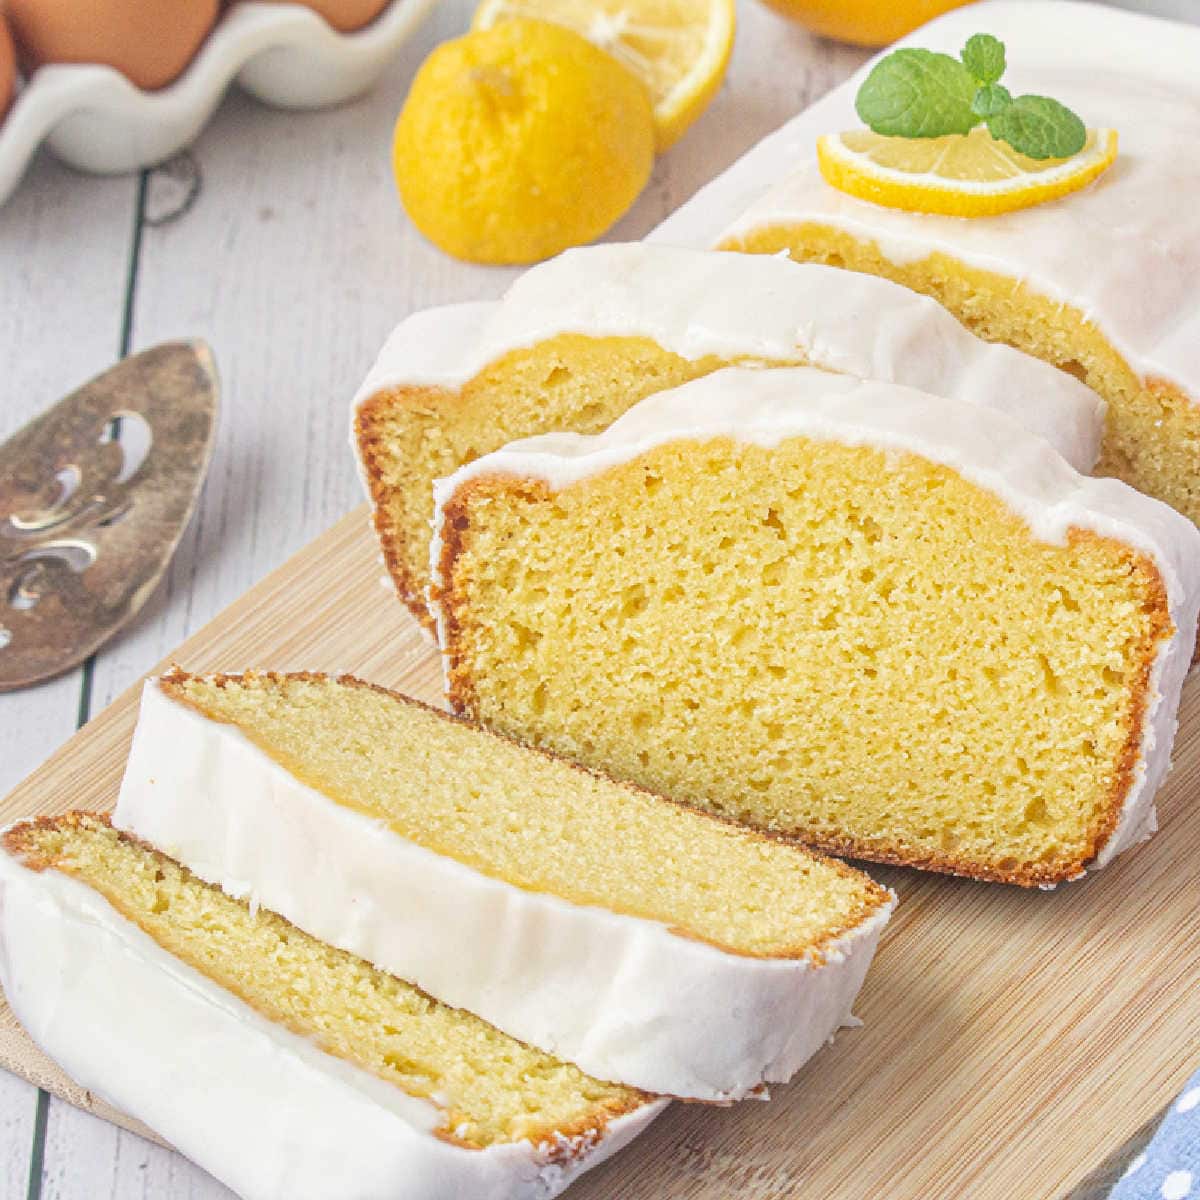
Starbucks Copycat Lemon Loaf
-
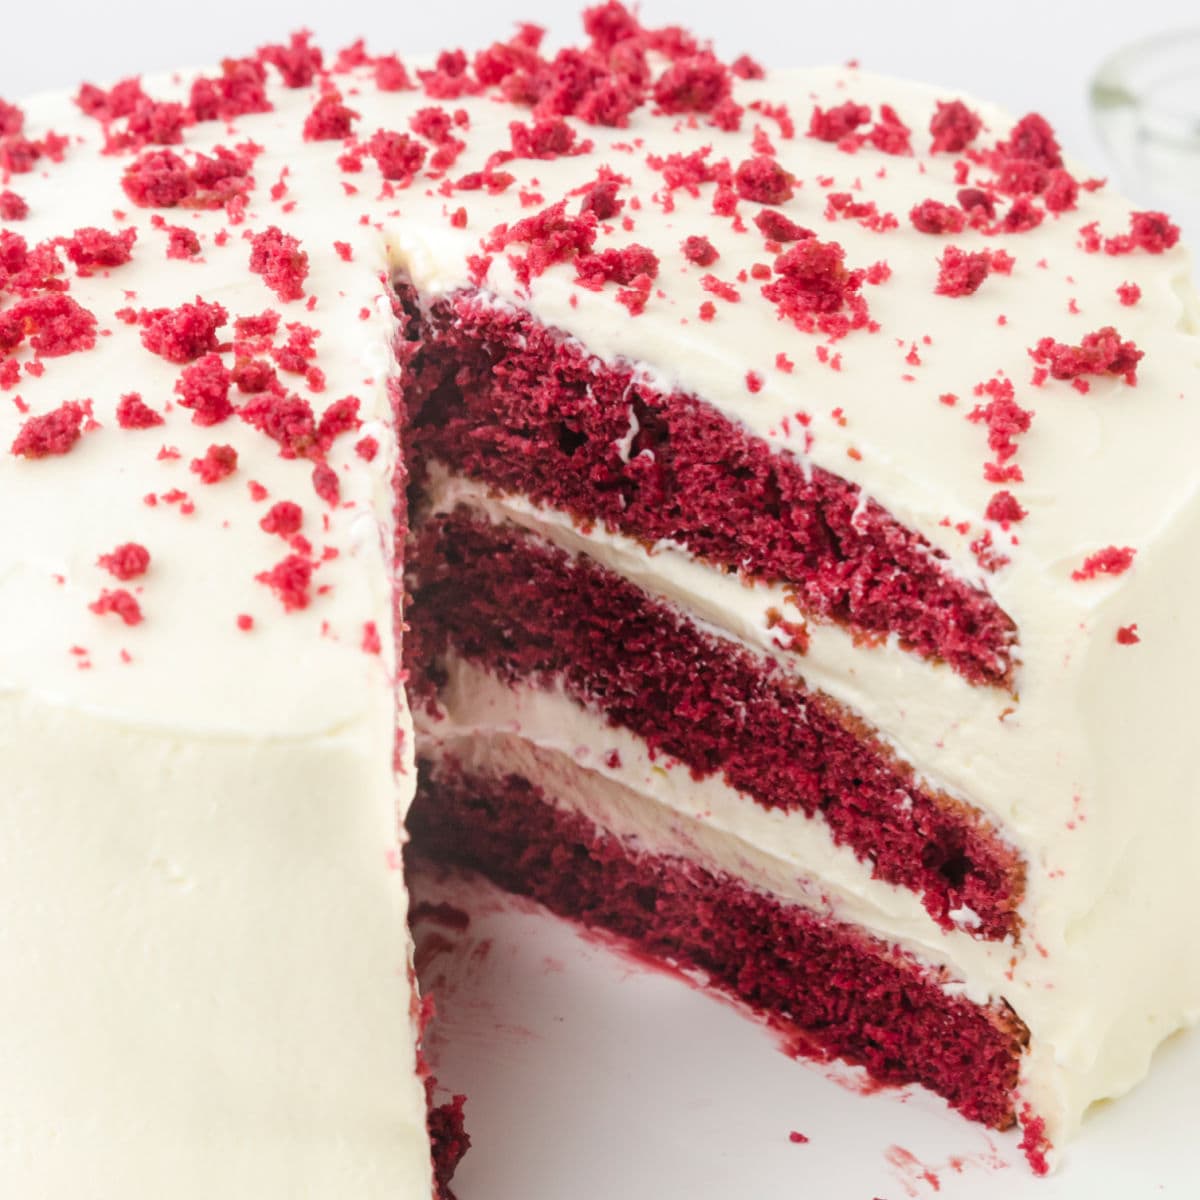
Southern Red Velvet Cake
-
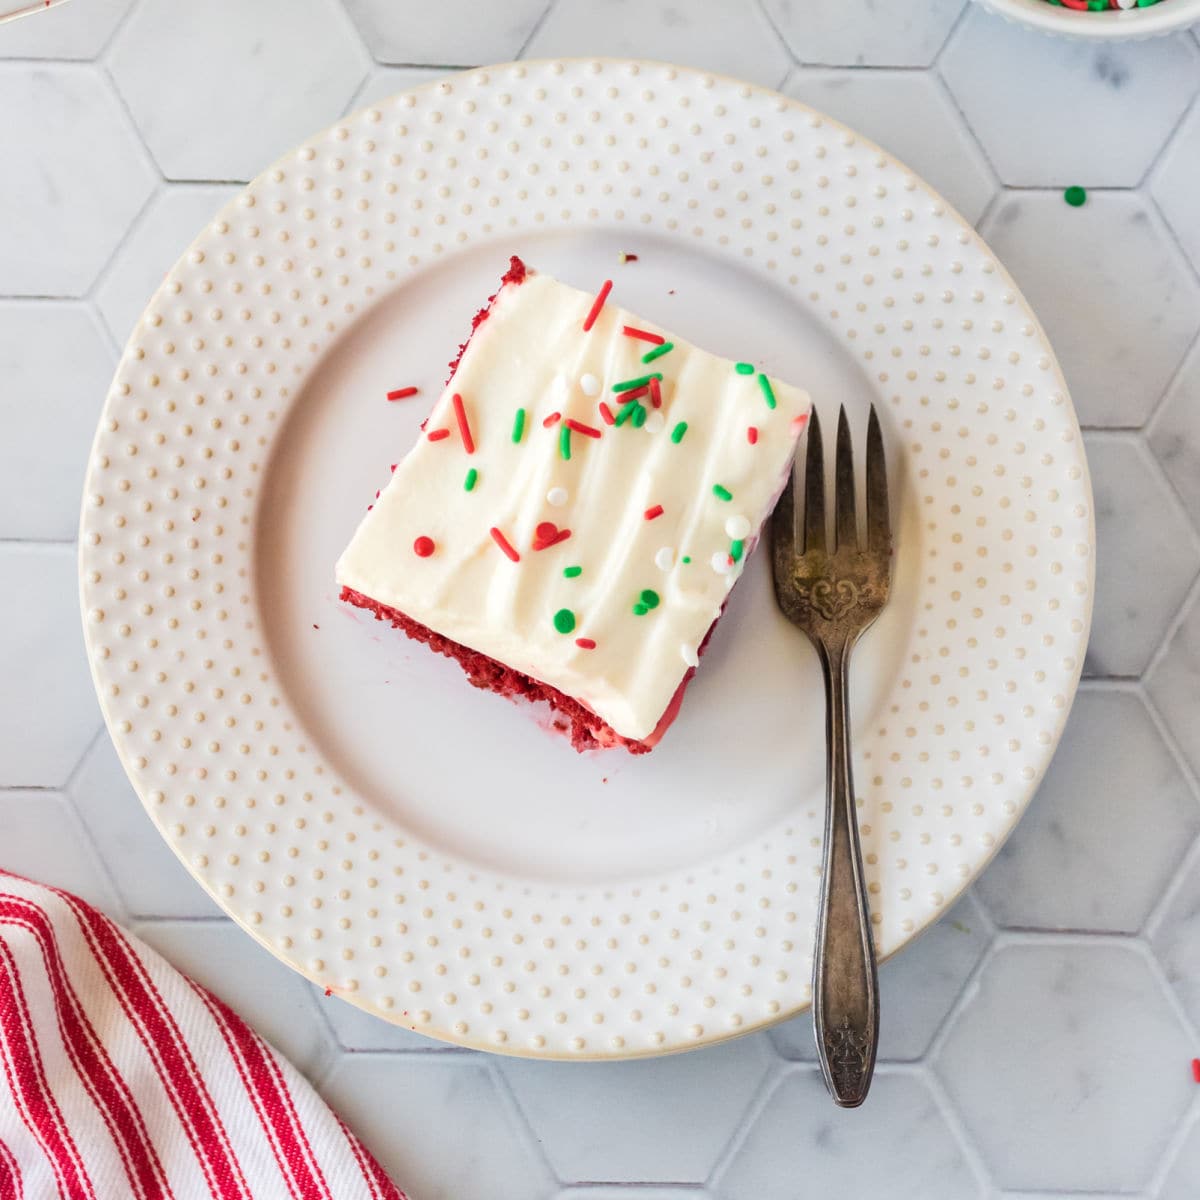
Red Velvet Poke Cake
-
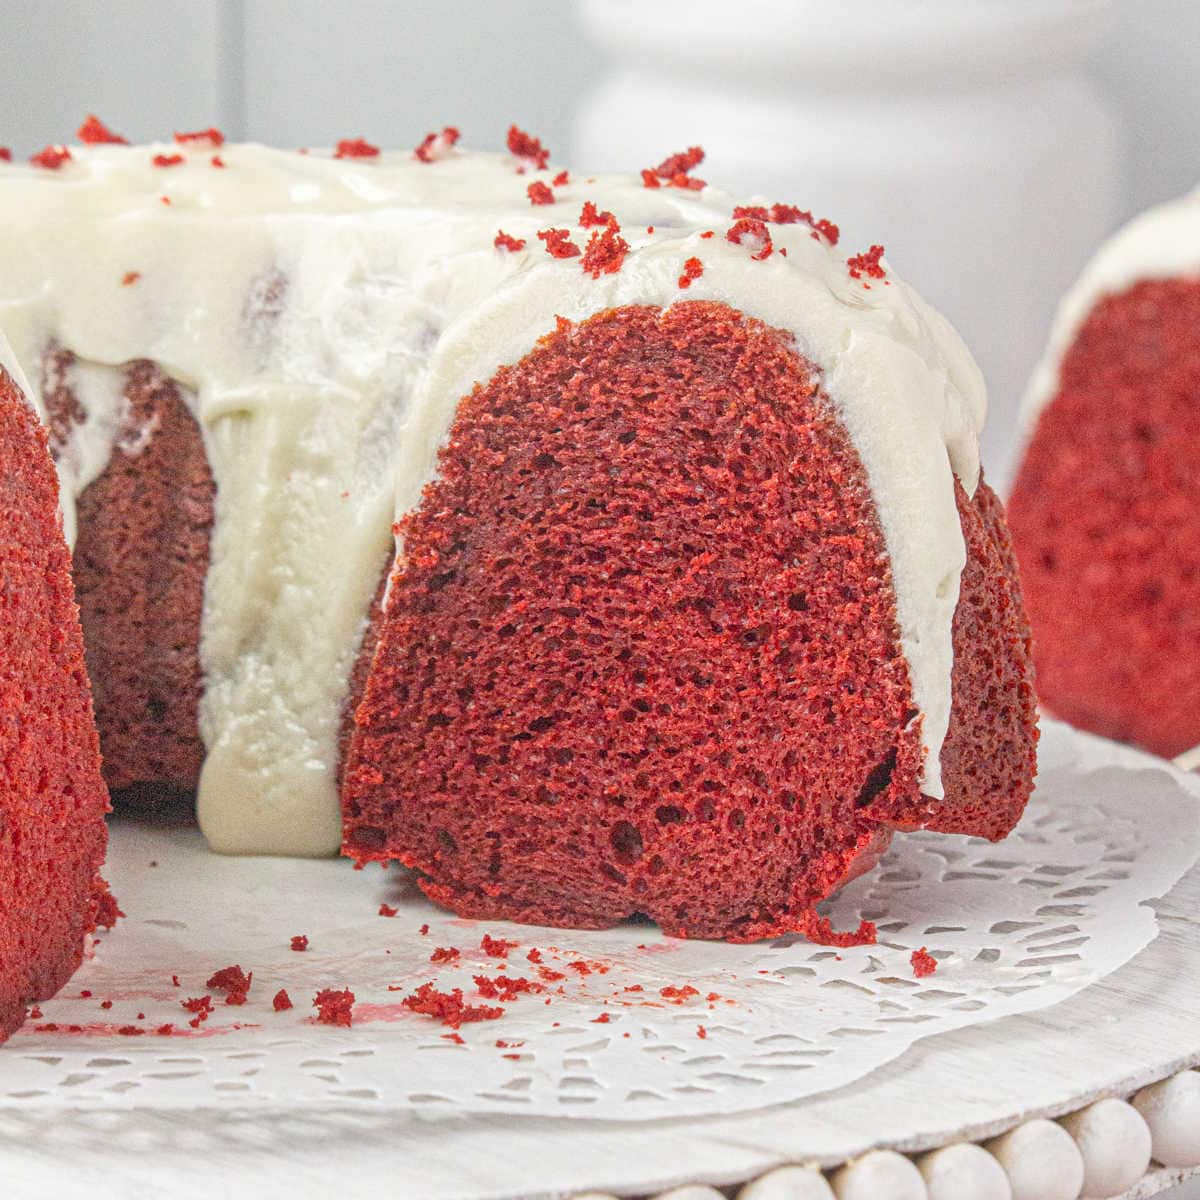
Red Velvet Bundt Cake
-
Pound Cake vs. Bundt Cake
-
Spice Cake with Cream Cheese Frosting
-
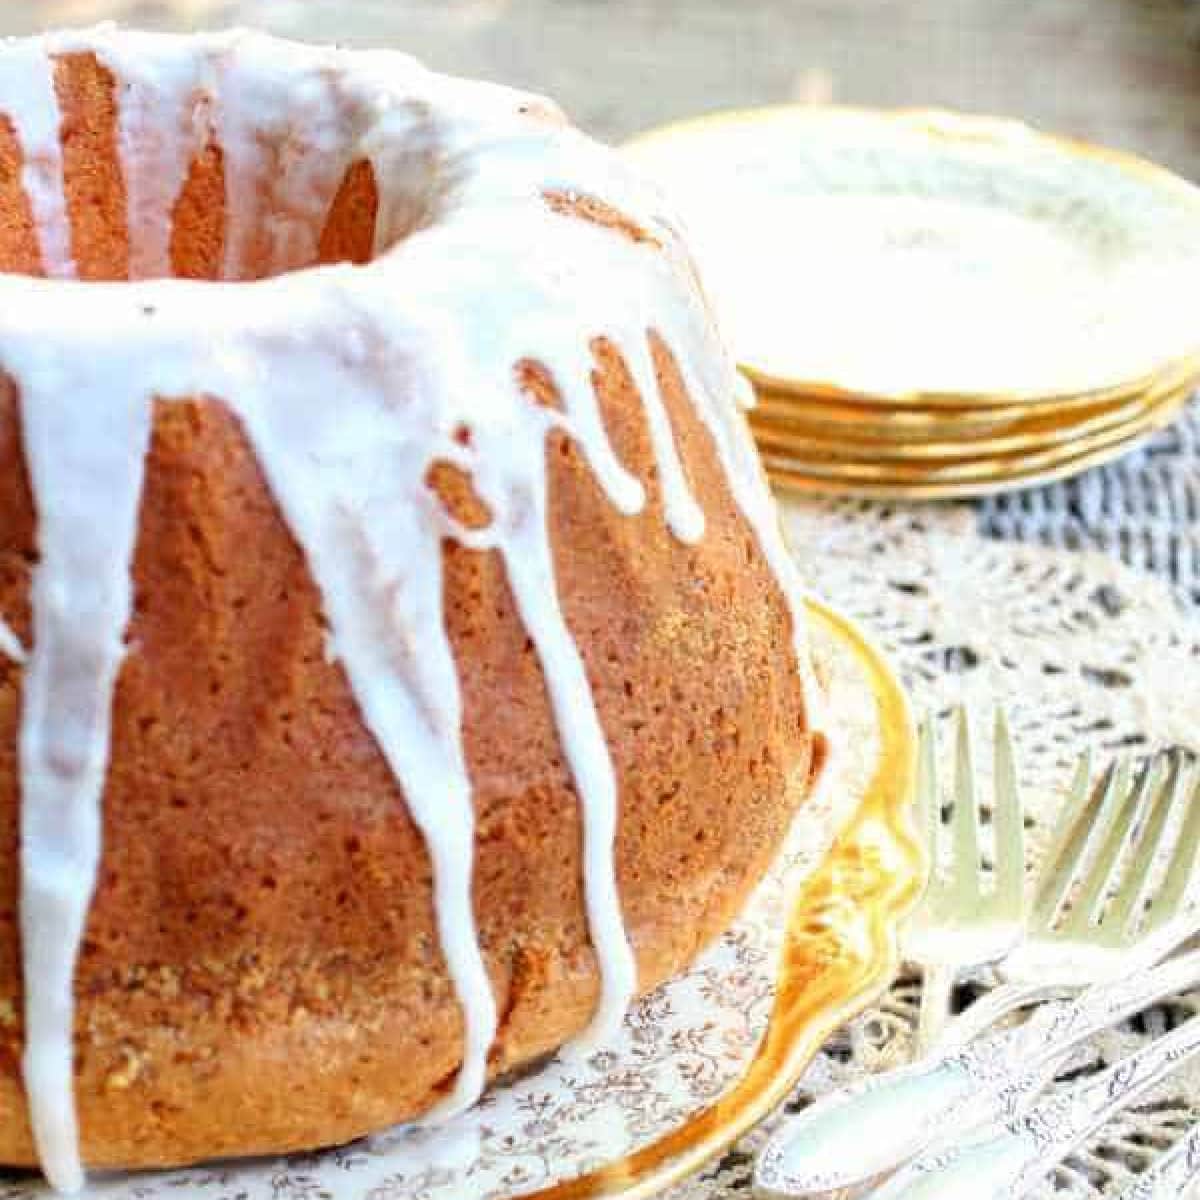
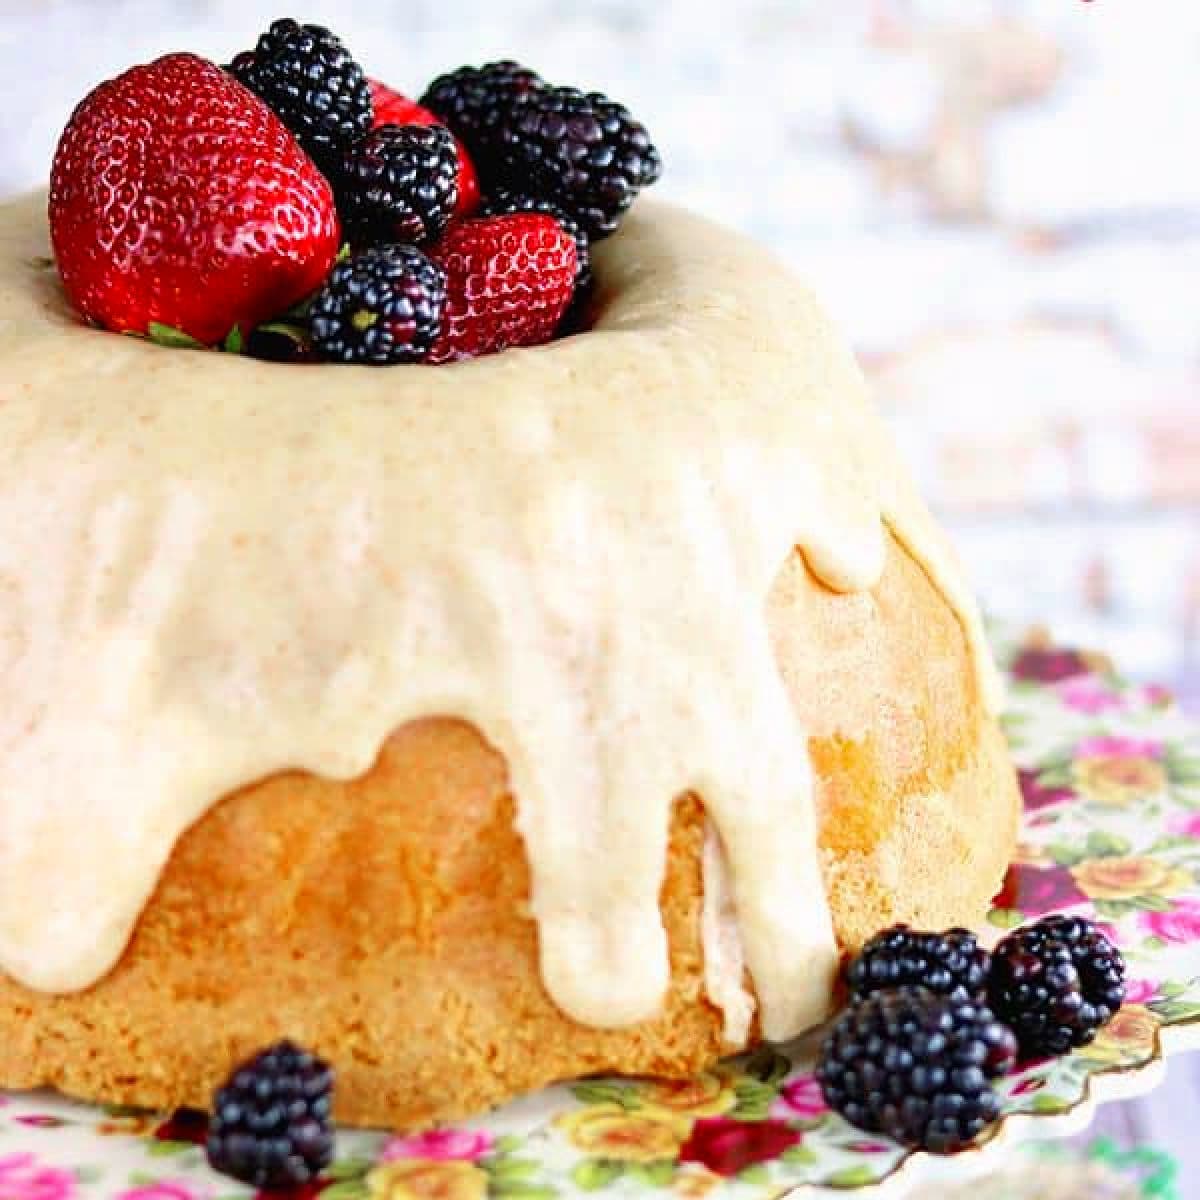
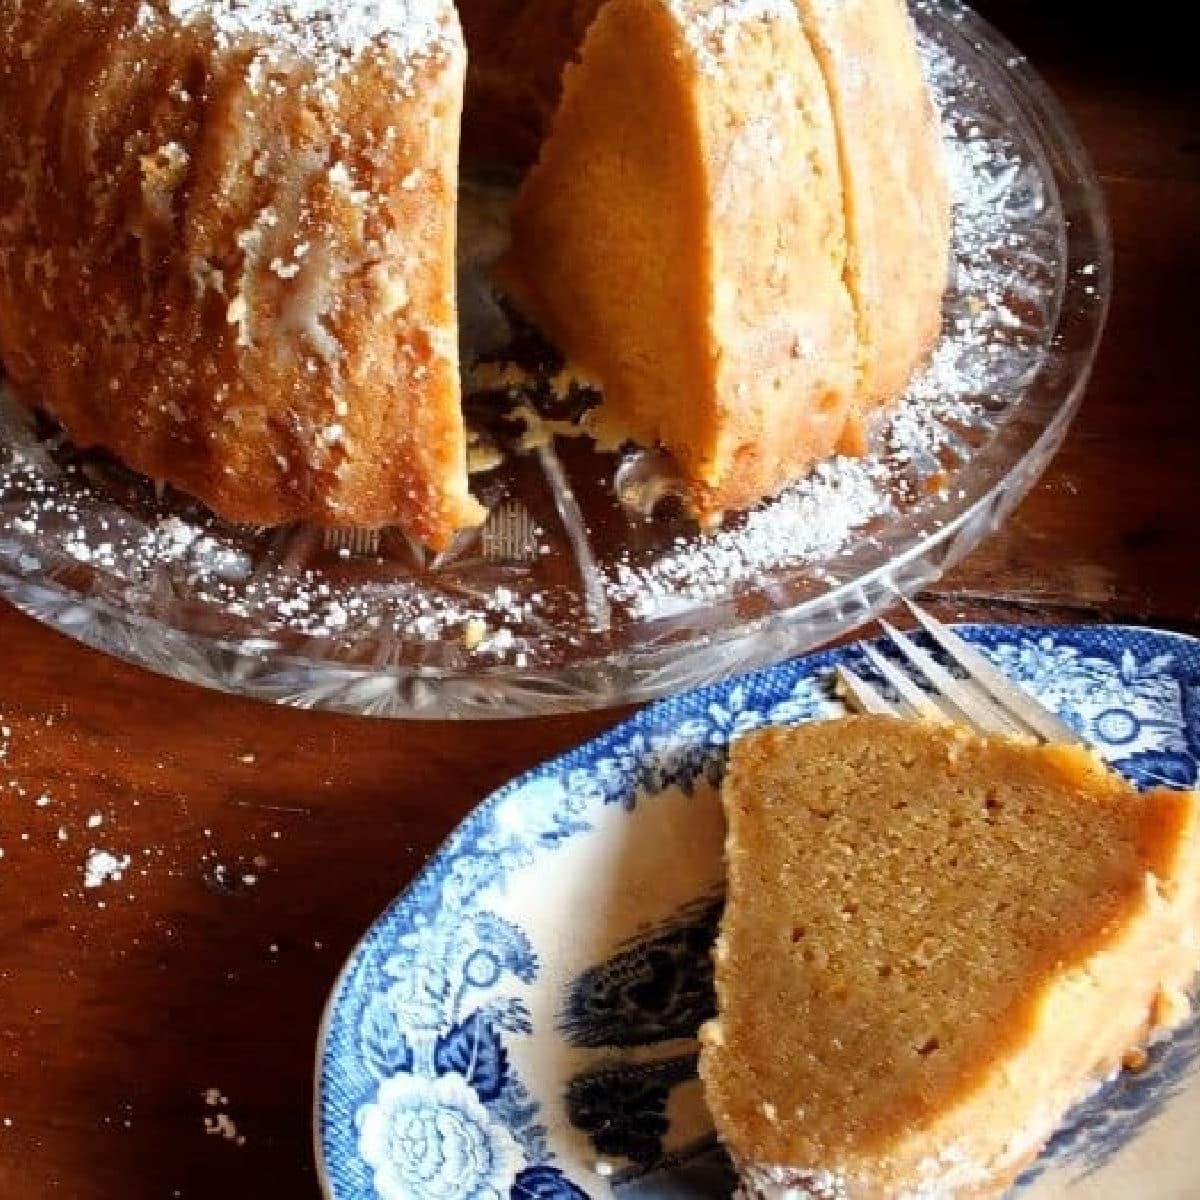
Rum Sweet Potato Pound Cake
-
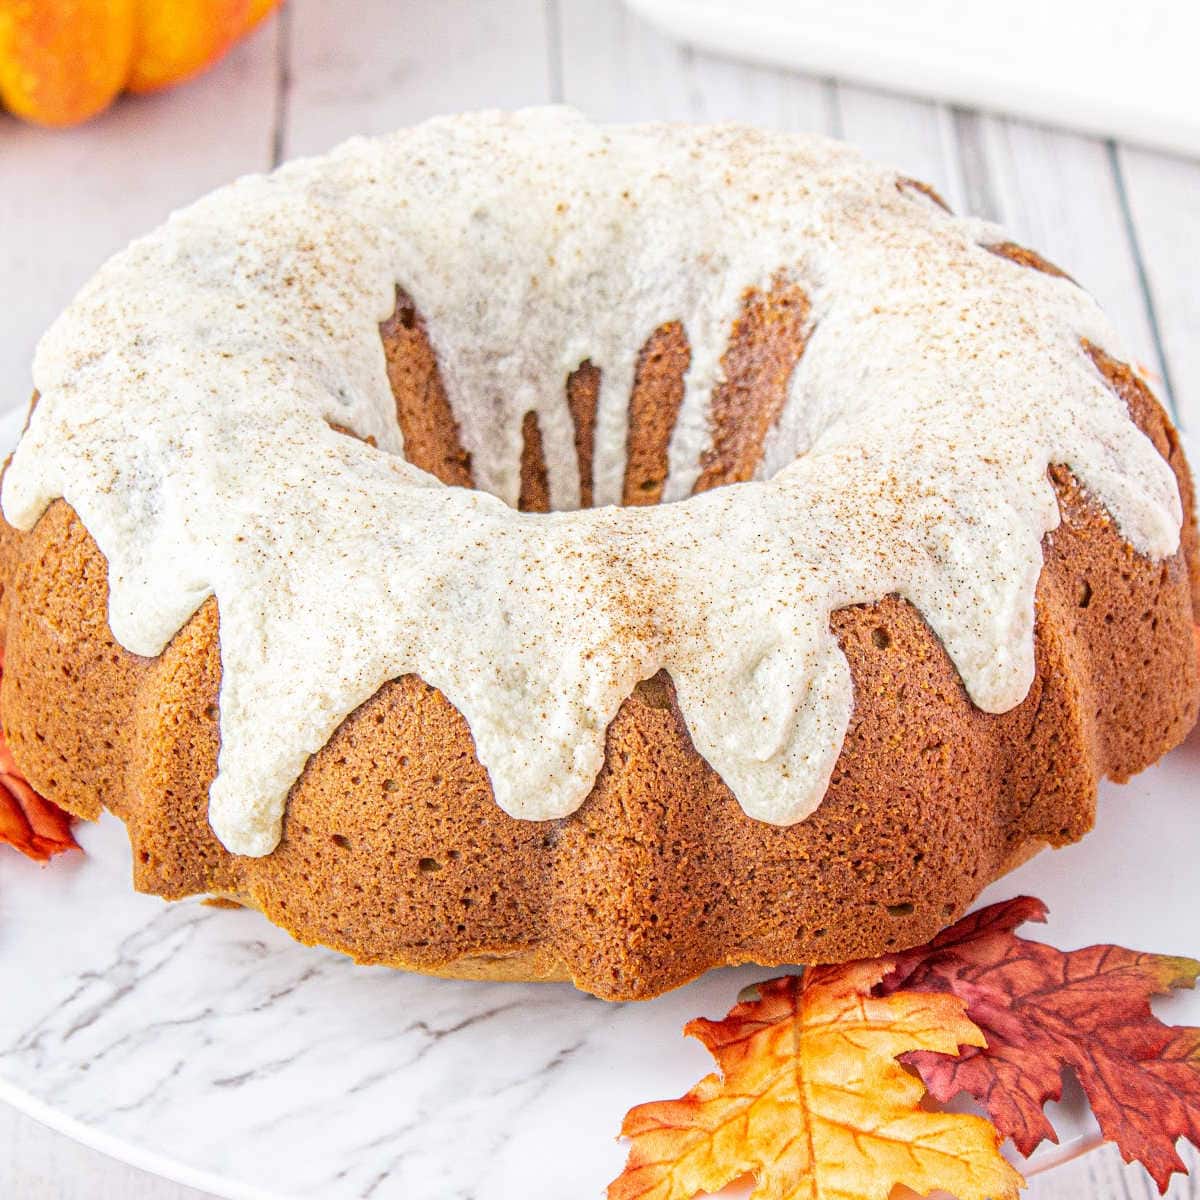
Pumpkin Bundt Cake with Glaze
-
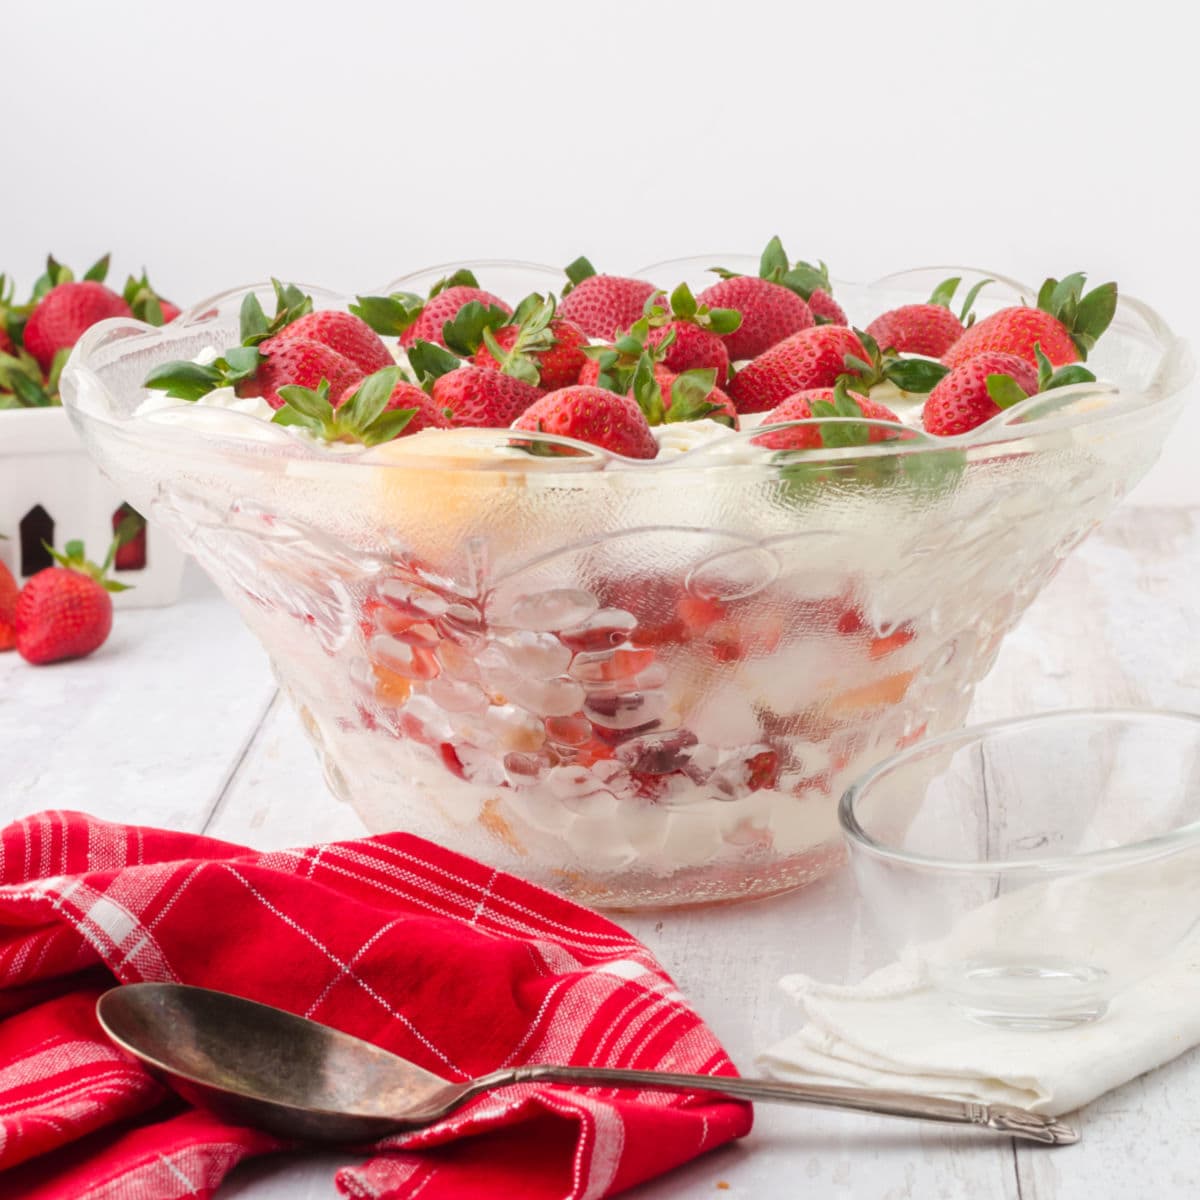
Strawberry Punch Bowl Cake
-
White Buttermilk Texas Sheet Cake
-
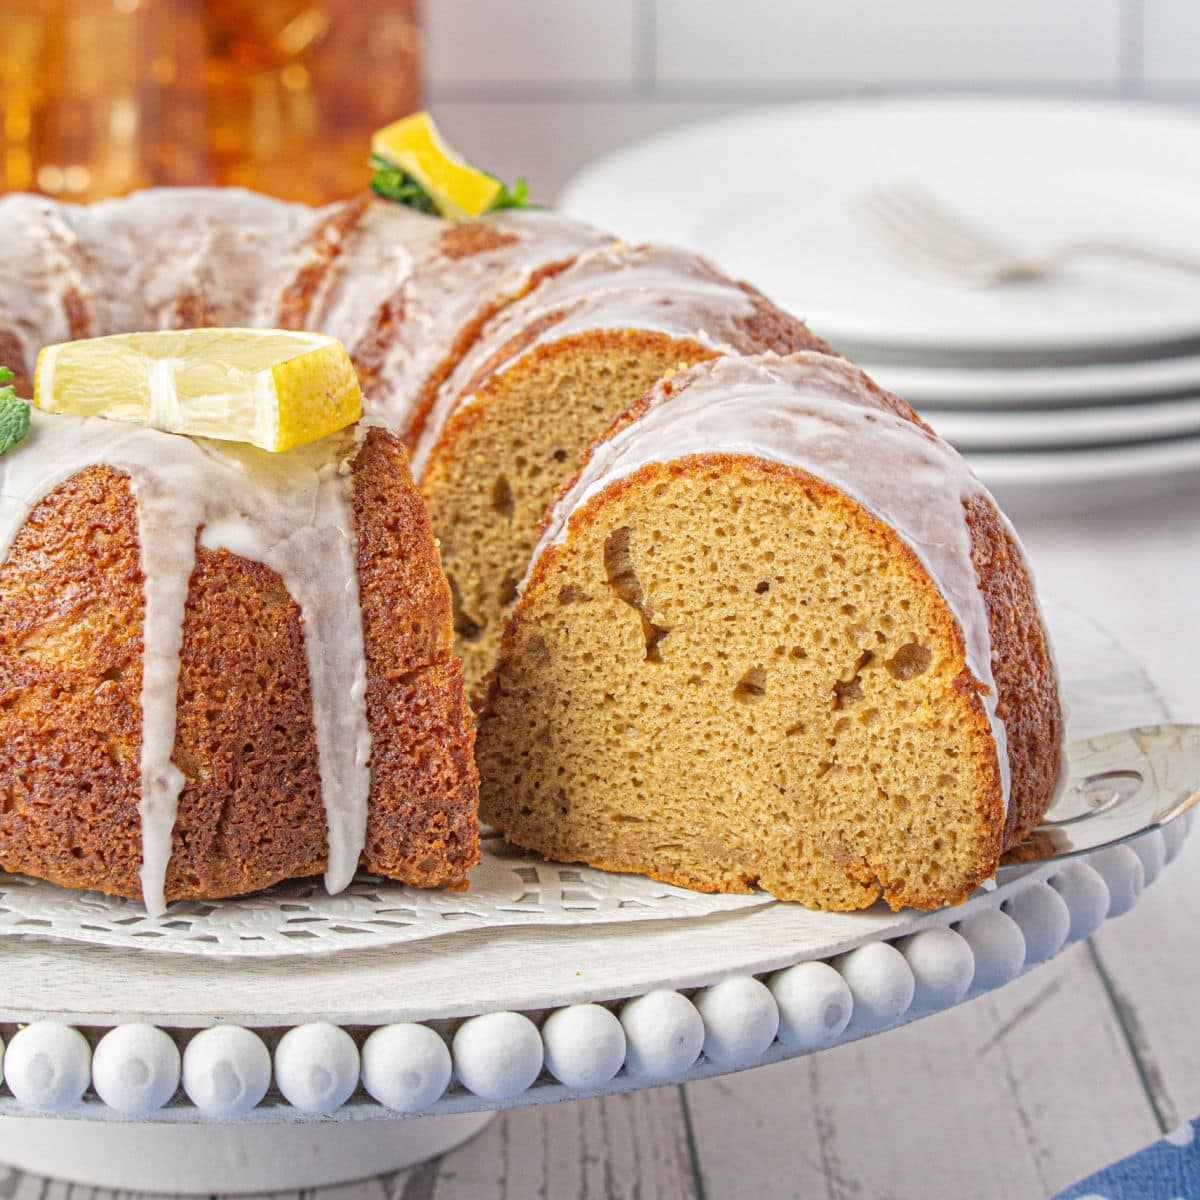
Sweet Tea Bundt Cake
-
Peach Cupcakes
-
Zebra Cake Recipe: Little Debbie Copycat
-
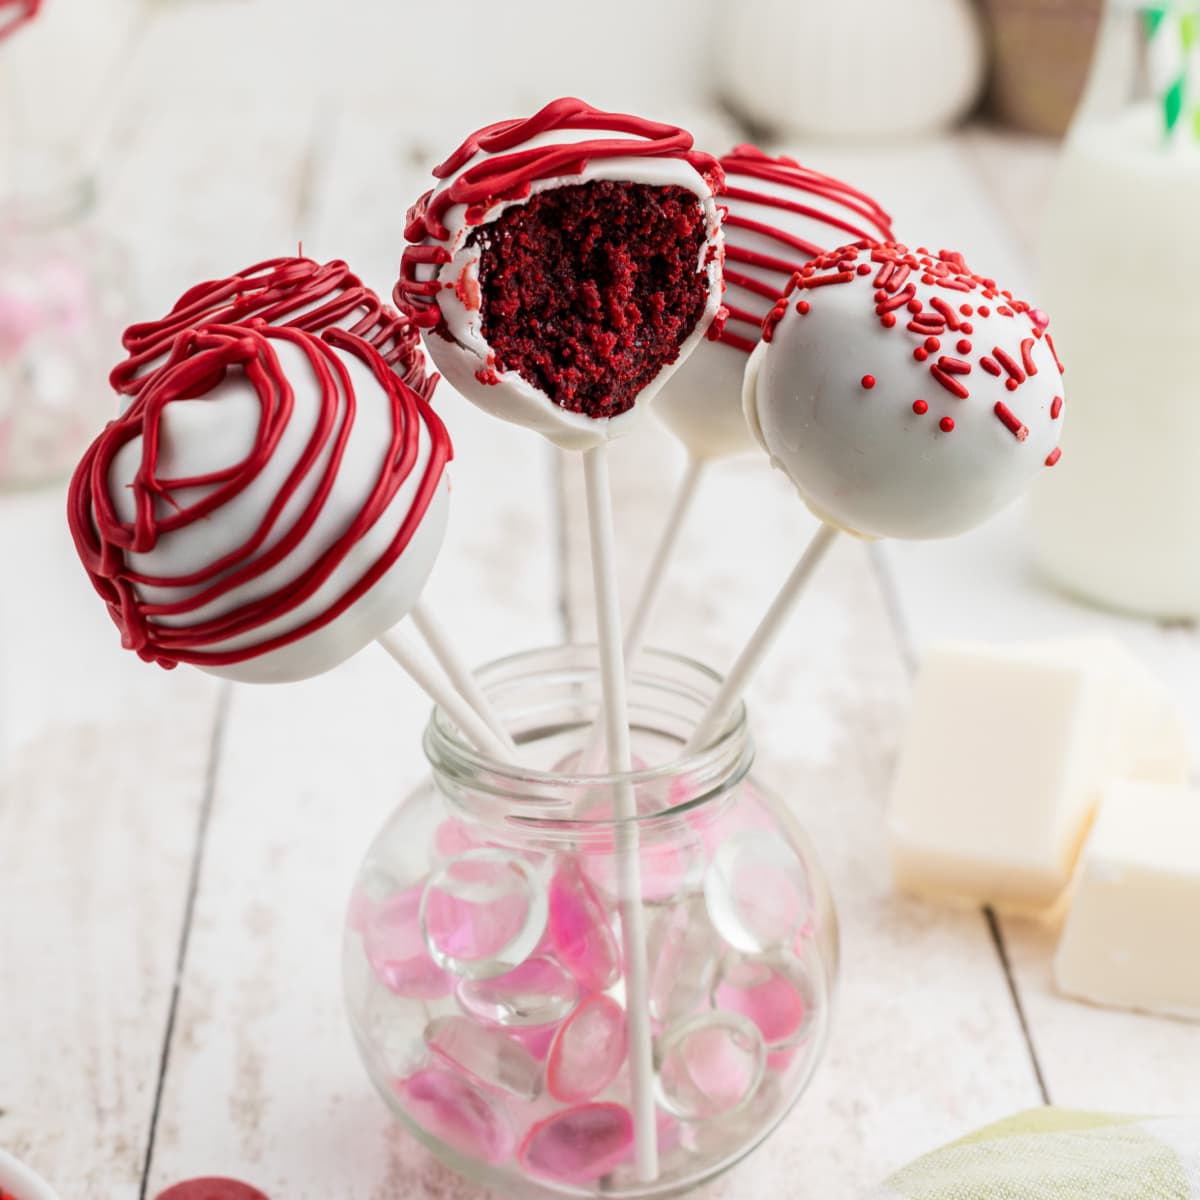
How to Make Red Velvet Cake Pops
-
Classic Yellow Cake Recipe
-
Oreo Cookies and Cream Cake Filling (Fast & Easy Buttercream Recipe)
-
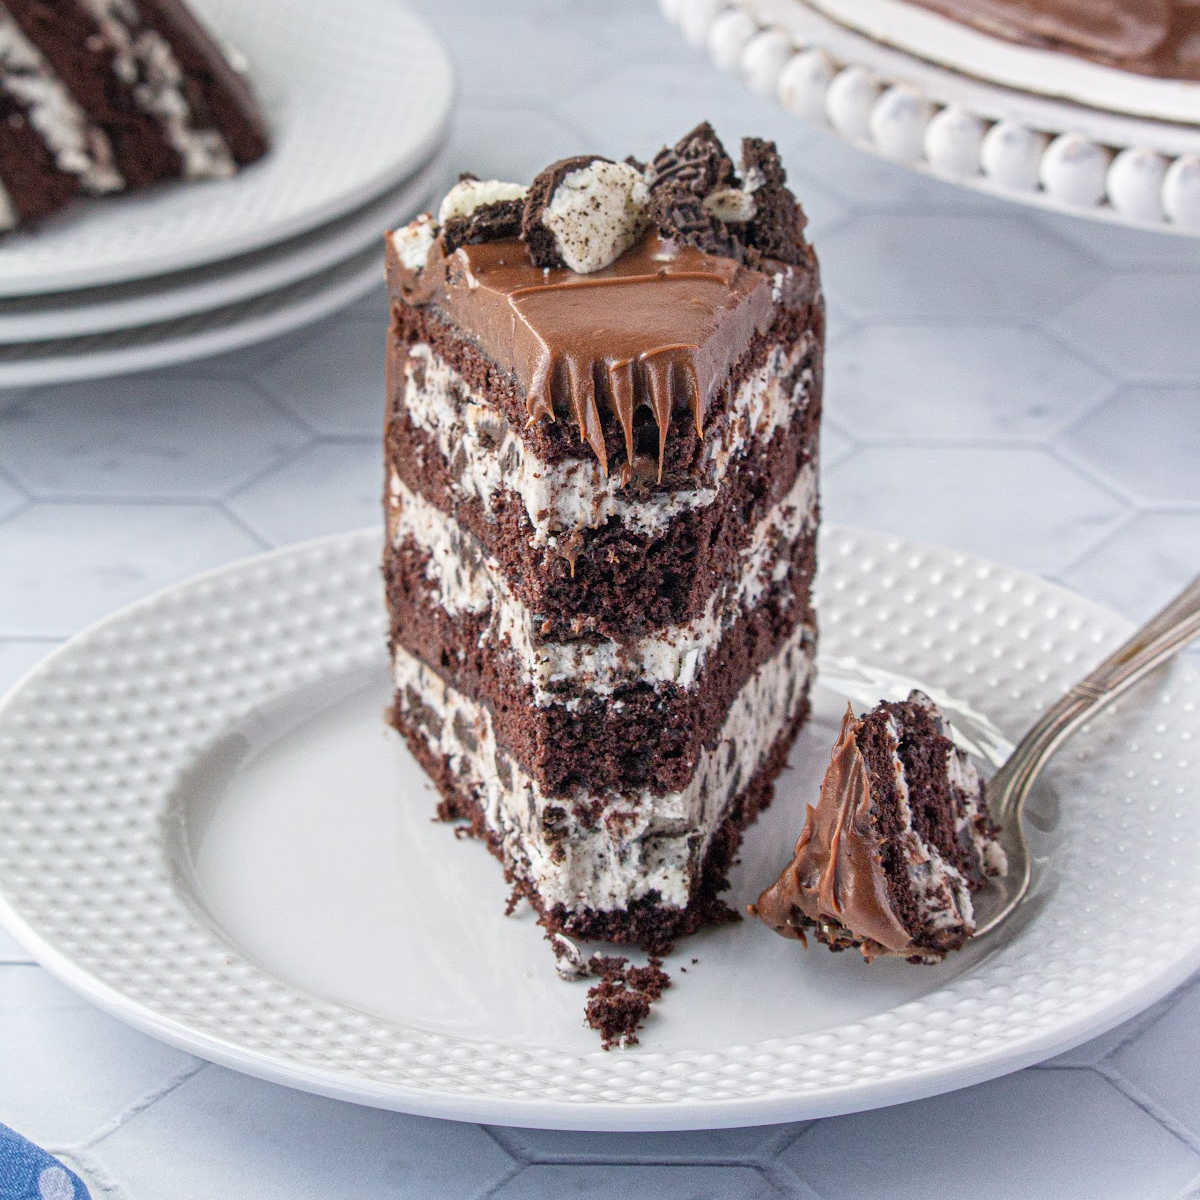
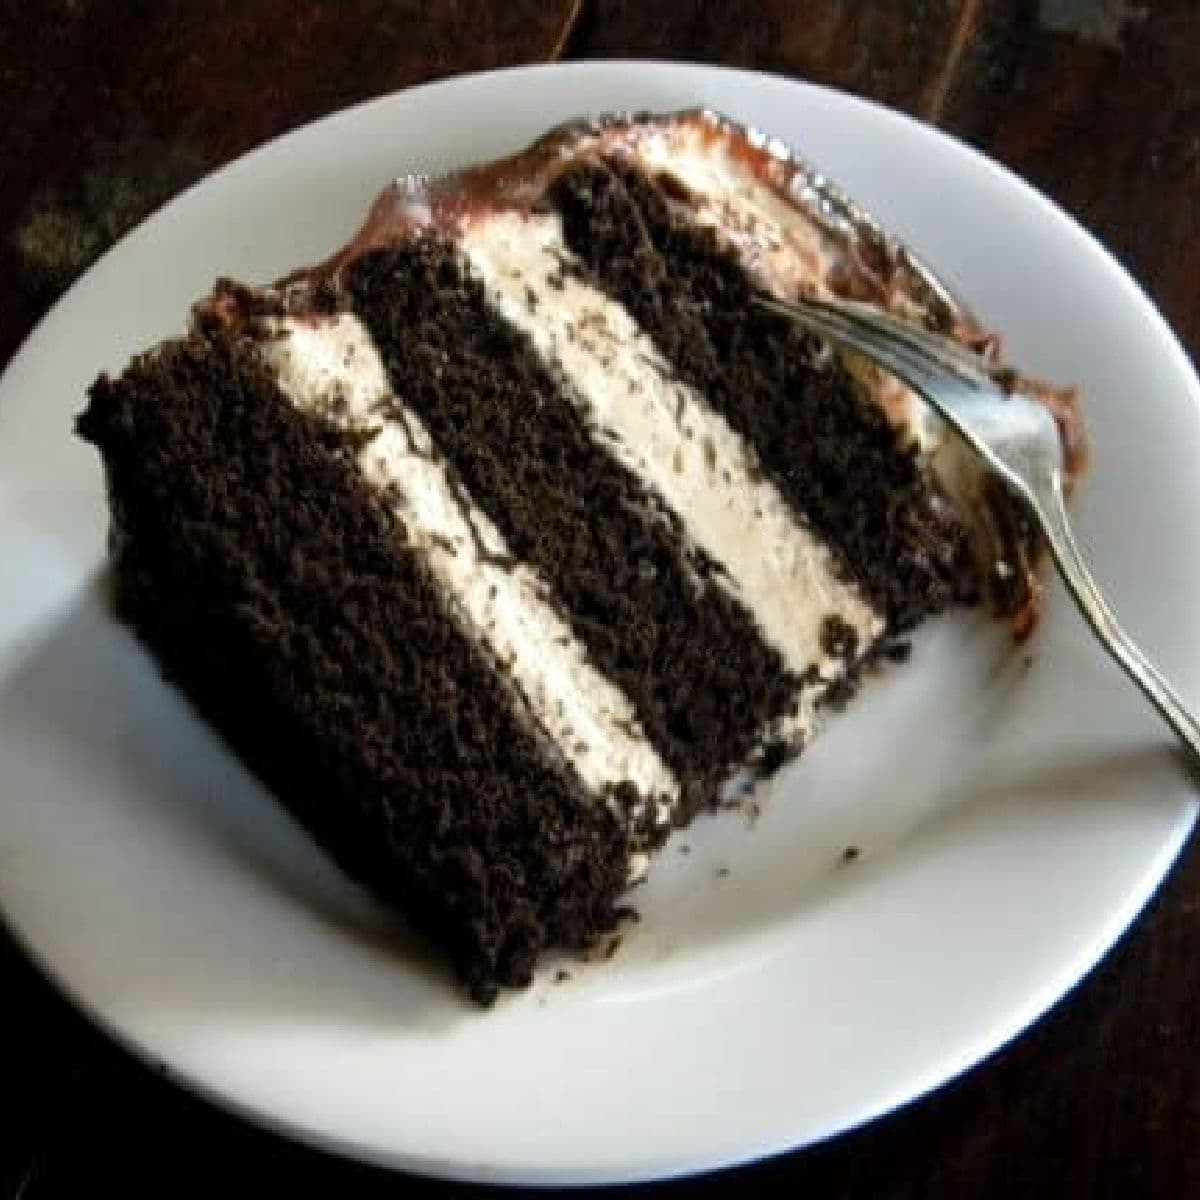
Chocolate Layer Cake with Cookies and Cream Filling
-
Blueberry Sour Cream Bundt Cake with Lemon Glaze
-
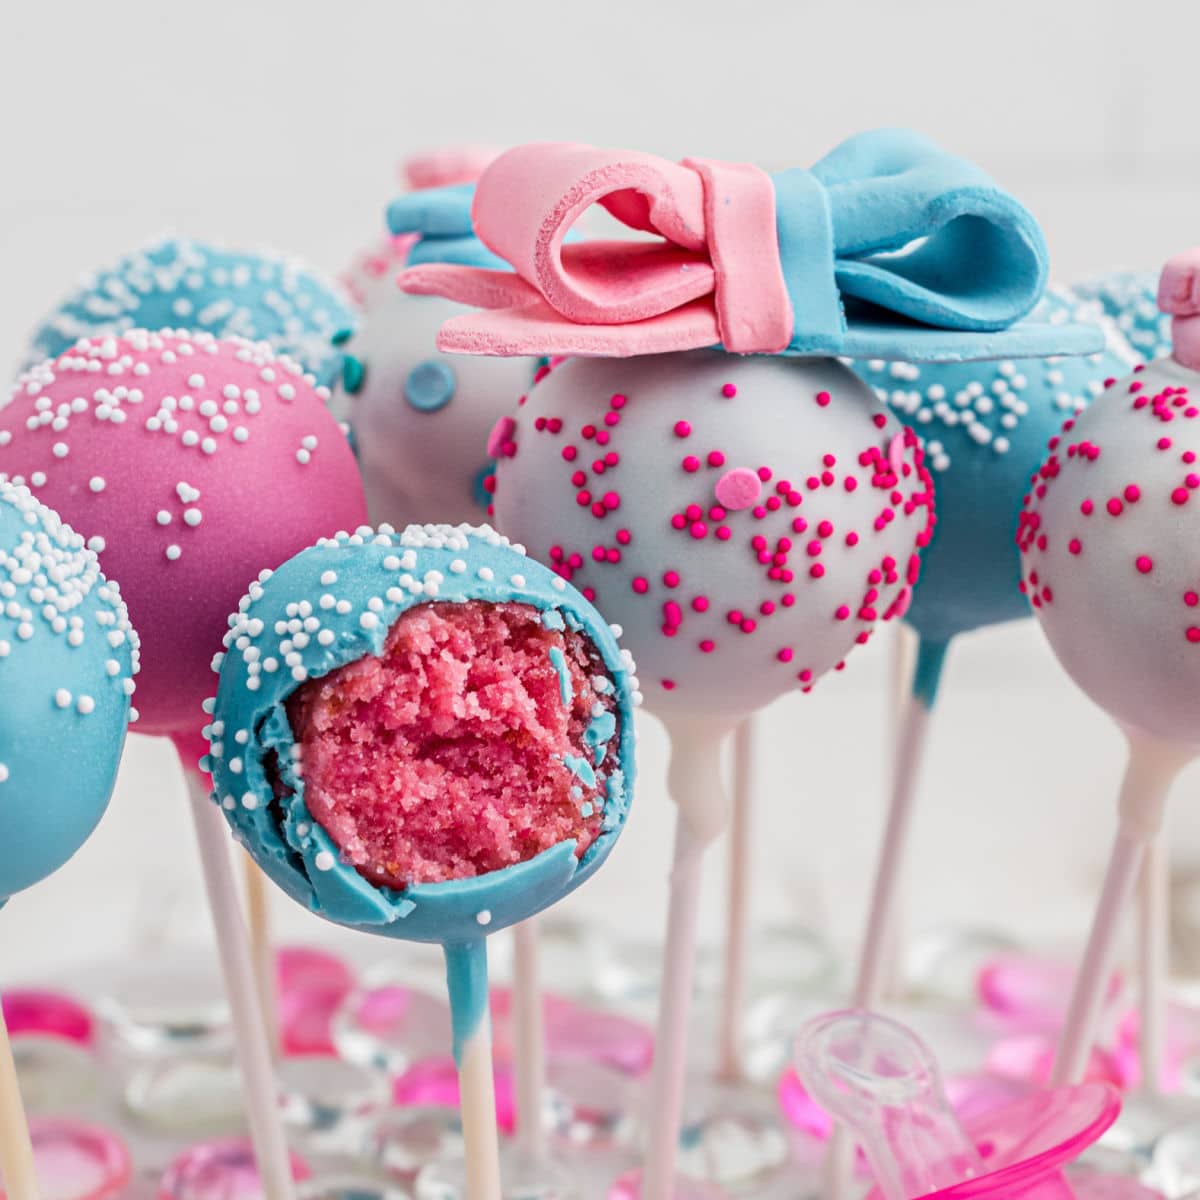
How to Make Gender Reveal Cake Pops For a Baby Shower
-
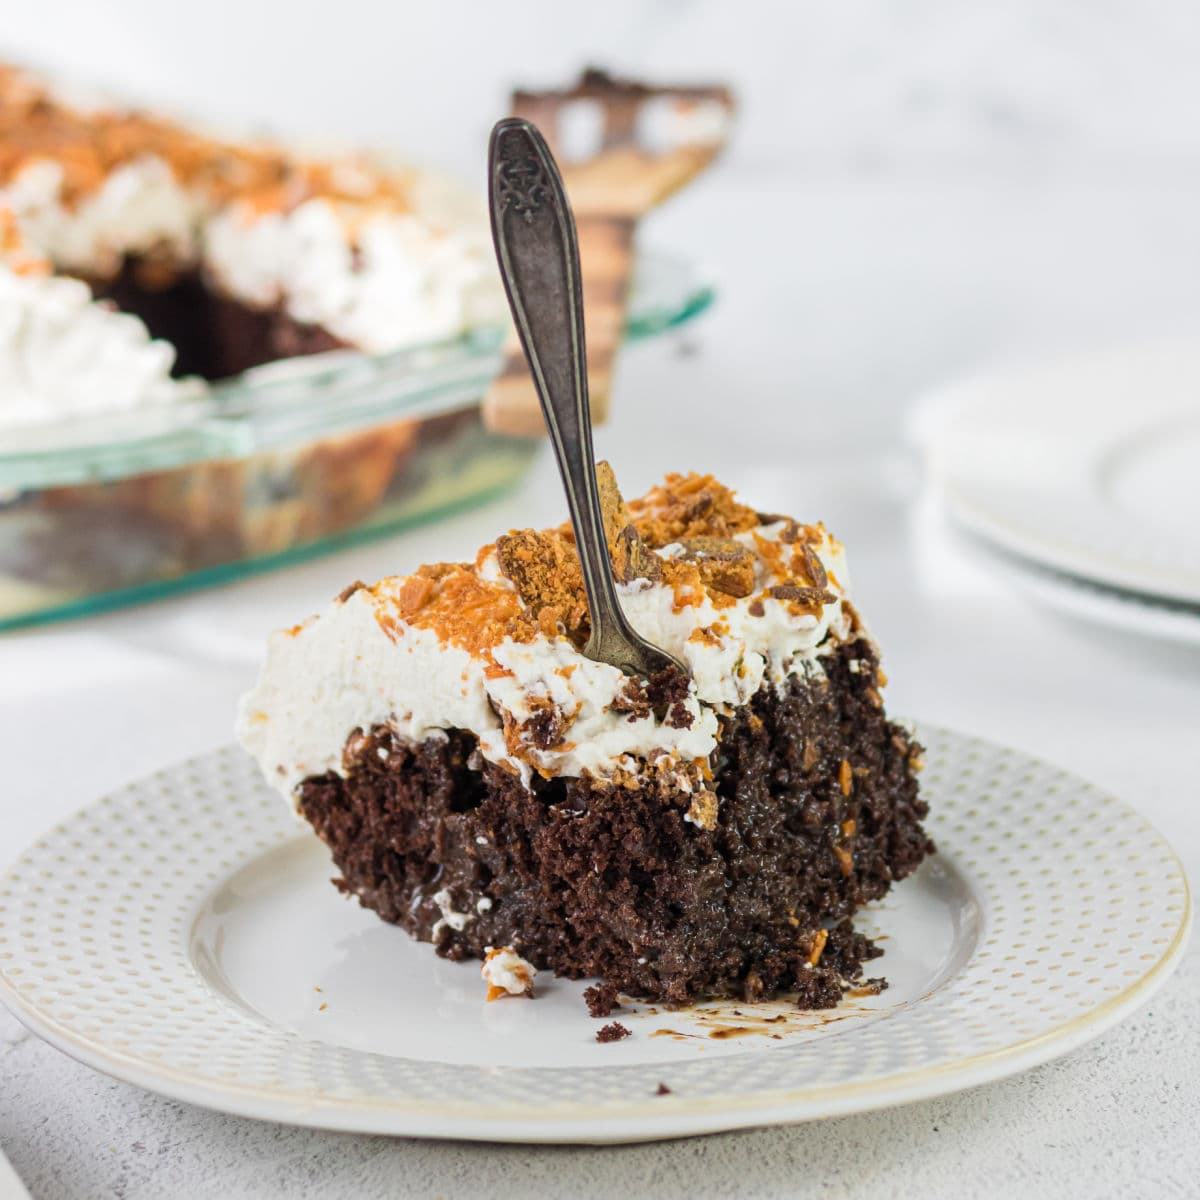
Burnt Sugar Fudge Cake with Peanut Butter Mousse
-
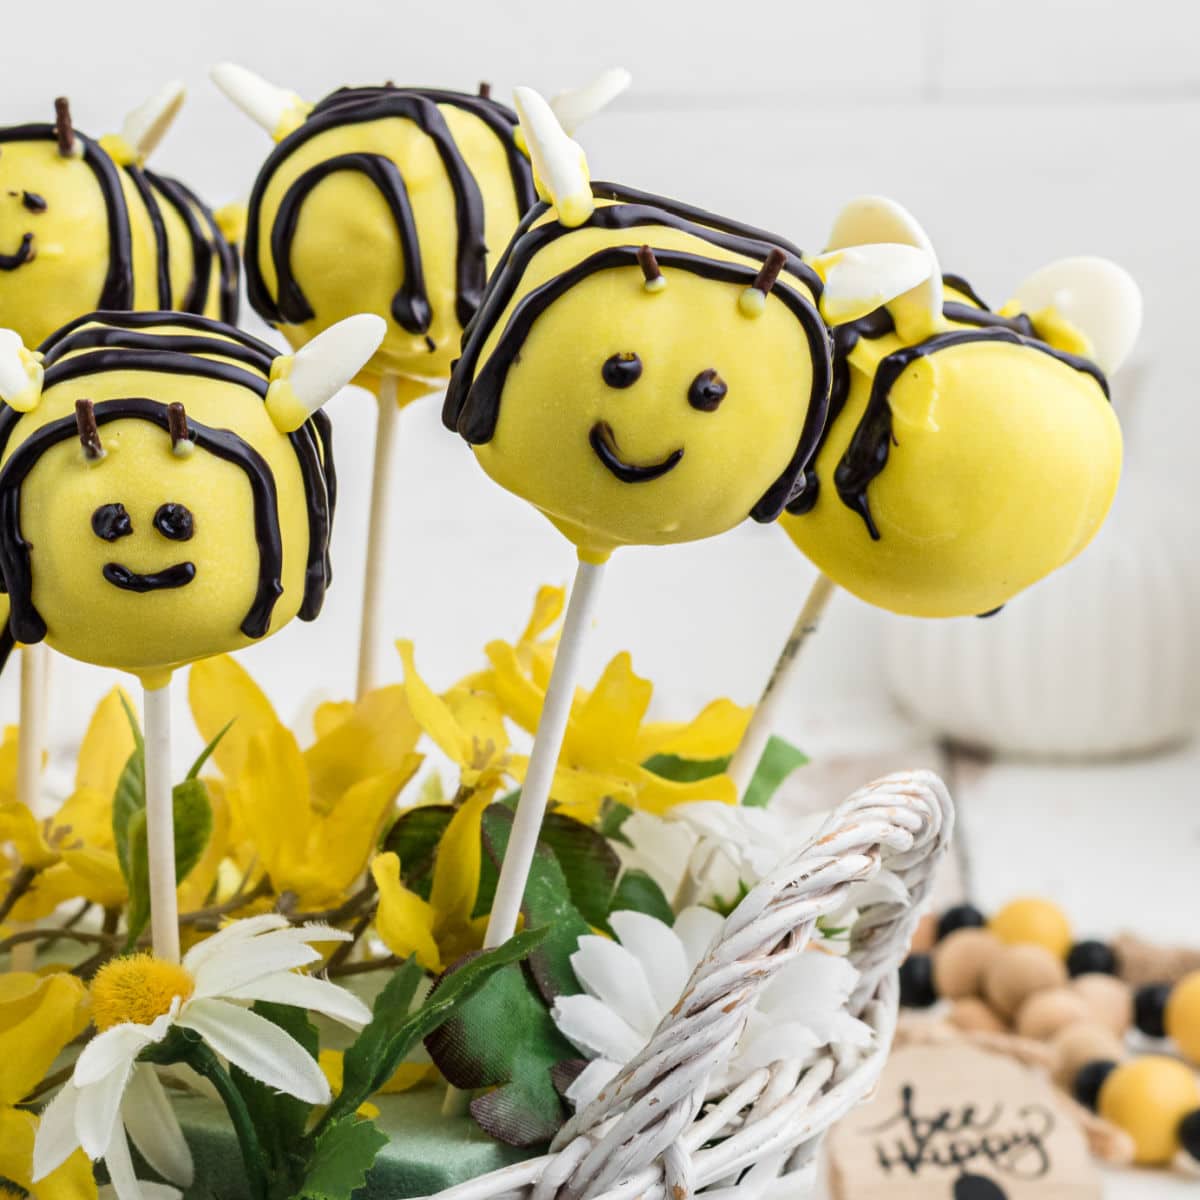
Make Bumble Bee Cake Pops with Step by Step Images
-
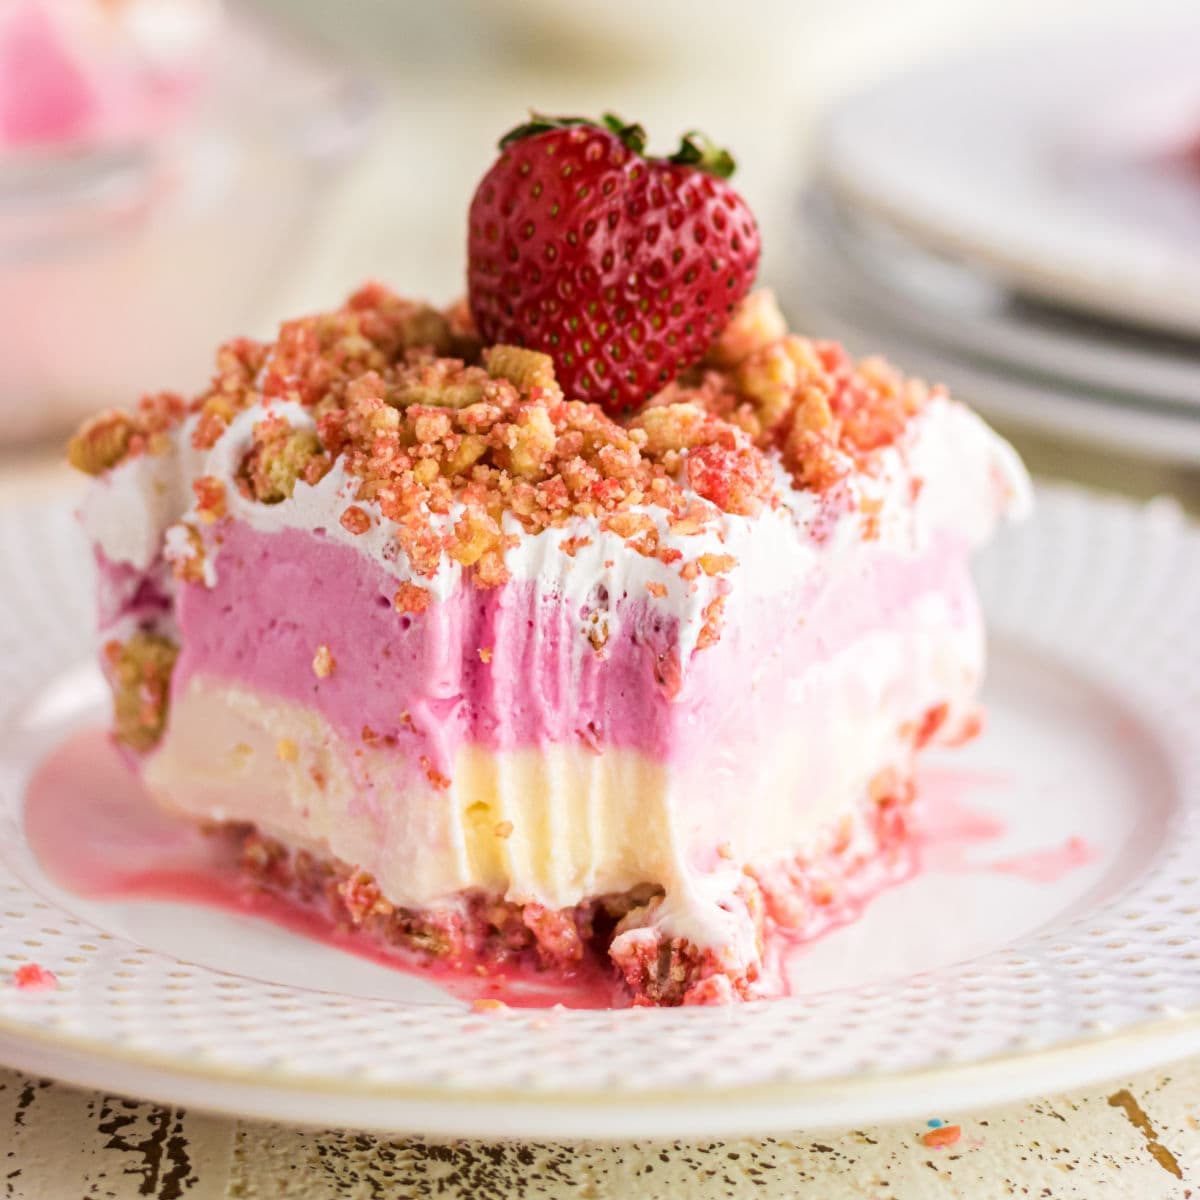
Strawberry Shortcake Crunch Ice Cream Cake Recipe
-
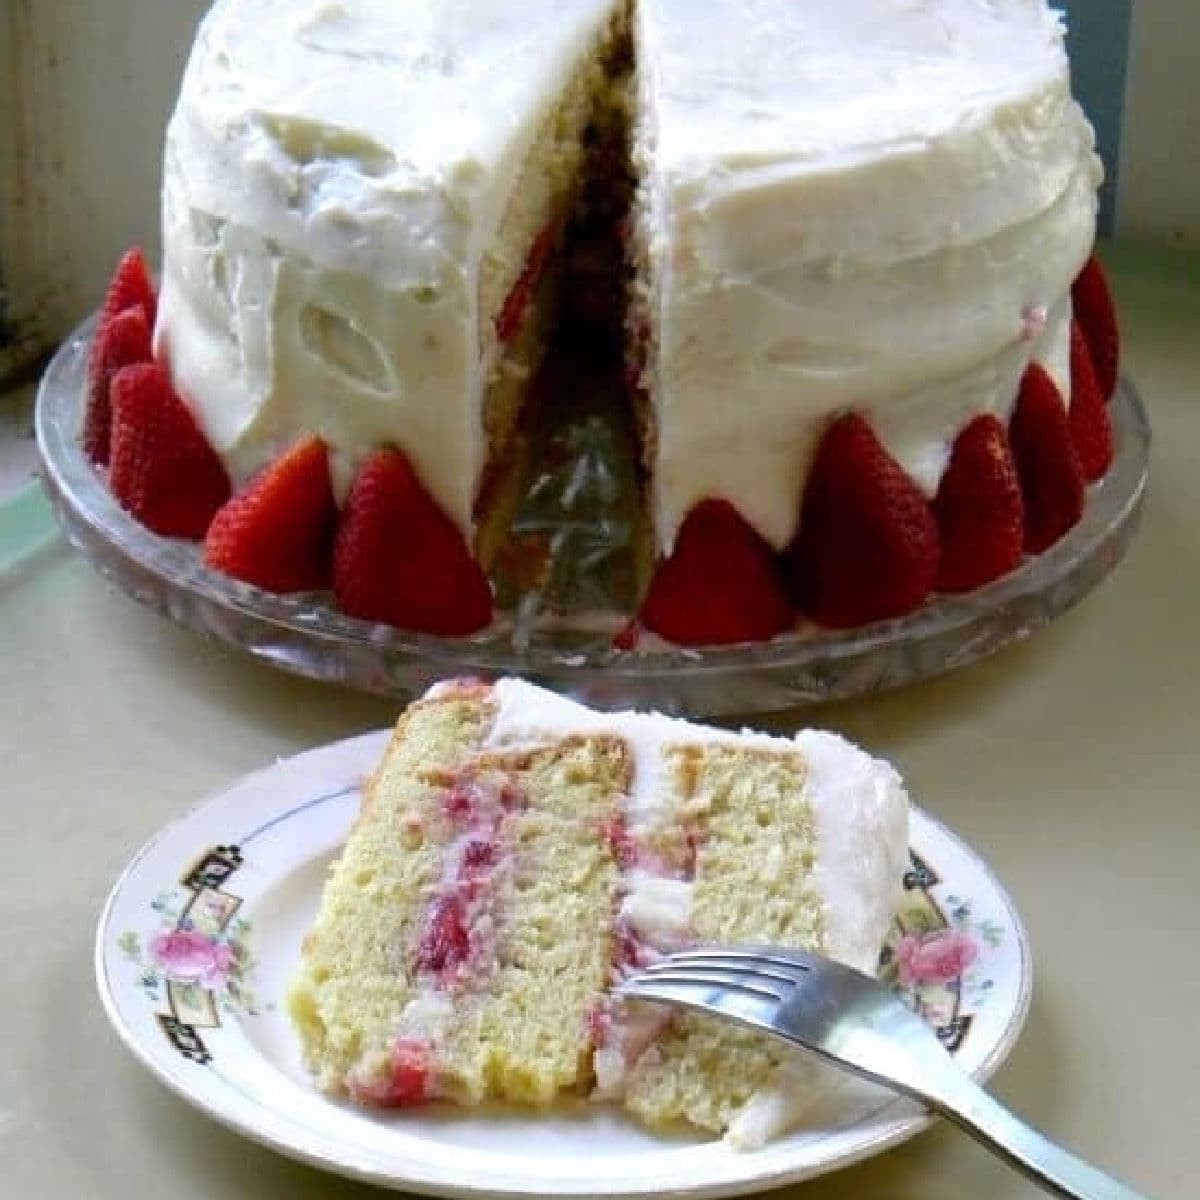
How to Make Chantilly Cake with Fresh Strawberries
-
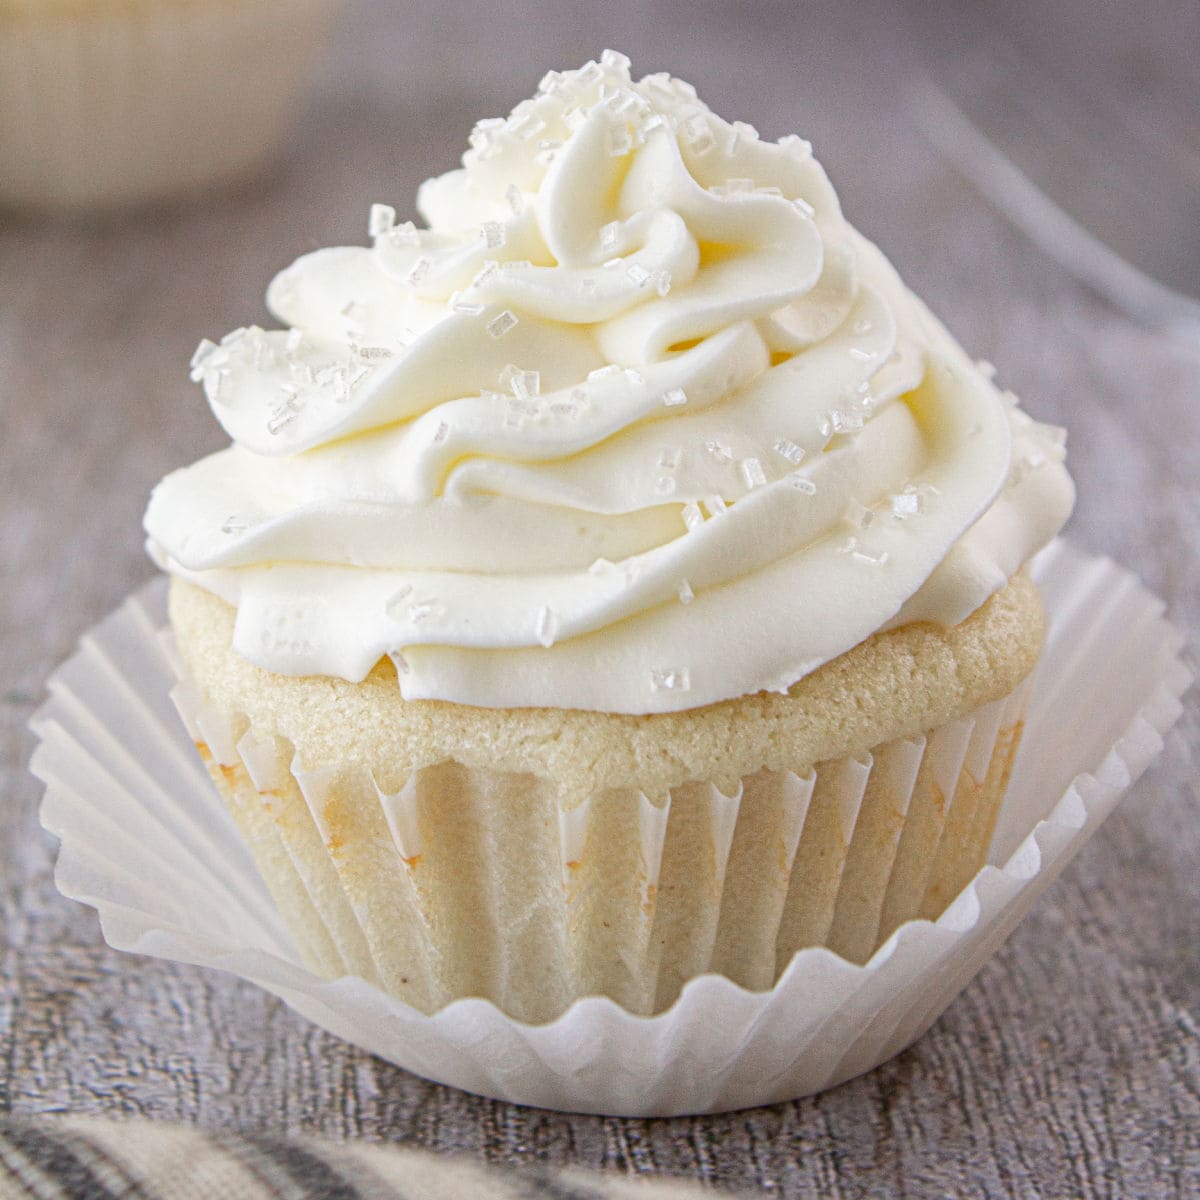
White Wedding Cake Cupcakes Recipe
-
Moist Vanilla Bean Brown Butter Bundt Cake Recipe
-
Buttermilk Pound Cake Recipe
-
Buttercream vs Cream Cheese Frosting
-
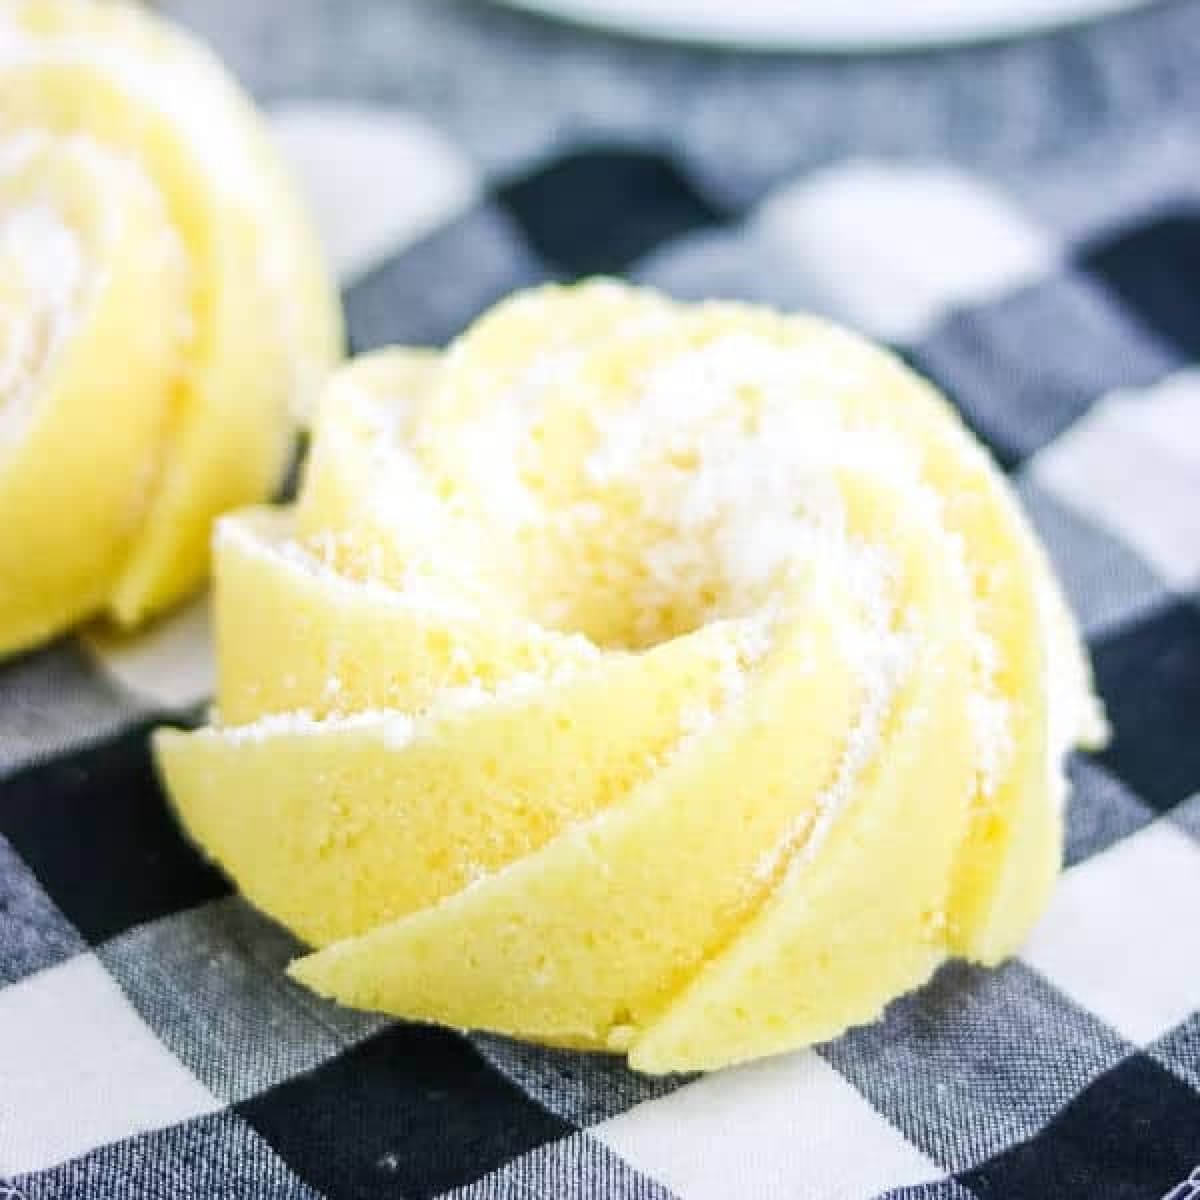
Lemon Pudding Bundt Cake
-
Chocolate Spice Cake
-
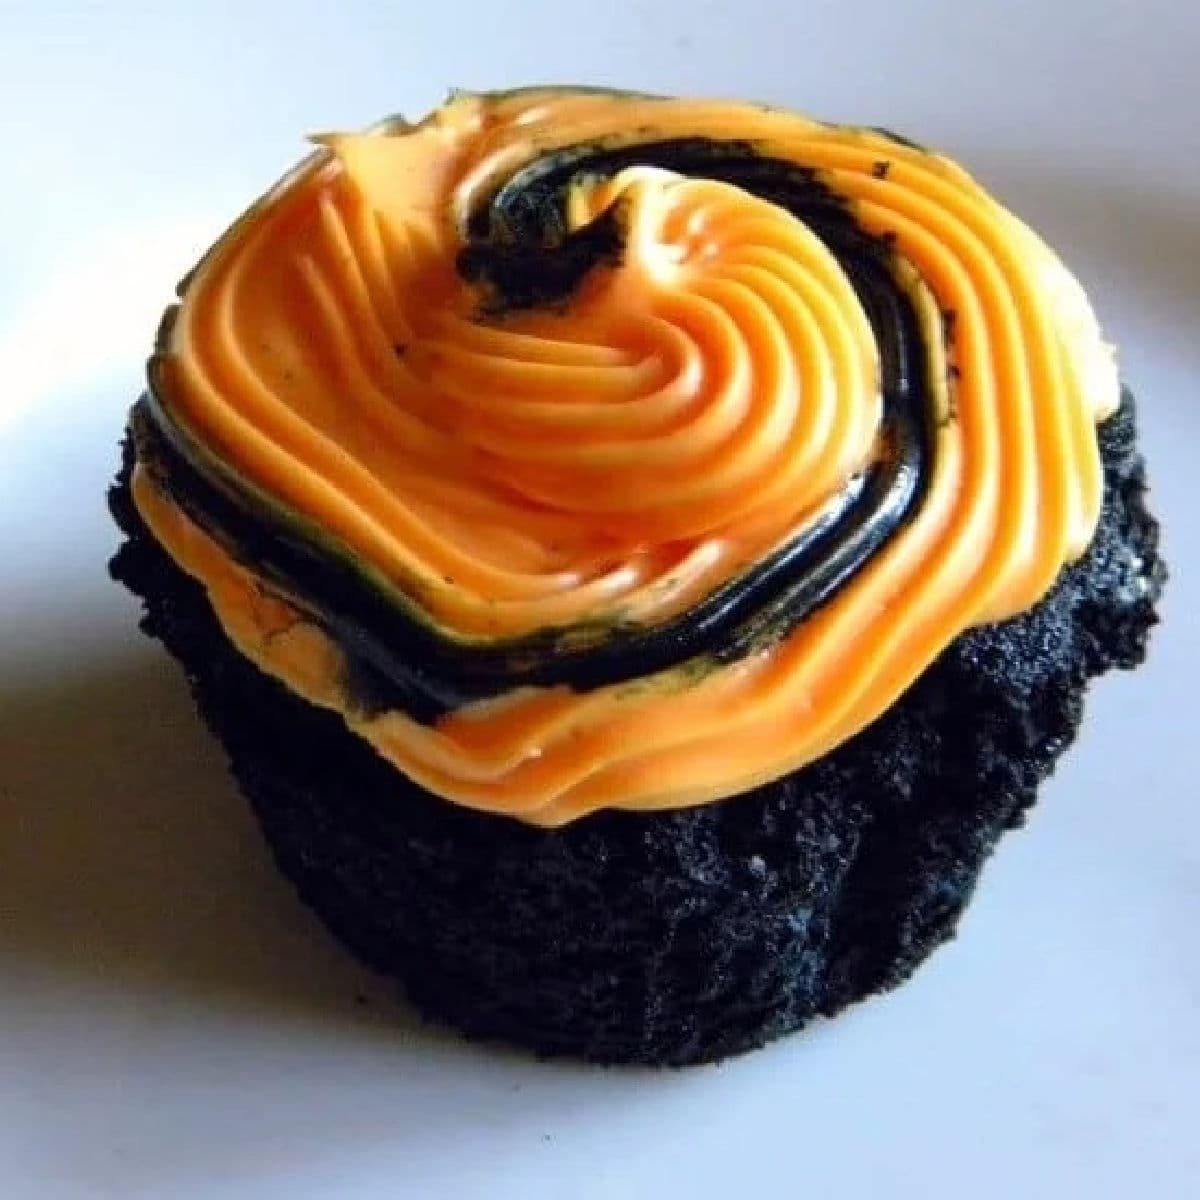
Black Velvet Cupcakes for Halloween
-
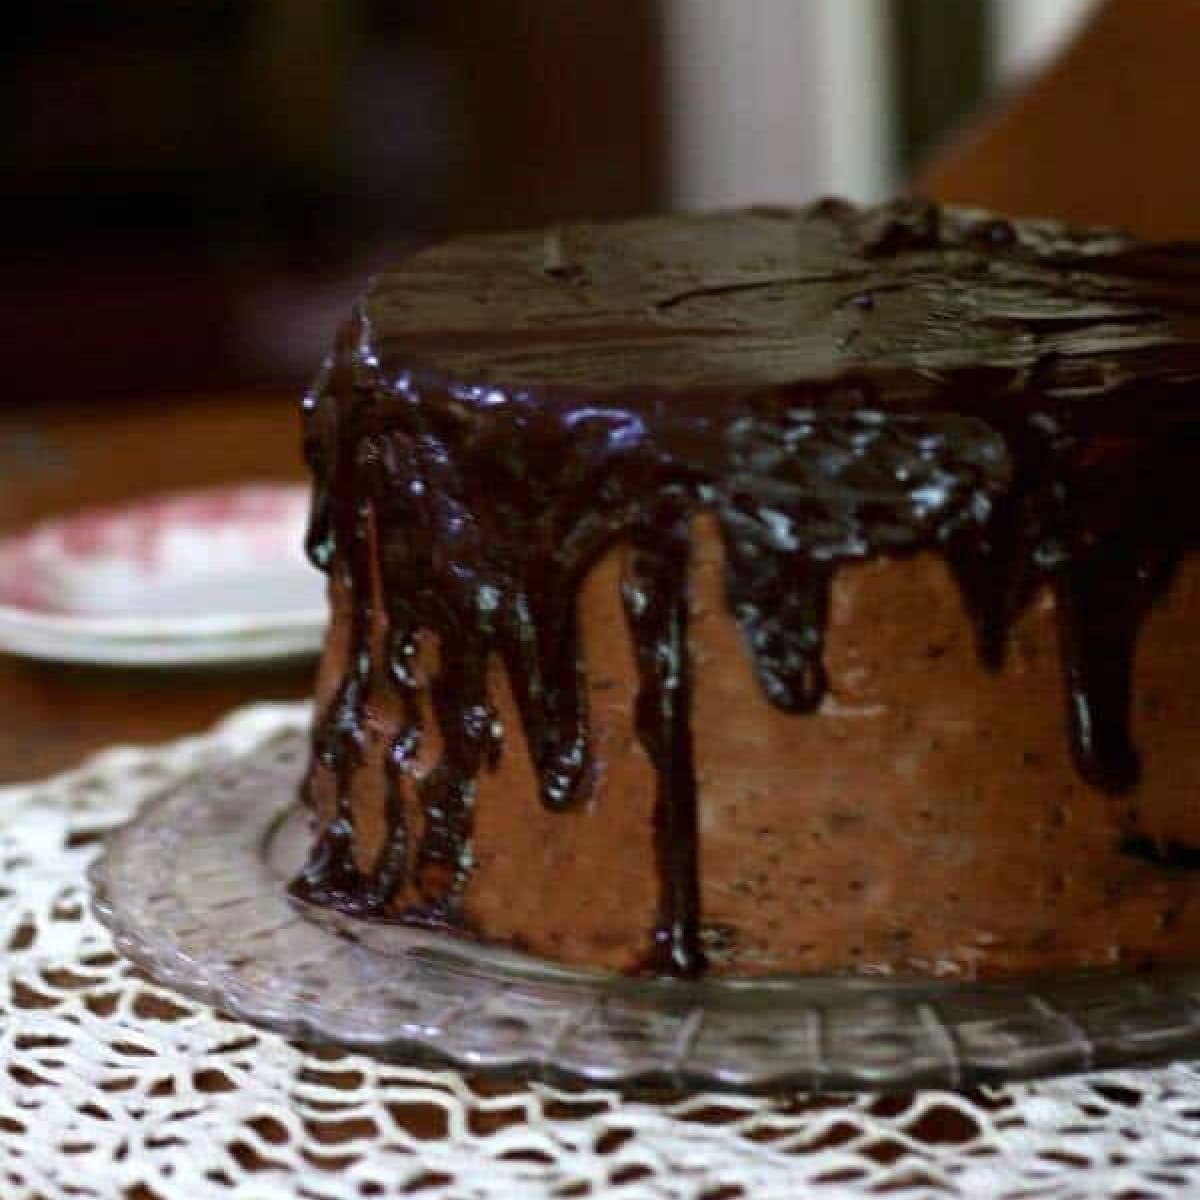
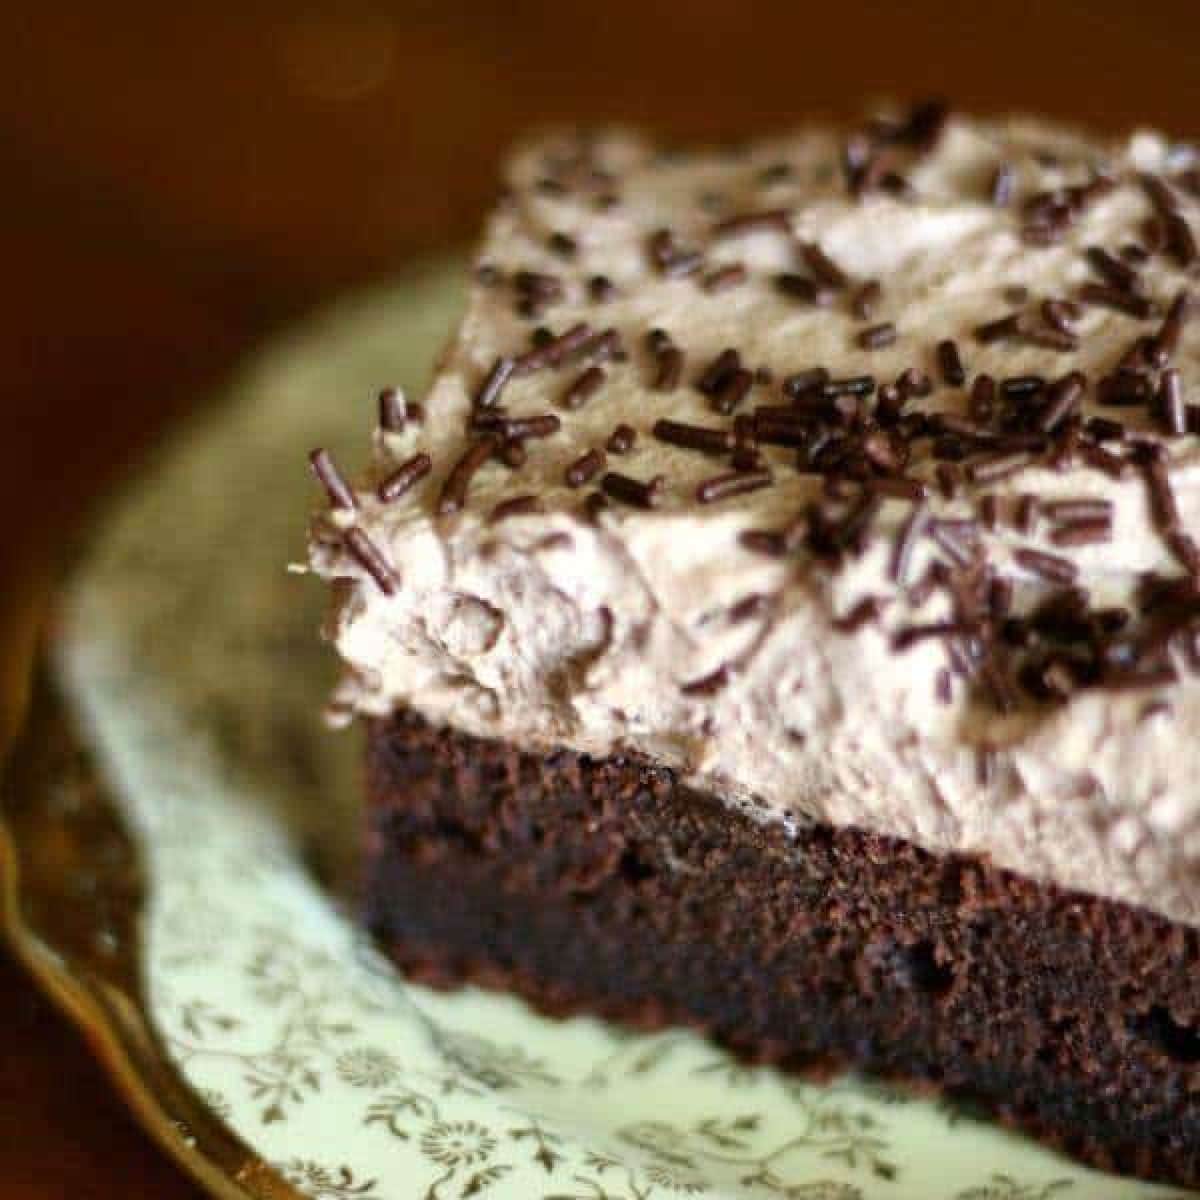
Chocolate Shadow Cake
-
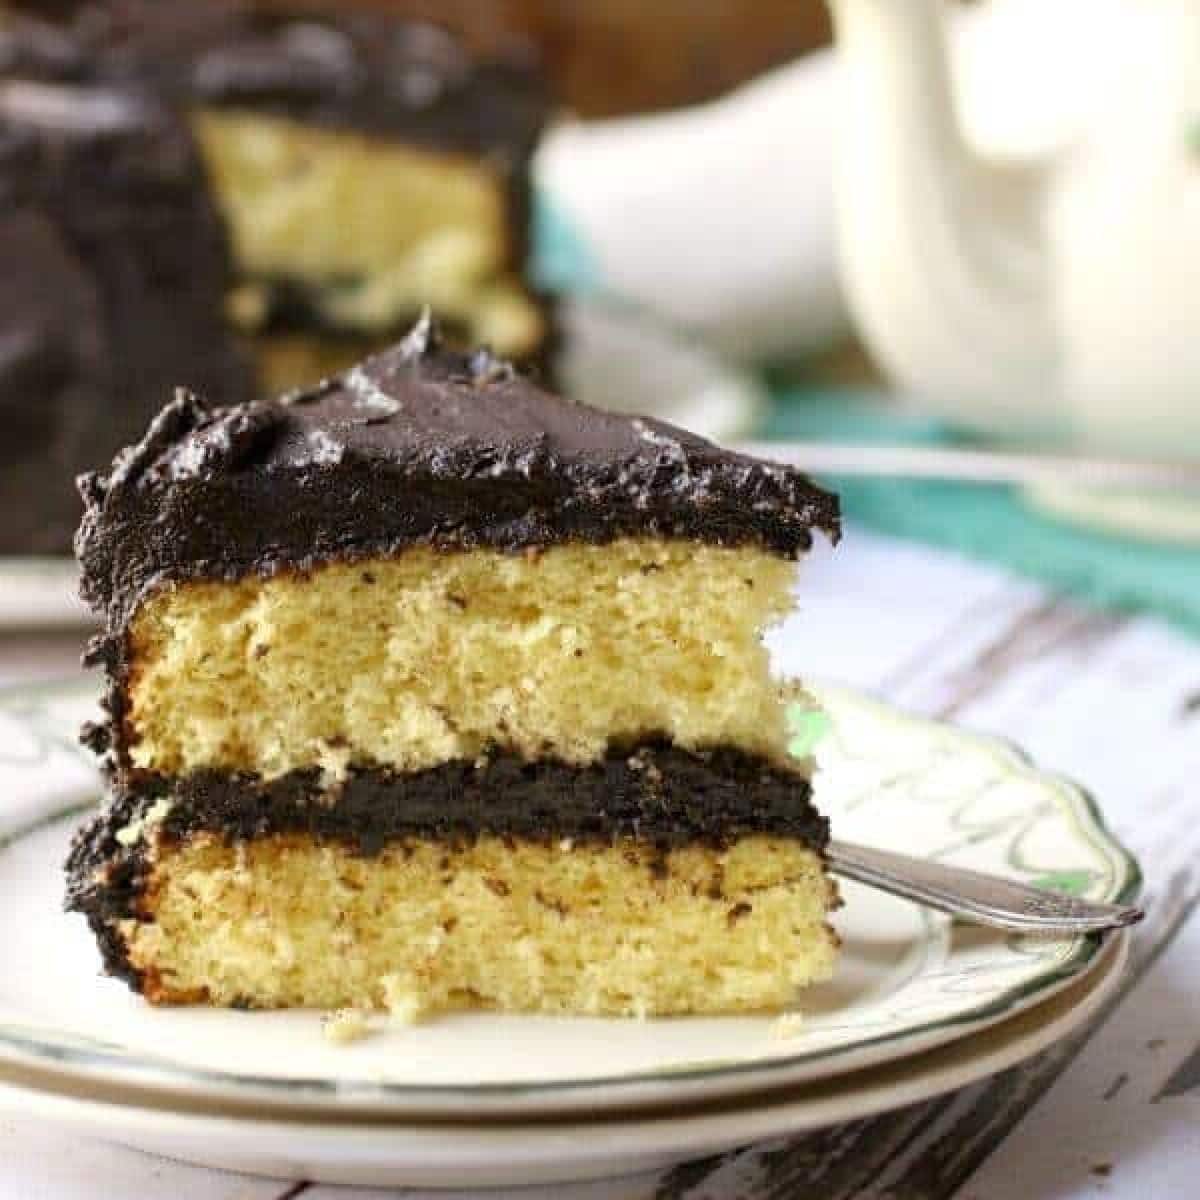
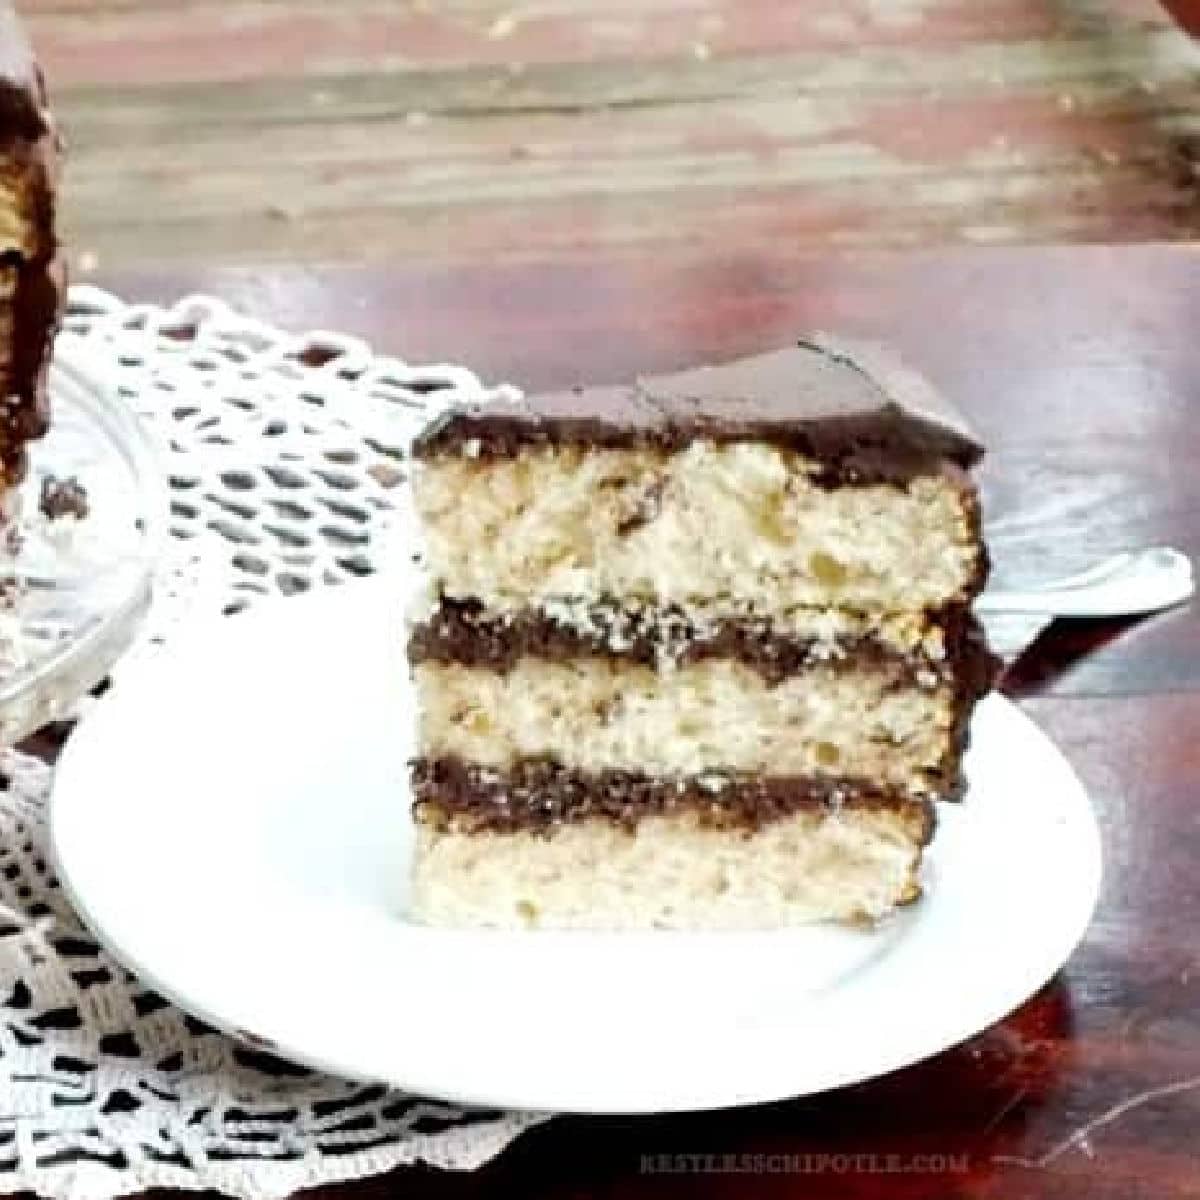
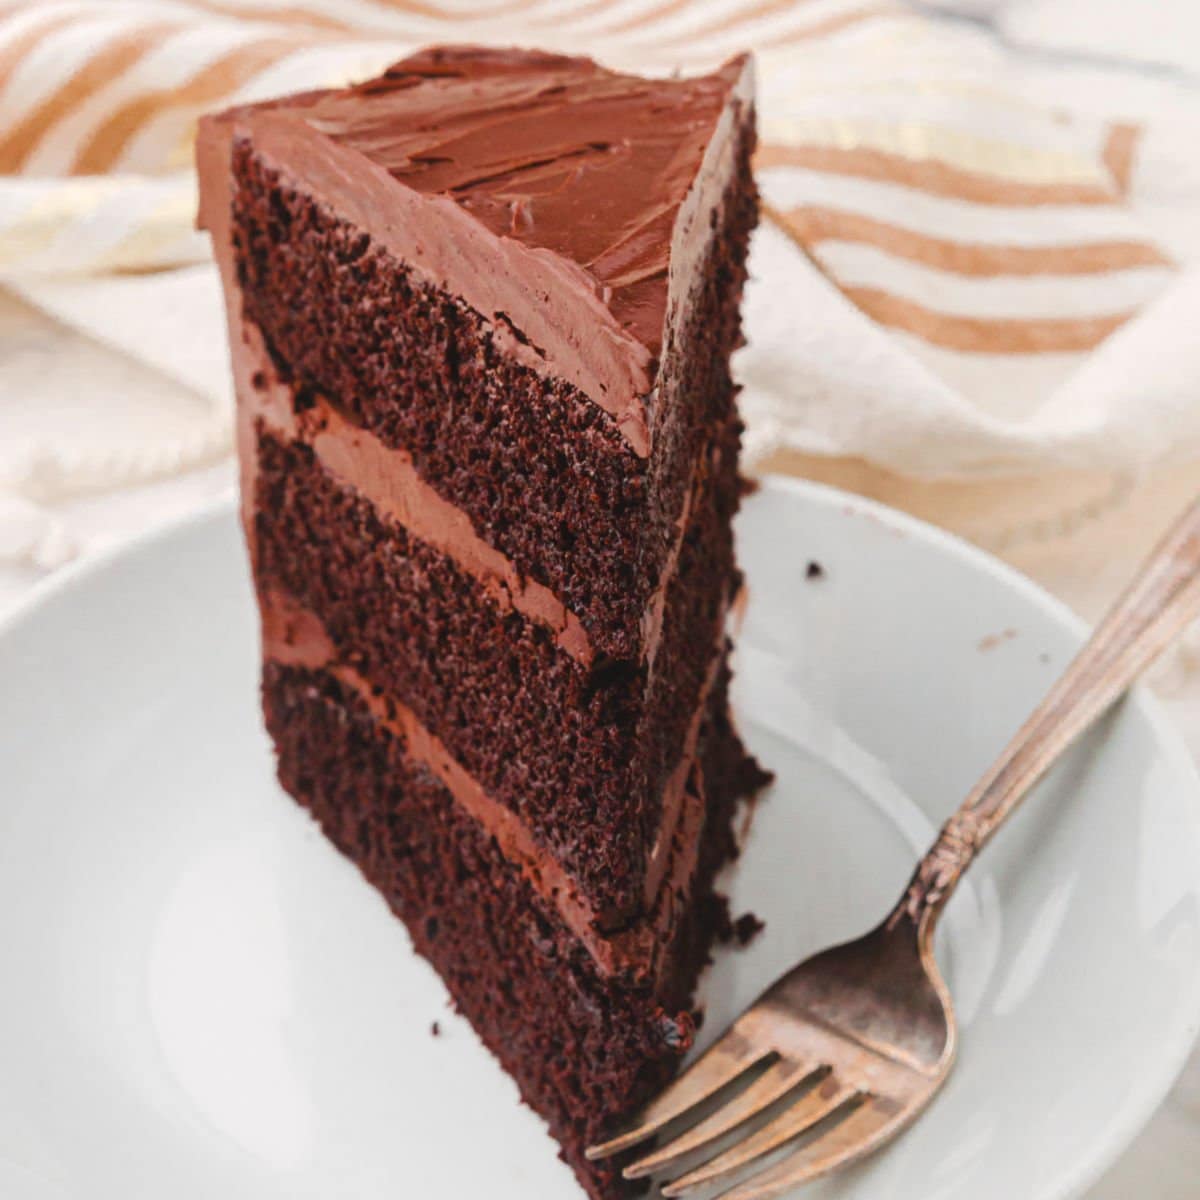
Vanilla Layer Cake with Chocolate Frosting
-
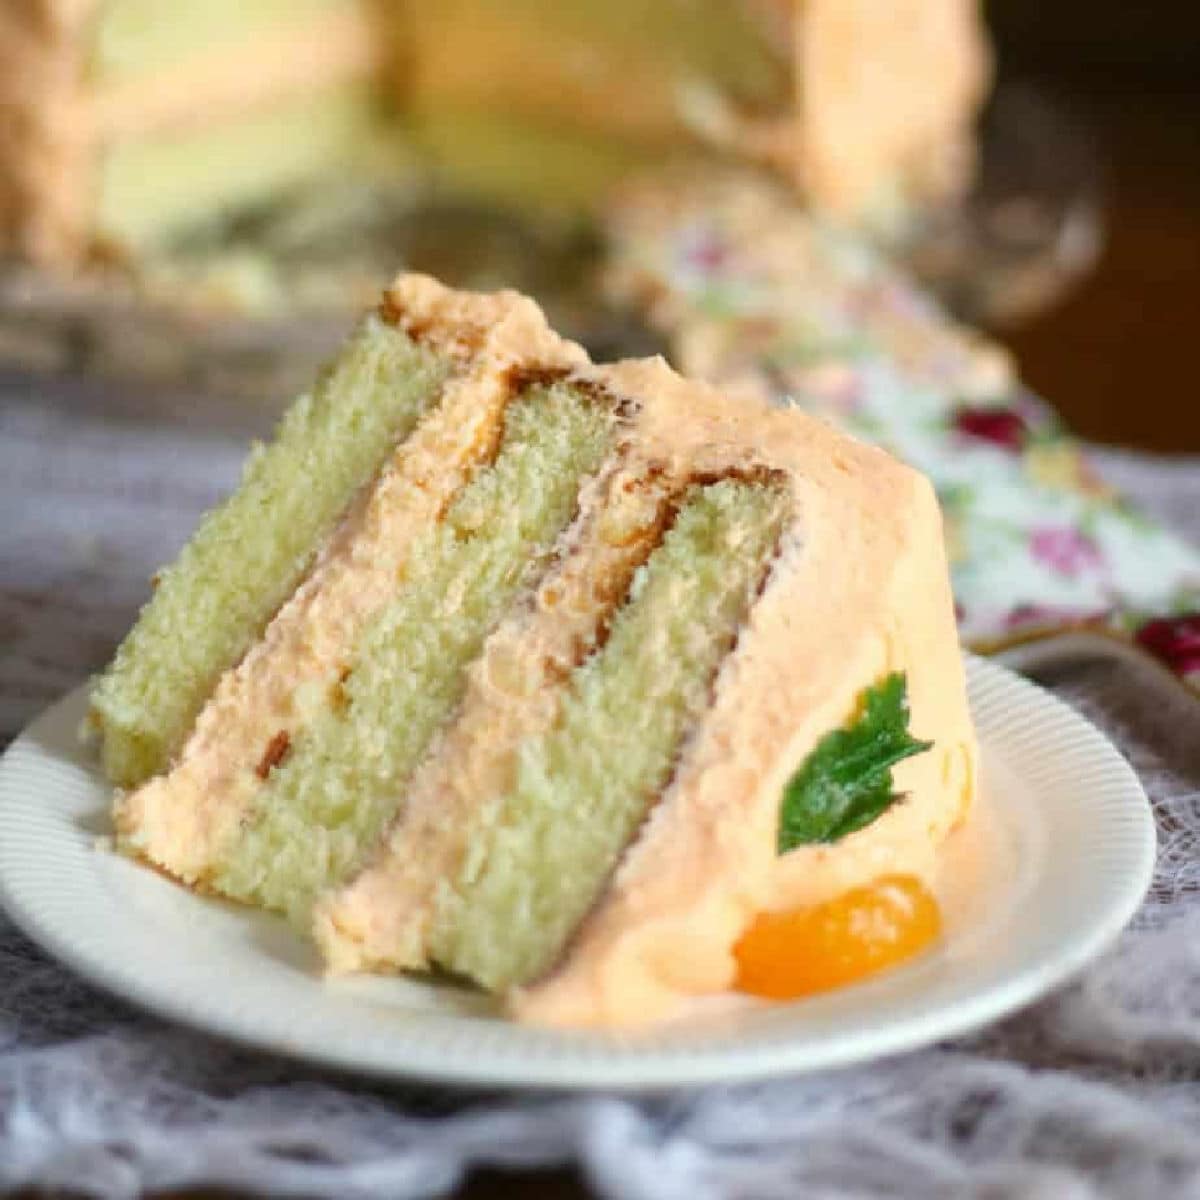
Orange Cake with Orange Buttercream
-
Crock Pot Caramel Apple Dump Cake
-
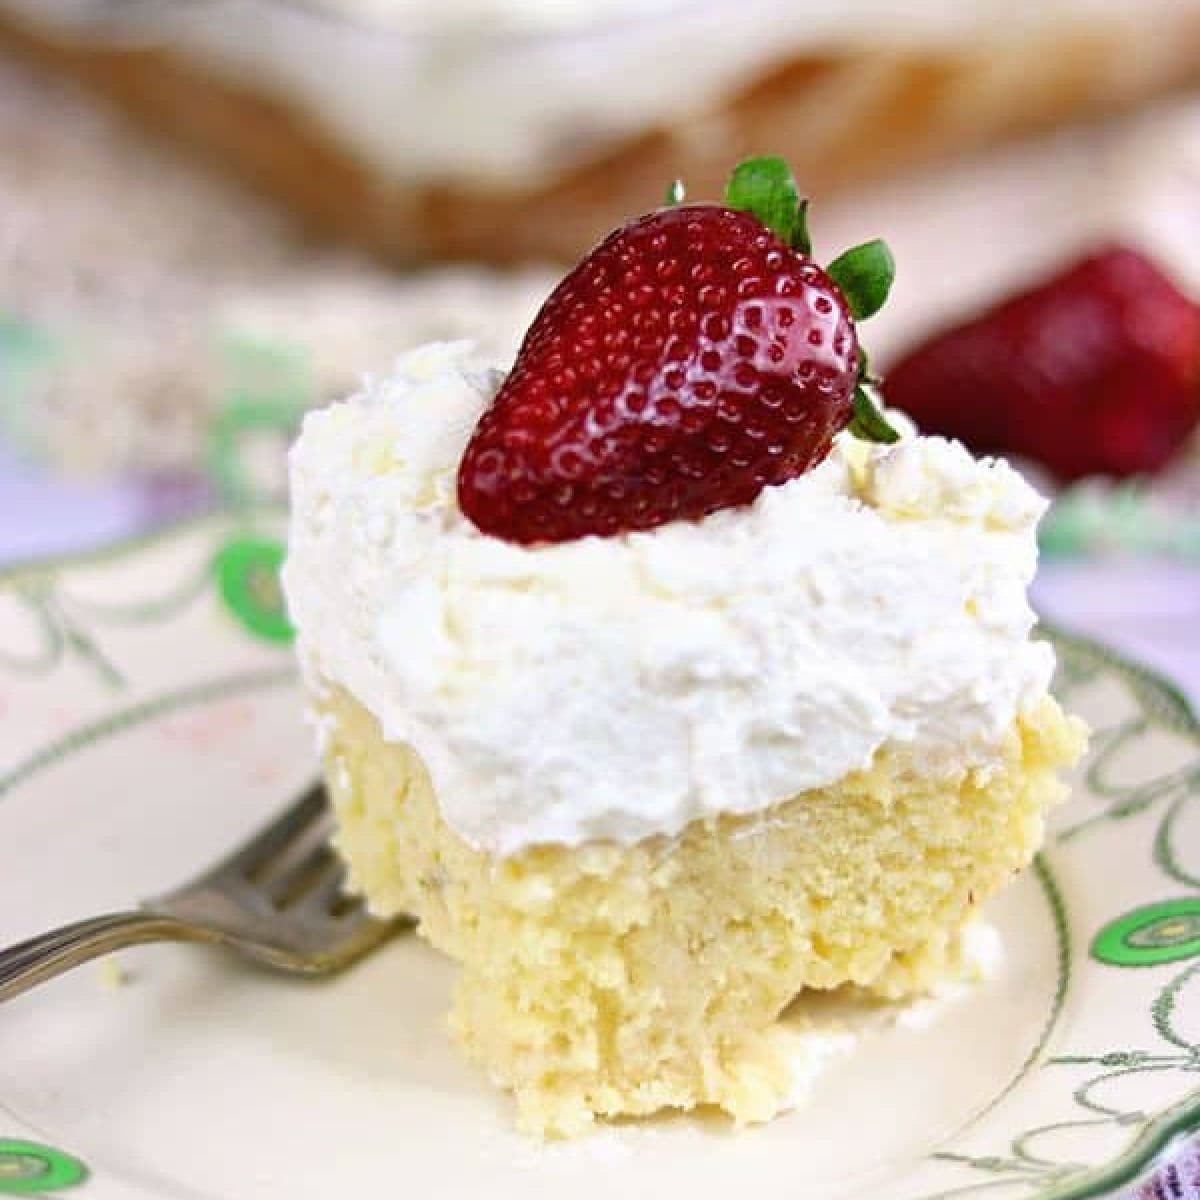
Lime White Chocolate Tres Leches Cake
-
Chocolate Sheet Cake
-
Chocolate Mayonnaise Cake
-
Cherry Almond Cake
-
Southern Caramel Cake
-
Holy Cow Cake: Decadently Rich Chocolate Cake
-
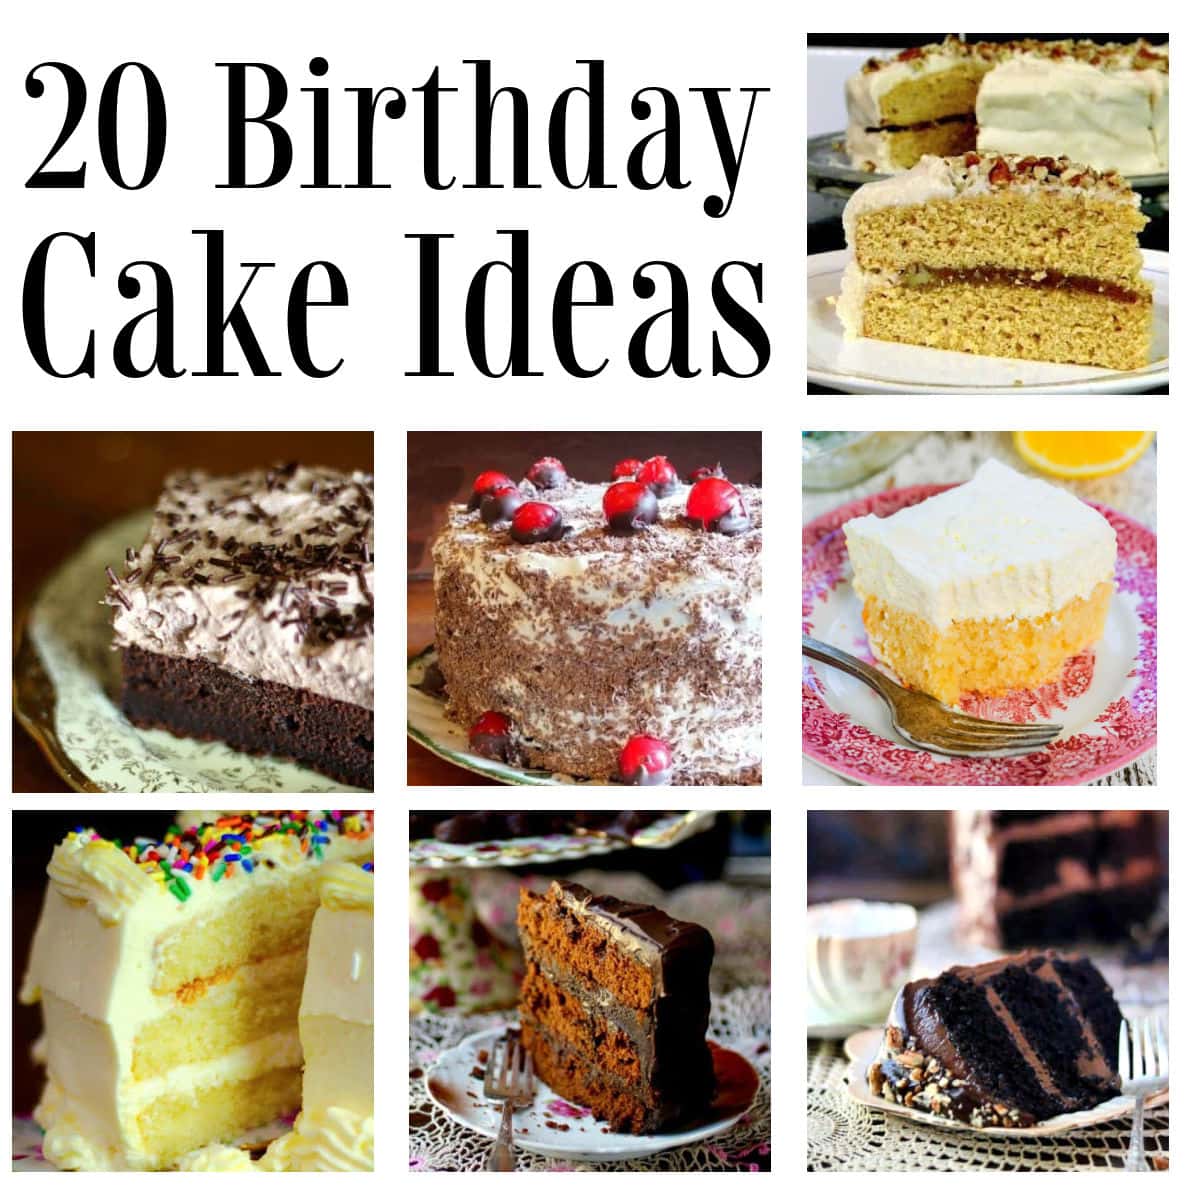
Birthday Cake Recipes
-
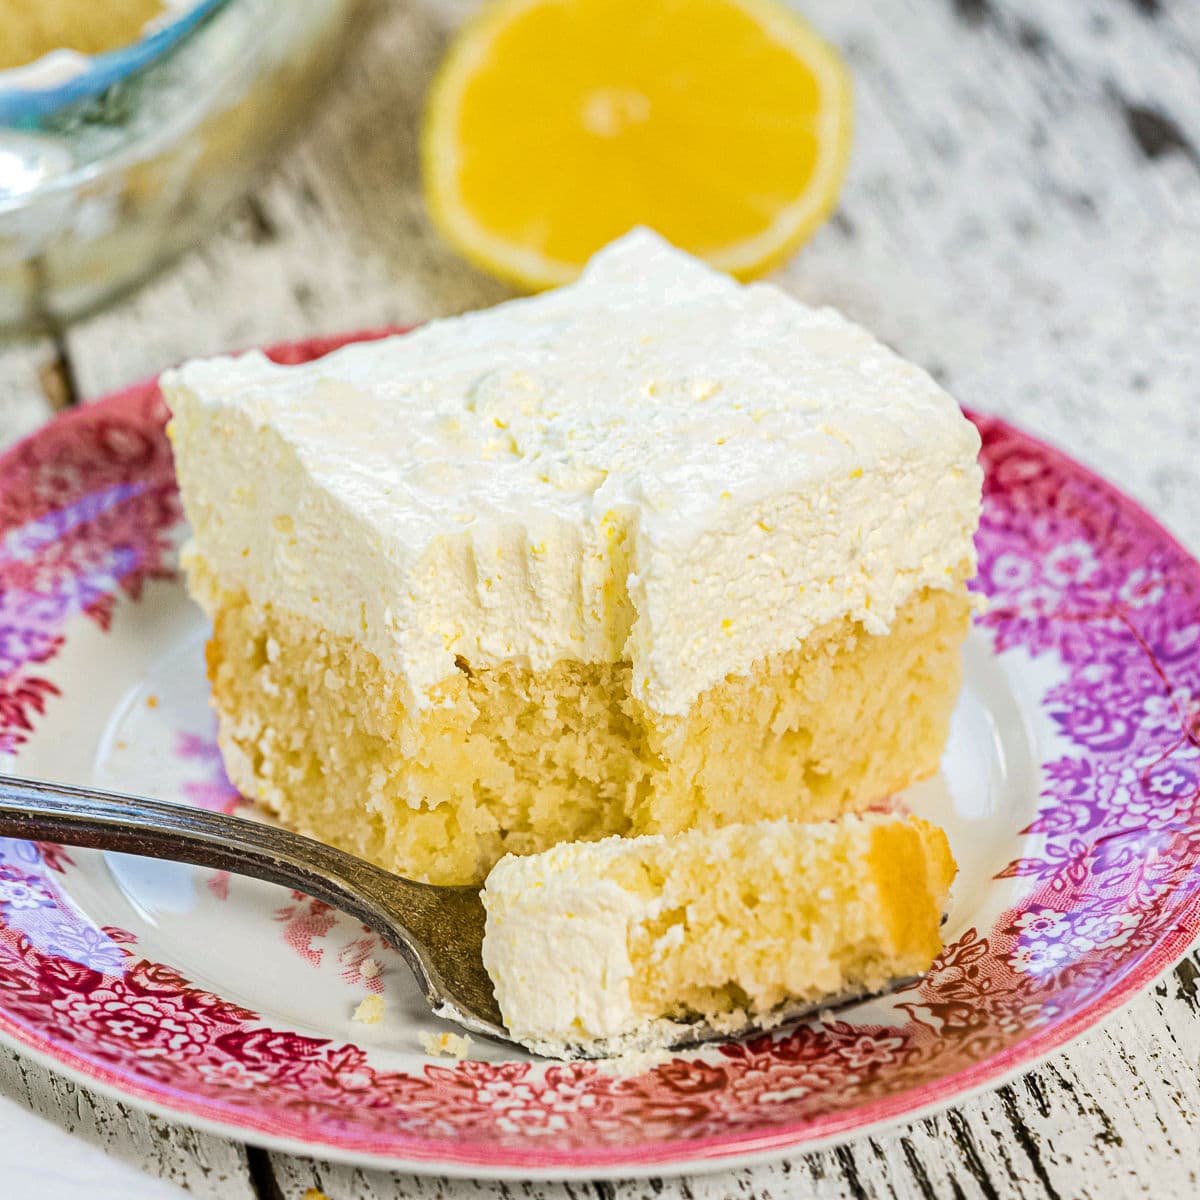
Lemon Sheet Cake with Whipped Lemon Frosting
-
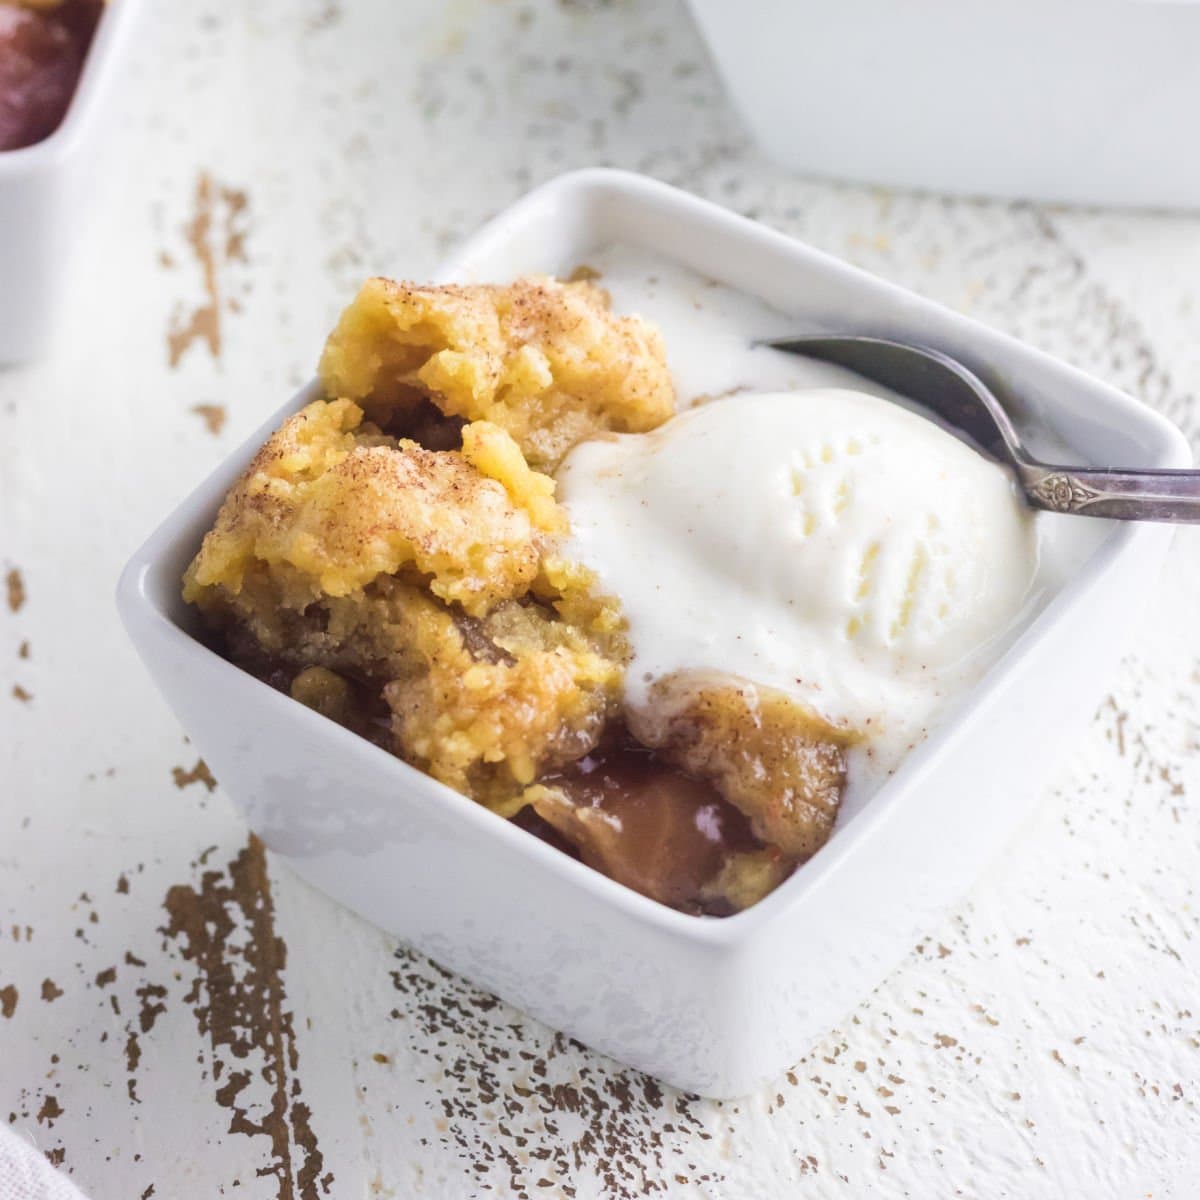
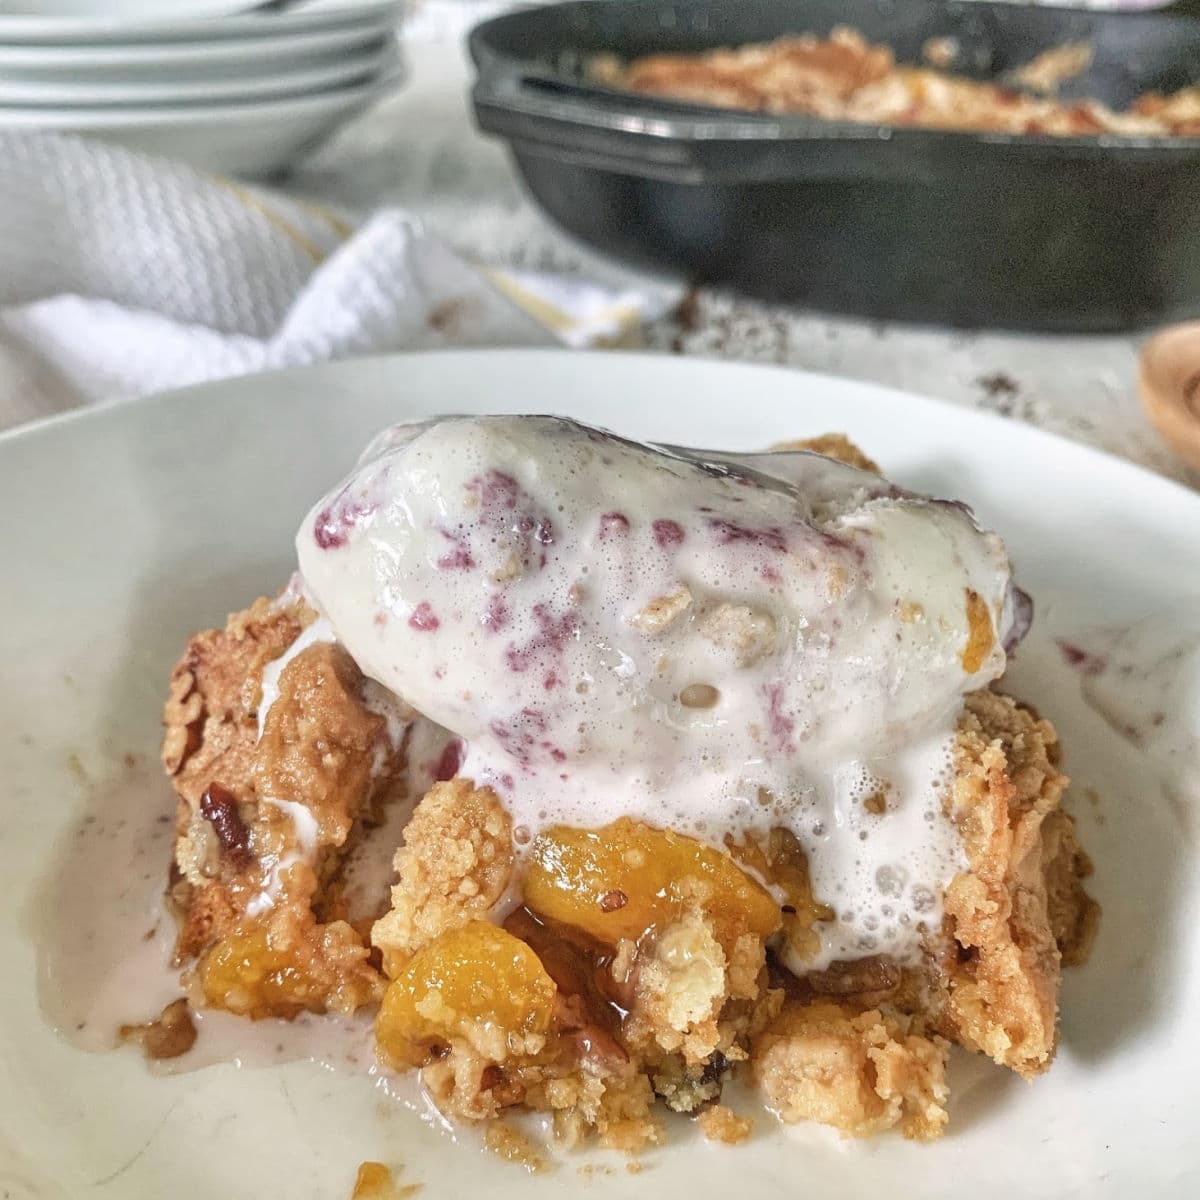
Southern Peach Dump Cake (Easy Recipe)
-
Chardonnay Lemon Pound Cake
-
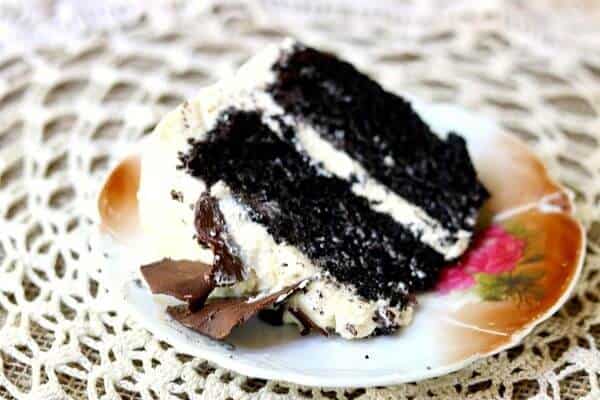
Dark Chocolate Layer Cake with Irish Cream Frosting
-
Homemade White Cake Mix: 6 Simple Ingredients
-
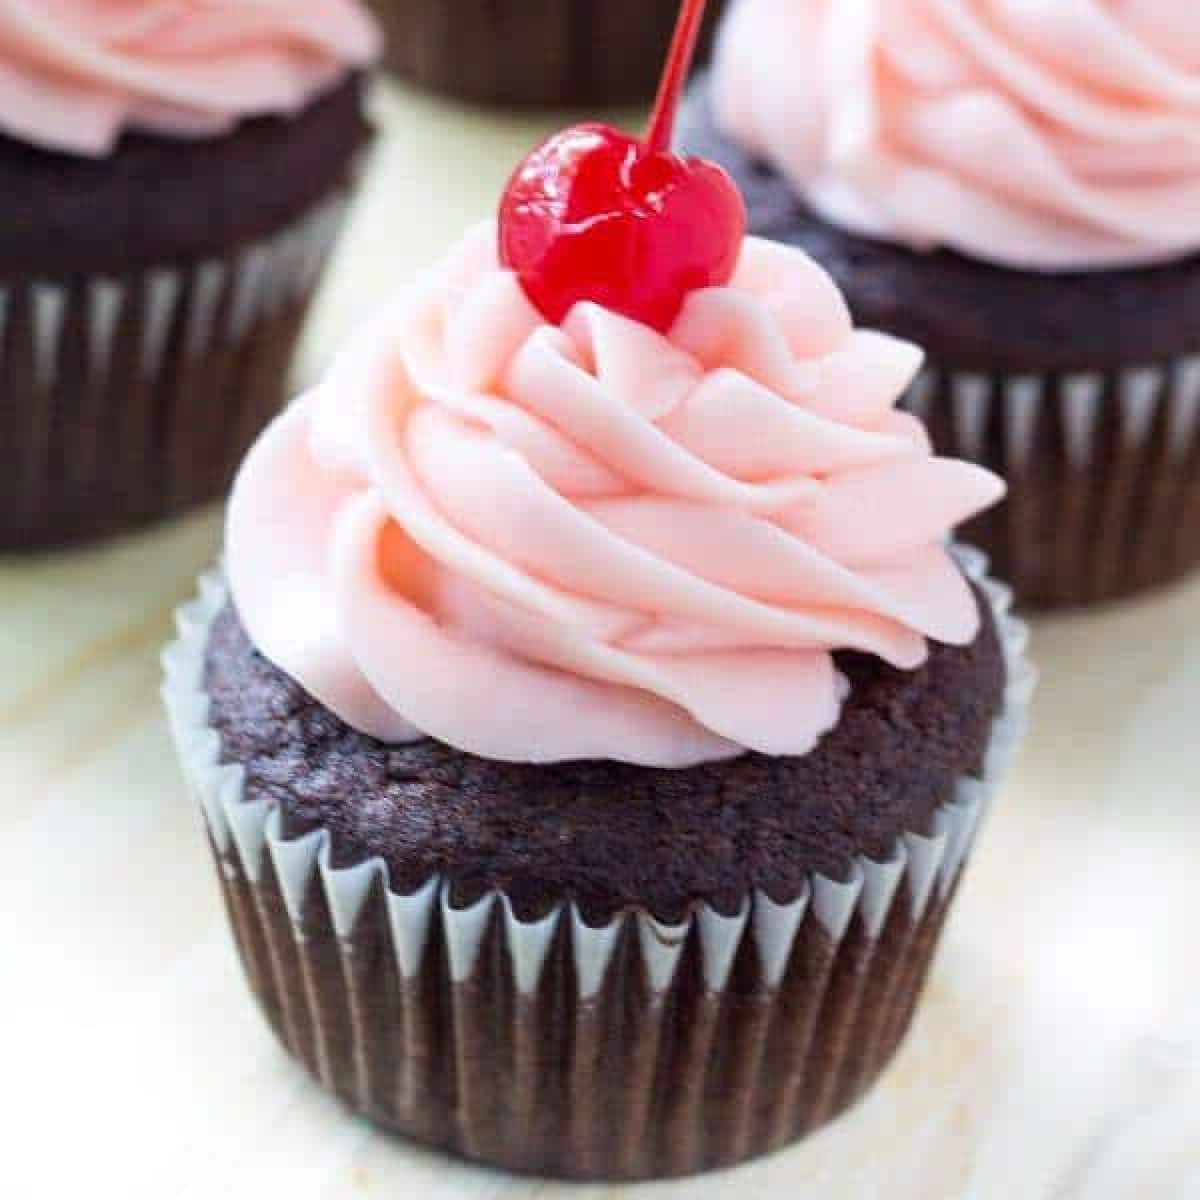
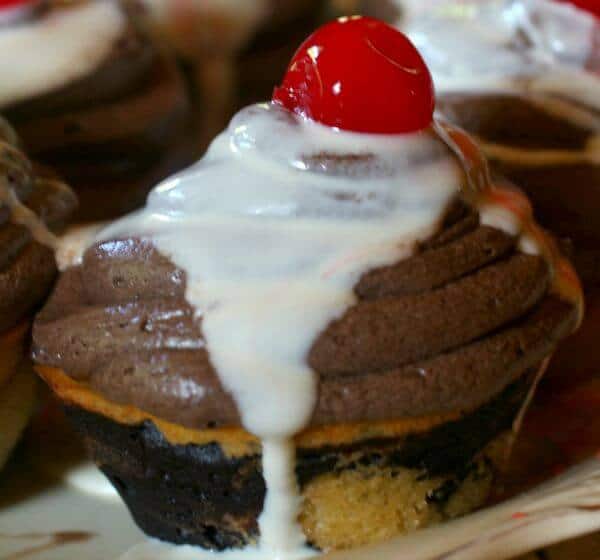
Chocolate Cherry Cupcakes Recipe
-
Dr Pepper Cake Recipe: A Cherry Bundt Cake with Attitude
-
Southern Coconut Cake
-
Best Kahlua Cake Recipe From Scratch
-
Whiskey Sour Bundt Cake Recipe
-
Chocolate Buttermilk Pound Cake with Port Wine
-
Pecan Layer Cake:Classic Southern Recipe
-
Glazed Pink Velvet Cupcakes
-
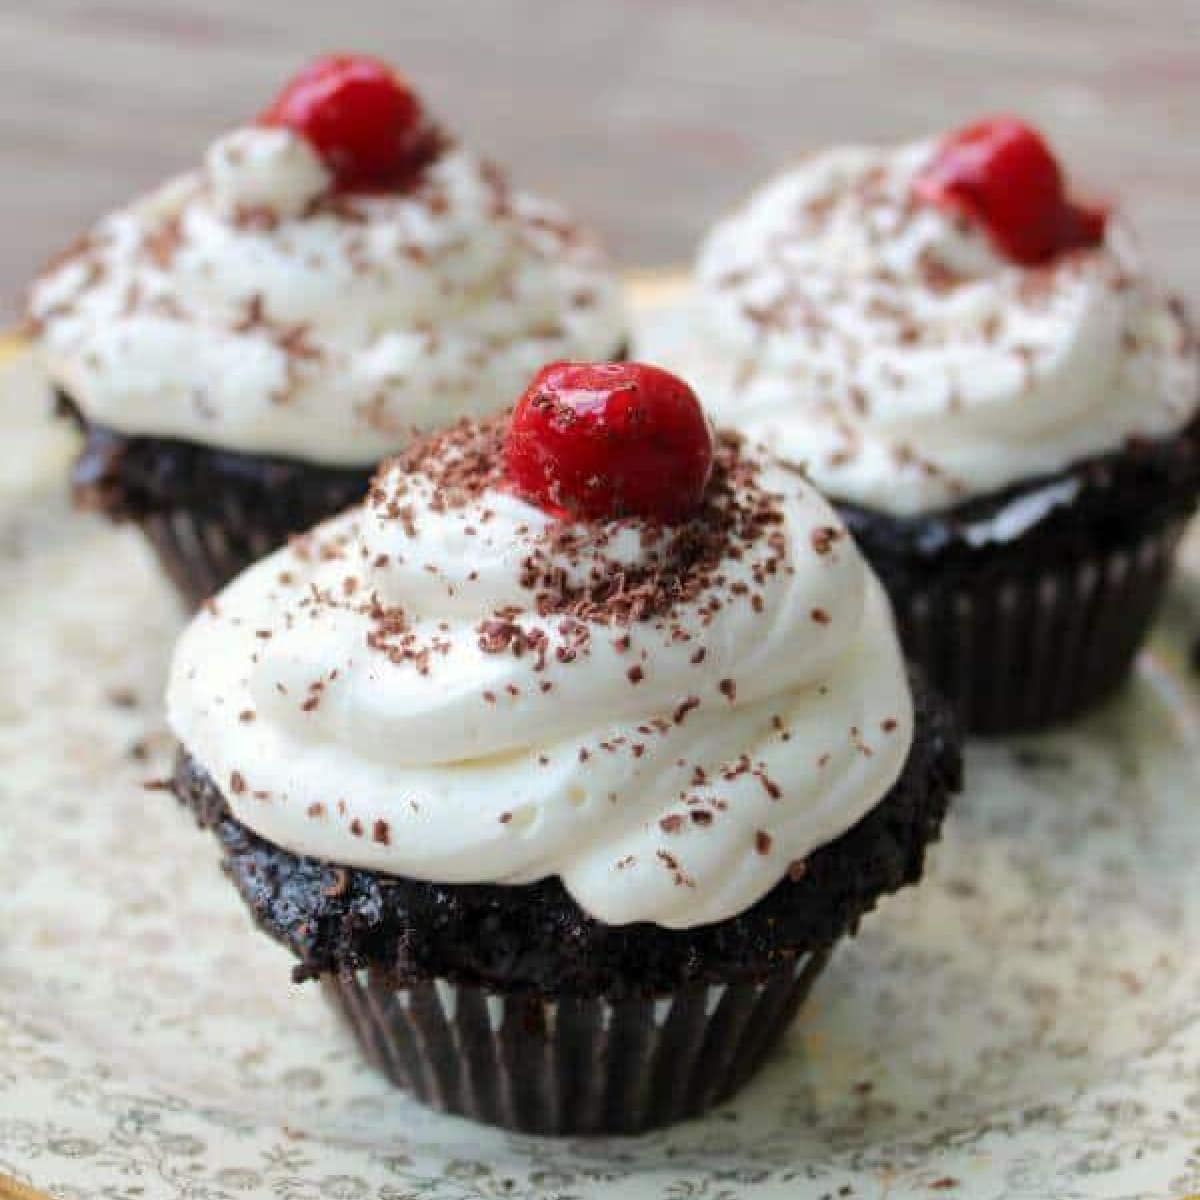
Easy Black Forest Cupcakes Recipe
-
Marble Cupcakes Recipe
-
Chocolate Upside Down Cake
-
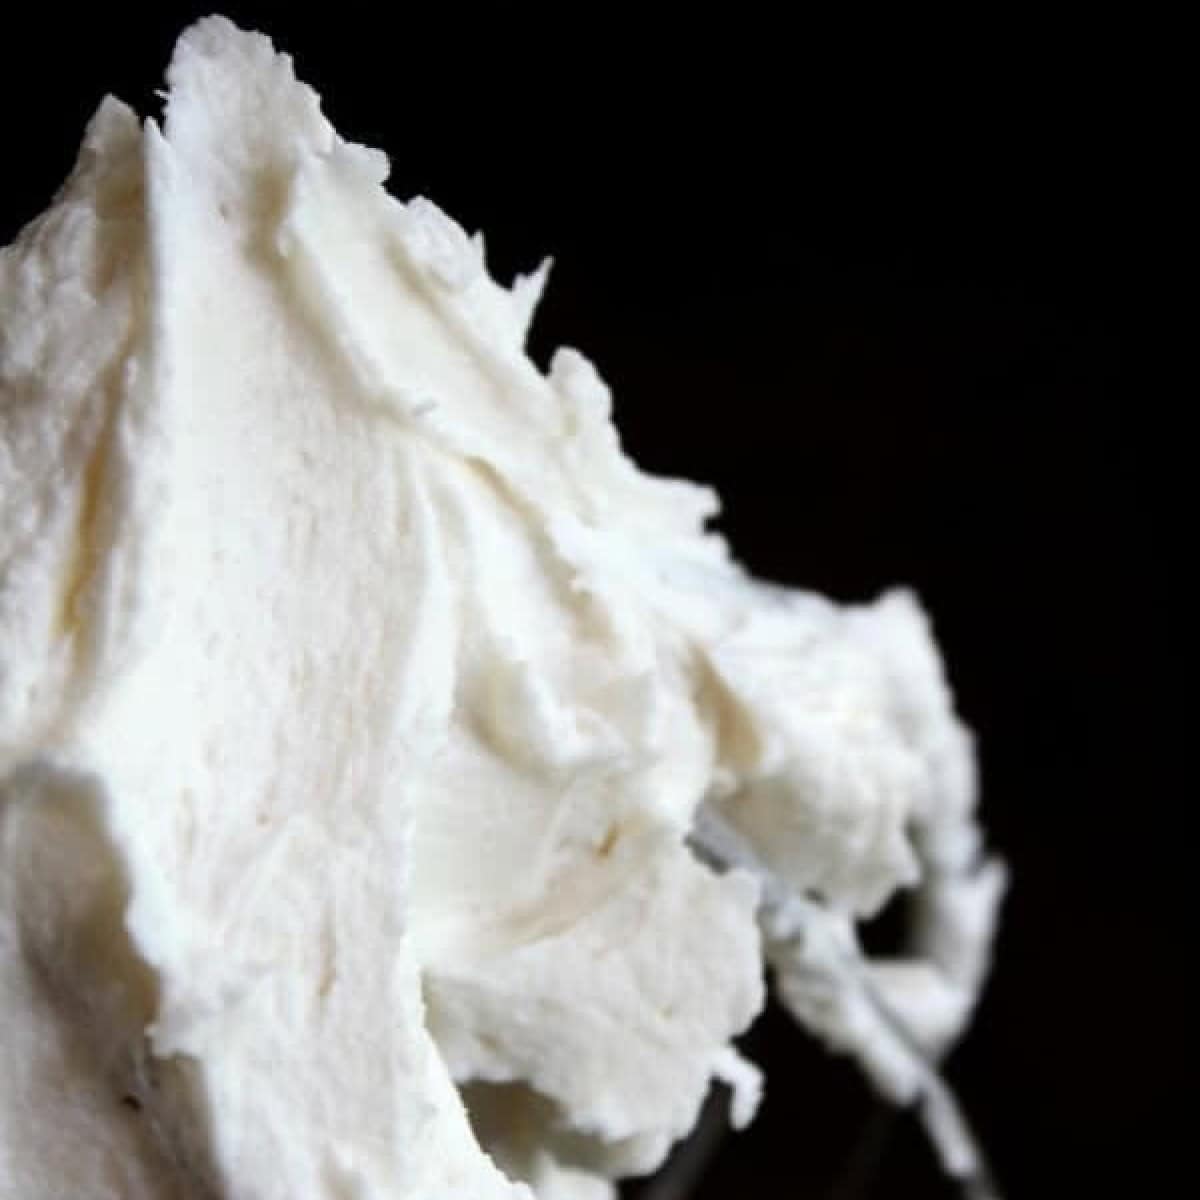
Whipped Wedding Cake Frosting Recipe
-
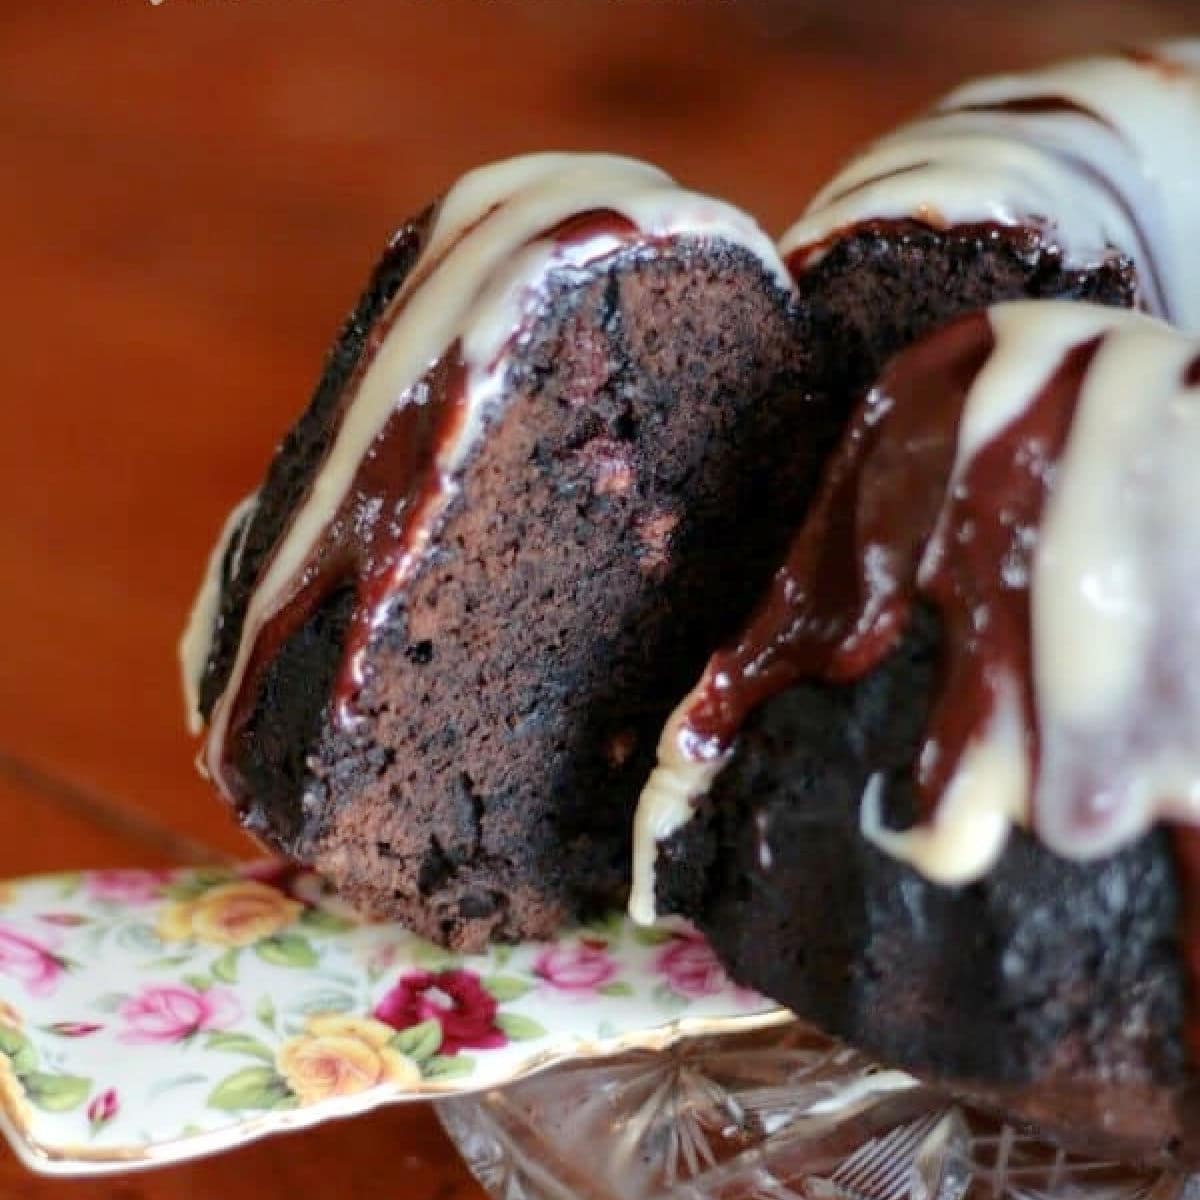
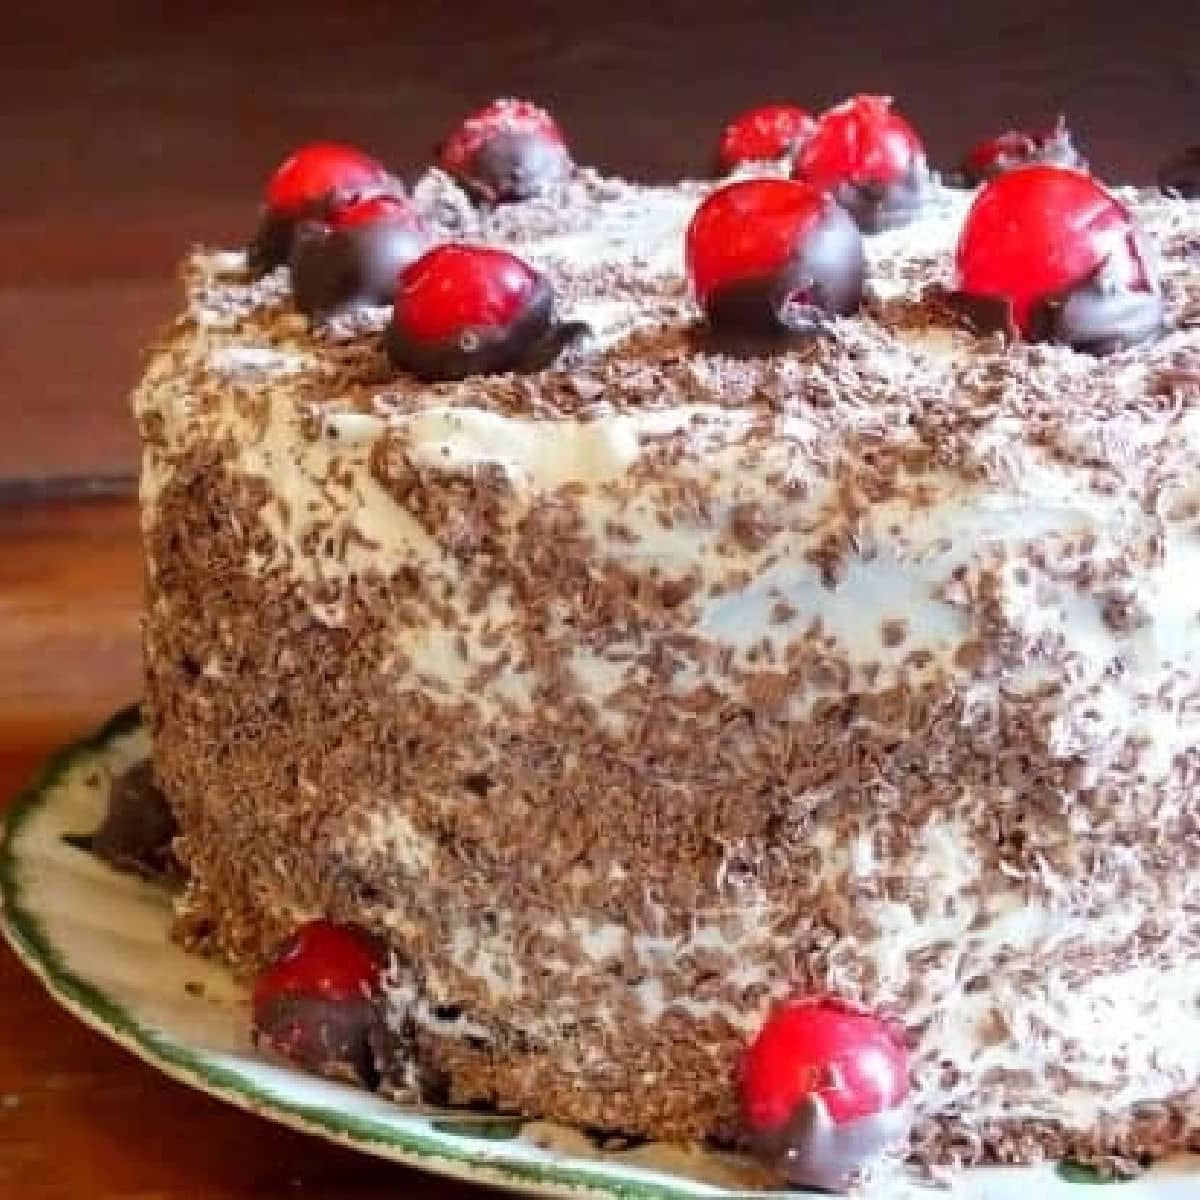
Black Forest Cake with Balsamic and Rum Roasted Cherries
-
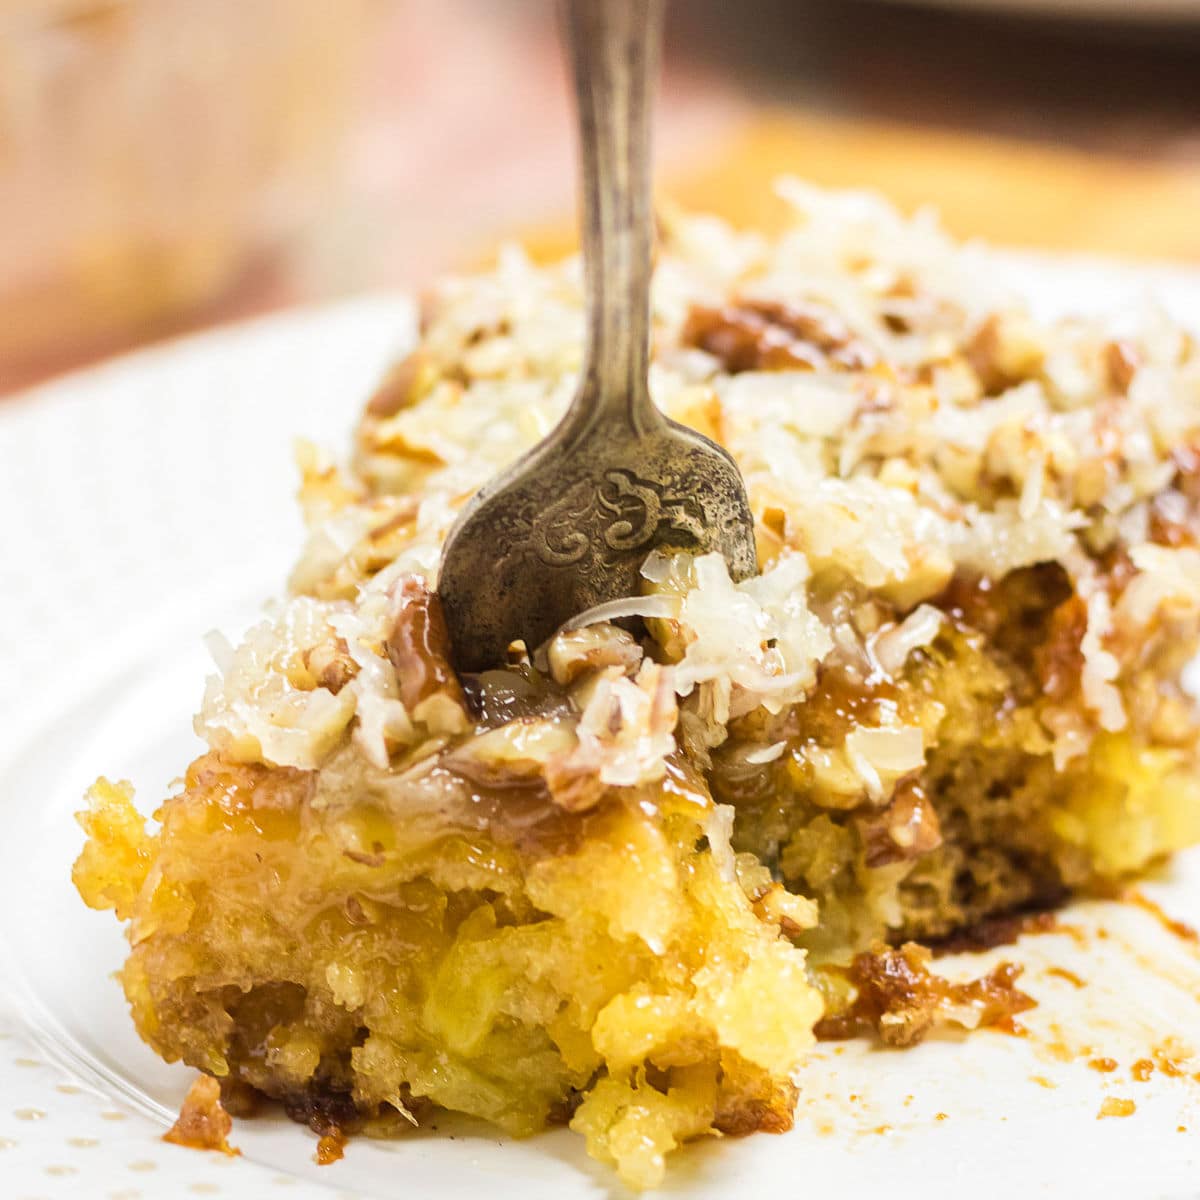
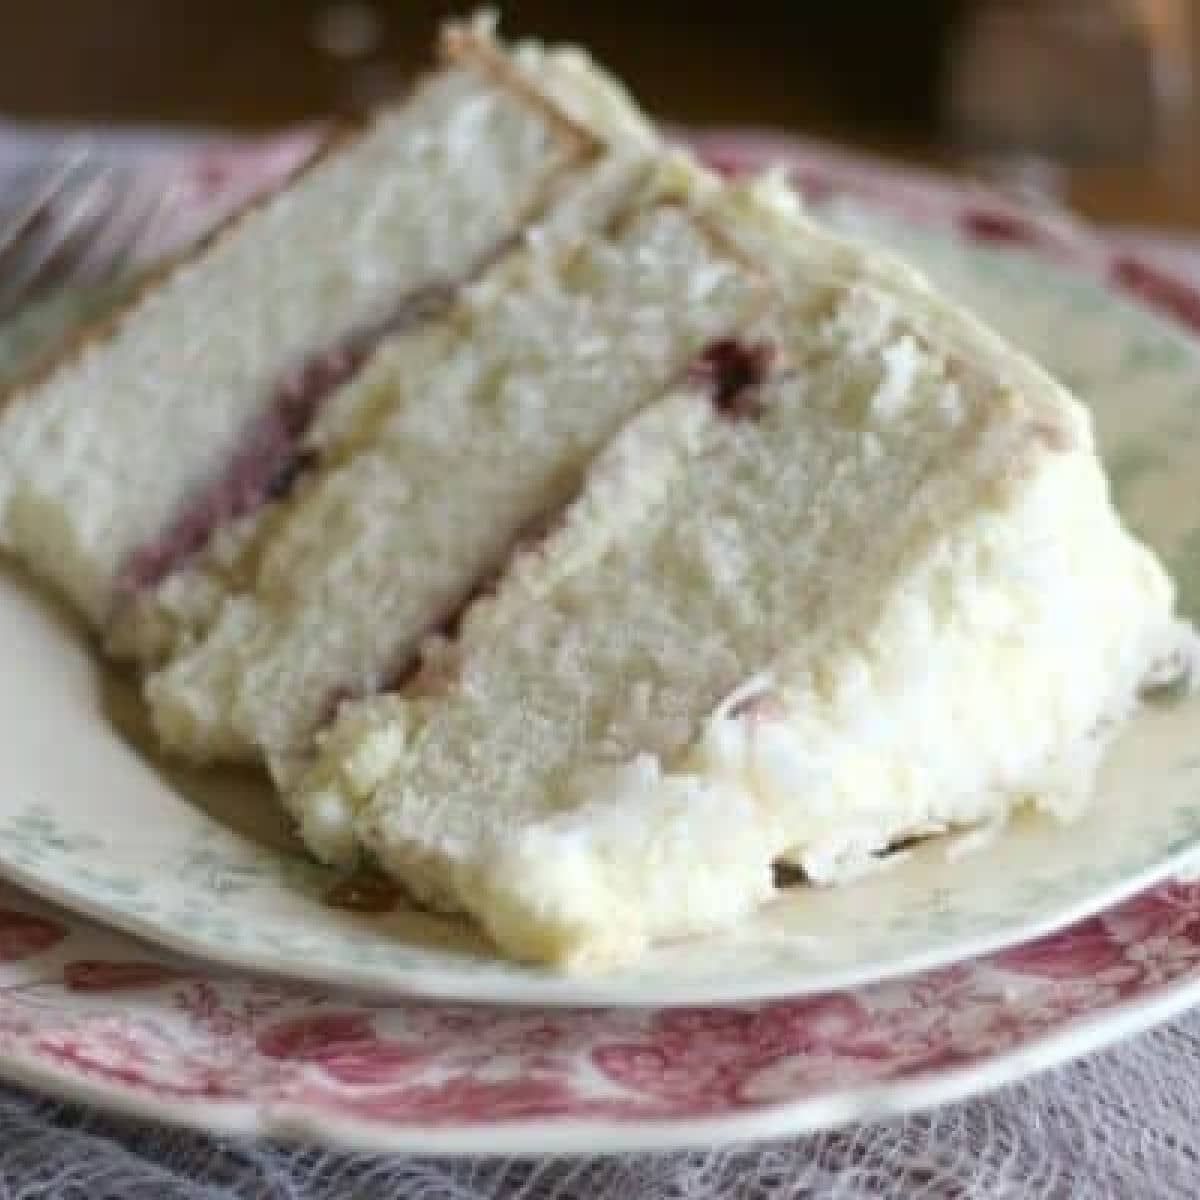
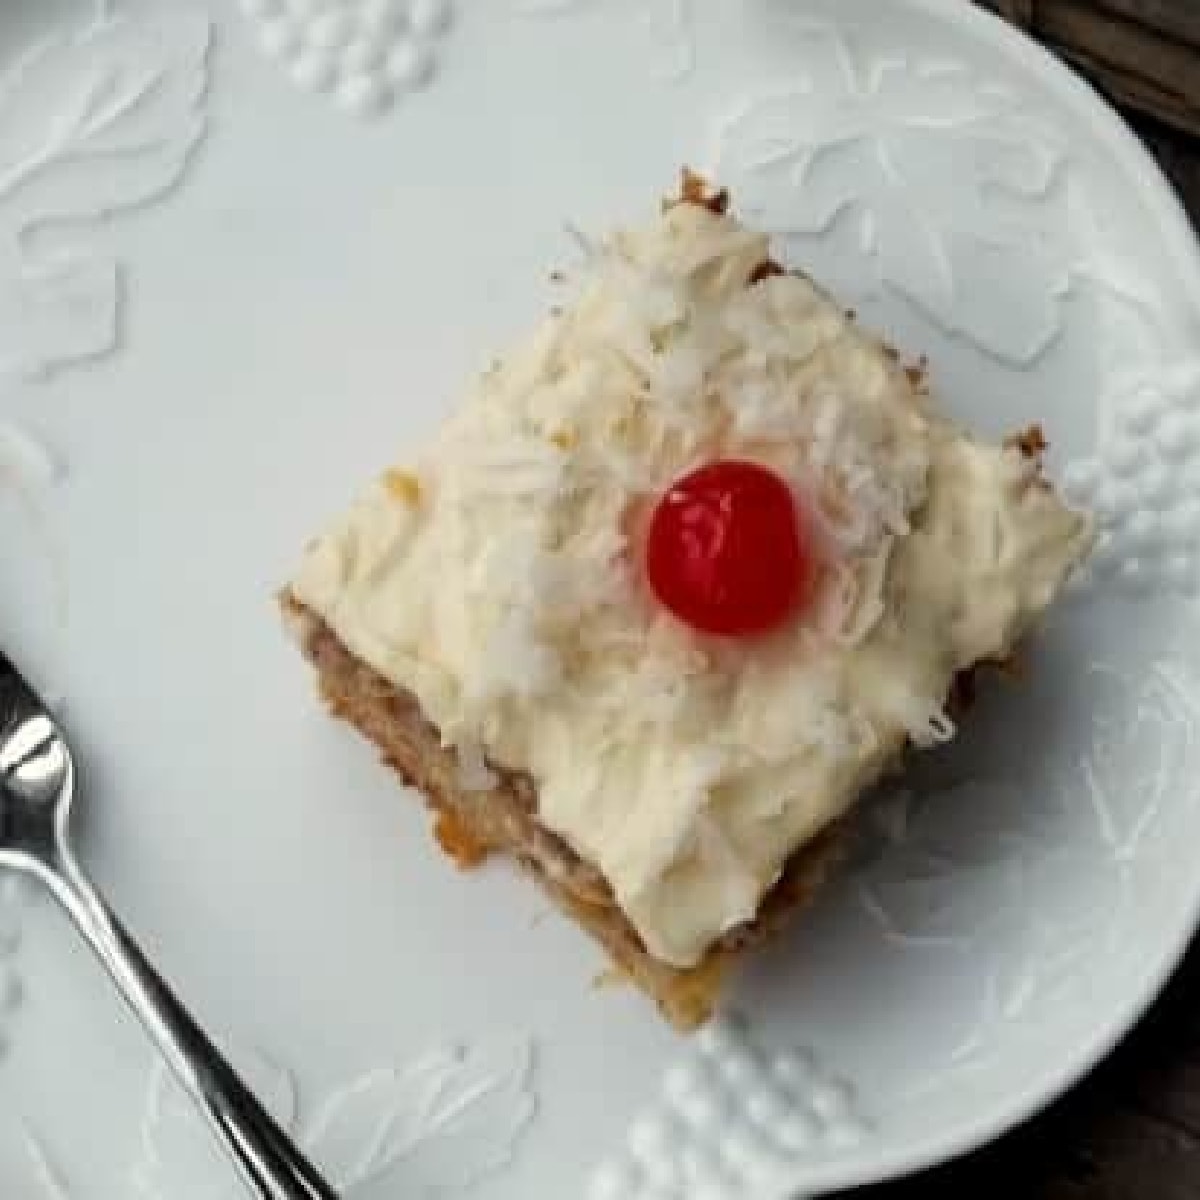
Hawaiian Wedding Cake that Even Coconut Haters Will Love
-
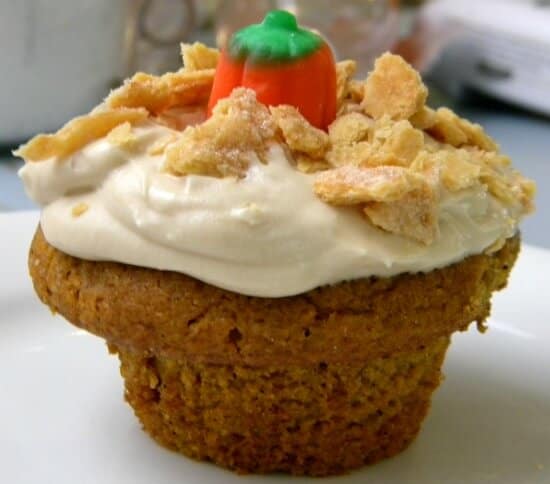
Pumpkin Pie Cupcakes
-
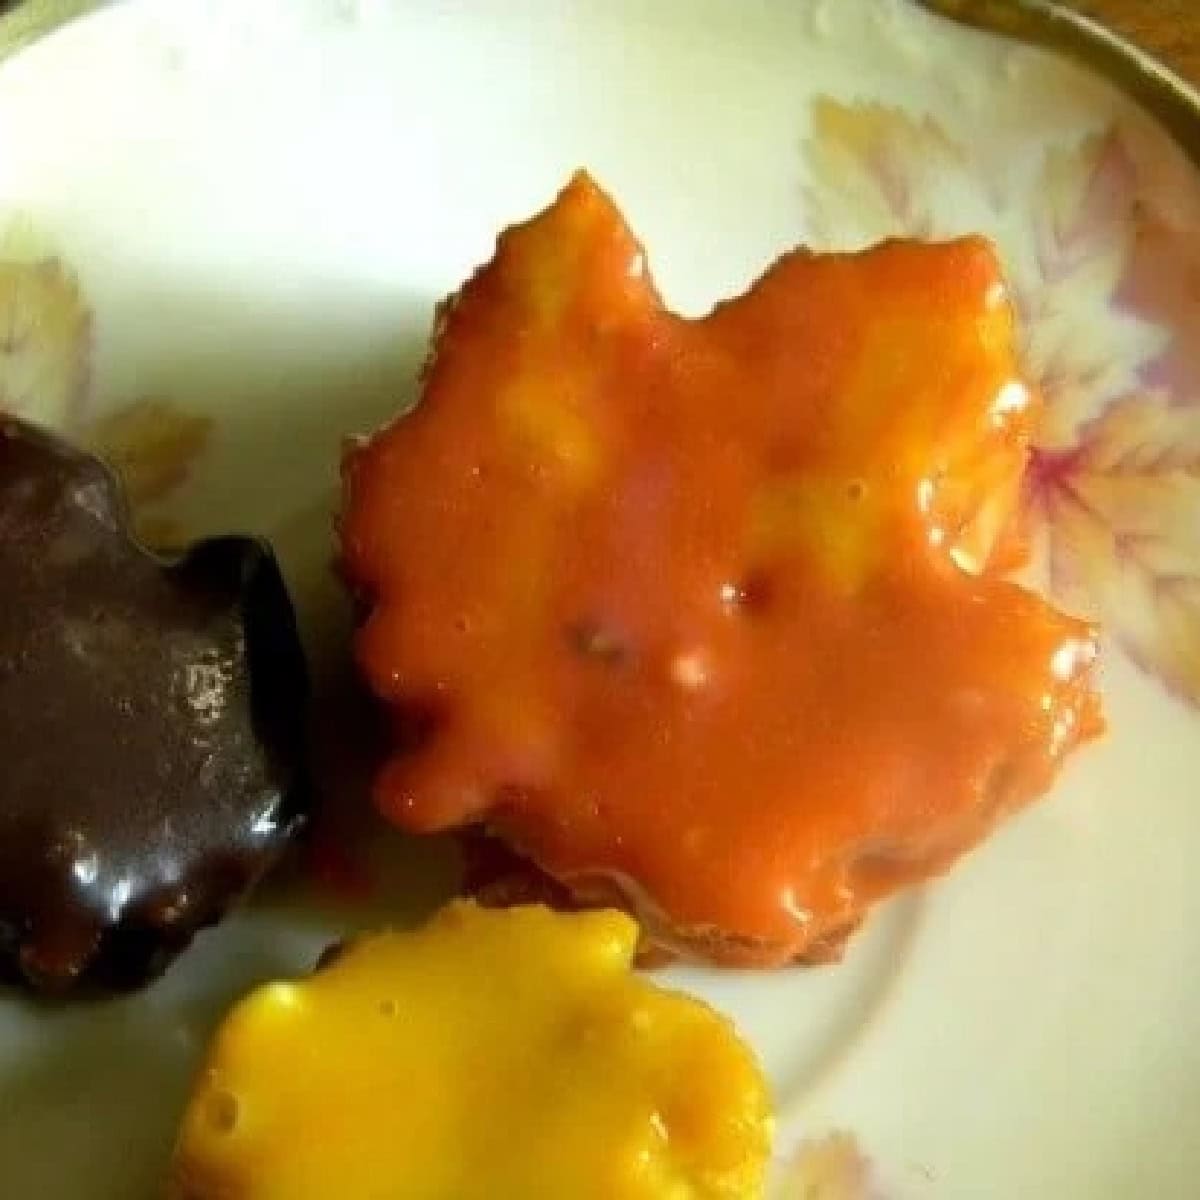
Petit Fours -Pumpkin Pecan Perfection
-
Sweet Corn Pound Cake: A Unique Summer Recipe
-
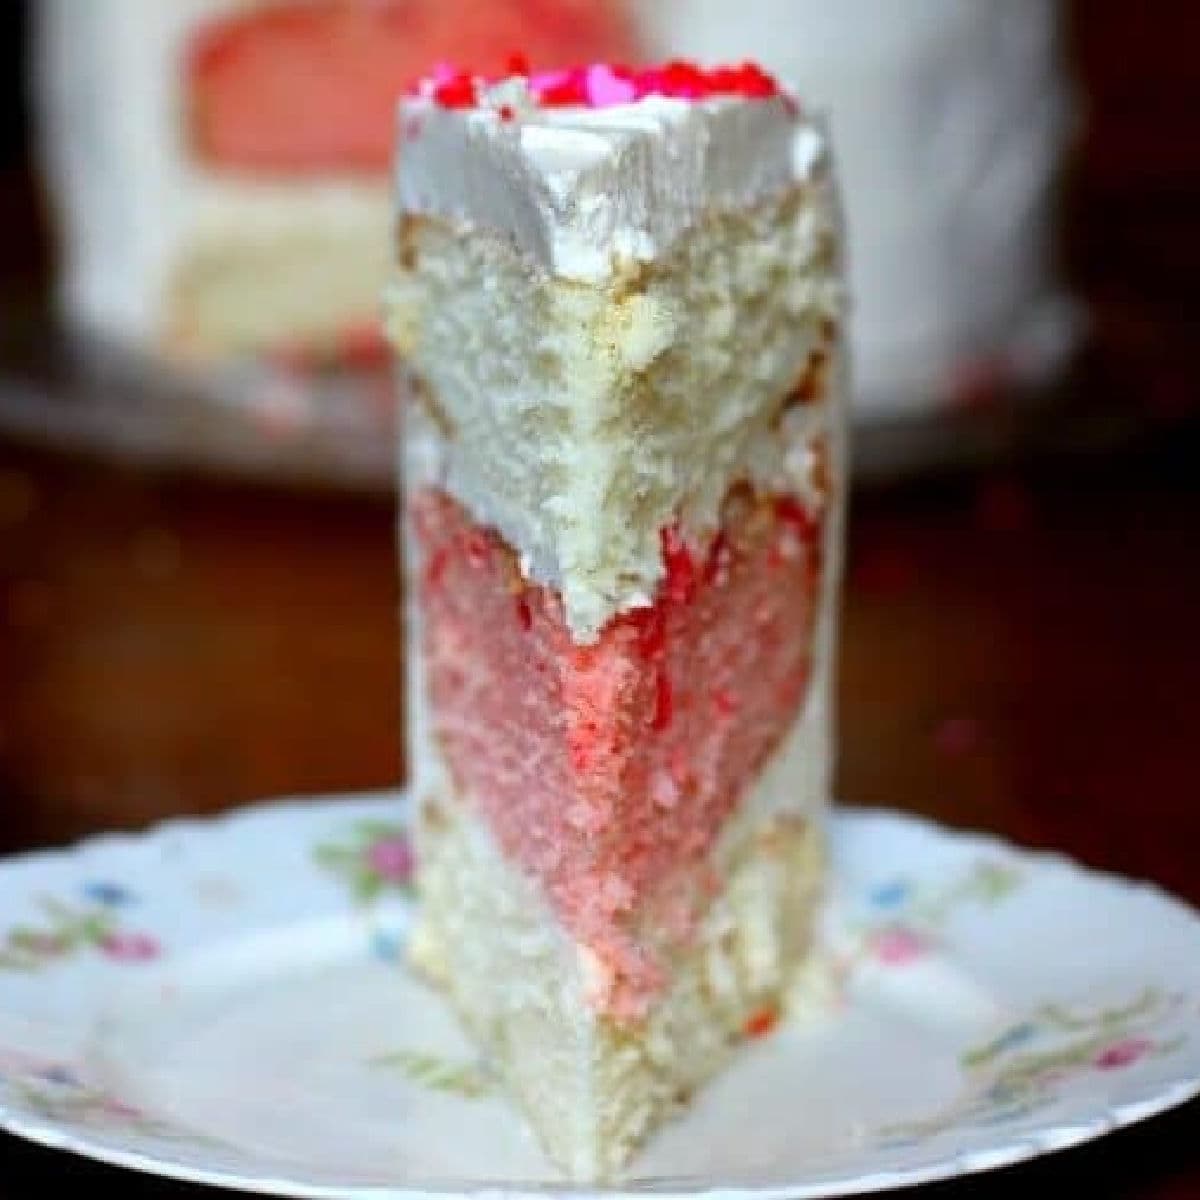
Pink Velvet Cake with Cream Cheese Frosting
-
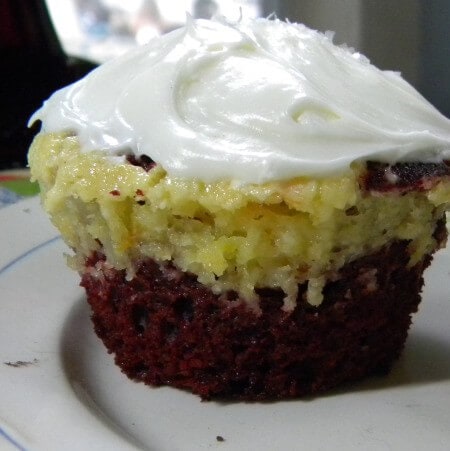
Red Velvet/Cheesecake Marbled Cupcakes